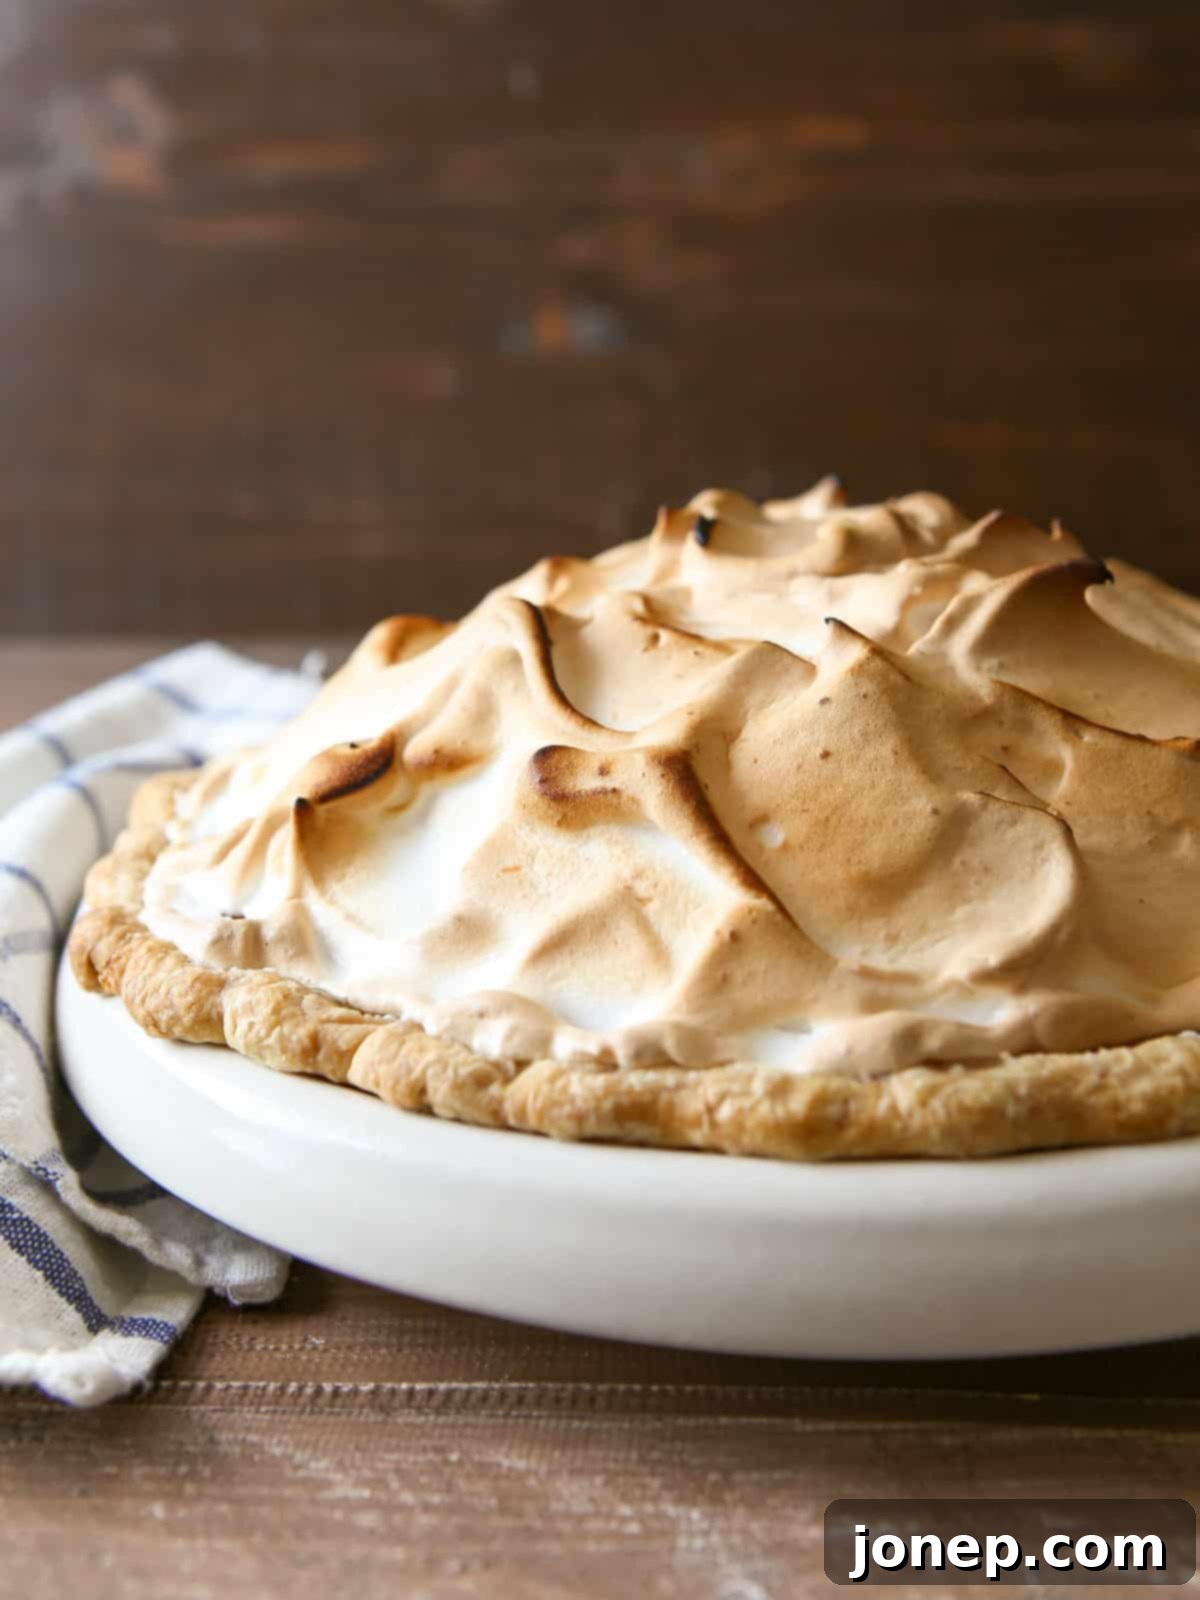
Decadent Sweet Potato Pie with Toasted Marshmallow Meringue: The Ultimate Fall Dessert Recipe
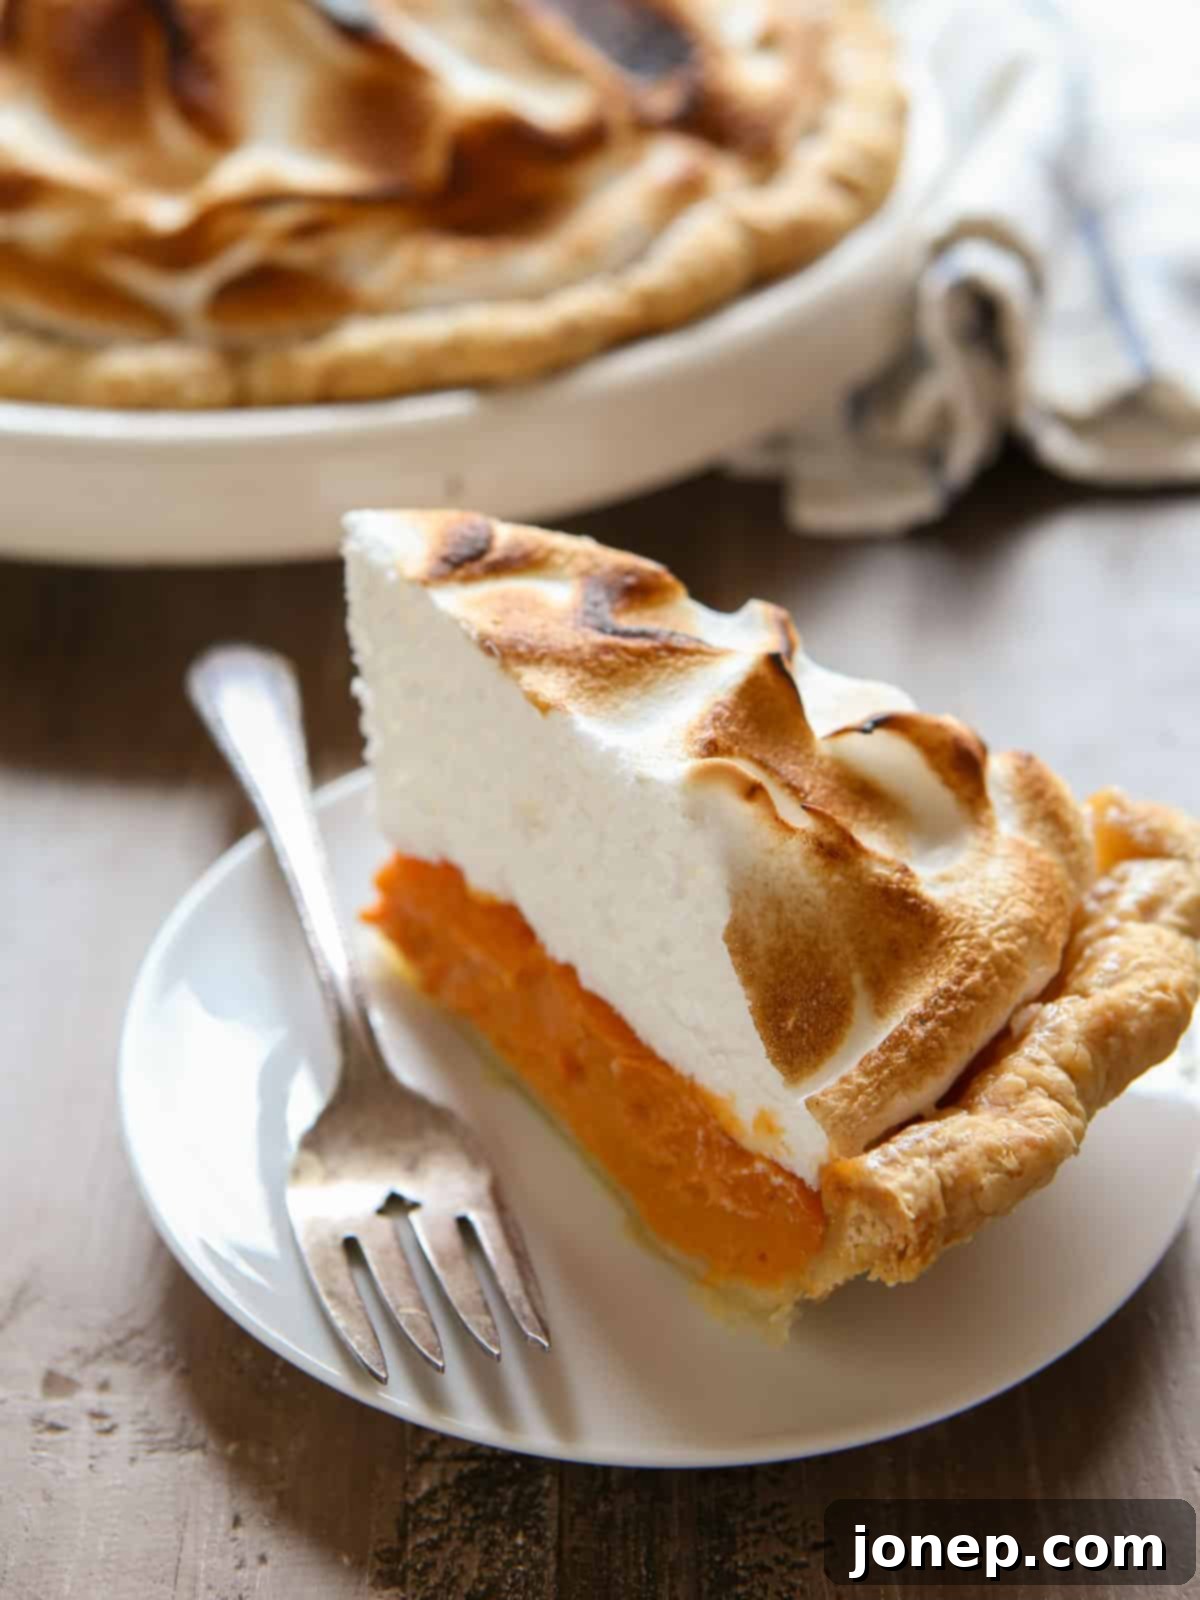
Prepare to be enchanted by this extraordinary Sweet Potato Pie, a seasonal masterpiece that marries a perfectly spiced sweet potato filling with a buttery, flaky pie crust, all crowned with a cloud of toasted marshmallow meringue. This isn’t just a dessert; it’s an experience, a harmonious blend of textures and flavors that truly defines the essence of autumn and holiday celebrations.
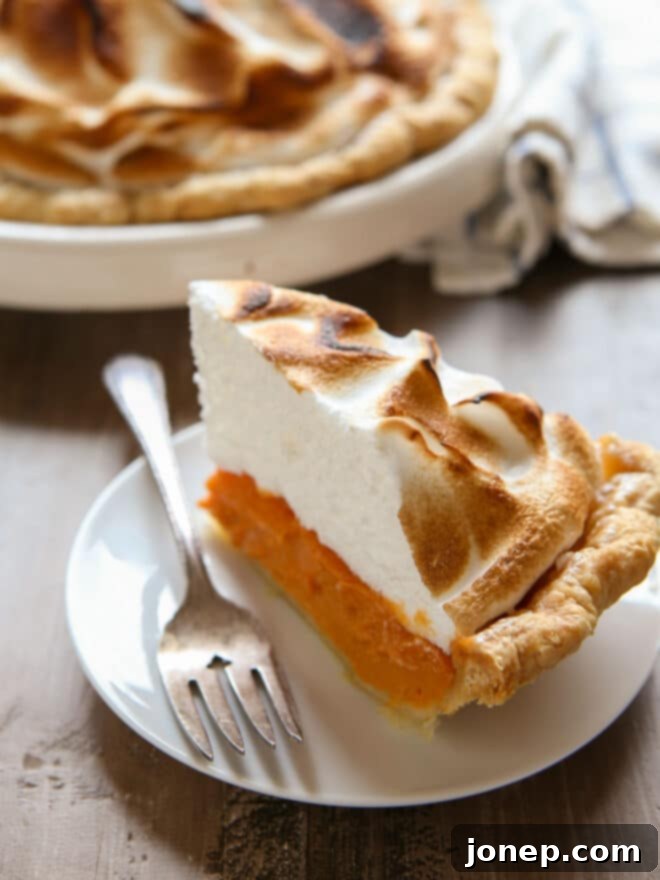
As the holiday season approaches, the age-old question arises: what kind of Thanksgiving pie person are you? Are you a traditionalist, reaching for the comforting classics like apple, pumpkin, or pecan? While these beloved pies hold a special place in our hearts, this sweet potato pie offers a delightful and slightly less common, yet undeniably traditional, alternative to pumpkin pie. It embodies the warmth and richness of the season, and its show-stopping toasted marshmallow meringue topping is guaranteed to impress even the most discerning palates at your holiday table.
You’ll fall in love with the intricate dance of flavors and textures in every bite: the crisp, golden flakiness of the homemade pie crust, yielding to a rich, velvety smooth sweet potato filling generously infused with quintessential fall spices like aromatic cinnamon and warm nutmeg, all balanced by a hint of vanilla. But what truly sets this pie apart is the thick, ethereal layer of fluffy homemade meringue, delicately toasted to a golden-brown perfection, creating a delightful “marshmallow” finish. It’s a symphony of sweet, spicy, and creamy, making it a truly delicious marriage of flavor and texture that will become a cherished part of your fall baking repertoire.
Table of Contents
- The Best Sweet Potato Pie Recipe
- Step-by-Step Baking Instructions
- How to Make This Pie Ahead of Time
- Recipe FAQs
- More Irresistible Fall Pies

The Best Sweet Potato Pie Recipe
Crafting this incredible sweet potato pie is a culinary journey divided into three essential, yet equally amazing, components. Each part is carefully designed to contribute to the pie’s overall perfection, from its sturdy base to its whimsical topping.
This incredible pie is made up of 3 parts that come together to create a masterpiece:
- All-butter pie crust: Starting with a flaky homemade pie crust is non-negotiable for the best results. The rich, buttery base provides the perfect foundation, creating a delightful contrast to the creamy filling. Its crisp texture ensures no soggy bottoms, making every slice a joy.
- Spiced sweet potato filling: This is the heart of the pie – a luscious, velvety filling made from pureed sweet potatoes, sweetened with rich brown sugar, and warmly spiced with ground nutmeg, fragrant cinnamon, and a hint of vanilla. The roasting of the sweet potatoes prior to pureeing intensifies their natural sweetness and deepens their earthy flavor, making the filling truly exceptional.
- Toasted marshmallow meringue topping: This is where the magic happens and the pie truly elevates to gourmet status. A thick, dreamy layer of homemade Italian meringue is spread generously over the cooled pie, then lightly browned to perfection either in the oven or with a handy kitchen torch. The toasted peaks provide a beautiful visual appeal and a delightful caramelized sweetness.
While every component of this pie is undeniably amazing, it’s the marshmallow-like meringue topping that truly propels this sweet potato pie into a league of its own. This isn’t just any meringue; it’s specifically an “Italian meringue.” This technique involves whipping egg whites while gradually incorporating a hot sugar syrup. The high temperature of the syrup cooks the egg whites completely, eliminating any concerns about egg safety and resulting in a wonderfully stable, glossy, and incredibly delicious meringue that holds its shape beautifully.
Furthermore, the taste of this Italian meringue is absolutely divine. It boasts a remarkably similar texture and flavor profile to classic marshmallow fluff, but with a refined, homemade quality. The delicate sweetness and airy consistency of the meringue perfectly complement the rich, earthy notes of the sweet potato filling, adding a layer of sophisticated sweetness and a playful, toasted finish that makes each forkful unforgettable. It’s the ideal crowning glory for this festive pie!
Step-by-Step Baking Instructions
Embark on your journey to creating this spectacular sweet potato pie with confidence. Follow these detailed step-by-step instructions to ensure a perfect result, from the flaky crust to the heavenly toasted meringue.
- Prepare the pie crust: A truly exceptional pie begins with a fantastic crust. You can either follow your favorite homemade pie crust recipe or, for a guaranteed flaky result, use my tested recipe. Ensure your butter is cold and work quickly to achieve that desired flakiness. After forming, the dough needs time to chill, allowing the gluten to relax and the butter to firm up for easier rolling.
-
Roast the sweet potatoes: While your pie crust is chilling, preheat your oven to 400°F (200°C). Roasting whole sweet potatoes in their skins is key to developing their deep, concentrated sweetness and tender texture, which is superior to boiling. Prick them with a fork and roast until they are very tender when squeezed. Allow them to cool sufficiently so they are easy to handle and peel, removing any dark spots for the smoothest filling.

-
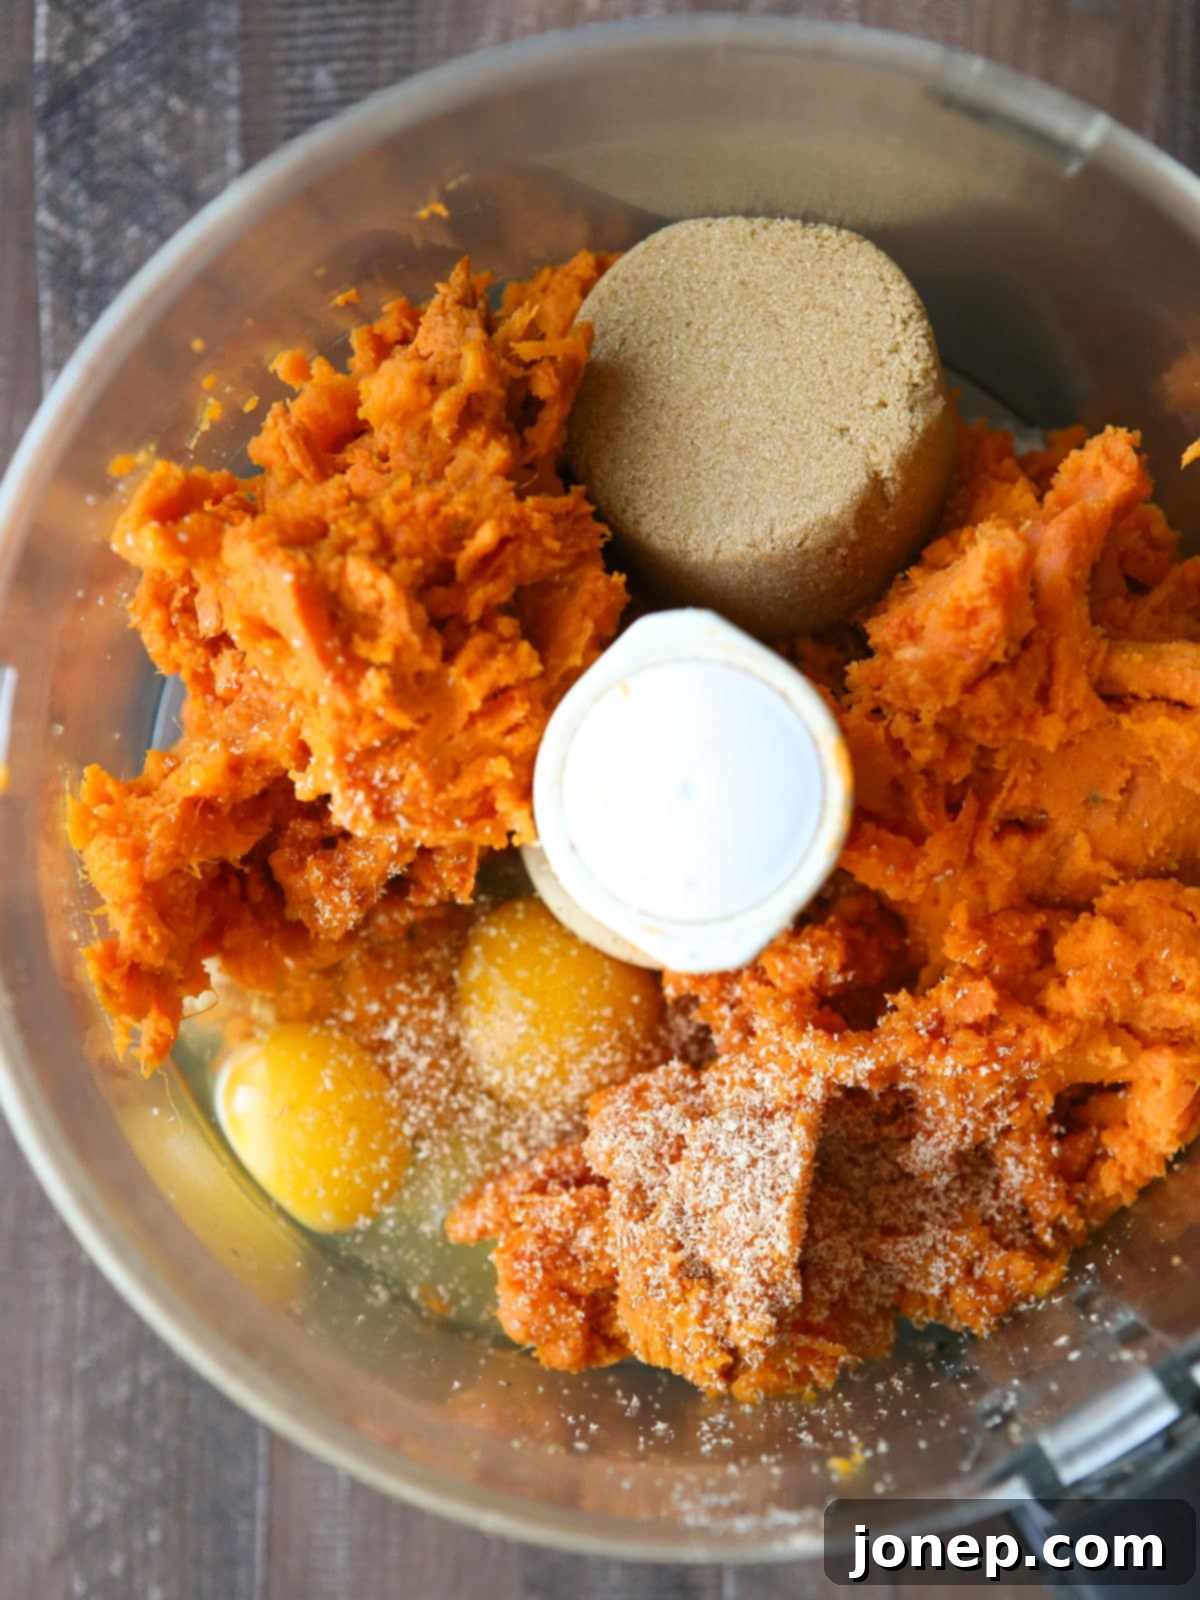
Mix the filling in a food processor: For an incredibly smooth and creamy filling, a food processor is your best friend. Add the peeled, softened sweet potatoes along with the eggs, brown sugar, a pinch of salt to balance the sweetness, aromatic nutmeg and cinnamon, whole milk for richness, and pure vanilla extract. Blend until the mixture is perfectly smooth, with no lumps remaining. If you don’t have a food processor, a potato masher and a whisk will also work, just ensure thorough mashing and mixing.

- Blind bake the pie crust: This crucial step, also known as par-baking, is essential to prevent a dreaded “soggy bottom” – especially with a moist filling like this one. Blind baking partially cooks the crust before the filling is added, ensuring a crisp foundation. I’ve got a full tutorial on how to blind bake pie crust here, or you can refer to my quick baking tip below.
-
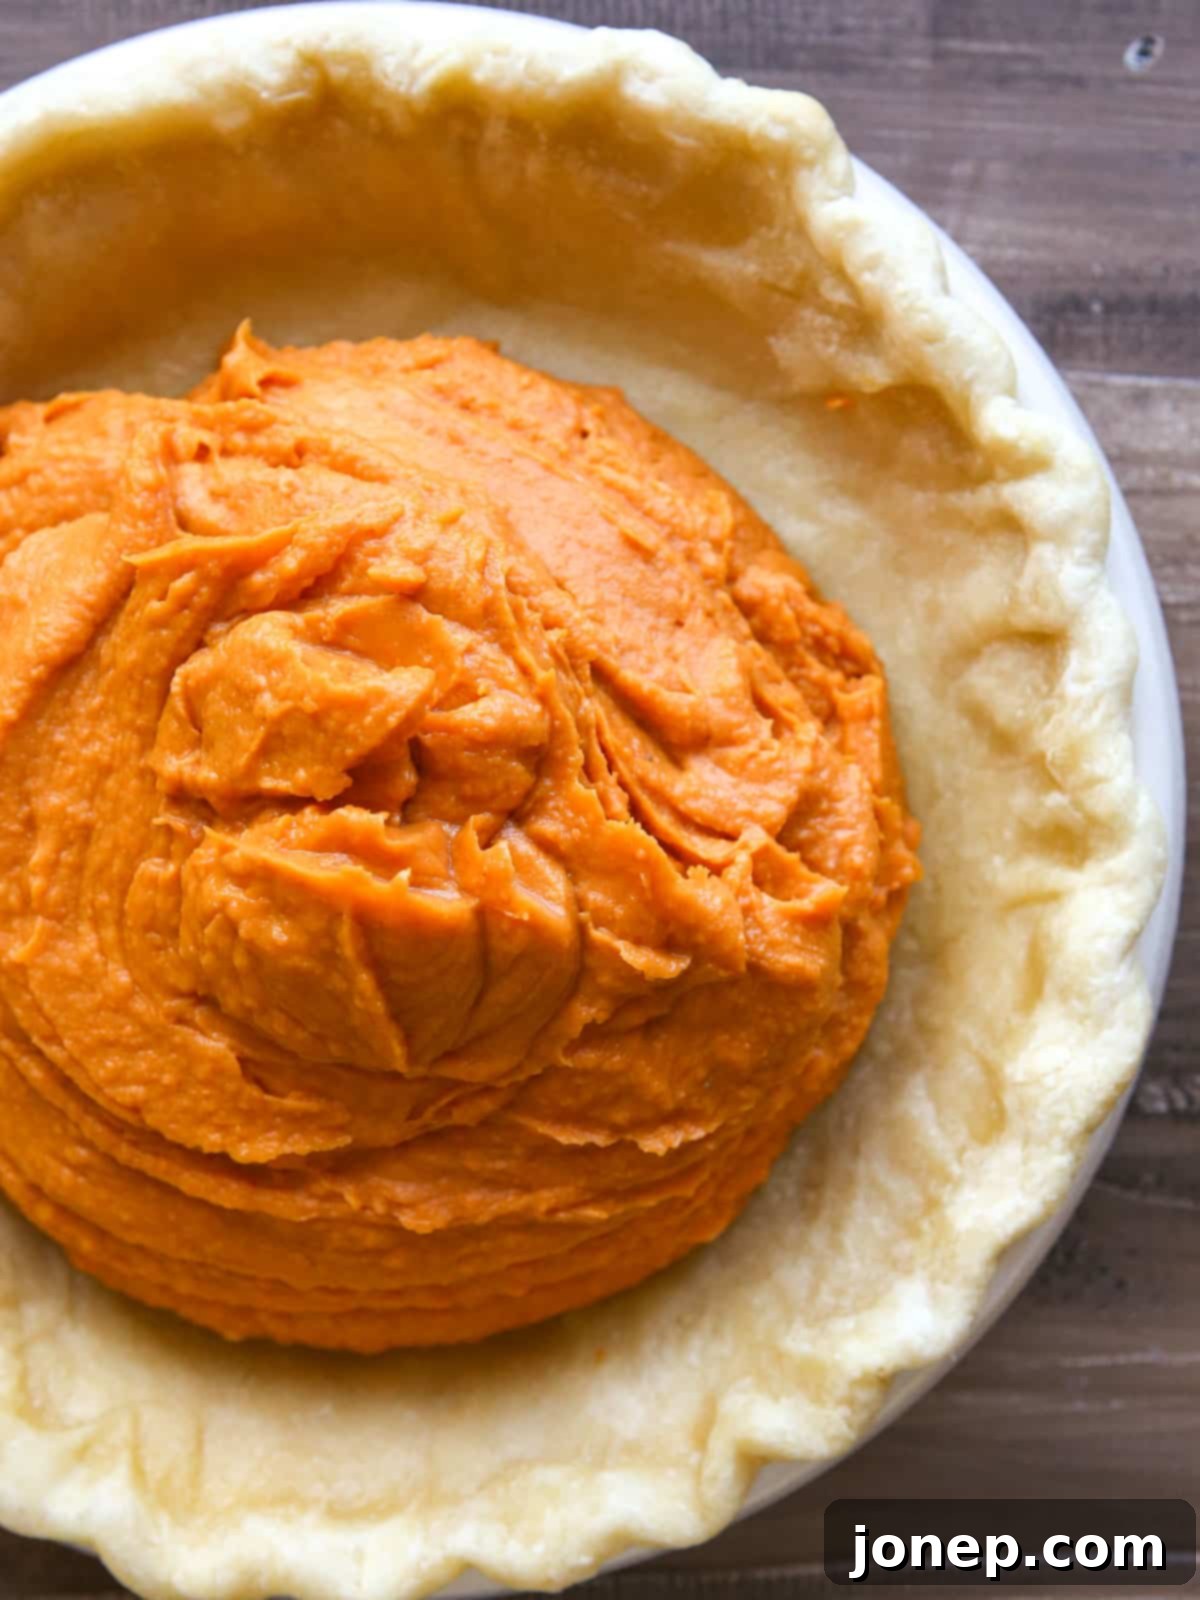
Add filling and bake the pie: Once your pie crust is par-baked and slightly cooled, carefully pour the smooth sweet potato filling into it. Reduce your oven temperature to 375°F (190°C) and bake the pie. The pie is done when the edges of the filling appear set and slightly puffed, but the very center still has a slight, gentle wobble when lightly shaken. This indicates a perfectly cooked, creamy filling. Let the pie cool completely on a wire rack while you prepare the magical topping.

- Make the meringue topping: This is where your candy thermometer becomes indispensable. In a small saucepan, combine water and granulated sugar. Bring it to a boil without stirring, occasionally swirling the pan to help the sugar dissolve, until your candy thermometer registers precisely 240°F (115°C), which is the soft ball stage. Simultaneously, in a clean, dry bowl, whip your egg whites to soft peaks. With your mixer on low speed, slowly and steadily stream the hot sugar syrup into the egg whites. Once all the syrup is incorporated, increase the mixer speed to high and continue whipping until the meringue is incredibly thick, glossy, and holds stiff peaks. This process ensures the egg whites are safely cooked and the meringue is stable.
-
Finish pie and toast the meringue: Once the pie is completely cool and the meringue is ready, generously spread the fluffy meringue over the top of the pie, making sure to extend it all the way to the crust to seal the filling. Now for the grand finale – toasting! You can achieve a beautiful golden-brown finish by placing the pie under a hot broiler for a few minutes (watch it *very* carefully, as it can burn quickly!) or, for more control and precision, use a kitchen torch to toast the peaks evenly.

- Serve and enjoy: Your magnificent Sweet Potato Pie with Toasted Marshmallow Meringue is now ready to be enjoyed! You can serve it immediately while it’s still slightly warm, let it cool completely to room temperature for a firmer set, or even chill it in the fridge for a refreshing take. For the best experience, especially with the fresh meringue, it is highly recommended to serve the pie on the same day it is topped. Refer to the make-ahead tips below for guidance on preparing components in advance.
baking tip:How to Blind Bake Pie Crust for a Perfect Base
Blind baking, or par-baking, your pie crust is a critical step, particularly for recipes with wet fillings like this sweet potato pie. It pre-cooks the crust, creating a barrier that prevents it from becoming soggy during the final bake, ensuring a wonderfully crisp and firm base for your delicious filling. Here’s a detailed guide to achieving a perfect blind-baked crust:
- Prepare Pie Crust Dough: Follow your chosen recipe to prepare the pie dough. Ensure it’s well-chilled before rolling.
- Form and Chill: Roll out the dough on a lightly floured surface to a 12-inch circle. Carefully transfer it to your 8 or 9-inch pie dish. Trim and crimp the edges as desired. To prevent shrinkage and help the butter stay cold, prick the bottom generously with a fork, then freeze the entire pie crust in the dish for at least 30 minutes. This freezing step is crucial for maintaining the crust’s shape.
- Weight and Line: Once frozen, line the chilled pie crust with a piece of parchment paper or greased aluminum foil, pressing it gently against the sides of the crust. Fill this liner completely with pie weights, dried beans, or uncooked rice. The weights prevent the crust from puffing up or sliding down the sides during baking.
- First Bake: Bake the weighted crust in a preheated 425°F (220°C) oven for 20-25 minutes. At this point, the edges should appear set and lightly golden.
- Second Bake (Unweighted): Carefully lift the parchment/foil and pie weights out of the crust. Return the crust to the oven and bake for an additional 5-10 minutes. This allows the bottom of the crust to fully dry out and become golden, ensuring it is completely set and ready for a moist filling.
- Cool: Let the blind-baked crust cool completely on a wire rack before filling. This prevents steam from building up and making the crust soggy. You can use it immediately or prepare it ahead of time.
How to Make This Pie Ahead of Time
Planning ahead for holiday baking can significantly reduce stress and ensure your sweet potato pie is a showstopper. Here’s how you can prepare various components in advance:
Pie crust: The pie dough is wonderfully forgiving and can be prepared well in advance. Wrapped tightly in plastic wrap, it will keep beautifully in the fridge for about 3 days. For longer storage, you can freeze the dough for a month or even more. Thaw it in the refrigerator overnight before rolling. Alternatively, you can fully par-bake the crust in its pie pan up to 3 days ahead of final assembly. Once cooled, store it at room temperature, loosely covered in plastic wrap, until ready to fill.
Pie filling: The creamy sweet potato filling can also be made ahead. Once all the ingredients are combined and pureed, transfer the filling to an airtight container and store it in the fridge for up to 3 days. If you need more lead time, the filling freezes exceptionally well for a month or longer. Simply thaw it in the refrigerator overnight before pouring into the crust and baking.
Baked pie (without meringue): The entire pie, crust and filling combined, can be assembled and baked up to 3 days in advance. Once baked and completely cooled, cover it loosely with plastic wrap and store it in the fridge. This makes holiday meal preparation much easier, as you only need to focus on preparing the fresh meringue topping on the day you plan to serve the pie for the ultimate freshness and presentation.

Recipe FAQs
No, absolutely not! While I find a food processor incredibly convenient for achieving a perfectly smooth and lump-free sweet potato filling with minimal effort, you can certainly achieve a delightful consistency without one. Simply mash the roasted sweet potatoes thoroughly with a vegetable masher until very smooth, then whisk in the remaining filling ingredients vigorously until well combined and creamy. Just ensure there are no large potato chunks left.
Of course! While the homemade Italian meringue is a showstopper, if the idea of making it from scratch feels like too much of a project, or if you simply prefer another option, there are delicious alternatives. You can top the cooled pie with a generous dollop of freshly made sweetened whipped cream just before serving for a lighter, classic finish. For a quick marshmallow-like topping, you can also spread store-bought marshmallow fluff evenly over the baked and cooled filling, then briefly toast it under the broiler or with a kitchen torch until golden and bubbly. Both options offer a wonderful contrast to the sweet potato filling.
Par-baking (or blind baking) the pie crust is a highly recommended step that plays a crucial role in preventing a soggy bottom, especially with the moist sweet potato filling. Baking the crust by itself ensures it becomes partially or fully set and creates a crisp barrier. However, if this step isn’t important to you, or you’re short on time, you can skip it. Simply add the filling directly to the unbaked crust and bake as instructed in the recipe. Be aware that skipping this step might result in a softer, less crisp crust on the bottom, but the pie will still be delicious.
While fresh roasted sweet potatoes offer the best flavor and texture, canned sweet potato puree can be used in a pinch. If opting for canned, make sure to use plain, unsweetened puree (not pie filling). Drain it very well to remove any excess moisture, as canned puree tends to be wetter than fresh. You might also need to slightly adjust the amount of milk in the recipe to achieve the desired consistency for the filling.
More Irresistible Fall Pies
If you’re looking to expand your autumn baking repertoire beyond this magnificent sweet potato pie, explore these other delightful fall-inspired pie recipes that are perfect for any gathering or cozy evening.

Sweet Potato Pie with Toasted Marshmallow Meringue
8
servings
30 minutes
50 minutes
3 hours
4 hours
20 minutes
Pin Recipe
Leave a Review
Ingredients
For the crust:
- 1 ¼ cup (170 grams) all-purpose flour
- ½ teaspoon salt
- ½ cup (113 grams) unsalted butter , cold and cut into cubes
- ¼-⅓ cup water
For the filling:
- 2 (455 grams) medium sweet potatoes , see Notes
- ⅓ cup (66 grams) packed light or dark brown sugar
- 2 large eggs
- ⅔ cup (150 grams) whole milk
- ¼ teaspoon ground nutmeg
- ½ teaspoon ground cinnamon
- 1 teaspoon vanilla extract
- ¼ teaspoon salt
For the meringue:
- 1 cup (200 grams) granulated sugar
- ½ cup (113 grams) water
- 4 large egg whites
- ½ teaspoon cream of tartar
- 1 teaspoon vanilla extract
Prevent your screen from going dark
Equipment
Instructions
To make the pie crust:
-
Combine the all-purpose flour and salt in a large mixing bowl. Add the cold, cubed unsalted butter and toss gently to coat each piece with flour. Use a pastry blender, your fingertips, or a food processor to cut the butter into the dry ingredients until the mixture resembles coarse meal with some pea-sized pieces of butter remaining.
-
Gradually sprinkle ¼ cup of ice-cold water over the mixture, using a spoon or spatula to bring the dough together. Once it starts to clump, use your hands to gently knead it into a cohesive ball. If the dough is too dry, add the remaining water, one teaspoon at a time, until it just comes together. Avoid overworking. Form the dough into a flat disk, wrap tightly in plastic, and chill in the fridge for at least 1 hour, and up to 3 days. This resting period is crucial for a tender, flaky crust.
-
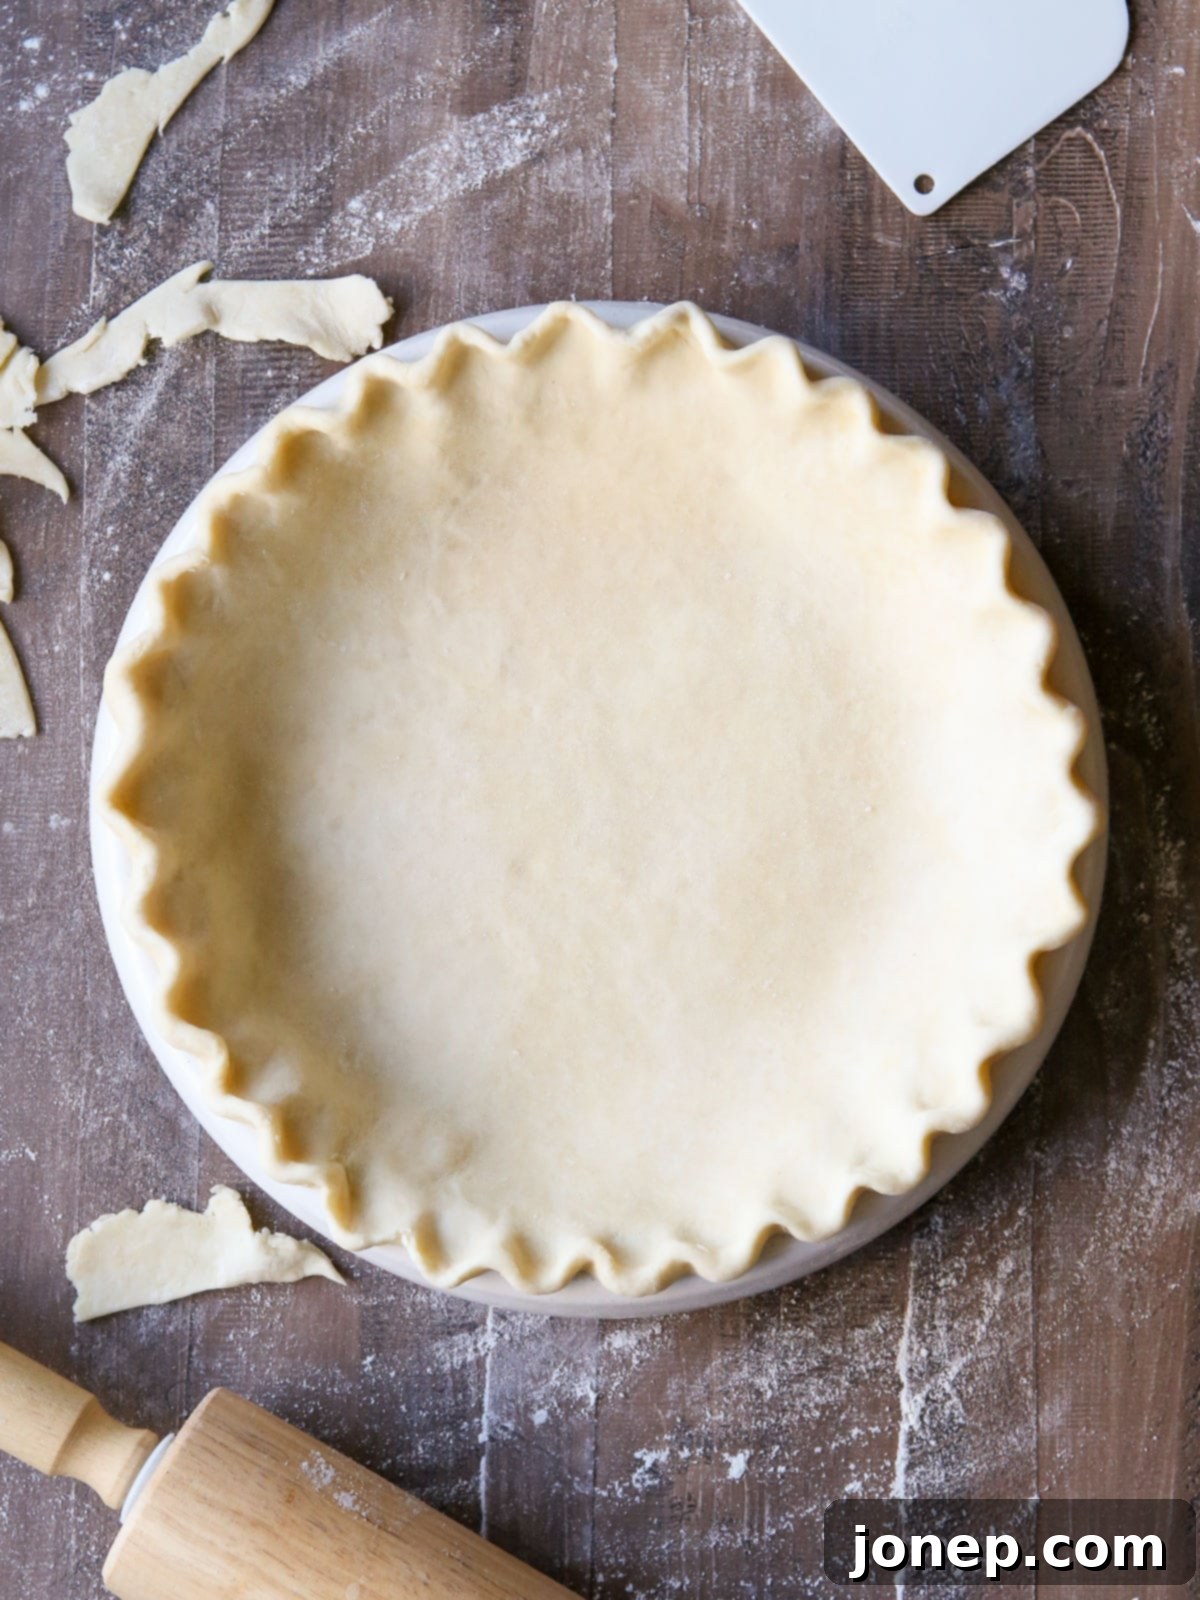
When ready, lightly flour your work surface and rolling pin. Roll the chilled dough out into a rough 12-inch circle. Carefully transfer the dough to an 8 or 9-inch pie dish. Trim any excess dough, then tuck the ends under and crimp the edges as desired for a beautiful presentation. Prick the bottom of the crust all over with a fork to prevent bubbling during baking. Freeze the prepared crust in the pie dish for at least 30 minutes before blind baking.
To make the filling:
-
Preheat your oven to 400°F (200°C). Prick the medium sweet potatoes several times with a fork. Roast them directly on the oven rack until they are very tender when pierced with a knife or squeezed, typically about 40-60 minutes depending on size. Let the roasted sweet potatoes cool completely, then peel and discard the skins, removing any dark spots or fibrous strings.
-
In a food processor, add the cooled, softened sweet potatoes and puree until completely smooth. Add the large eggs, packed light or dark brown sugar, salt, ground nutmeg, ground cinnamon, whole milk, and vanilla extract. Process again until the mixture is fully combined and perfectly smooth. Scrape down the sides of the bowl as needed to ensure everything is incorporated.
To bake the pie:
-
Preheat oven to 400°F (200°C). Line the frozen pie crust with a sheet of greased aluminum foil or parchment paper, pressing it snugly against the sides. Fill completely with pie weights or dried beans. Bake for 20 minutes. Carefully remove the foil and weights, then continue to bake for an additional 10-15 minutes, or until the bottom of the crust appears dry and lightly golden, but not yet browned. This ensures a crisp base.
-
Remove the par-baked pie crust from the oven. Carefully pour the smooth sweet potato filling into the warm crust, spreading it evenly. Reduce the oven temperature to 375°F (190°C) and bake the pie for approximately 40-50 minutes. The pie is done when the edges of the filling are set and slightly puffed, but the center still wobbles slightly when gently shaken. This indicates a perfectly creamy texture. Let the baked pie cool completely to room temperature on a wire rack before adding the meringue.
To make the meringue:
-
In a small, heavy-bottomed saucepan, combine the granulated sugar and water. Place over medium heat. Stir gently to dissolve the sugar completely. Once the sugar mixture comes to a rolling boil, stop stirring. Insert a candy thermometer and continue to cook the syrup, without stirring, until it reaches exactly 240°F (115°C), which is the soft ball stage.
-
While the sugar syrup is cooking, in the clean, dry bowl of a stand mixer fitted with the whisk attachment (or using a hand mixer), beat the large egg whites and cream of tartar on high speed until they just begin to form soft, billowy peaks. Be careful not to overbeat at this stage.
-
With the mixer still running on low speed, slowly and carefully pour the hot sugar syrup in a thin, steady stream into the whipping egg whites. Be sure to pour the syrup down the side of the bowl to avoid hitting the whisk directly. Once all the syrup has been added, increase the mixer speed to high and continue beating the meringue until it is incredibly thick, glossy, and forms very stiff peaks. This process usually takes about 5-8 minutes. Finally, mix in the vanilla extract until just combined.
-
Using an offset spatula or the back of a spoon, spread the voluminous meringue generously over the top of the completely cooled sweet potato pie. Make sure the meringue touches the crust all around the edges to create a seal and prevent shrinkage. You can create decorative swirls and peaks for a beautiful finish.
-
To toast the meringue, you have two options: For a quick and even toast, use a kitchen torch, gently browning the peaks to your desired shade of golden. Alternatively, place the pie in a preheated 400°F (200°C) oven for about 7-10 minutes. Watch it continuously and carefully to make sure it doesn’t burn, as meringue can go from perfectly toasted to burnt very quickly.
-
Let the finished pie cool to room temperature for at least 1 hour before slicing and serving. For optimal enjoyment and to maintain the meringue’s integrity, store any leftover pie covered in the fridge.
Notes
- For this recipe, you’ll need approximately 2 cups of mashed sweet potato after roasting and peeling.
- Make ahead: The pie crust dough can be made up to 3 days ahead (refrigerated) or frozen for longer. The baked pie (without meringue) can be prepared up to 3 days in advance and stored in the fridge. For the freshest and most beautiful presentation, always prepare the marshmallow meringue topping on the day you plan to serve the pie.
American
Dessert
Annalise Sandberg
Have you tried this recipe?
I’d love to hear about it! Leave a rating and review below, or take a photo and tag it on Instagram @completelydelicious with #completelydelicious.
This recipe was originally published November 2016 and has been updated to provide more detailed instructions and helpful tips.
