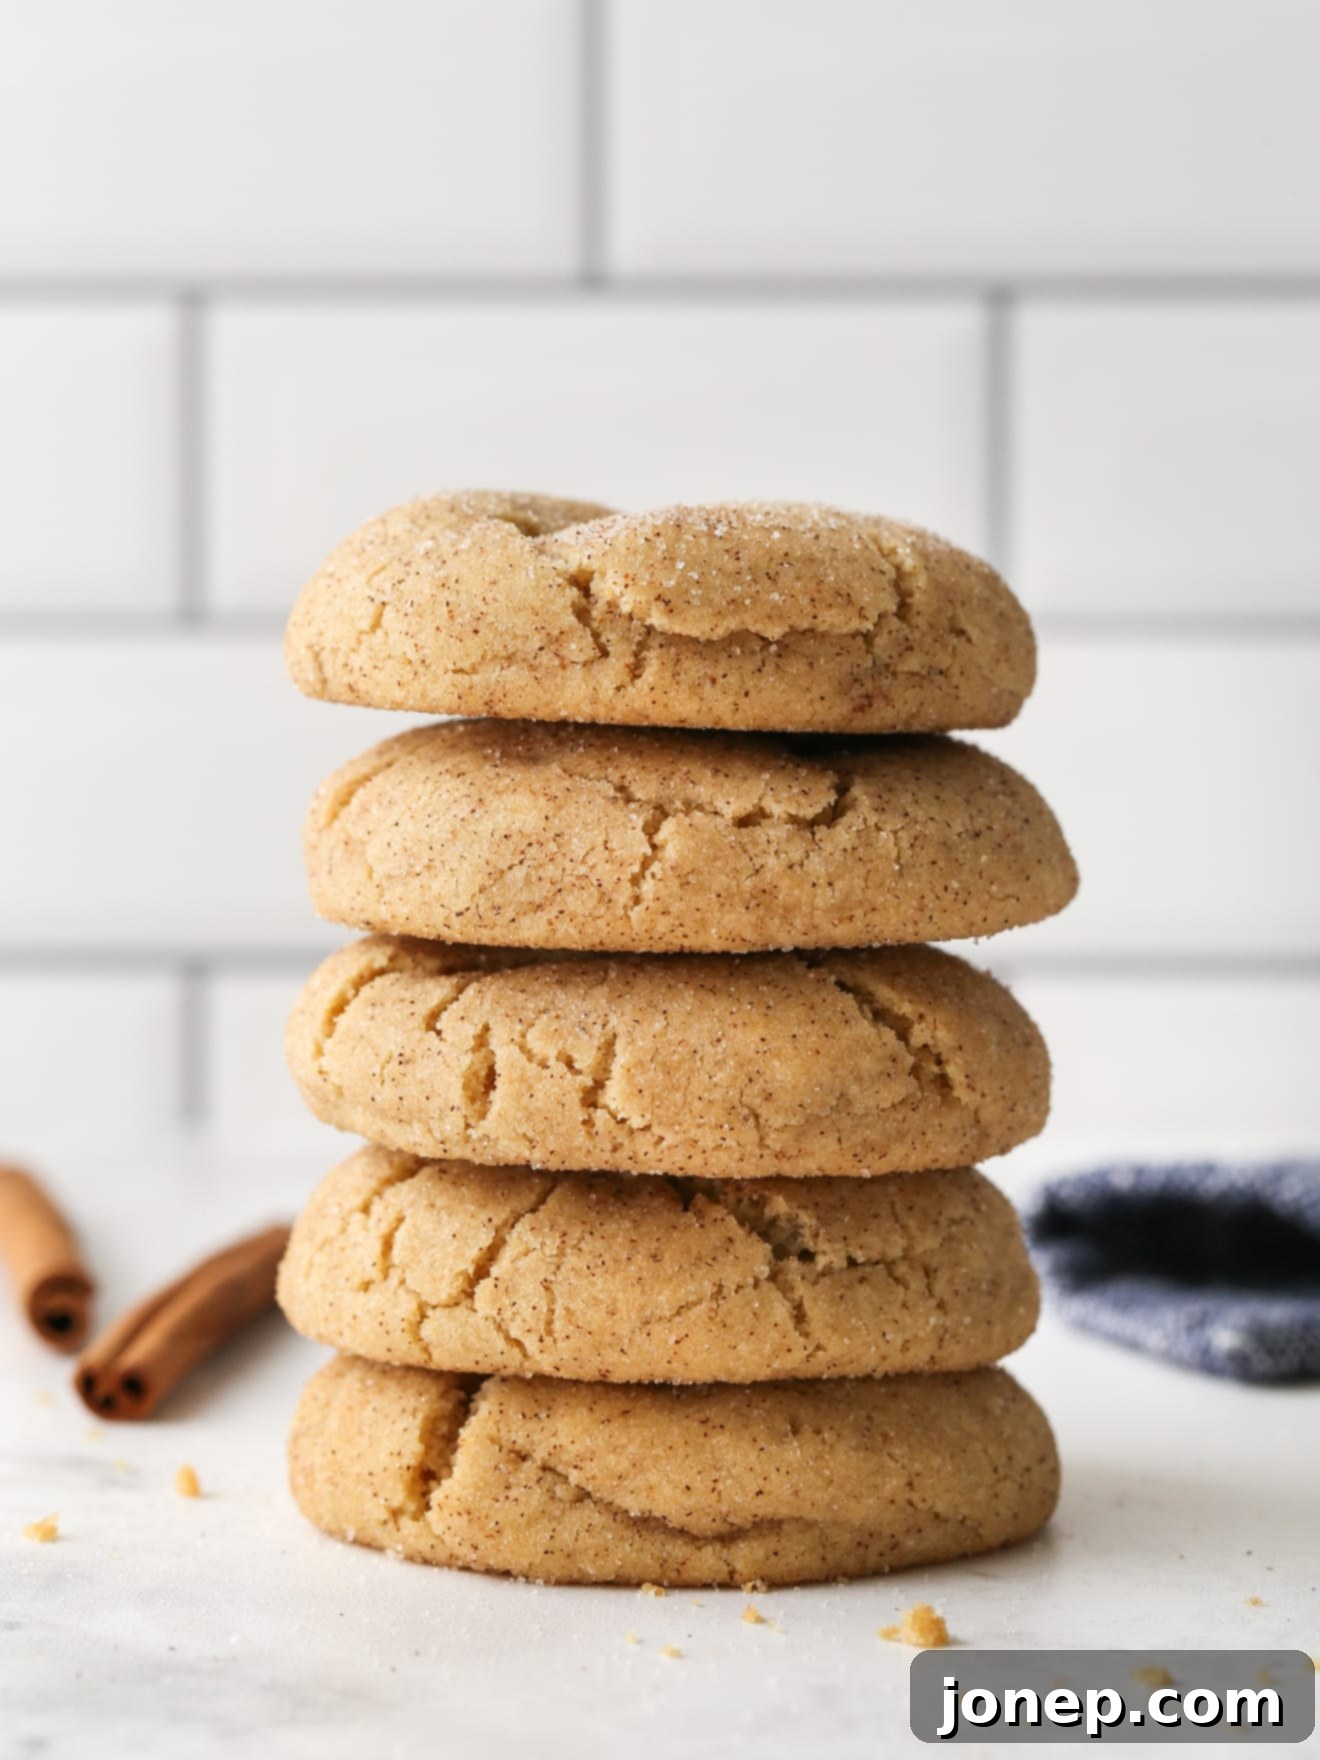
Irresistible Brown Butter Snickerdoodles: Your Guide to the Ultimate Soft-Baked Cookie
Prepare to fall in love with these incredibly soft-baked snickerdoodle cookies, elevated to new heights with the rich, nutty goodness of brown butter. If you’re searching for a dessert that perfectly captures the essence of cozy autumn evenings and festive holiday gatherings, look no further. These brown butter snickerdoodles are more than just a cookie; they’re an experience, promising a symphony of flavors and a texture that melts in your mouth. Get ready to transform your kitchen into a haven of warm, inviting aromas that will enchant everyone.
Why These Brown Butter Snickerdoodles Will Become Your New Favorite
What makes a classic snickerdoodle even better? Brown butter, hands down. It’s the secret ingredient that transforms a simple, beloved cookie into an extraordinary culinary delight. While it might sound like a subtle change, the impact is profound. These brown butter snickerdoodles boast a complex flavor profile that’s a step above the ordinary, featuring a delightful nutty depth and hints of caramel that complement the traditional cinnamon-sugar coating beautifully.
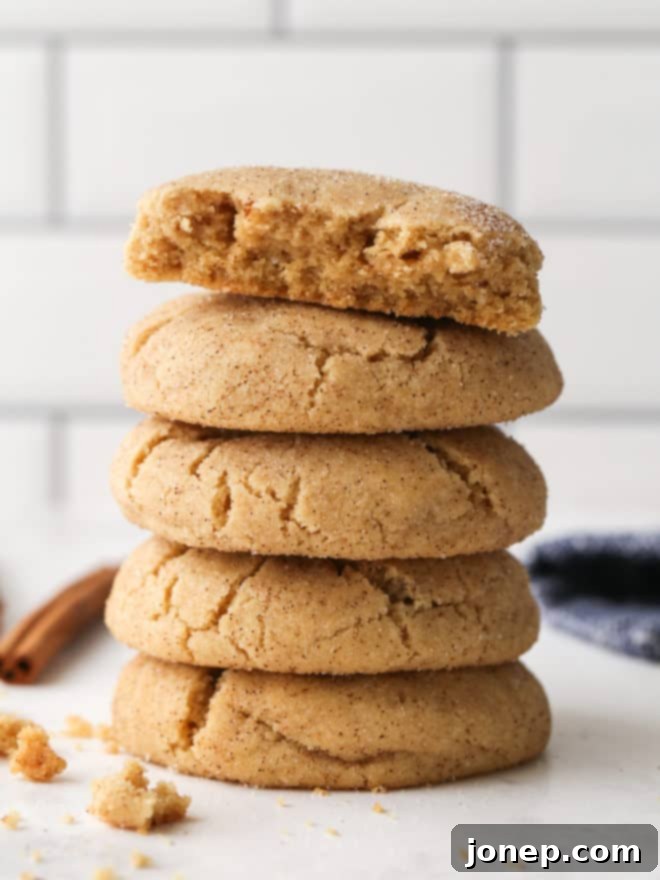
Beyond the enhanced flavor, their texture is pure perfection. Each cookie is wonderfully thick, with a remarkably soft and tender interior that almost melts in your mouth, contrasted by slightly crispy, cinnamon-sugar coated edges. They are truly the epitome of comfort food, making them an ideal treat for the crisp days of fall, the frosty nights of winter, or any time you crave a taste of warmth and nostalgia. Imagine a classic snickerdoodle, but with an irresistible, gourmet twist that keeps you reaching for just one more.
Table of Contents
- Why These Brown Butter Snickerdoodles Will Become Your New Favorite
- What Exactly is Brown Butter?
- Mastering the Art of Browning Butter
- Essential Ingredients for Perfect Snickerdoodles
- Step-by-Step: Crafting Your Brown Butter Snickerdoodles
- Expert Tips for Baking Flawless Cookies
- More Comforting Cookie Recipes to Explore
- Get the Full Recipe
What Exactly is Brown Butter?
Brown butter, or beurre noisette as it’s known in French cuisine, is a deceptively simple yet incredibly transformative ingredient. It’s essentially unsalted butter that has been gently cooked over medium heat until the milk solids separate, toast, and caramelize, imparting a distinctive nutty aroma and a rich, golden-brown color. This process, often referred to as the Maillard reaction, deepens the butter’s flavor significantly, adding complex notes of toasted nuts, toffee, and caramel, while also evaporating some of its water content.
Many people haven’t yet discovered the magic of brown butter, but once you do, you’ll find yourself incorporating it into countless dishes, both sweet and savory. From enriching sauces for pasta or vegetables to enhancing baked goods like these snickerdoodles, brown butter elevates the ordinary to the extraordinary. It’s an easy technique that yields incredibly delicious results, proving that sometimes, the simplest changes make the biggest impact. The nutty depth it provides is truly unparalleled and adds a layer of sophistication to any recipe.
Mastering the Art of Browning Butter
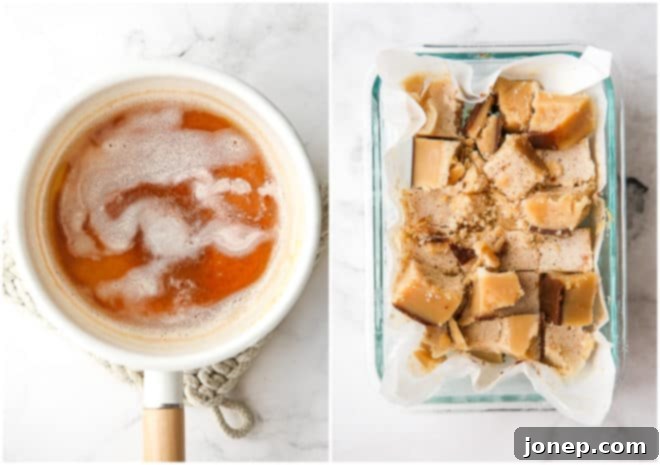
Browning butter is a quick and straightforward process, taking only a few minutes, but it does require your full attention to achieve that perfect nutty flavor without burning. Here’s a detailed guide to making flawless brown butter every time:
- Prepare the Butter: Begin by cutting your cold butter into even-sized cubes. This ensures it melts and cooks uniformly, preventing some parts from burning before others have even started to brown. Place the cubed butter in a light-colored saucepan over medium-low heat. A lighter pan helps you monitor the color changes more easily and accurately.
- Melt and Foam: As the butter melts, it will begin to foam. This is normal! The water content in the butter is evaporating, and the milk solids are separating. Stir the butter frequently with a heat-resistant rubber spatula, making sure to scrape the bottom of the pan. This prevents the milk solids from sticking and burning, and encourages even browning. You’ll hear a gentle sizzling sound as the water evaporates.
- Observe the Transformation: Continue cooking and stirring. The foam will eventually subside, and you’ll start to see tiny, golden-brown specks forming at the bottom of the pan. The butter itself will take on a beautiful amber color, transitioning from pale yellow to a rich, warm brown. Simultaneously, you’ll notice a distinct, rich, nutty aroma filling your kitchen – reminiscent of toasted hazelnuts or caramel. This is your cue! The scent is a strong indicator of when it’s ready.
- Remove from Heat Immediately: The moment you see those golden-brown bits and smell that inviting nutty scent, remove the pan from the heat without delay. Immediately pour the browned butter, including all the delicious toasted milk solids, into a separate heatproof bowl or container. This is crucial because if you leave it in the hot saucepan, residual heat will continue to cook it, risking a burnt, bitter flavor that will ruin your cookies.
- Cool or Use: You can use the melted brown butter immediately for certain recipes. However, for these snickerdoodles, the butter needs to be solid but softened to room temperature. Chill it in the refrigerator until it solidifies, which can take an hour or two. Once solid, remove it from the fridge and let it sit at room temperature for about an hour to soften to the consistency of regular softened butter before proceeding with the cookie recipe. This crucial step ensures your cookies have the perfect texture and don’t spread too much during baking.
This extra step of browning, chilling, and then softening the butter might seem like a bit of a commitment, but the unparalleled depth of flavor it adds to your snickerdoodles is absolutely worth every moment. Trust us, your taste buds will thank you for this delightful upgrade!
Essential Ingredients for Perfect Snickerdoodles
Crafting these delectable brown butter snickerdoodles requires a handful of common baking ingredients, each playing a vital role in achieving their signature taste and texture. While the full, precise measurements are provided in the detailed recipe card below, let’s briefly touch on some key components and their contributions to this incredible cookie:
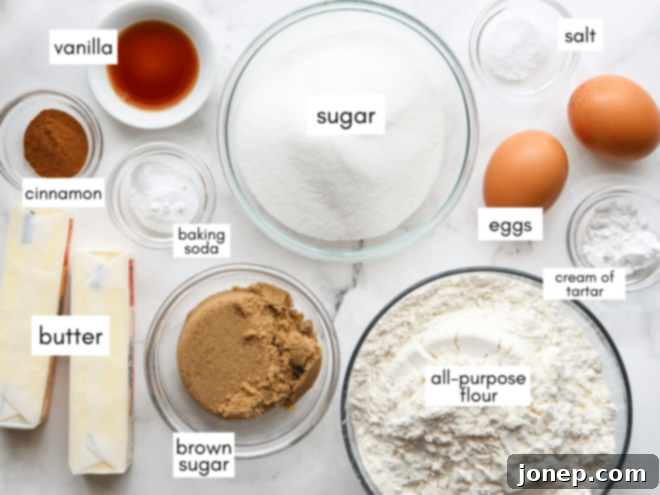
- Brown Butter: The undeniable star of the show! As discussed, this process imparts that incredible nutty, caramel complexity that sets these snickerdoodles apart from traditional versions.
- Granulated and Brown Sugars: The thoughtful combination of these two sugars is crucial for both flavor and texture. Granulated sugar contributes to crispness and classic sweetness, while brown sugar adds essential moisture, chewiness, and a subtle molasses flavor that pairs wonderfully with the brown butter’s notes.
- Eggs: Act as vital binders, providing structure to the cookie dough and adding richness, which contributes to a tender crumb.
- Vanilla Extract: A universal flavor enhancer, vanilla adds a warm, aromatic note that complements the cinnamon and brown butter beautifully. Use good quality pure vanilla extract for the best results.
- All-Purpose Flour: The foundational dry ingredient. Proper measurement is absolutely key to prevent dense, dry, or overly spreading cookies.
- Cream of Tartar: This is a non-negotiable ingredient for authentic snickerdoodles! It gives them their distinctive tangy flavor and contributes significantly to their characteristic chewy texture, while also preventing excessive spreading. Without it, you’d simply have a cinnamon sugar cookie.
- Baking Soda: Works in conjunction with the acidic cream of tartar to provide leavening, ensuring a soft, puffy cookie with a tender interior.
- Salt: A pinch of salt is crucial for balancing the sweetness of the sugars and enhancing the overall flavor profile of the cookies. It makes all the other ingredients shine.
- Cinnamon-Sugar Coating: The iconic blend of granulated sugar and ground cinnamon creates the classic snickerdoodle finish. This coating adds a delightful crispy texture and a spicy-sweet aroma that is instantly recognizable and irresistible.
Remember, using fresh, high-quality ingredients will truly elevate your baking experience and ensure your brown butter snickerdoodles are as delicious as they can be!
Step-by-Step: Crafting Your Brown Butter Snickerdoodles
Making these glorious cookies is a straightforward process, but a little planning goes a long way, especially when it comes to the brown butter. Follow these detailed steps for perfect results, and enjoy the journey of baking these exceptional treats:
- Prepare and Soften Brown Butter: This is the most crucial first step. Begin by browning your butter as per the detailed instructions provided earlier. Once browned, immediately transfer it to a heatproof bowl and chill it in the refrigerator until it’s completely solid. Before you start making the dough, remove the solid brown butter from the fridge and allow it to soften at room temperature until it’s pliable and the consistency of softened regular butter. This typically takes at least an hour after chilling, so plan ahead! The butter should be soft enough to leave an indent when pressed, but not at all shiny or melted, which could lead to cookie spread.
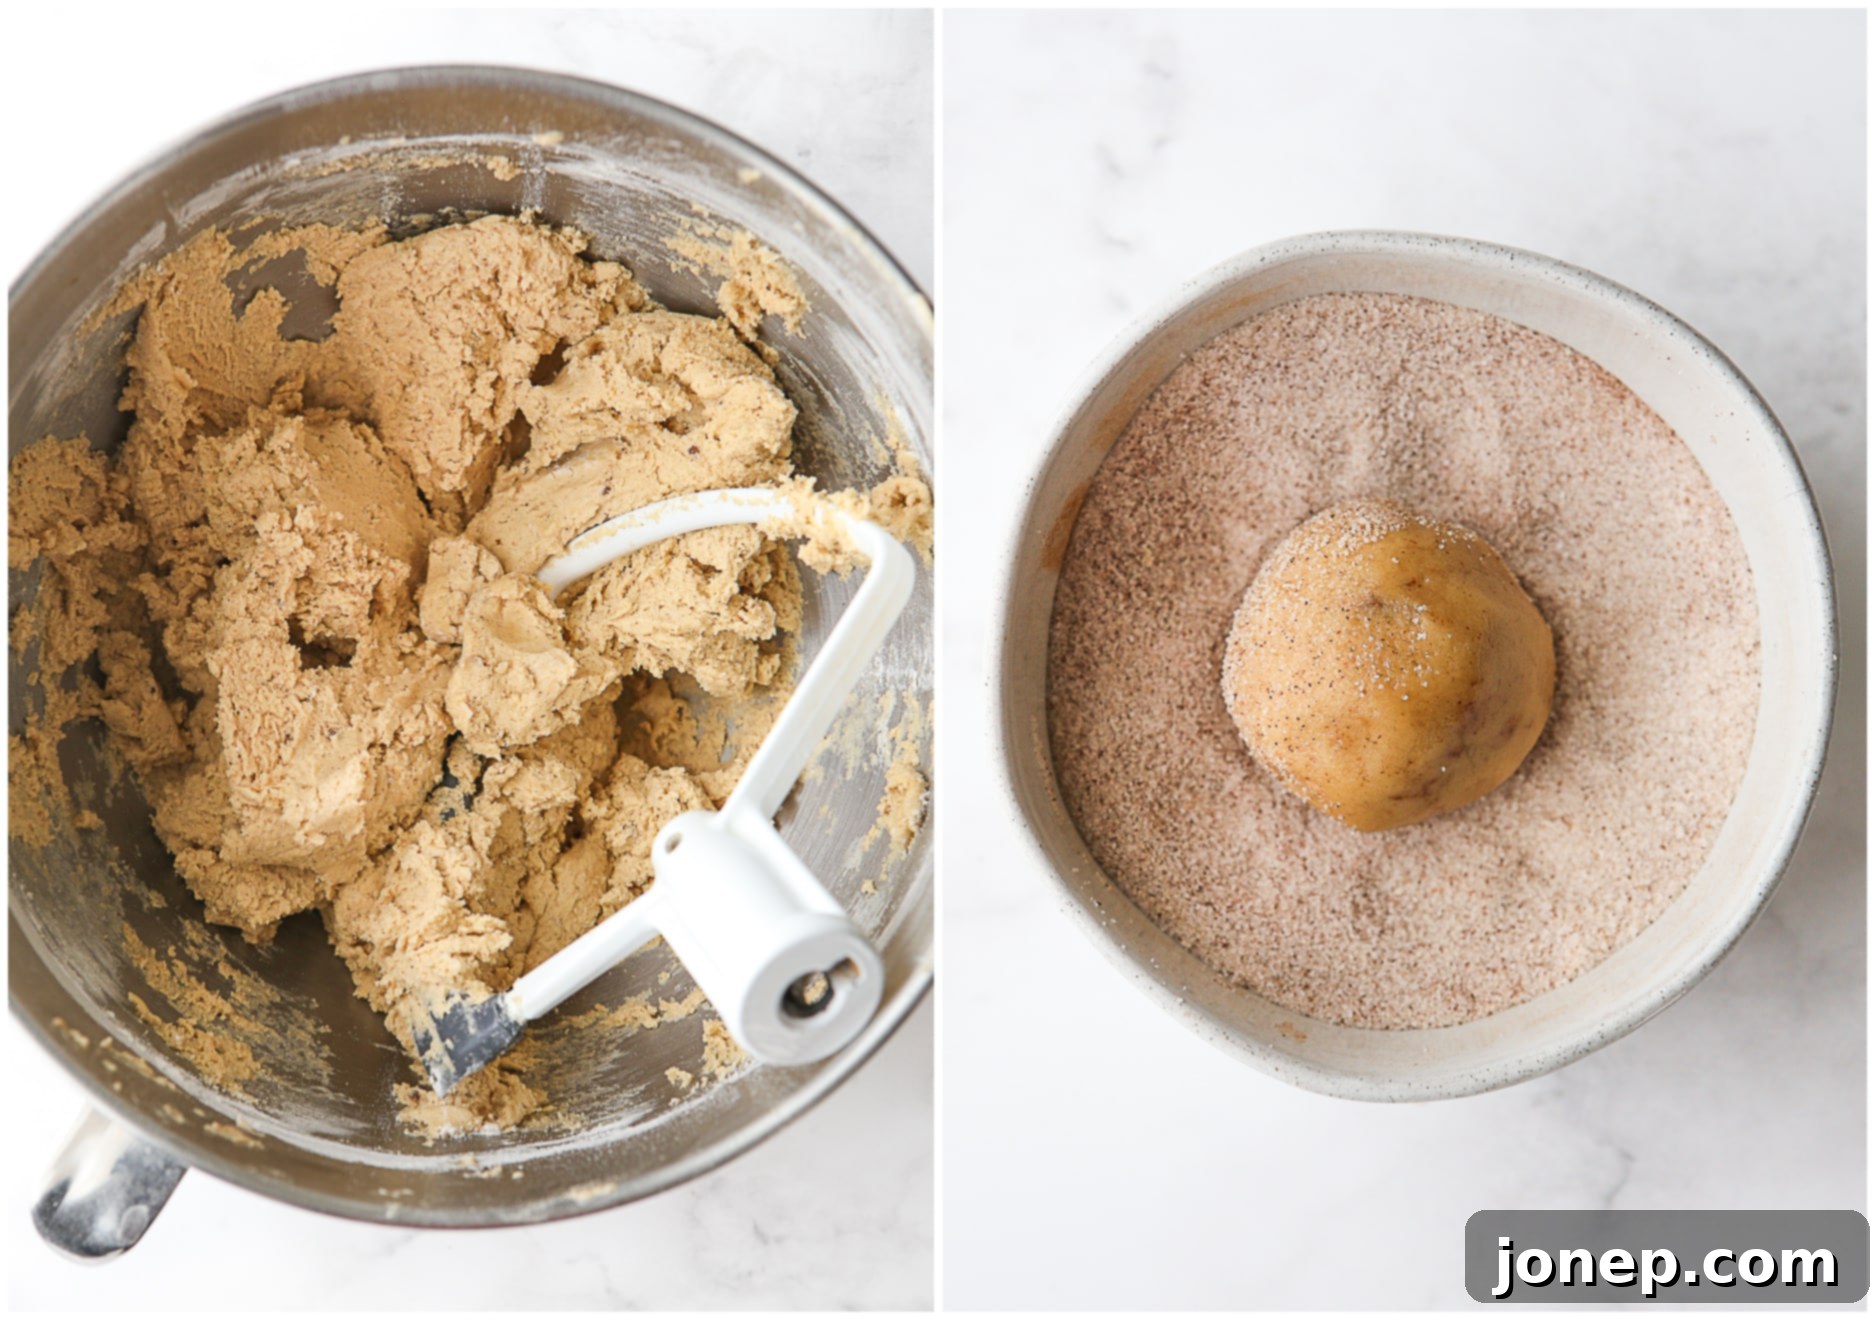
- Cream Butter and Sugars: In a large mixing bowl, or the bowl of a stand mixer fitted with a paddle attachment, combine the softened brown butter with both granulated sugar and packed brown sugar. Beat them together on medium-high speed with an electric mixer until the mixture is light, fluffy, and creamy. This process usually takes about 2-3 minutes, and it’s essential for incorporating air, which contributes significantly to the cookies’ wonderfully soft texture.
- Incorporate Wet Ingredients: Reduce the mixer speed to low. Add the eggs one at a time, mixing well after each addition until fully incorporated. Take your time with this step to ensure the eggs are thoroughly blended into the butter mixture. Scrape down the sides of the bowl as needed to ensure everything is evenly combined. Finally, stir in the vanilla extract, ensuring its warm aroma is evenly distributed throughout the mixture.
- Add Dry Ingredients: In a separate, medium-sized bowl, whisk together the all-purpose flour, cream of tartar, baking soda, and salt. This ensures the leavening agents and salt are evenly distributed. Gradually add this dry mixture to the wet ingredients in the mixer bowl on low speed. Mix just until the flour streaks disappear and the dough comes together. Be extremely careful not to overmix, as overmixing can develop the gluten too much, resulting in tough, dense cookies. Stop as soon as the ingredients are combined.
- Roll in Cinnamon Sugar: In a shallow bowl (a pie plate or wide-rimmed bowl works perfectly), whisk together the granulated sugar and ground cinnamon for your iconic coating. Using a cookie scoop (a 3-tablespoon scoop for larger, bakery-style cookies, or a 1½-tablespoon scoop for smaller ones), portion out the cookie dough into uniform balls. Roll each dough ball thoroughly in the cinnamon-sugar mixture until completely coated on all sides. This step is essential for that classic snickerdoodle crunch, flavor, and visual appeal.
- Bake to Perfection: Place the coated dough balls onto a baking sheet pan lined with parchment paper, ensuring there’s enough space (about 2 inches) between each cookie for spreading. Preheat your oven to 350°F (175°C). Bake for 7-9 minutes for smaller cookies, or 10-11 minutes for larger cookies. You’ll know they’re ready when the edges are lightly golden brown and the tops have just started to crack. The centers might still look slightly soft, but they will set as they cool, ensuring a perfectly soft-baked interior!
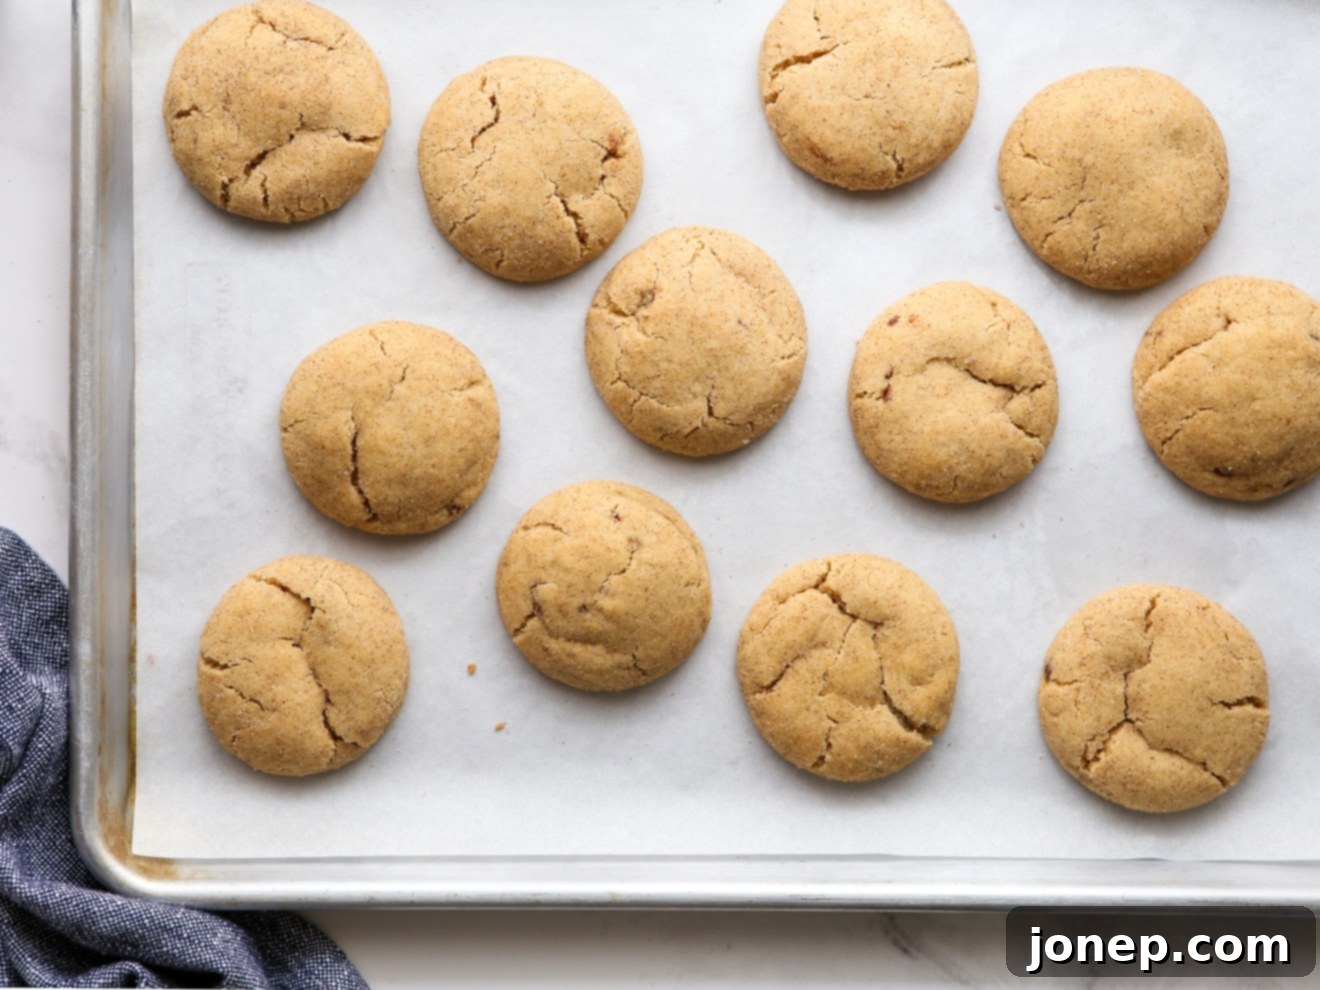
Once baked, allow them to cool on the baking sheet for a few minutes (about 5) before carefully transferring them to a wire rack to cool completely. Then, it’s time to indulge in your warm, fragrant, and utterly delicious brown butter snickerdoodles – a treat you won’t soon forget!
Expert Tips for Baking Flawless Cookies
Achieving bakery-quality cookies at home is entirely possible with a few insider tips and tricks. Here’s how to ensure your brown butter snickerdoodles turn out perfectly every time, from preparation to storage:
- Butter Temperature is Key: For the best texture and to prevent your cookies from spreading too much, your brown butter needs to be at the right temperature when you mix the dough. It should be solid but softened to room temperature – meaning a gentle press with your finger will leave an indent, but your finger won’t sink straight through. It should feel cool to the touch but yield easily. If it’s too warm, shiny, or at all melted, the cookies might spread excessively thin in the oven. Patience here truly pays off, so ensure you plan enough time for the butter to chill and then naturally soften.
- Prepare Brown Butter in Advance: Don’t feel pressured to make brown butter and bake cookies all on the same day. Brown butter is incredibly versatile and stores wonderfully. You can prepare a batch in advance, cool it, and keep it sealed in an airtight container in the refrigerator for several weeks, or even freeze it for many months. Just remember to bring it back to room temperature and soft consistency before using it in this recipe. This makes cookie baking much more efficient and less stressful!
- Salted vs. Unsalted Butter: While most baking recipes strictly call for unsalted butter to control the salt content, I personally love using good quality salted butter for these snickerdoodles. The subtle saltiness wonderfully enhances the nutty, caramel notes of the brown butter and expertly balances the sweetness of the cookie, adding an extra layer of flavor complexity. Feel free to use either, but give salted a try if you’re feeling adventurous – you might discover a new favorite!
- Accurate Flour Measurement: This is one of the most common pitfalls in baking and can drastically affect the outcome. Too much flour can lead to dry, dense, and crumbly cookies, while too little can make them spread too thin. Always measure your flour correctly! I highly recommend using the “spoon and level” method: gently spoon flour into your measuring cup until it’s overflowing, then level it off with the back of a knife without packing it down. For ultimate precision, especially for consistent results, use a kitchen scale to measure by weight – it’s the most accurate method. Learn more about measuring flour correctly here.
- Parchment Paper is Your Friend: Lining your baking sheets with parchment paper or a silicone baking mat is a game-changer for cookie baking. It ensures even baking, prevents sticking (meaning no broken cookies!), and makes for super easy cleanup. For convenience and a smooth baking process, consider investing in pre-cut parchment sheets – they fit standard baking pans perfectly and save you time.
- Choosing the Right Cookie Scoop: The size of your cookie scoop directly impacts the size, thickness, and baking time of your cookies. For those impressive, show-stopping cookies with a satisfying chew and a substantial presence, I use a large cookie scoop (approximately 3 tablespoons). If you prefer smaller, more delicate cookies that are perfect for sharing or a lighter treat, a medium cookie scoop (1½ tablespoons) works wonderfully. Consistent sizing also ensures even baking across the batch.
- Shape for Perfection: Don’t fret if your freshly baked cookies come out of the oven looking a little uneven or misshapen. While they’re still hot and pliable (immediately after coming out of the oven), use the back of a spatula or a round cookie cutter (slightly larger than your cookie) to gently push and swirl the edges back into a perfect circle. This simple trick makes a huge difference in their presentation, giving them that professional, rounded edge. Discover more tips for baking picture-perfect cookies.
- Freezing Cookie Dough: For fresh-baked cookies on demand anytime, freezing cookie dough is a brilliant solution. Portion the dough balls and roll them in cinnamon sugar as usual, then place them on a baking sheet and freeze until solid. Once frozen, transfer them to an airtight freezer-safe bag or container. When a craving strikes, simply bake them from frozen (you might need to add a minute or two to the baking time) for instant gratification. It’s like having a homemade cookie shop right in your freezer! Learn exactly how to freeze cookie dough here.
- Storage: These brown butter snickerdoodles are best enjoyed fresh, ideally within a few days of baking, when their texture is at its peak. To maintain their delightful softness and flavor, store them in an airtight container at room temperature. They will keep well for up to a week, but chances are, they won’t last that long!
More Comforting Cookie Recipes to Explore
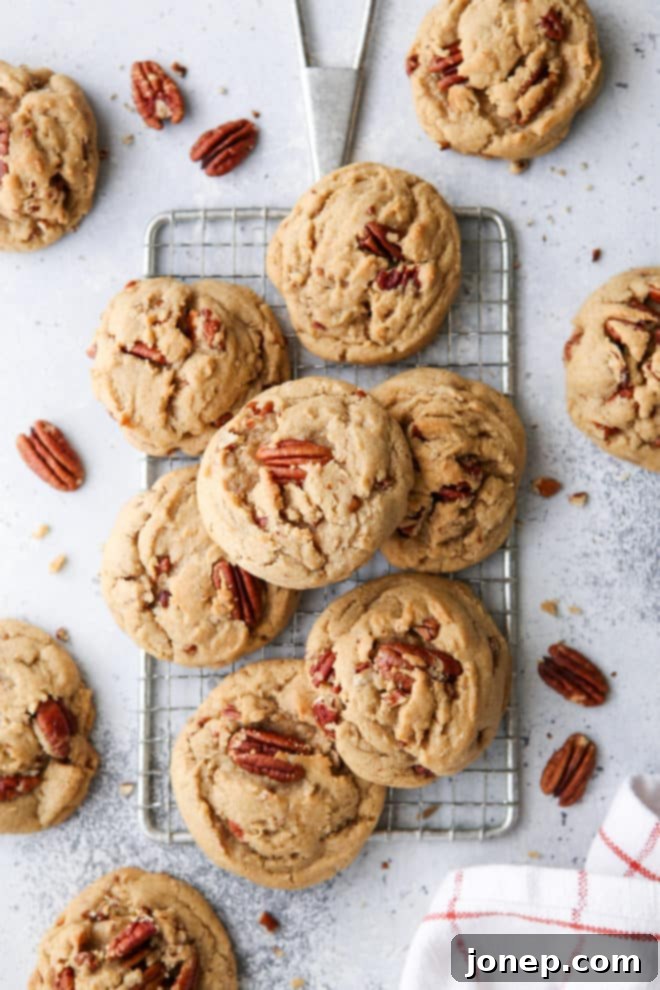
If you’ve fallen in love with the comforting warmth and exquisite flavors of these brown butter snickerdoodles, you’ll surely enjoy exploring other cozy cookie recipes that evoke similar feelings of home, nostalgia, and pure indulgence. Expand your baking repertoire with these delightful treats, perfect for any occasion:
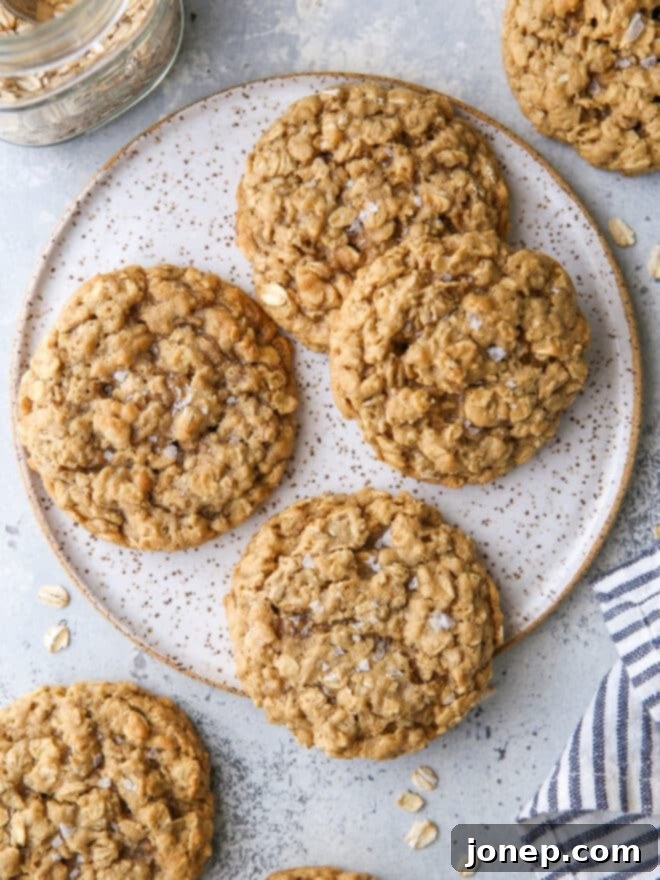
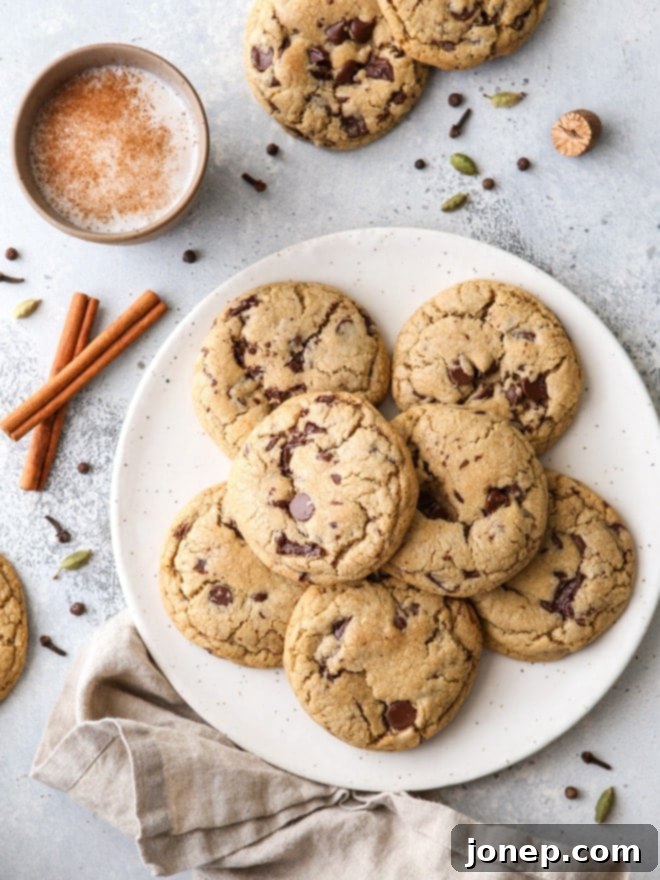
Get the Full Recipe

★★★★★
Brown Butter Snickerdoodles
Soft-baked snickerdoodle cookies made with nutty brown butter are exactly what you should be baking this fall. I promise you’ll love these brown butter snickerdoodles!
Pin Recipe
Leave a Review
Ingredients
- 1 cup (226 grams) unsalted butter
- ½ cup (100 grams) granulated sugar
- ½ cup (105 grams) packed light or dark brown sugar
- 2 large eggs
- 1 teaspoon vanilla
- 2 ¾ cups (330 grams) all-purpose flour
- 2 teaspoons cream of tartar
- ½ teaspoon baking soda
- ½ teaspoon salt
Cinnamon-Sugar Mixture
- ½ cup (100 grams) granulated sugar
- 2 teaspoons ground cinnamon
Instructions
- Melt butter in a small saucepan over medium-low heat. Continue to cook, stirring occasionally, until butter turns deep brown. Watch it closely to make sure it doesn’t burn. Remove from heat, transfer to a bowl, and chill in the fridge until solid. When ready to make the cookies, remove butter from fridge and let it come to room temperature for 20-30 minutes.
- Preheat oven to 350°F (175°C). Line a sheet pan with parchment paper.
- In the bowl of a stand mixer fitted with a paddle attachment, or in a bowl with a hand-held mixer, beat the softened brown butter, granulated sugar, and brown sugar on medium-high speed until light and creamy. Add the eggs, one at a time, mixing after each. Then add the vanilla extract.
- In another bowl, combine the flour, cream of tartar, baking soda, and salt. Add this dry mixture to the wet ingredients in the mixer and mix on low speed until just combined. Be careful not to overmix.
- Combine granulated sugar with the ground cinnamon in a shallow bowl to create the cinnamon-sugar mixture. Portion the dough into rounded tablespoons for small cookies, or use a large 3 Tbsp cookie scoop for larger cookies. Roll each dough ball thoroughly in the cinnamon sugar mixture until completely coated.
- Place the coated dough balls on the prepared sheet pan, leaving adequate space between them. Bake for 7-9 minutes for small cookies, or 10-11 minutes for larger cookies, or until the edges are lightly golden brown and the tops show slight cracks.
- Let cookies cool on the pan for 5 minutes before transferring them to a wire rack to cool completely.
- Store tightly in an airtight container at room temperature for up to 3 days.
Video
Watch the step-by-step video guide below to see how easy it is to make these delicious brown butter snickerdoodles!

Video: Brown Butter Snickerdoodles Recipe Tutorial
Nutrition Information (per cookie)
- Calories: 160kcal
- Carbohydrates: 20g
- Protein: 2g
- Fat: 8g
- Saturated Fat: 5g
- Polyunsaturated Fat: 1g
- Monounsaturated Fat: 2g
- Trans Fat: 1g
- Cholesterol: 34mg
- Sodium: 79mg
- Potassium: 70mg
- Fiber: 1g
- Sugar: 9g
- Vitamin A: 256IU
- Calcium: 10mg
- Iron: 1mg
Have you tried this recipe? I’d love to hear about it! Leave a rating and review below, or take a photo and tag it on Instagram @completelydelicious with #completelydelicious.
Recipe originally published September 2014.
