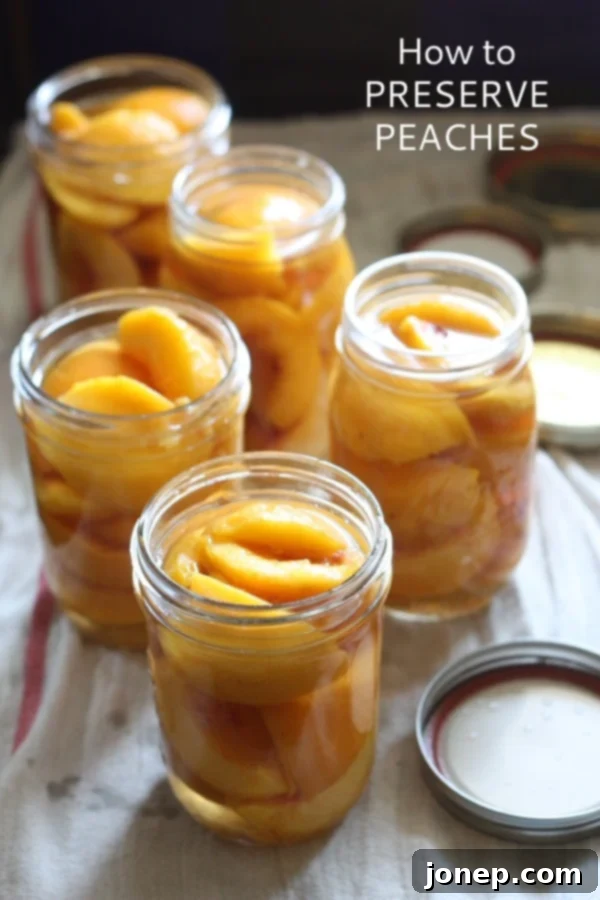
How to Can Peaches: Your Ultimate Guide to Preserving Summer’s Sweetness Year-Round with Water Bath Canning
Imagine savouring the succulent taste of perfectly ripe summer peaches, even when snow blankets the ground outside. With the time-honored tradition of home canning, this delightful experience is not just a dream but an easily achievable reality! This comprehensive, step-by-step tutorial will empower you to master the rewarding process of preserving fresh peaches using a simple water bath canner. You’ll discover how surprisingly straightforward it is to capture that vibrant, sun-kissed flavor and tender texture with just three essential ingredients and a few basic kitchen tools. Prepare to bid farewell to bland, store-bought canned peaches and welcome the superior taste and immense satisfaction of homemade!
Growing up, the distinctive aroma of peaches simmering and the rhythmic clinking of jars were an annual symphony in our kitchen. My mother meticulously “put up” peaches every fall, a process that, in my young mind, seemed an intricate and formidable culinary feat. Looking back, I can recall the kitchen being completely consumed by the canning process, leading me to assume it must be incredibly difficult. However, as I’ve embraced the art of home canning myself, I’ve come to a liberating realization: while it can certainly be a bit messy and demands a dedicated block of time, it is, in fact, remarkably easy and entirely doable. The perceived difficulty often melts away with a clear, guided approach.
The reward for this small investment of time and effort is truly unparalleled: a pantry brimming with jars of beautiful, seasonal fruit, ready to be enjoyed long after the summer sun has faded. There is an undeniable and unique joy in cracking open a jar of brightly colored, homemade canned summer peaches in the depths of January, instantly transporting your senses back to warm, sun-drenched orchards and the peak of harvest season. The superior flavor, the control over ingredients, and the sheer satisfaction of self-sufficiency make this endeavor, in my humble opinion, well worth the effort and a small price to pay for year-round access to such delicious, wholesome fruit.
In this detailed and beginner-friendly guide, I’m going to walk you through the entire peach canning process, step by step, from selecting the perfect fruit to sealing your jars. My goal is to show you just how accessible and achievable this traditional food preservation technique is. If you have access to a bounty of fresh, ripe peaches and a large pot, you’re more than halfway there. So, set aside a few dedicated hours, gather your enthusiasm, and let’s get to work preserving the sweet essence of summer!
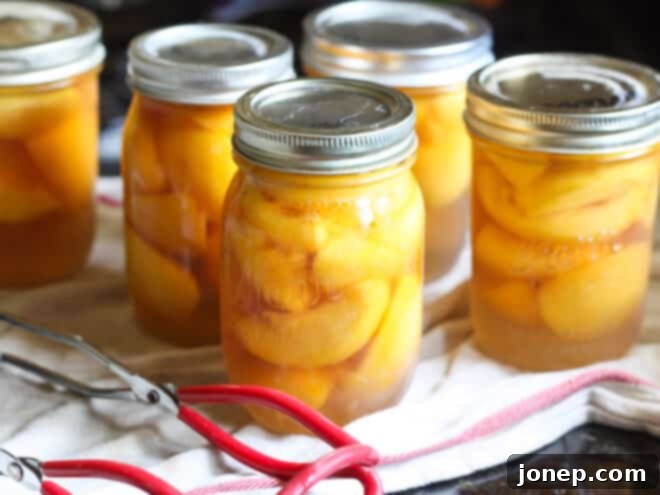
Table of Contents
- Why Can Peaches at Home? Benefits of Preserving Your Own
- Choosing the Best Peaches for Successful Canning
- Essential Equipment for Water Bath Canning Peaches
- Key Ingredients You’ll Need for Canned Peaches
- How to Can Peaches: Step-by-Step Tutorial
- Step 1: Prep Jars and Water Bath Canner
- Step 2: Prepare Your Fresh Peaches
- Step 3: Make Syrup and Fill Jars with Peaches
- Step 4: Process Peaches in a Water Bath
- How to Store Canned Peaches Properly for Long-Term Enjoyment
- Troubleshooting & Expert Tips for Perfect Canned Peaches
- More Home Canning Recipes to Explore
- Get the Full Recipe for Canned Peaches
Why Can Peaches at Home? Benefits of Preserving Your Own
The allure of canning peaches extends far beyond simply enjoying a seasonal fruit year-round. There are numerous compelling advantages to embracing home food preservation:
- Unmatched Flavor and Quality: Homemade canned peaches boast a taste that far surpasses any commercially available option. You control the ripeness, the sweetness level, and the overall quality of the fruit, ensuring a product bursting with natural, vibrant flavor that tastes truly fresh.
- Control Over Ingredients: When you can your own peaches, you eliminate the added preservatives, artificial flavors, and often excessive sugars found in many store-bought goods. You can tailor the syrup to your exact preference – light, medium, or heavy – or even experiment with natural sweeteners like honey, ensuring a healthier and more personalized product.
- Cost Savings and Food Waste Reduction: During peak peach season, fresh peaches are often abundant and affordable. Canning allows you to capitalize on these deals, significantly reducing your grocery bill over time. It’s also an excellent way to utilize a bountiful harvest from your garden or a farmers’ market, preventing delicious fruit from going to waste.
- Self-Sufficiency and Empowerment: There’s immense satisfaction in knowing you’ve provided healthy, delicious food for your family. Home canning connects you to traditional foodways and empowers you with a valuable skill, fostering a sense of independence and preparedness.
- Health Benefits: By controlling the ingredients, you can ensure your canned peaches are free from unwanted additives, offering a wholesome and nutritious addition to your diet. They retain many of their vitamins and minerals, providing a healthy fruit option throughout the year.
Choosing the Best Peaches for Successful Canning
The foundation of delicious canned peaches lies in selecting the right fresh fruit. Here’s what to keep in mind when you’re at the orchard or market:
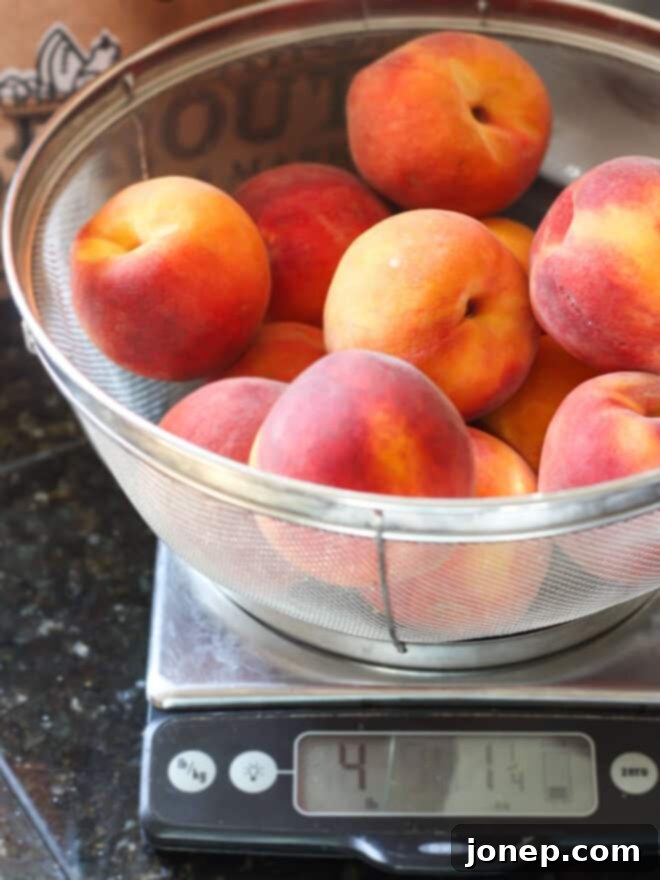
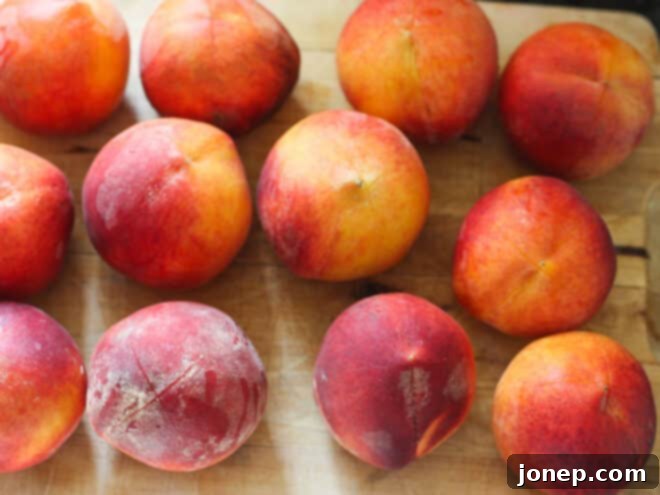
- Variety Matters: Always prioritize fresh, ripe yellow freestone peaches. The term “freestone” is crucial because the flesh of these peaches separates cleanly and easily from the pit, making the peeling and pitting process much less laborious. Avoid “cling peaches,” where the flesh adheres stubbornly to the pit. While beautiful, white peaches are generally not recommended for water bath canning due to their naturally lower acid content, which can pose safety concerns for preservation. Stick to yellow varieties for reliability.
- Optimal Ripeness: Your peaches should be ripe but firm to the touch. They should yield slightly when gently squeezed but should not be soft, mushy, or bruised. Overripe peaches tend to become stringy and lose their desirable texture during processing, while underripe peaches lack the full flavor and sweetness you want to preserve. Aim for that perfect sweet spot – fragrant, juicy, and with a slight give.
- Source Quality: The best peaches for canning often come from local farmers’ markets, roadside stands, or directly from an orchard. Purchasing locally ensures you’re getting fruit that has been picked at its peak of freshness and hasn’t endured long transportation, which can diminish flavor and quality.
- Inspect for Blemishes: Choose peaches free from significant blemishes, soft spots, or signs of mold. A few small imperfections are fine, as you’ll be peeling them, but avoid anything that indicates spoilage.
Essential Equipment for Water Bath Canning Peaches
Having the correct tools on hand is paramount for a smooth, safe, and successful canning experience. Don’t worry, most items are standard kitchen equipment or readily available:
- Pint or Quart Jars, Lids, and Rings: Always use glass canning jars specifically designed for home preservation, such as Mason jars. Pint (approximately 500ml) and quart (approximately 1 liter) sizes are ideal for peaches. For safety and to ensure a proper vacuum seal, always use new canning lids for each batch. The metal screw bands (rings) can be reused as long as they are free from rust and damage.
- Jar Lifter: This specialized tong-like tool is absolutely indispensable. It allows you to safely and securely grip and lift hot jars in and out of boiling water, preventing burns and minimizing the risk of dropping a full jar.
- Wide-Mouth Funnel: A wide-mouth funnel is a game-changer for filling jars efficiently and cleanly. It helps guide peaches and hot syrup into the jars without spilling, which is crucial for keeping jar rims clean and ensuring a reliable seal.
- Water Bath Canner or Very Large Pot: A dedicated water bath canner usually includes a rack to keep jars off the bottom and prevent them from rattling and breaking. If you don’t have a canner, any very large stockpot with a tight-fitting lid that can accommodate your jars, fully submerged in at least one to two inches of boiling water, will work. Ensure you place a rack or even a few old canning rings at the bottom to prevent direct contact between the jars and the heat source.
- Other Useful Tools: A large bowl for an ice bath, another large bowl for the lemon-water anti-browning solution, a slotted spoon, a small paring knife, a clean dish towel (or two!), and a kitchen timer are all incredibly helpful to have at the ready.
Key Ingredients You’ll Need for Canned Peaches
You’ll be pleasantly surprised at how few ingredients are required to create these delightful and long-lasting preserves. The true star, of course, is the fresh peaches themselves, with the other ingredients playing supporting but crucial roles:
- Fresh Ripe Yellow Peaches: As emphasized above, select firm, ripe “freestone” yellow peaches. These are the heart of your canning project. Avoid white peaches due to their lower acidity.
- Sugar: Granulated sugar is used to create the syrup, which serves multiple purposes: it acts as a packing liquid, helps preserve the peaches’ vibrant color and firm texture, and contributes to the overall sweetness. You have the flexibility to customize the sweetness level by preparing a light, medium, or heavy syrup. (Refer to the recipe notes section below for specific sugar-to-water ratios for each syrup type.) For those seeking an alternative flavor profile, honey can also be successfully used in place of sugar.
- Bottled Lemon Juice: This is a critically important ingredient for two primary reasons:
- Prevents Browning: During the preparation phase, lemon juice acts as an antioxidant, preventing the peeled peaches from oxidizing and turning an unappetizing brown color.
- Ensures Safety: More importantly, the acidity from bottled lemon juice is essential for safe water bath canning of peaches. Peaches are naturally a low-acid fruit, and adding a measured amount of bottled lemon juice raises their overall acidity to a level that inhibits the growth of harmful bacteria, like Clostridium botulinum, during the canning process. Always use bottled lemon juice, as its acidity level is standardized and reliable, unlike fresh lemon juice which can vary significantly.
- Water: Essential for both preparing the sugar syrup and for the water bath processing itself.
How to Can Peaches: Step-by-Step Tutorial
This tried-and-true method for canning peaches has been refined over many years and is fully compliant with the rigorous safety guidelines established by the National Center for Home Food Preservation (NCHFP). Following these instructions meticulously is key to ensuring both the safety and deliciousness of your homemade canned peaches. Remember, home canning is a blend of culinary art and precise science, so careful adherence to tested recipes and guidelines is absolutely vital for success.
Step 1: Prep Jars and Water Bath Canner
- Gather Everything You Need: Before diving into the peaches, take a moment to set up your canning station. Ensure all your canning equipment is sparkling clean and organized. This includes your glass canning jars (pint or quart), new lids, screw bands (rings), your jar lifter, wide-mouth funnel, and the water bath canner. A well-organized workspace makes the entire process smoother and less stressful.
- Sterilize Jars and Lids: While current USDA guidelines state that jars processed for 10 minutes or more in a boiling water bath do not strictly require pre-sterilization, many experienced canners still prefer this step for extra peace of mind and for shorter processing times. Place your clean glass jars onto the rack in your water bath canner, ensuring they are fully submerged in water. Bring the water to a rolling boil and allow the jars to simmer for at least 10 minutes. Simultaneously, place your new canning lids and clean screw bands in a separate small saucepan filled with simmering (not boiling) water to keep them hot and pliable. This helps ensure a better seal. Carefully remove the hot, sterilized jars from the canner using a jar lifter and transfer them to a clean kitchen towel or a wire rack to drain, keeping them warm until ready to fill.
- Get Water Bath Ready: Your water bath canner should already be hot from sterilizing your jars. Reduce the heat to low to maintain a warm temperature, ready for the filled jars. Ensure the rack is in place at the bottom of the canner.
Step 2: Prepare Your Fresh Peaches
- Start with Fresh, Ripe Peaches: Reconfirm that your selected peaches are firm, ripe, and of the freestone yellow variety. The quality of your raw ingredients directly translates to the quality of your preserved product.
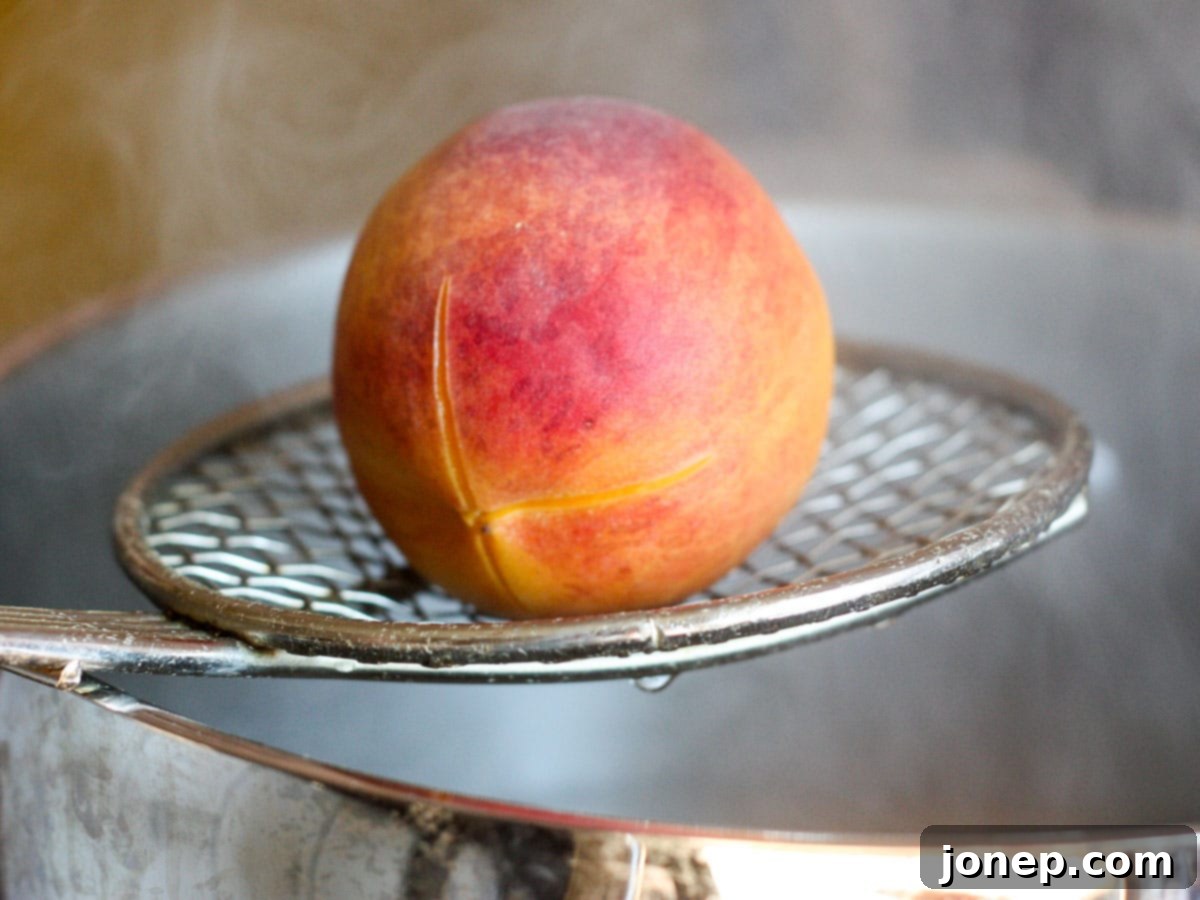
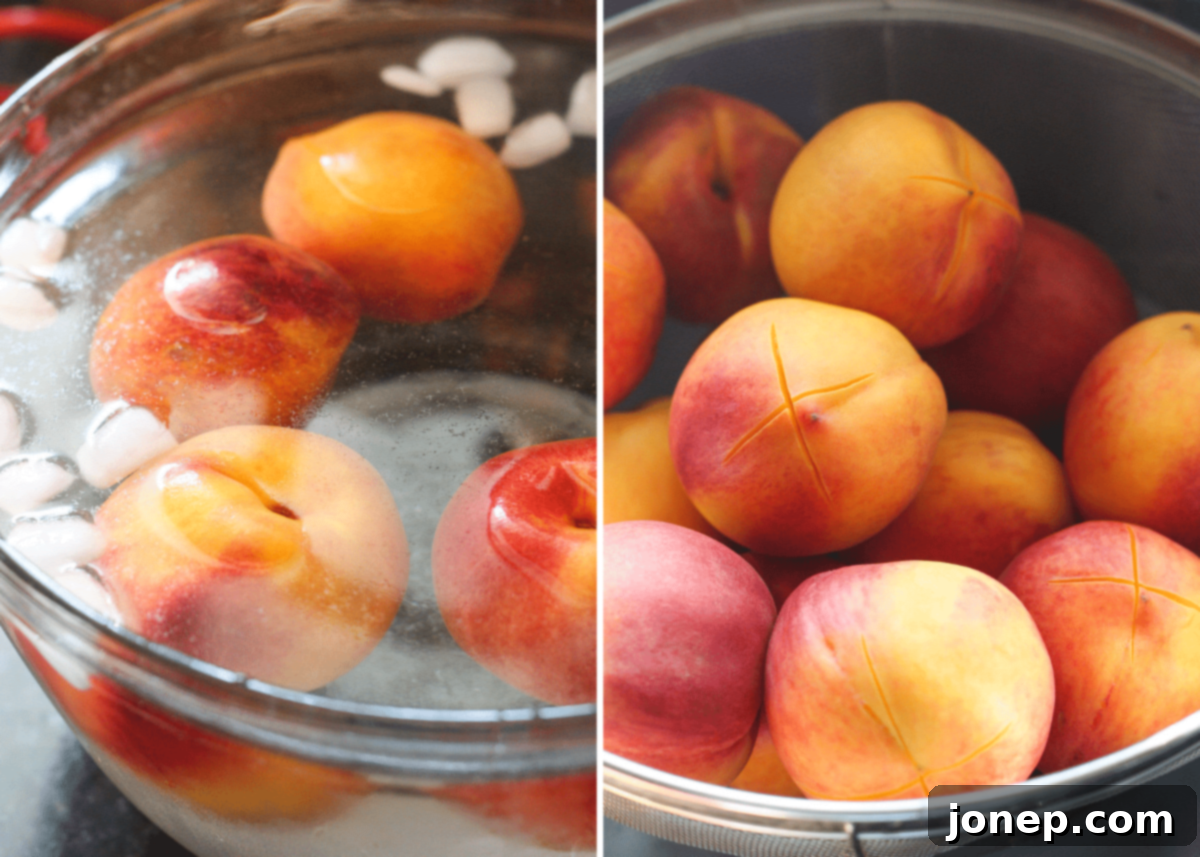
- Carve an X into the Bottom of the Peaches: Using a small paring knife, make a shallow “X” cut on the blossom end (the bottom, opposite the stem) of each peach. This cut should only score the skin, not deep into the fruit’s flesh. This simple but effective technique helps the skin to loosen and peel off effortlessly after blanching.
- Quickly Blanch Peaches in Hot Water: Carefully immerse a few peaches at a time into a large pot of rapidly boiling water. Allow them to blanch for precisely 30 to 60 seconds. The purpose here is to loosen the skin and briefly halt enzymatic activity, not to cook the peach itself. Over-blanching will result in soft, mushy peaches. Remove them promptly from the boiling water using a slotted spoon.

- Immediately Transfer to Ice Water: Have a large bowl filled with ice and cold water ready. As soon as you remove the blanched peaches from the boiling water, plunge them into this ice bath. This “shocking” process immediately stops the cooking, helps further loosen the skins, and prevents them from overcooking. Allow them to cool in the ice water for a minute or two.

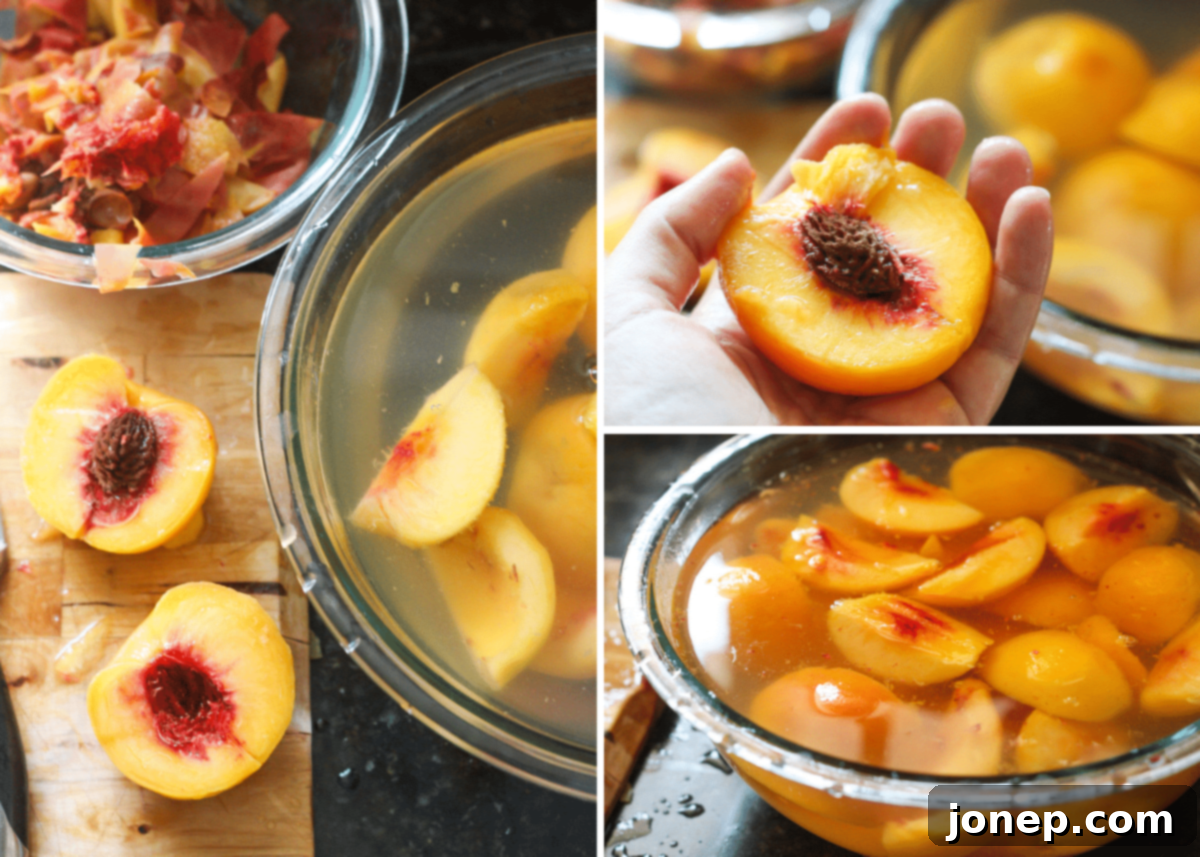
- Peel Peaches: Once the peaches are cool enough to handle, the skins should slip off with remarkable ease. Start by gently rubbing at one of the corners created by the “X” cut. If you encounter any stubborn bits of peel, a small paring knife can be used to assist, but try to avoid cutting into the delicious peach flesh.
- Prevent Peaches from Browning: As you peel each peach, immediately submerge it into a large bowl filled with cold water mixed with the measured bottled lemon juice. This acidic solution is absolutely crucial for preventing enzymatic browning, ensuring your canned peaches retain their beautiful, appetizing golden color.
- Slice the Peaches and Remove Pits: With all the peaches peeled, work with them one by one. Carefully slice each peach in half or into quarters and remove the pit. You might notice a reddish-brown flesh around the pit cavity; it’s advisable to scrape this out with a spoon or knife, as it tends to darken and become unsightly after canning. Keep any prepared peach slices submerged in the lemon-water anti-browning solution until you are ready to pack them into jars. This extra step ensures a pristine final product.

Step 3: Make Syrup and Fill Jars with Peaches
- Make Sugar Syrup: In a large saucepan, combine the water and your chosen amount of sugar (or honey, if using an alternative sweetener) according to the recipe’s instructions for a light, medium, or heavy syrup. Heat the mixture over medium heat, stirring continuously until the sugar is completely dissolved. Once dissolved, reduce the heat to low and keep the syrup warm. Pouring warm syrup over your peaches helps maintain their temperature and aids in proper processing.
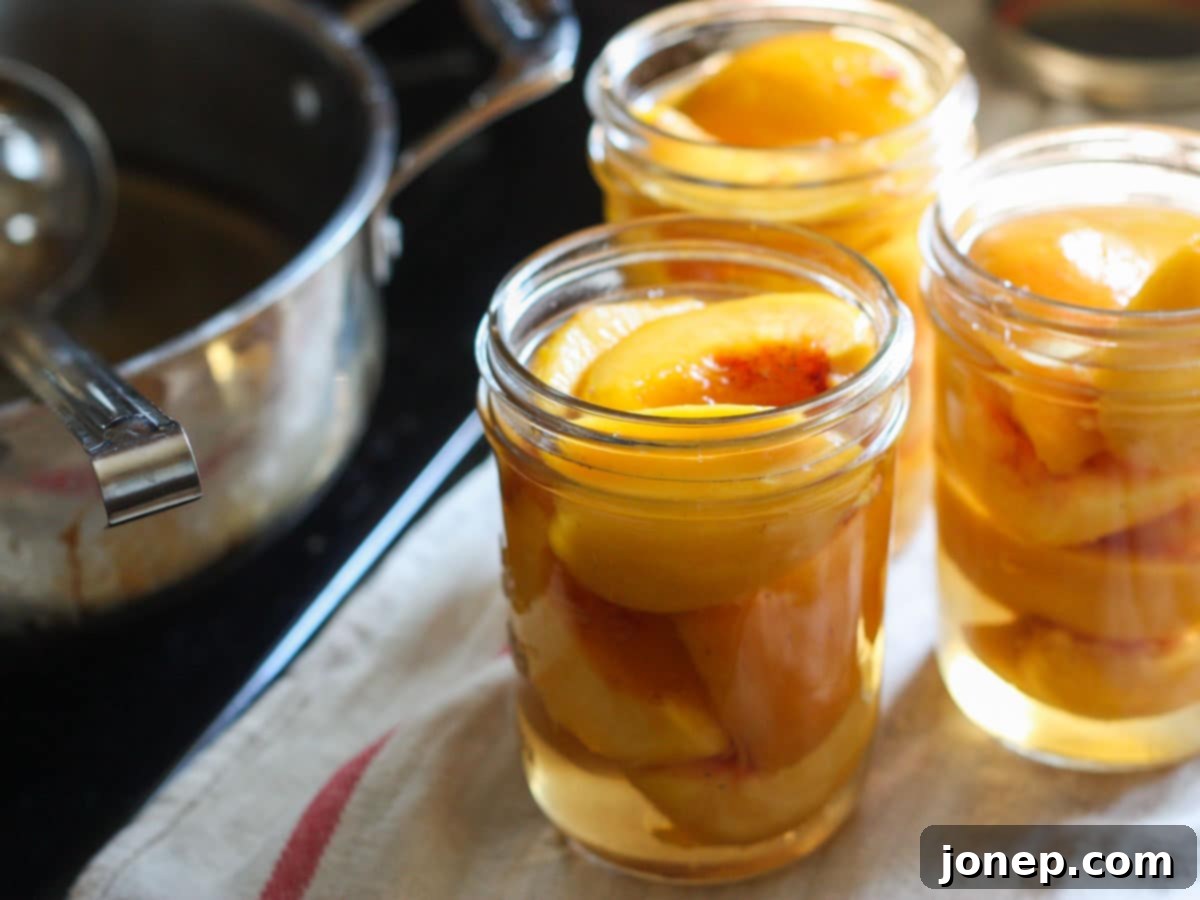
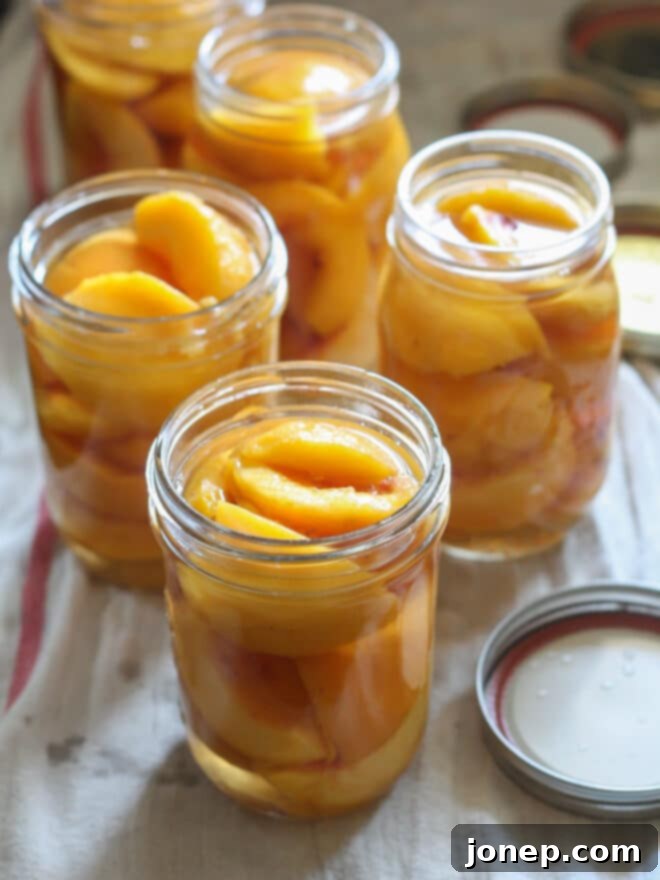
- Fill Jars with Peaches and Syrup: Carefully pack the prepared peach slices tightly into your warm, sterilized canning jars. Try to arrange them as compactly as possible, minimizing large air pockets, but without crushing the fruit. Using your wide-mouth funnel, pour the warm sugar syrup over the peaches, ensuring that all fruit is fully submerged. It is absolutely critical to leave 1/2 inch of headspace (the empty space between the top of the liquid/peaches and the rim of the jar). This headspace is essential for creating a proper vacuum seal and allows for food expansion during processing without overflowing. Gently tap the jars on the counter a few times or run a non-metallic utensil (like a plastic spatula) around the inside of the jar to release any trapped air bubbles. Add more syrup if necessary to maintain the 1/2-inch headspace.

- Cover Jars with Lids and Rings: Thoroughly wipe the rims of each jar with a clean, damp cloth. Any peach residue, syrup, or even a tiny speck of food on the rim can prevent a proper, airtight seal. Center a hot, new canning lid on top of each jar, ensuring the sealing compound makes full contact with the rim. Finally, screw on the lid ring (screw band) until it is “fingertip tight” – meaning secure, but not overly tightened. This allows air to escape during the processing, which is vital for vacuum formation.
Step 4: Process Peaches in a Water Bath
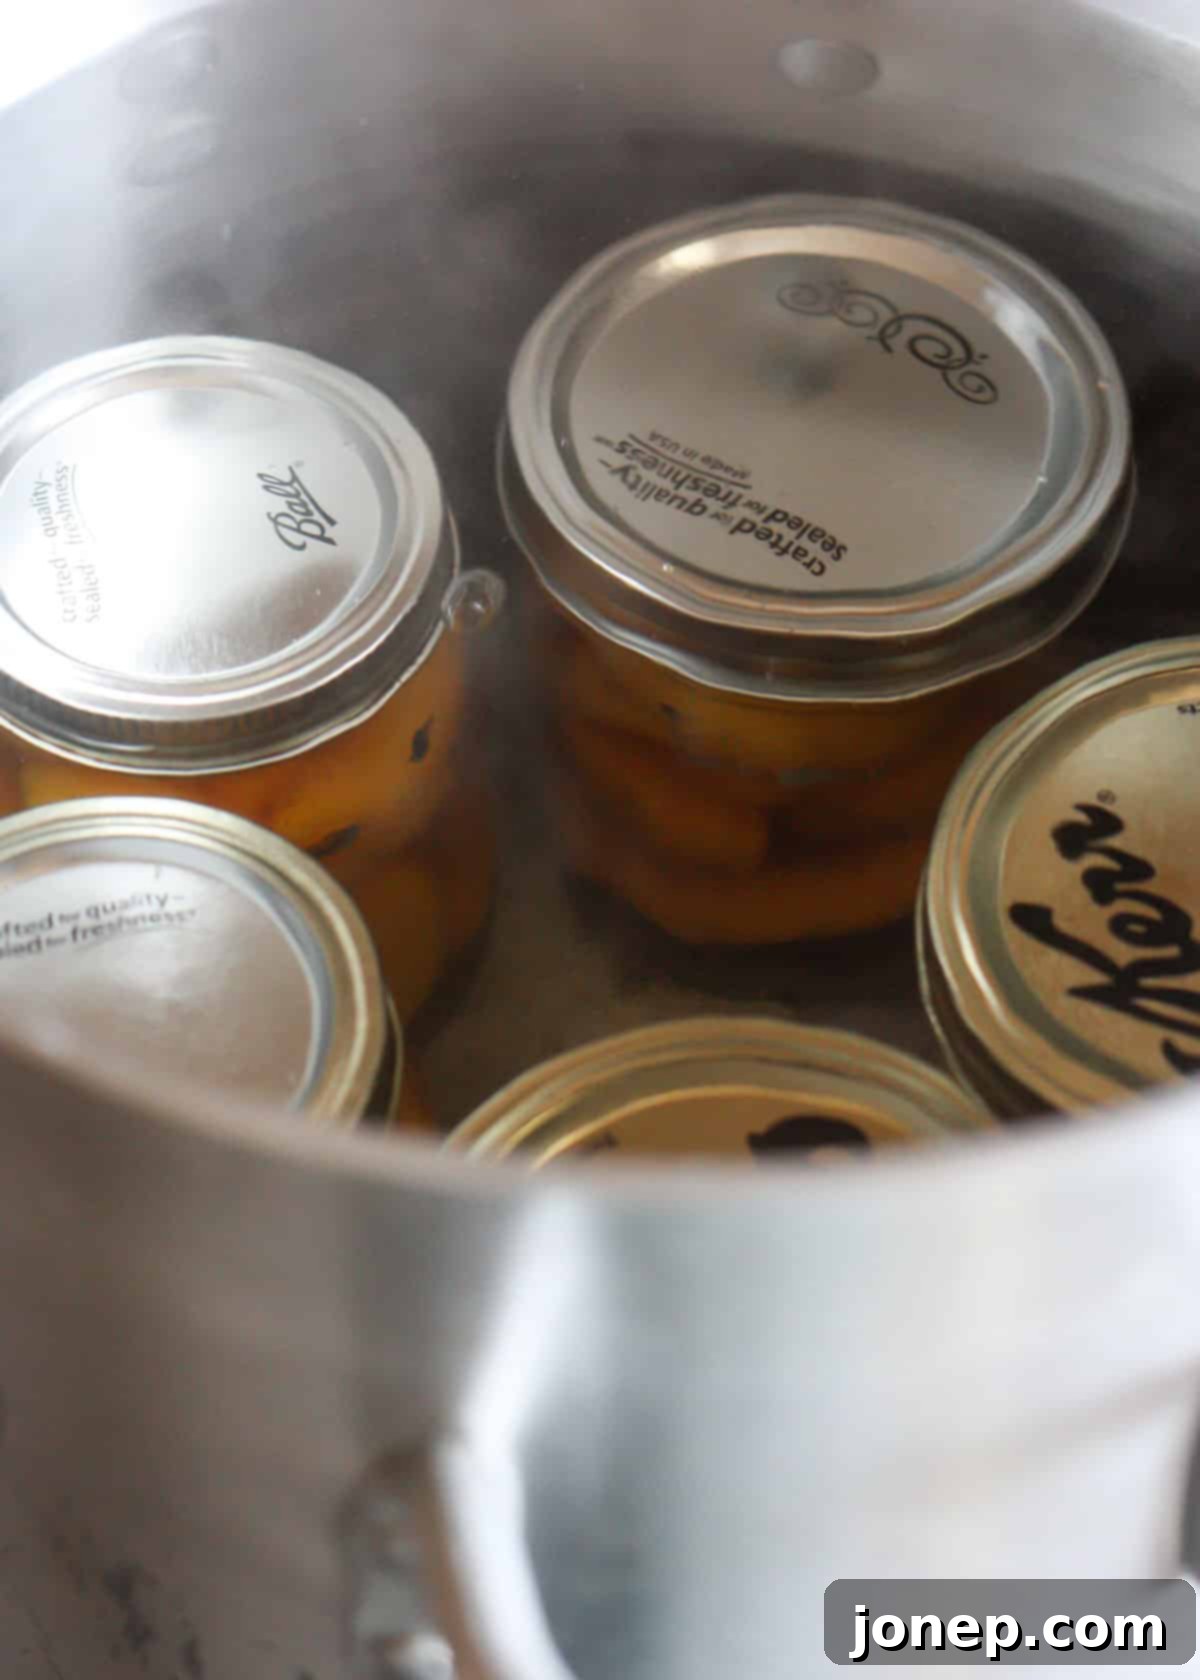
- Add Jars to Water Bath and Process: Using your jar lifter, carefully transfer the filled and lidded jars into the hot water bath canner. Place them onto the rack, ensuring they are not touching each other, the sides of the canner, or the bottom. The jars must be completely submerged by at least 1-2 inches of water. If necessary, add more hot water (already heated to be similar to the canner’s water temperature) to achieve this. Place the lid on the canner and bring the water to a vigorous, rolling boil. Once the water is boiling steadily, start your timer. Process the jars for the recommended time (typically 25 minutes for pint jars at sea level; refer to the recipe notes below for crucial altitude adjustments). It is imperative to maintain a continuous, steady boil throughout the entire processing duration. If the boil stops, restart your timer from the beginning once it resumes.

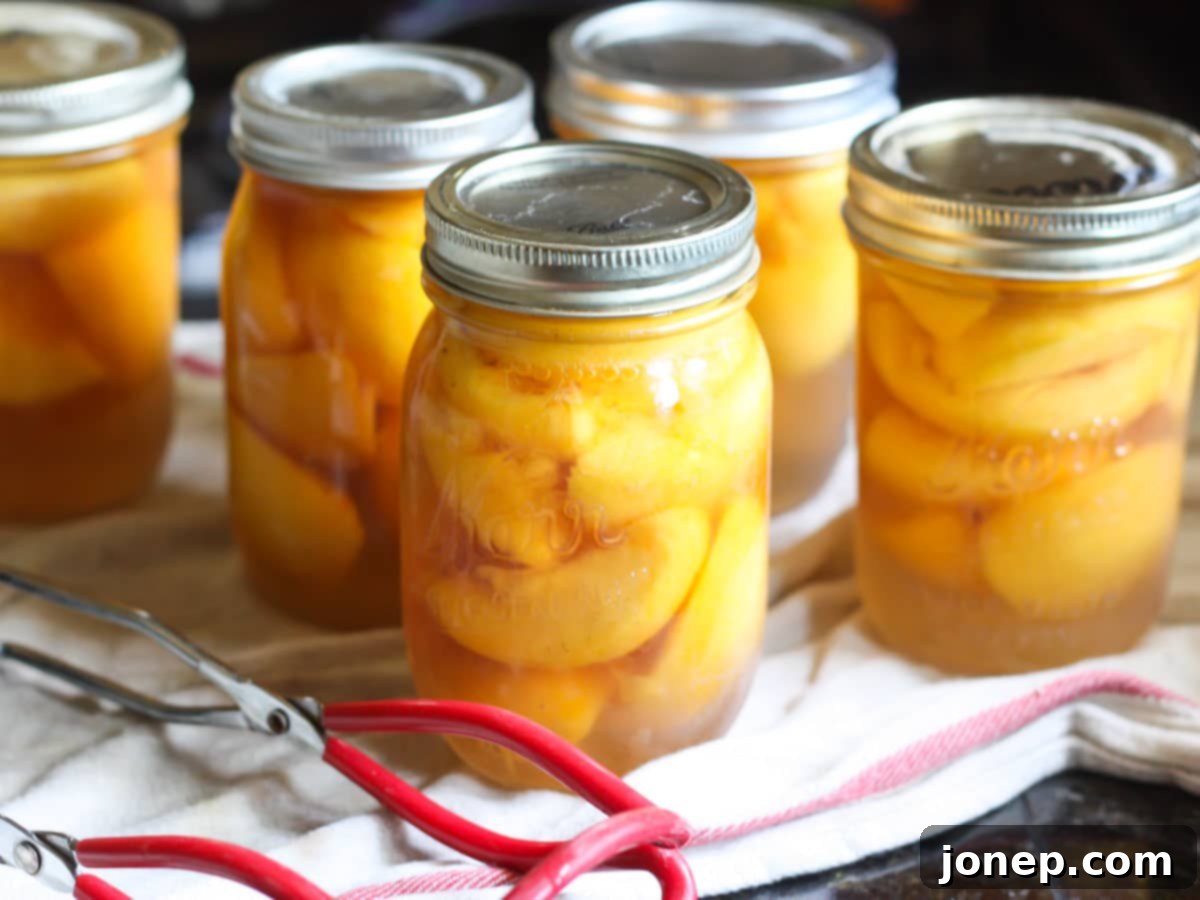
- Remove and Cool: Once the processing time is complete, carefully turn off the heat and remove the canner lid. Allow the jars to rest in the hot water for an additional 5 minutes. This helps to equalize the temperature and reduces the risk of siphoning (liquid loss from jars). After 5 minutes, carefully lift each hot jar out of the canner using your jar lifter. Transfer the jars to a clean, thick kitchen towel or a wire rack on your counter. Ensure they are spaced apart to allow air circulation and are placed in an area free from drafts or sudden temperature changes.
- Ensure Lids Are Sealed: As the jars cool down (this can take anywhere from 12 to 24 hours), you should begin to hear satisfying “pinging” sounds – a sure sign that the vacuum seals are forming! Once the jars are completely cool, check for proper seals. Press down firmly on the center of each lid. If the lid is concave (curved inward) and does not flex or “pop” when pressed, it’s properly sealed. If a lid pops up, the jar has not sealed correctly. For any unsealed jars, you have two options: either reprocess them immediately with a new lid and ring (within 24 hours of the initial canning) or store them in the refrigerator and consume their contents within 1 week. Before storing, remove the screw bands (rings) from all sealed jars. This prevents rust and allows you to easily check the seal integrity again later.

- Store Properly: Once all your jars have cooled and have confirmed proper seals, wipe them clean and label them with the contents and date of canning. Your delicious homemade canned peaches are now ready to be stored and savored all year long!
How to Store Canned Peaches Properly for Long-Term Enjoyment
For optimal quality, flavor, and safety, properly sealed jars of canned peaches should be stored in a cool, dry, and dark environment. Ideal storage temperatures typically range between 50°F and 70°F (10°C and 21°C). Excellent storage locations include basements, cool pantries, or cupboards away from appliances that generate heat. It is crucial to avoid direct sunlight or areas with extreme temperature fluctuations, as these conditions can degrade the quality of the fruit, diminish its color, and potentially compromise the integrity of the seal over time.
How long will homemade canned peaches last? If your peaches are properly preserved following safe canning practices and stored under the ideal conditions mentioned above, they will maintain their peak quality for 1 to 2 years. While they may remain safe to consume for longer periods, their texture, flavor, and nutritional value can gradually diminish after this timeframe. It is always wise to inspect jars thoroughly before consumption. Crucially, if you observe any signs of spoilage, such as visible mold growth, discoloration of the peaches (beyond normal darkening of the top layer), an unusual or off-odor, bubbling or cloudiness in the liquid, or if the jars show signs of leaking, rust, or a bulging lid, the contents have very likely gone bad and must be discarded immediately without tasting. Never take a chance with questionable home-canned food. When in doubt, throw it out!
Troubleshooting & Expert Tips for Perfect Canned Peaches
Even with careful preparation, a few common issues can arise in home canning. Here are some tips and troubleshooting advice to ensure your canned peaches turn out perfectly:
- Floating Peaches: It’s quite common for peach slices to float to the top of the jar, especially if they are very ripe or if the jars aren’t packed tightly enough. While not ideal aesthetically, it’s generally safe as long as the jars are properly sealed. To minimize floating, use slightly firmer peaches, pack them as tightly as possible without crushing them, and ensure your syrup is hot when poured over the fruit. A “hot pack” method (briefly simmering peaches in syrup before jarring) can also help.
- Altitude Adjustments: The boiling point of water decreases at higher altitudes. This means that at higher elevations, you need to increase your processing times to ensure the same level of food safety. Always consult a reliable source like the NCHFP or your local extension office for specific altitude adjustments for your area. (A quick reference is included in the recipe notes below).
- Don’t Overfill Jars: Adhering strictly to the 1/2-inch headspace rule is absolutely crucial. Too little headspace can cause the lid to buckle or force food out during processing, potentially preventing a proper seal. Conversely, too much headspace can result in inadequate air removal, leading to a weak seal or floating fruit.
- Processing in Batches: If you have a large quantity of peaches, don’t try to cram too many jars into your canner. Process in batches to ensure that all jars are fully submerged in boiling water and have adequate space for circulation.
- Labeling is Key: Once your jars are cool and confirmed to be sealed, remove the screw bands (rings). Wash and dry the jars, then clearly label them with the contents (e.g., “Canned Peaches”) and the date of canning. This helps you keep your pantry organized and ensures you consume your preserves within their prime quality window.
- Check for Syphonage: Occasionally, you might notice some syrup loss from your jars after processing (syphonage). This can happen due to uneven packing, too much headspace, or fluctuating temperatures during canning. While it’s generally safe if the jar seals properly, significant syrup loss can affect the quality and appearance of the peaches over time.
More Home Canning Recipes to Explore
Once you’ve experienced the immense satisfaction of successfully canning your own peaches, you might find yourself eager to preserve even more of summer’s bounty! Home canning is a versatile skill that opens up a world of delicious possibilities. Here are some other fantastic canning projects to expand your pantry and enjoy seasonal flavors all year long:
Get the Full Recipe for Canned Peaches
Ready to embark on your peach canning adventure? Below you’ll find the complete, detailed recipe, encompassing all the ingredients and step-by-step instructions. Follow these guidelines carefully, and you’ll soon have a pantry full of delicious homemade canned peaches to enjoy, share, and savor!
How to Can Peaches
Pin Recipe
Leave a Review
Ingredients
- 4 lbs (1.8 kg) peaches
- 1 tablespoon bottled lemon juice
- 1-2 cups (200-400 grams) granulated sugar (see Notes)
- 1 quart ((950 ml)) water
Equipment
Instructions
-
Prepare jars, lids and rings by sterilizing for a few minutes over the stove in a water bath canner or pot filled with boiling water. Transfer jars, lids and rings to a towel to drain until ready to use. Keep water warm over low heat.
-
With a paring knife, slice a shallow “x” into the bottom of each peach. Fill a large bowl with cold water and ice.
-
Bring a large pot of water to a boil. Drop a few peaches into the boiling water for 30 seconds. Use a slotted spoon to remove the peaches from the water and immediately place them in the ice water. Repeat with the remaining peaches.
-
Fill another large bowl (or reuse the bowl with ice water in it) with clean water and add the lemon juice.
-
Starting with the corners of the “x” on the bottom of the peaches, use your fingers to peel the skin off. Place the peeled peaches in the lemon water to prevent them from browning.
-
Slice the peaches and discard the pits. If desired, scrape the red flesh from the cavities (as it browns over time after canning). Return the peaches to the lemon water while you prepare the syrup.
-
In a large saucepan, combine the quart of water and sugar over medium heat and stir to dissolve the sugar. Keep warm over low heat.
-
Place the sliced peaches in sterilized jars, packing them fairly tightly. Pour the hot syrup over the peaches into the jars, leaving ½ inch head space. Wipe the tops of the jars clean and cover with lids and secure with rings.
-
Use jar lifters or tongs to transfer jars carefully into the water bath canner or pot, making sure the water fully covers the jars. Bring water to a boil, process jars for 25 minutes, making sure the jars are completely covered with boiling water the entire time. (See Notes for adjustments required if you are above sea level.)
-
Remove from the water bath and let cool completely. Check lids to see if the jars sealed correctly, they shouldn’t pop back up when pressed. Once cooled, store in a cool dry place and consume within a year for best results.
Notes
- This recipe can easily be scaled up as needed if you have more peaches you’d like to can! If needed, process in batches if all of the jars don’t fit in your water bath canner at the same time.
- The amount of sugar in this recipe can be adjusted per your preference. If you like a lighter syrup, use the smaller amount.
- In place of the sugar you can also use ½-1 cup honey in the syrup. Start with the lower amount and add more as needed, as honey has a stronger flavor.
- Processing time adjustments for higher altitude canning: 0-1,000ft—25 minutes. 1,001-3,000ft—30 minutes. 3,001-6,000ft—35 minutes. Above 6,000ft—40 minutes.
- Official safety canning information for peaches can be found on the National Center for Home Food Preservation website.
We truly hope this detailed guide empowers and inspires you to embark on your very own peach canning adventure. There’s an undeniable magic and profound satisfaction in the taste of homemade, perfectly preserved peaches. Enjoy the sweet fruits of your labor and the taste of summer sunshine all year long!
