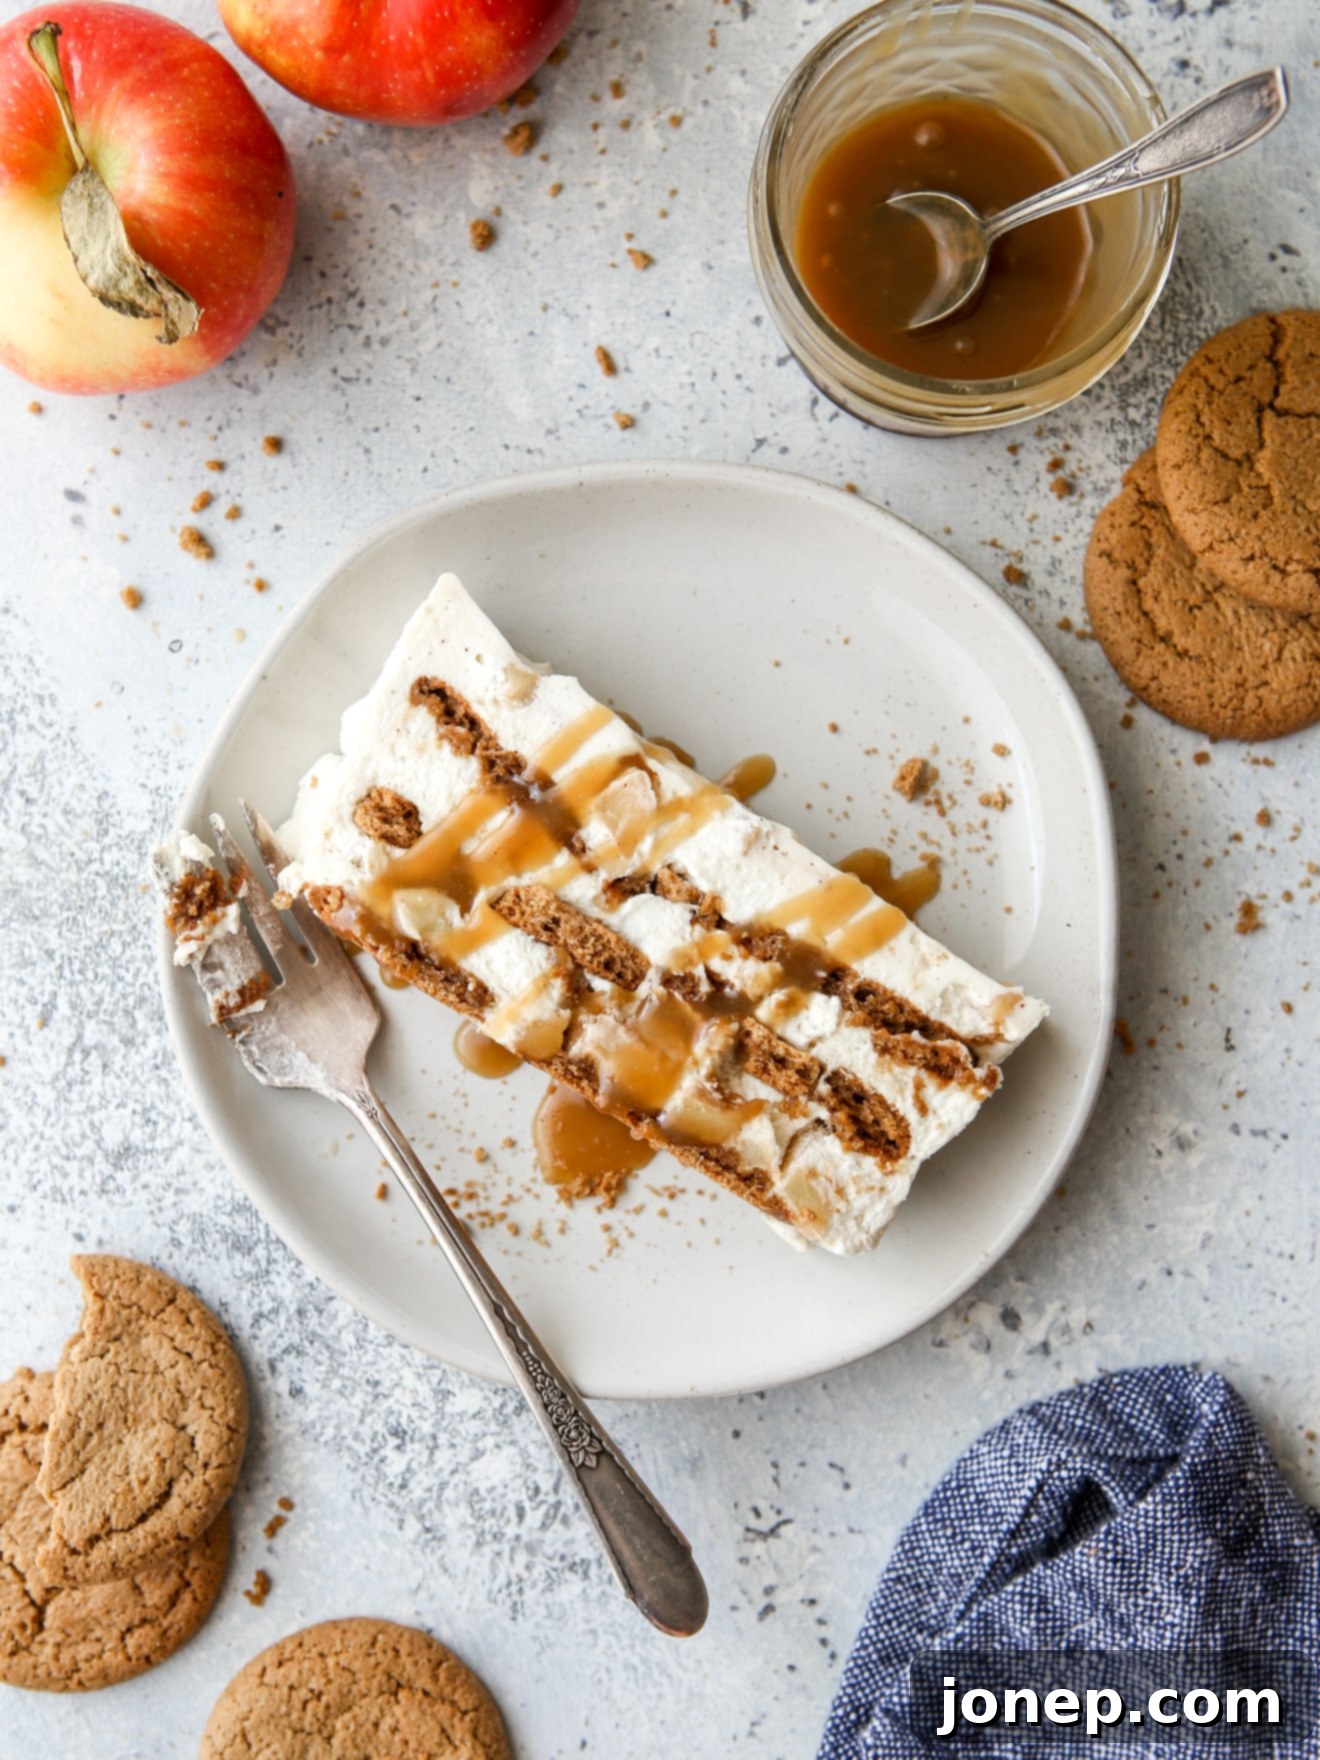
Easy No-Bake Caramel Apple Gingersnap Icebox Cake: Your Perfect Fall Dessert
As the leaves turn golden and the air grows crisp, our thoughts naturally drift to the comforting flavors of fall. And what could be more delightful than a dessert that captures the essence of this beautiful season without even needing an oven? This **Caramel Apple Gingersnap Icebox Cake** is an absolute dream come true, combining the warm spice of gingersnap cookies with the sweet, tangy notes of apples and rich caramel, all bound together by a heavenly whipped cream filling. It’s an effortlessly elegant dessert that promises to be a showstopper at any autumn gathering or holiday feast!
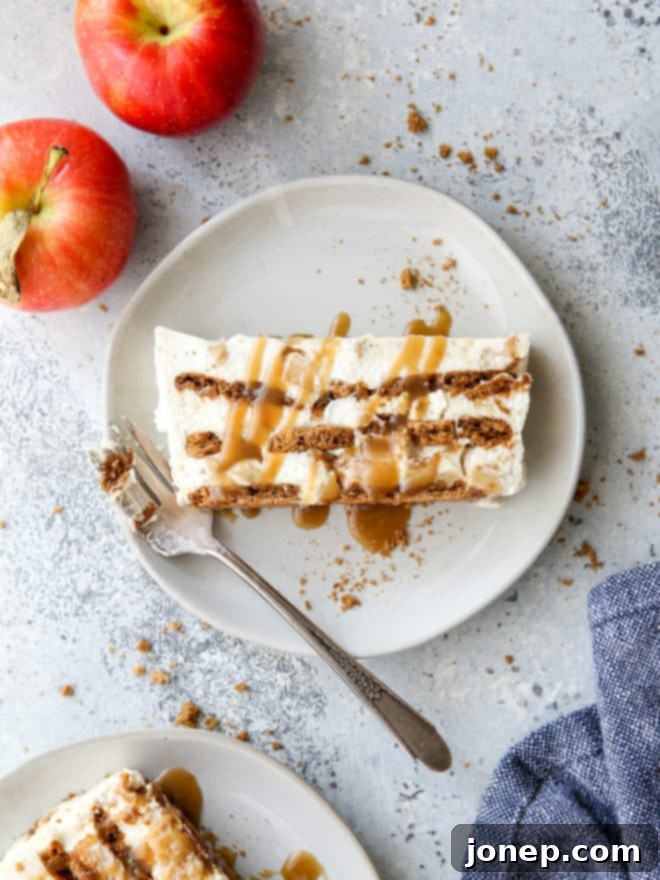
This delightful recipe is proudly sponsored by Challenge Dairy. We’re excited to partner with brands that share our commitment to quality ingredients.
If you’re searching for a unique and utterly delicious dessert that truly celebrates classic fall flavors, look no further! This no-bake wonder is a fantastic way to enjoy the beloved combination of caramel and apples, elevated by the spicy kick of gingersnap cookies. Not only is it incredibly rich and satisfying, but its make-ahead nature makes it a perfect choice for stress-free entertaining. Imagine serving a dessert that tastes gourmet but was surprisingly easy to assemble – that’s the magic of this icebox cake!
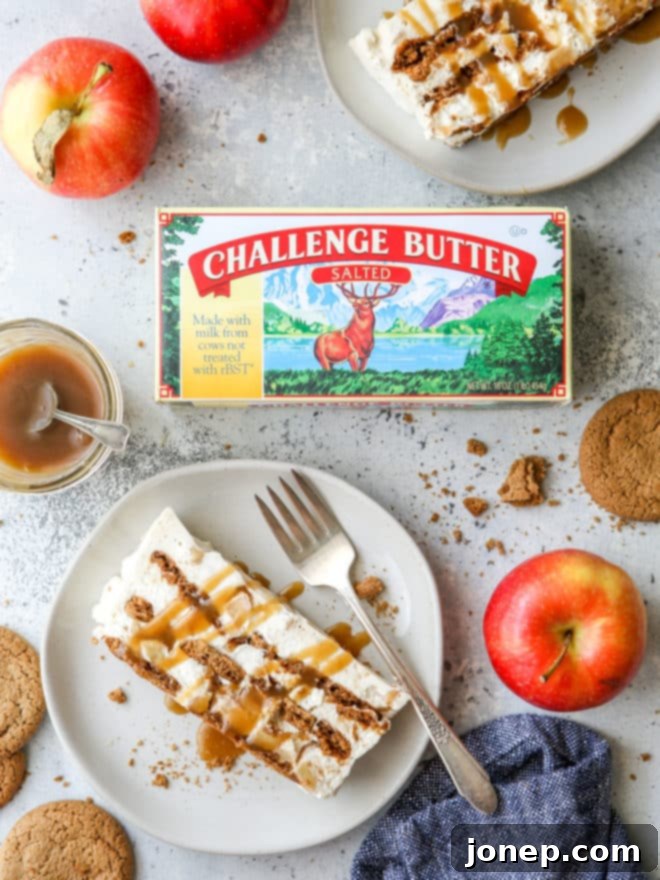
What Exactly is an Icebox Cake?
An icebox cake is a classic dessert that hails from the early 20th century, gaining popularity for its ingenious simplicity. Unlike traditional cakes baked in an oven, an icebox cake “sets up” and becomes a cohesive, sliceable dessert simply by chilling in the refrigerator. The secret lies in alternating layers of store-bought cookies and a rich, creamy filling. As the cake chills, the moisture from the filling gradually softens the cookies, transforming them into tender, cake-like layers. The filling simultaneously firms up, allowing for clean, beautiful slices that truly resemble a baked layer cake.
It’s the ultimate no-fuss dessert for summer, but with the right flavors, it transitions perfectly into a cozy fall treat. For this particular **Caramel Apple Gingersnap Icebox Cake**, we’re bringing together four incredible components that create a symphony of textures and tastes:
- Buttery Cinnamon Apple Pieces: Tender, spiced apples that provide a delightful texture and classic fall flavor.
- Homemade Caramel Sauce: A silky, rich sauce that weaves through every layer, adding luxurious sweetness.
- Fluffy Whipped Cream Filling: A light yet decadent cream cheese-based filling that acts as the perfect binder.
- Crisp Gingersnap Cookies: These spiced cookies soften to become cake-like layers, infusing the dessert with their signature warmth.
While this might sound like a multi-step project, I promise you, this **Caramel Apple Icebox Cake is incredibly easy to make**. The most challenging part is undoubtedly the wait time while it chills patiently in the fridge – but trust me, it’s worth every minute!
Why You’ll Fall in Love with This Icebox Cake
Beyond its undeniable deliciousness, there are several reasons why this Caramel Apple Gingersnap Icebox Cake will become a go-to dessert for your fall celebrations:
- Effortless No-Bake Preparation: Say goodbye to hot ovens and complex baking techniques! This recipe requires minimal cooking (just for the apples and caramel), making it perfect for busy schedules or when you want to avoid heating up your kitchen.
- Irresistible Fall Flavors: The combination of spiced apples, rich caramel, and zesty gingersnaps is the epitome of autumn comfort. Each bite is a harmonious blend of sweet, spicy, and creamy.
- A Make-Ahead Marvel: This cake actually *needs* to chill for several hours or overnight, meaning you can prepare it well in advance. This is a huge advantage when planning for dinner parties, Thanksgiving, or other holiday gatherings, freeing you up to enjoy your guests.
- Stunning Presentation: Despite its simple assembly, the layered effect of an icebox cake creates a beautiful, elegant dessert that’s sure to impress. Drizzled with extra caramel, it looks as good as it tastes.
- Crowd-Pleasing Perfection: The familiar, comforting flavors of apple and caramel, paired with the unique texture of softened gingersnaps, make this a dessert everyone will adore, from kids to adults.
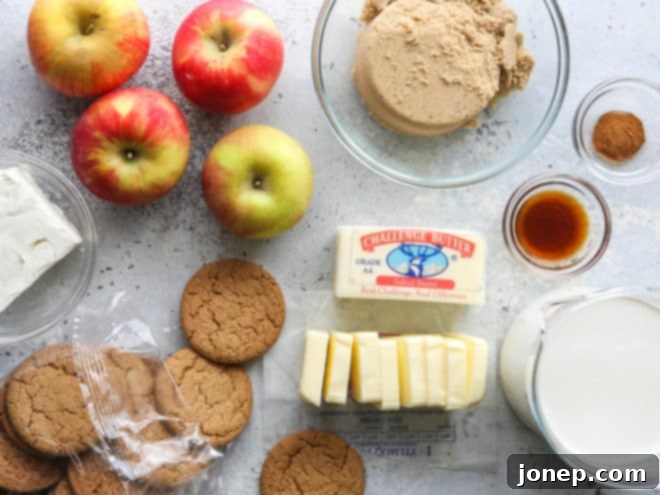
Essential Ingredients You’ll Need
Ready to create this autumnal masterpiece? Here’s a quick overview of the key ingredients you’ll want to gather. For the full, precise measurements, please refer to the comprehensive recipe card below:
- Salted Challenge Butter: Our secret weapon for rich flavor in both the apples and the caramel.
- Apples: Choose firm, tart varieties that hold their shape when cooked (more on this in the tips!).
- Light or Dark Brown Sugar: Adds deep, molasses-rich sweetness to the caramel.
- Heavy Whipping Cream: Essential for both the caramel sauce and the light, airy filling.
- Full-Fat Cream Cheese: Provides a tangy counterpoint and incredible creaminess to the whipped filling.
- Ground Cinnamon: The quintessential fall spice, enhancing the apple flavor.
- Vanilla Extract: A touch of warmth and aromatic depth.
- Store-Bought Gingersnap Cookies: The structural backbone and spicy soul of our icebox cake.
Why Quality Matters: My Choice to Bake with Challenge Butter
Every truly delicious dessert begins with exceptional ingredients, and that’s precisely why I consistently choose Challenge Butter for my recipes. In this icebox cake, I rely on both their Salted Challenge Butter for richness in the apples and caramel, and their Challenge Cream Cheese for the perfectly smooth and tangy filling.
Challenge Dairy products stand out because they are crafted with the freshest cream, sourced from happy cows on family-owned dairies. Their butter is churned fresh daily and swiftly shipped to supermarkets, often arriving just 48 hours after milking. This commitment to freshness makes a noticeable difference in the final taste of your baked goods. Furthermore, Challenge Butter is always free of artificial preservatives, fillers, and dyes, and their cows are never treated with growth hormones. It’s a brand you can trust for pure, wholesome goodness, which translates directly into the amazing flavor of your desserts.
How to Assemble This Incredible Caramel Apple Gingersnap Icebox Cake
Creating this stunning no-bake cake is a straightforward process, broken down into a few manageable steps. The detailed instructions are in the recipe card below, but here’s an overview of how we bring all these delicious components together:
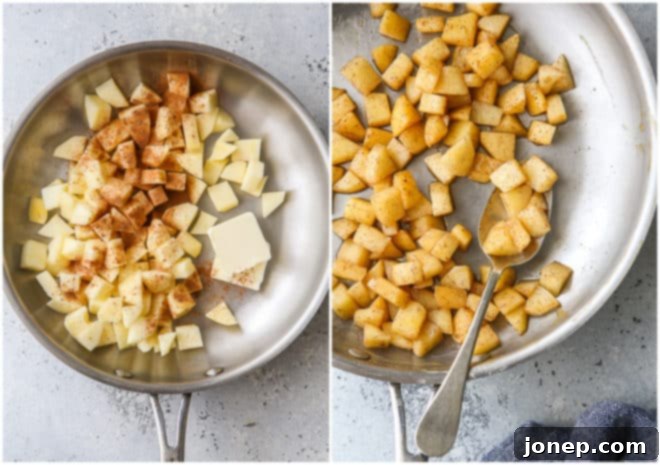
- Prepare the Apples: First, you’ll sauté diced apples with a touch of butter and cinnamon until they’re perfectly tender. This step brings out their natural sweetness and creates a lovely soft texture that contrasts beautifully with the cookies. Once cooked, set them aside to cool.
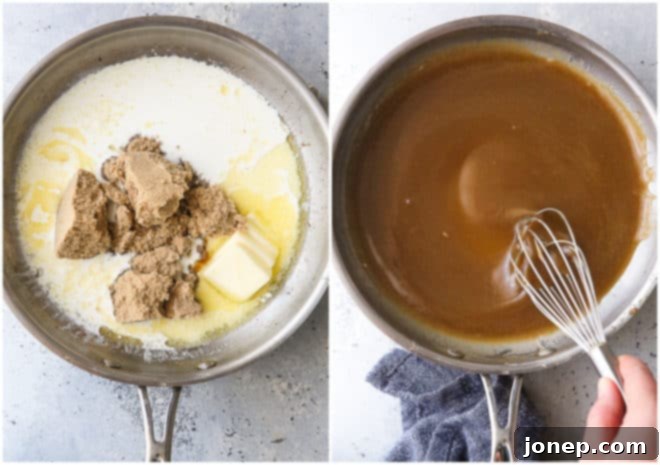
- Whip Up the Easy Caramel Sauce: Using the same pan (less cleanup!), you’ll melt more butter, then whisk in brown sugar and heavy cream. This mixture is brought to a gentle boil and simmered briefly until it thickens into a rich, luscious caramel. A splash of vanilla and a pinch of salt finish it off. Remember to let this cool completely before mixing it into the cream filling.
- Create the Fluffy Cream Filling: In a stand mixer or with a hand mixer, beat softened cream cheese until it’s wonderfully smooth. Then, gradually add the heavy whipping cream, a tablespoon at a time initially, to ensure a lump-free, silky base. Once it’s thin enough, you can add the rest of the cream and beat it to medium peaks, creating a light and airy texture.
- Combine and Layer: Gently fold about half of your cooled caramel sauce and all of the tender cooked apples into the whipped cream mixture. This creates our signature creamy caramel apple filling. Now comes the fun part: layering!
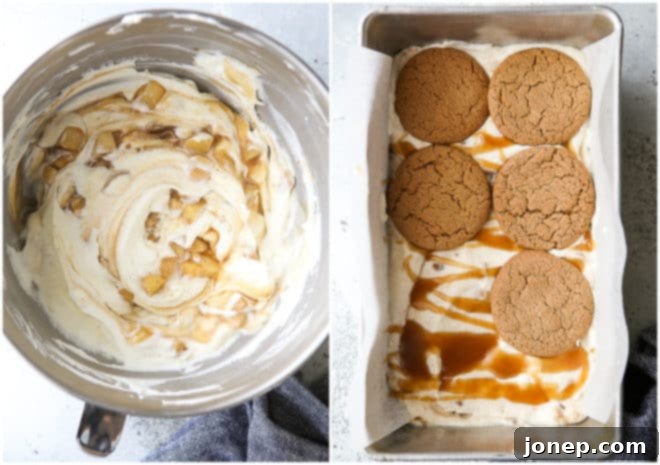
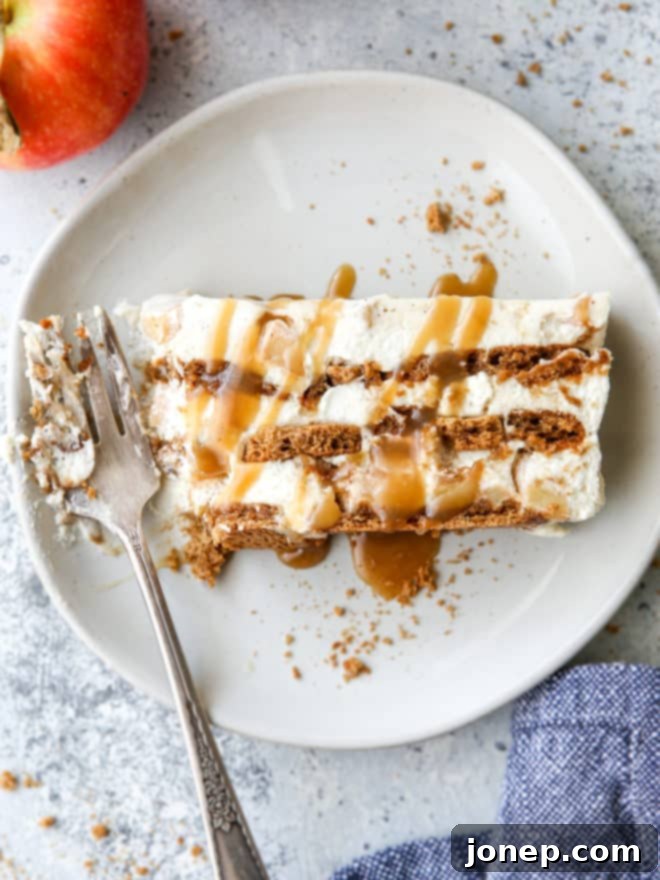
To assemble, line a 9×5-inch loaf pan with parchment paper for easy removal. Lay a single, even layer of gingersnap cookies at the bottom, breaking them as needed to fit snugly. Top this with approximately one-third of the creamy filling and drizzle generously with some of the remaining caramel sauce. Repeat this layering process two more times, ensuring you finish with a layer of the filling and a final elegant drizzle of caramel. You’ll end up with three distinct layers of gingersnaps and filling.
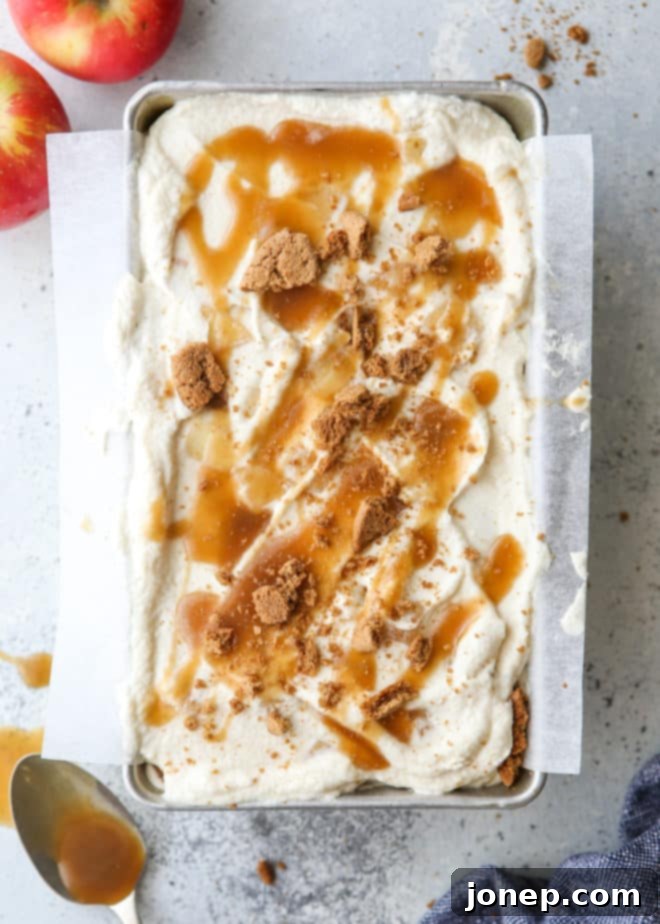
Finally, the most crucial step: **Chill!** Place the assembled icebox cake in the refrigerator for a minimum of 4 hours, though 6 hours or even overnight is highly recommended. This allows the cookies to soften perfectly and the filling to set, ensuring beautifully clean slices. Then, all that’s left is to enjoy this seasonal delight!
Expert Tips for a Flawless Icebox Cake
Achieving icebox cake perfection is simple with these helpful pointers:
- Choose the Right Apples: The best apples for cooking are those that are tart, firm, and maintain their structure rather than turning to mush. Excellent choices include Granny Smith, Jonagold, Jonathan, Gala, Honeycrisp, and Pink Lady/Cripps Pink. Their crisp texture and balanced acidity will shine through.
- Consistent Apple Size: Aim for ¼-inch pieces when chopping your apples. This ensures they cook evenly and are small enough to meld seamlessly into the creamy filling without creating awkward lumps.
- Whipping Cream Cheese Like a Pro: Don’t rush the process of incorporating the heavy cream into the softened cream cheese. Adding it slowly, about a tablespoon at a time initially, is key to preventing the mixture from breaking or becoming lumpy. Once you’ve added about ½ cup of cream and the mixture appears liquid and smooth like heavy cream, you can then add the remaining cream all at once and continue beating to soft peaks.
- Chill Time is Crucial: Patience is a virtue here! Chilling your icebox cake for at least 4-6 hours (or ideally overnight) is absolutely essential. This allows ample time for the gingersnap cookies to soften into a cake-like consistency and for the creamy filling to firm up enough for neat, sturdy slices. Skipping or shortening this step will result in a messy dessert.
- Save Some Caramel for Drizzling: Always reserve a little extra caramel sauce to drizzle over individual slices of the cake just before serving. This not only adds a beautiful visual touch but also enhances the rich caramel flavor with every bite.
Serving and Storage Suggestions
Once your Caramel Apple Gingersnap Icebox Cake has properly chilled, it’s ready to be the star of your dessert table! To serve, simply lift the cake out of the loaf pan using the parchment paper overhangs. Remove the parchment and slice it with a sharp knife. For an extra touch of indulgence, offer a generous drizzle of the reserved caramel sauce over each slice. This cake is best enjoyed within 2-3 days of preparation, stored tightly covered in the refrigerator. While it can technically be frozen for longer storage, the texture of the gingersnaps may change slightly upon thawing. We recommend fresh enjoyment for the best experience!
More Decadent Caramel Apple Desserts to Try
If you’re as obsessed with the caramel apple combination as we are, you’ll love these other fantastic recipes:
- How to Make Homemade Caramel Apples
- Caramel Apple Cheesecake Bars
- Caramel Apple Upside-Down Cake
- Apple Cider Caramel Sauce
Shop Recommended Baking Tools You’ll Need
Having the right tools makes all the difference in the kitchen. Here are some essentials that will help you prepare this delicious icebox cake with ease:

Caramel Apple and Gingersnap Ice Box Cake
Pin Recipe
Leave a Review
Ingredients
Apples:
- 2 tablespoons (28 grams) Salted Challenge Butter
- 2 cups (226 grams) peeled and cored apples chopped into ¼-inch pieces
- ¼ teaspoon ground cinnamon
Easy caramel sauce:
- ¼ cup (56 grams) Salted Challenge Butter
- ¾ cup (160 grams) packed light or dark brown sugar
- ½ cup (113 grams) heavy whipping cream
- ½ teaspoon vanilla extract
- Pinch of salt , or to taste
Creamy filling and assembly:
- 4 oz (113 grams) Challenge Cream Cheese , softened to room temperature
- 2 cups (455 grams) heavy whipping cream
- About 10 oz (285 grams) store-bought gingersnap cookies
Instructions
To prepare the apples:
-
Melt 2 tablespoons butter in a pan set over medium heat. Add apples and cinnamon, and cook for 5-8 minutes until apples have softened, stirring often.
-
Transfer apples to a small bowl and set aside to cool.
To make easy caramel sauce:
-
In the same pan, melt remaining ¼ cup butter and whisk together with brown sugar and heavy cream. Bring to a boil and cook for 1-2 minutes, stirring almost constantly, until sauce starts to thicken.
-
Remove pan from the heat an stir in vanilla and salt.
-
Let caramel cool completely to room temperature. To quickly cool caramel, pour it into a small bowl and set that bowl inside a larger bowl filled with ice water and stir constantly for several minutes.
To make creamy filling and assemble ice box cake:
-
In the bowl of a stand mixer fitted with a paddle attachment, or in a large bowl and a hand-held mixer, beat cream cheese until smooth.
-
While the mixer is running, add heavy whipping cream a tablespoon at a time to slowly incorporate it into the cream cheese so it stays smooth. Stop and scrape down the bowl as needed. Once enough cream has been added (about ½ a cup) that the mixture is liquid, add the rest all at once. Beat cream mixture on medium high speed until it holds soft peaks.
-
Add half of the easy caramel sauce and all of the apples to the bowl and gently fold into the whipped cream mixture until combined.
-
Line a 9×5-inch loaf pan with parchment paper, if desired. Spread an even layer of gingersnap cookies on the bottom of the pan, breaking them into pieces as needed to create a complete layer.
-
Add ⅓ of caramel whipped cream mixture on top of the gingersnaps and spread into an even layer. Drizzle with more caramel sauce. Repeat 2 more times until there are 3 total layers of gingersnaps, creamy filling, and caramel sauce.
-
Chill in the fridge for 4-6 hours before serving.
-
To serve, remove cake from pan with the help of the parchment paper and slice, or scoop cake out of the pan with a spoon. Top servings with a generous drizzle of the remaining caramel sauce.
Video
Disclosure: This recipe was created in partnership with Challenge Dairy, Inc. Thank you for supporting partnerships with brands I love and believe in, which make Completely Delicious possible. All opinions are always 100% my own. To learn more about Challenge Dairy, you can visit their website here. You can also find them on Facebook, Instagram, YouTube, and Pinterest.
