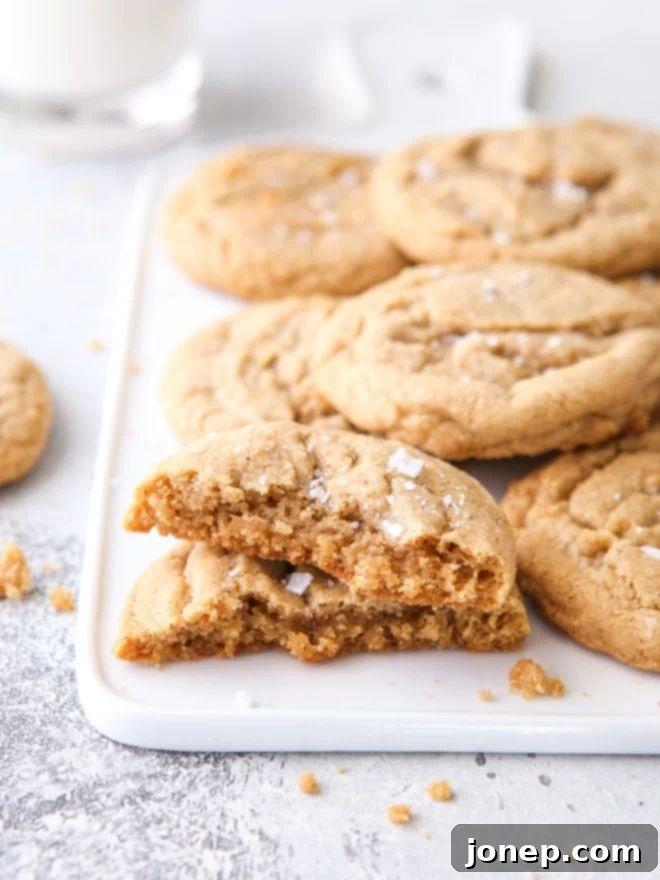
The Ultimate Brown Butter Chipless Cookies: Pure Vanilla & Butterscotch Perfection
Prepare to have your cookie world rocked! These are your beloved chocolate chip cookies, reimagined without the chocolate chips, and we promise you won’t miss them one bit. In fact, you might just find your new favorite cookie. Think rich, buttery, intensely flavorful, and perfectly textured. It’s time to let the simple, honest goodness of a truly exceptional cookie dough shine!
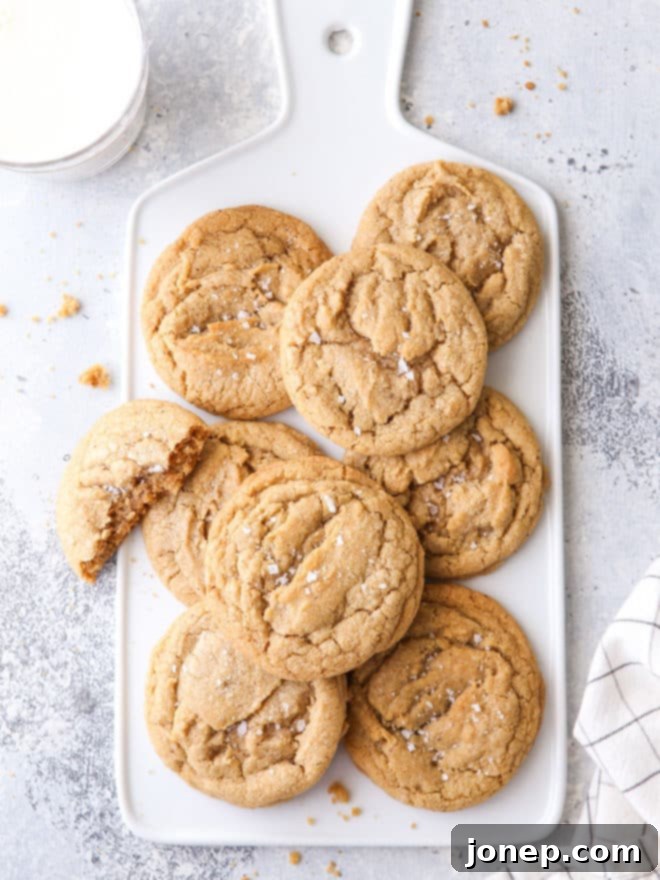
These magnificent chocolate chip-less cookies have been a beloved staple on my site for years, and it’s truly amazing how many people have fallen in love with them. Whenever I first describe them to someone, I usually get a puzzled, sometimes even skeptical, look.
“Why would you make chocolate chip cookies without the chocolate chips? Isn’t that just… a plain cookie?”
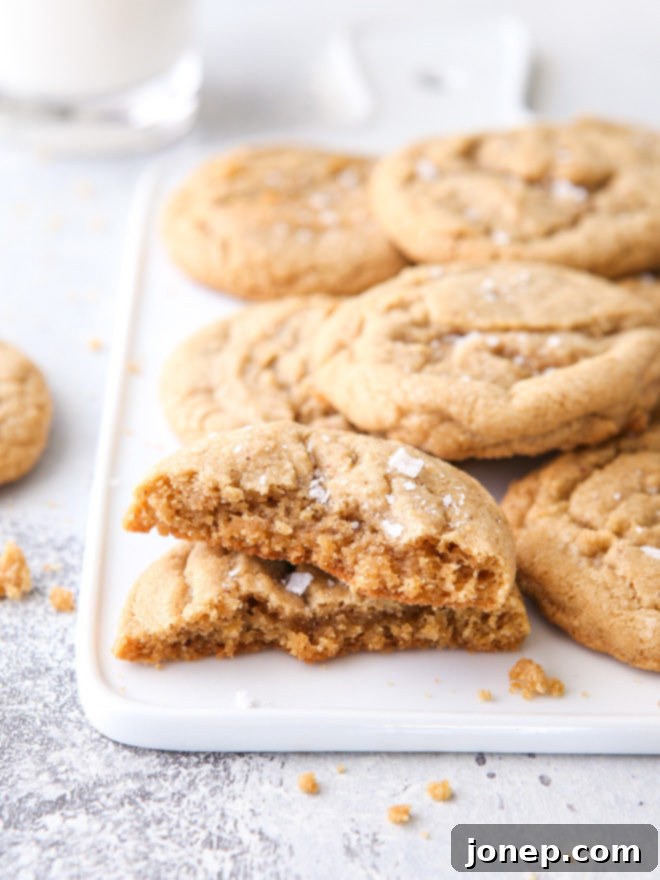
The beauty of these cookies lies precisely in that “plainness,” which is anything but! The truth is, they simply don’t need the chocolate. These cookies boast such a profoundly fabulous flavor profile all on their own that the absence of chips becomes a feature, not a flaw. They are incredibly rich and buttery, with a complex symphony of nutty and butterscotch notes that dance on your palate. This depth of flavor comes courtesy of two powerhouse ingredients: luscious brown butter and a generous amount of dark brown sugar. Imagine a cookie that’s perfectly crisp around the edges, yielding to an interior so velvety and chewy, with absolutely no chips to interrupt that smooth, melt-in-your-mouth texture. One bite is truly all it takes to be converted, I swear!
Table of Contents
- The Magic of Brown Butter: The Star of These Chipless Cookies
- No Mixer Required: Effortless Baking at Your Fingertips
- Unlocking the Flavor Secrets: What Makes These Cookies So Good?
- Baking Tips for Perfect Chipless Cookies
- Can I Add Chocolate Chips to These?
- More Delicious Cookie Recipes to Try
- Chocolate Chipless Cookies Recipe
The Magic of Brown Butter: The Star of These Chipless Cookies
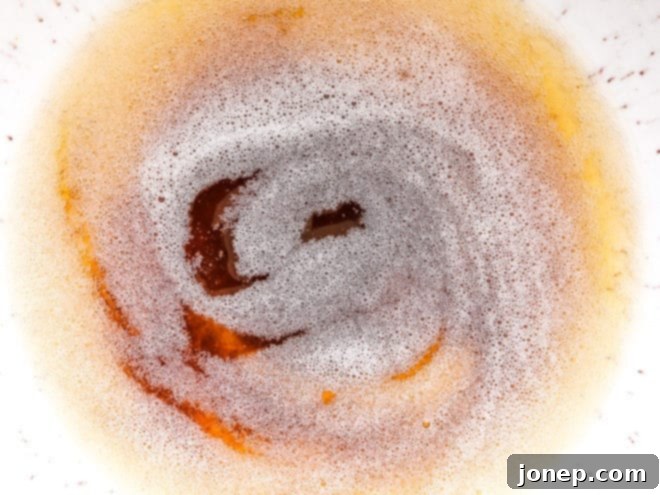
Since this recipe ingeniously starts with melted butter (instead of butter at room temperature), it only makes perfect sense to brown the butter first. Why wouldn’t we want to kick the flavor up a thousand notches, right? Browning butter, also known as beurre noisette, is a simple technique that transforms ordinary butter into a golden, nutty, and highly aromatic liquid gold. The milk solids in the butter toast gently, undergoing the Maillard reaction, which is the same chemical process responsible for the incredible flavor of seared meat or toasted bread. This process infuses the cookies with an unparalleled depth that regular butter simply can’t achieve, bringing forth those delightful nutty and subtle butterscotch undertones that define these chipless wonders.
baking tip:How to Brown Butter Perfectly
- **Prep Your Butter:** Add cubed unsalted butter to a light-colored saucepan over medium-low heat. Cubing the butter first helps it melt more evenly and prevents burning.
- **Melt & Foam:** The butter will melt and then begin to foam. Continuously stir with a rubber spatula, making sure to scrape the bottom of the pan. This prevents milk solids from sticking and burning too quickly.
- **Watch for Color & Aroma:** Keep cooking the butter, stirring diligently. You’ll notice the foam subsiding, and small brown specs will begin to appear at the bottom of the pan. Crucially, a rich, nutty, almost caramel-like aroma will fill your kitchen. This is your cue!
- **Remove Immediately:** As soon as you see those golden-brown specs and smell the nutty aroma, remove the pan from the heat immediately. Pour the browned butter into a heatproof container (like a glass measuring cup). If left in the hot pan, it will continue to cook and can quickly burn, turning bitter.
- **Use or Store:** Use the melted browned butter right away in your recipe, or transfer it to the fridge to firm up for later use (though it’s best fresh for this recipe!).
Mastering brown butter is a game-changer for so many desserts, and it truly is the secret ingredient that elevates these chipless cookies from good to absolutely unforgettable. Don’t skip this step – it’s worth every extra minute!
No Mixer Required: Effortless Baking at Your Fingertips!
This cookie recipe offers a delightful departure from many conventional cookie recipes. Not only does it begin with glorious melted brown butter, but it’s also mixed entirely by hand. Yes, you heard that right – no stand mixer, no hand mixer, just a bowl and a good old wooden spoon or spatula! I initially borrowed this brilliant, straightforward approach from a Cook’s Illustrated cookie recipe, and I’ve loved how incredibly easy and satisfying it is ever since. Mixing by hand isn’t just about convenience; it gives you a tactile connection to the dough and ensures you don’t overmix the flour, which can lead to tough cookies.
The method is deceptively simple and yields consistently perfect results:
- **Combine Wet Ingredients:** Start by mixing the warm, melted browned butter with both granulated sugar and dark brown sugar, along with a generous splash of vanilla extract. Stir until everything is thoroughly combined. At this stage, the mixture will be quite soft and may appear a bit greasy.
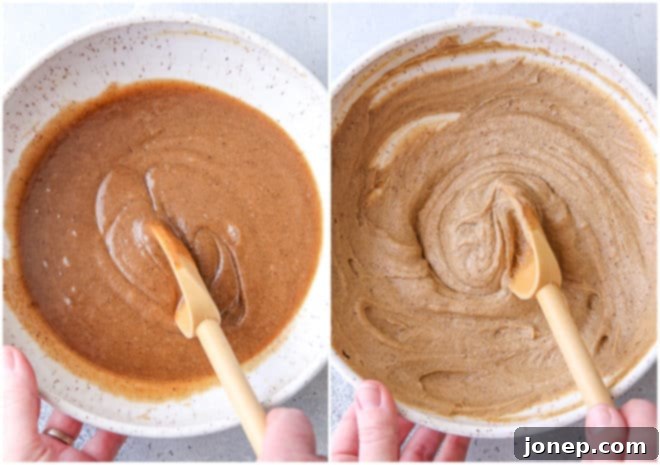
- **Emulsify the Eggs:** Add the large egg and the extra egg yolk one at a time. After each addition, stir vigorously for about 30 seconds. You’ll notice a remarkable transformation: the mixture will visibly lighten in color and begin to thicken, indicating proper emulsification.
- **Develop Air & Texture:** This is a crucial step for achieving that signature velvety interior! Let the batter rest for just a few minutes, then return to it and stir vigorously again for another 30 seconds. This secondary mixing step further lightens the color and texture, incorporating more air and creating a wonderfully smooth base.
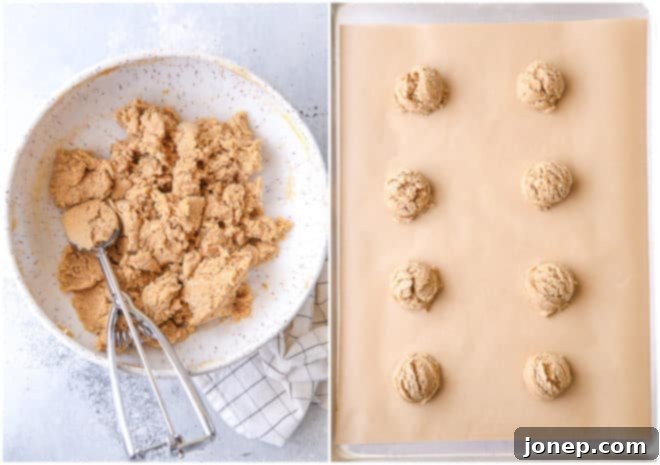
- **Incorporate Dry Ingredients:** In a separate bowl, whisk together the all-purpose flour, baking soda, and salt. Add this dry mixture to your wet ingredients all at once. Stir patiently by hand until all streaks of flour have disappeared. This might take a few minutes of good arm work, but the dough will eventually come together to form a thick, cohesive mass, perfect for scooping.
- **Scoop & Bake:** Portion the dough using a rounded tablespoon or a cookie scoop onto a prepared cookie sheet. Bake for 9-11 minutes, watching for those perfectly golden edges.
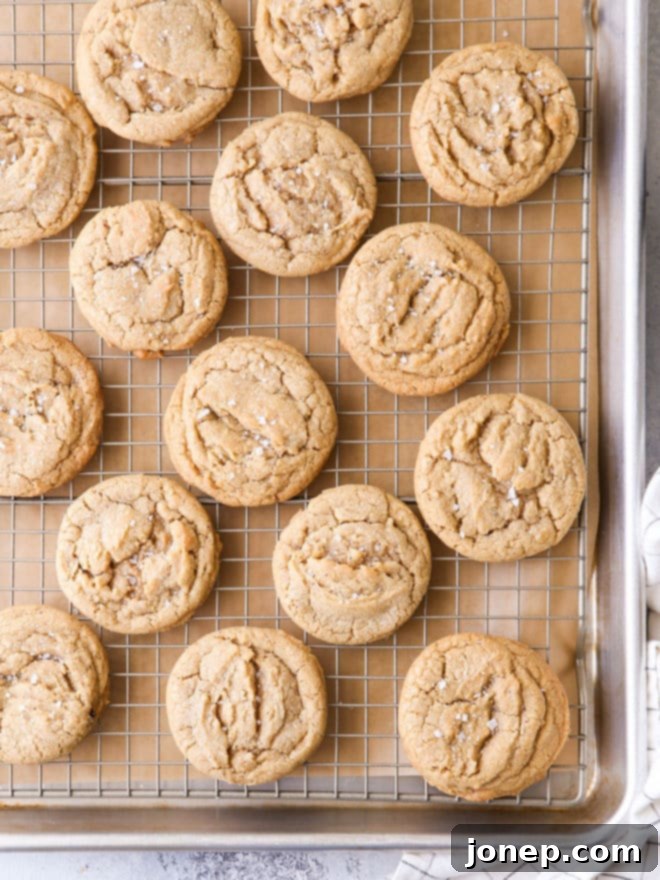
- **Finish with Salt (Optional):** For an extra pop of flavor that beautifully contrasts with the sweetness, sprinkle a pinch of coarse sea salt over the warm, freshly baked cookies.
Unlocking the Flavor Secrets: What Makes These Cookies So Good?
It’s truly incredible how such a simple recipe, devoid of a main “star” like chocolate chips, can achieve such a profound and satisfying flavor. The secret lies in optimizing every single ingredient to contribute its maximum potential:
- **Brown Butter:** As discussed, this is the backbone of the flavor, introducing nutty, toasted notes that elevate the entire cookie.
- **Brown Sugar (Lots of it!):** The high ratio of brown sugar to granulated sugar is key. Brown sugar, especially dark brown sugar, contributes molasses, which not only provides that characteristic butterscotch-like flavor but also adds moisture, resulting in an incredibly chewy interior.
- **Granulated Sugar:** While less prominent than brown sugar, granulated sugar is essential for achieving those delightful crisp edges and contributing to the cookie’s spread.
- **Vanilla Extract:** Don’t skimp on the vanilla! In a cookie where the dough itself is the star, high-quality vanilla extract (or even vanilla bean paste) enhances all the other flavors, adding a warm, aromatic dimension.
- **Extra Egg Yolk:** This is a genius trick borrowed from classic recipes to boost richness and chewiness. The extra fat from the yolk tenderizes the cookie and contributes to a wonderfully soft texture.
- **Salt:** Often overlooked, salt is crucial for balancing the sweetness and intensifying all the other flavors. The coarse sea salt sprinkled on top provides a delightful textural contrast and a burst of savory counterpoint.
Just when I thought there was nothing new or surprising to discover with chocolate chip cookie variations, these chipless wonders proved me deliciously wrong! You absolutely have to give these a try; I promise you’ll fall head over heels in love too.
Baking Tips for Perfect Chipless Cookies
Achieving cookie perfection is easier than you think with a few simple pointers:
- **Don’t Overbake:** For that perfect balance of crisp edges and a soft, chewy center, watch your cookies carefully. They should be golden brown around the edges, but the very center might still look slightly underdone and puffy. This is ideal! They will continue to set as they cool.
- **Cool on the Pan First:** Allow the cookies to cool on the baking sheet for at least 5 minutes before transferring them to a wire rack. This helps them firm up and prevents them from breaking apart.
- **Parchment Paper is Your Friend:** Always line your baking sheets with parchment paper. It ensures even baking, prevents sticking, and makes for super easy cleanup.
- **Optional: Chill the Dough:** While not strictly necessary for this recipe, chilling the dough for 30 minutes to an hour can further enhance the flavor and create a thicker cookie that spreads less. It allows the flavors to meld and the butter to firm up.
- **Storage:** Store baked chipless cookies in an airtight container at room temperature for up to 3-4 days. For longer storage, you can freeze baked cookies for up to 2-3 months. Unbaked dough balls can also be frozen and baked from frozen (adding a minute or two to the bake time).
Can I Add Chocolate Chips to These?
This is the question I get all the time, and the answer is – yes, of course! While the true magic of this recipe lies in its chipless purity, if you simply can’t bear to leave out the chocolate, or if you’re looking to adapt this incredibly flavorful dough into your new go-to chocolate chip cookie recipe, feel free to add 1 to 2 cups of your favorite chocolate chips or chunks. Dark chocolate, milk chocolate, semi-sweet, or even a mix would be delicious. The rich brown butter and brown sugar base will pair beautifully with any chocolate you choose.
(And to be completely honest, I sometimes add chocolate chips too, especially when a chocolate craving hits. It’s hard to resist! But seriously, try them chipless first.)
More Delicious Cookie Recipes to Try
If you’re a cookie enthusiast like me, you’ll love exploring these other fantastic recipes from my kitchen:
- Monster Cookies: A delightful mix of peanut butter, oats, and M&Ms.
- Caramel-Stuffed Chocolate Chip Cookies: Indulgent cookies with a gooey caramel surprise inside.
- Chocolate Marshmallow Cookies: Rich chocolate cookies topped with fluffy marshmallows and a chocolate glaze.
- Peanut Butter Chocolate Chip Cookies: A classic combination that never disappoints.
This recipe was originally published in June 2015 and has since become a timeless favorite, continuously delighting those who dare to venture beyond the chip.
Chocolate Chipless Cookies Recipe

Chocolate Chipless Cookies
16
cookies
10
10
20
Pin Recipe
Leave a Review
Ingredients
-
10 tablespoons
(140 grams)
unsalted butter -
¼ cup
(50 grams)
granulated sugar -
¾ cup
(160 grams)
packed light or dark brown sugar -
2 teaspoons
vanilla extract -
1
large egg -
1
large egg yolk -
1 ¾ cup
(210 grams)
all-purpose flour -
½ teaspoon
baking soda -
½ teaspoon
salt -
Coarse salt , for sprinkling (optional)
Instructions
-
Preheat oven to 375°F (190°C). Line a sheet pan with parchment paper.
-
In a small saucepan set over medium heat, melt the butter. Continue to cook the butter until it turns golden brown and gives off a nutty aroma, stirring frequently, about 3 minutes. Be careful not to burn it. Remove from heat immediately and pour into a large heatproof bowl; let cool for a few minutes.
-
To the cooled brown butter, add the granulated sugar, brown sugar, and vanilla extract. Stir well with a wooden spoon or rubber spatula until thoroughly combined. Add the large egg and the extra egg yolk, stirring vigorously for 30 seconds after each addition. The batter should lighten in color and thicken noticeably. Let the batter rest for about 5 minutes, then stir vigorously again for another 30 seconds to further aerate and lighten the texture.
-
In a separate medium bowl, whisk together the all-purpose flour, baking soda, and salt. Add these dry ingredients to the wet batter all at once. Stir by hand until no streaks of flour remain and a thick, cohesive cookie dough forms. Avoid overmixing.
-
Drop dough by rounded tablespoons onto the prepared sheet pan, leaving enough space between cookies. Bake for 9-11 minutes, or until the edges are golden brown and the centers are just set but still look slightly soft. Do not overbake. Let cool on the pan for 5 minutes before transferring to a wire rack to cool completely. Sprinkle with coarse sea salt, if desired, while still warm.
Video
Nutrition Information
Carbohydrates: 24g,
Protein: 2g,
Fat: 8g,
Saturated Fat: 5g,
Cholesterol: 41mg,
Sodium: 116mg,
Potassium: 32mg,
Fiber: 1g,
Sugar: 13g,
Vitamin A: 250IU,
Calcium: 16mg,
Iron: 1mg
American
Dessert
Annalise Sandberg
Have you tried this recipe?
I’d love to hear about it! Leave a rating and review below, or take a photo and tag it on Instagram @completelydelicious with #completelydelicious.
