Ultimate Sweet & Savory Maple Nut Snack Mix: Your New Favorite Homemade Treat
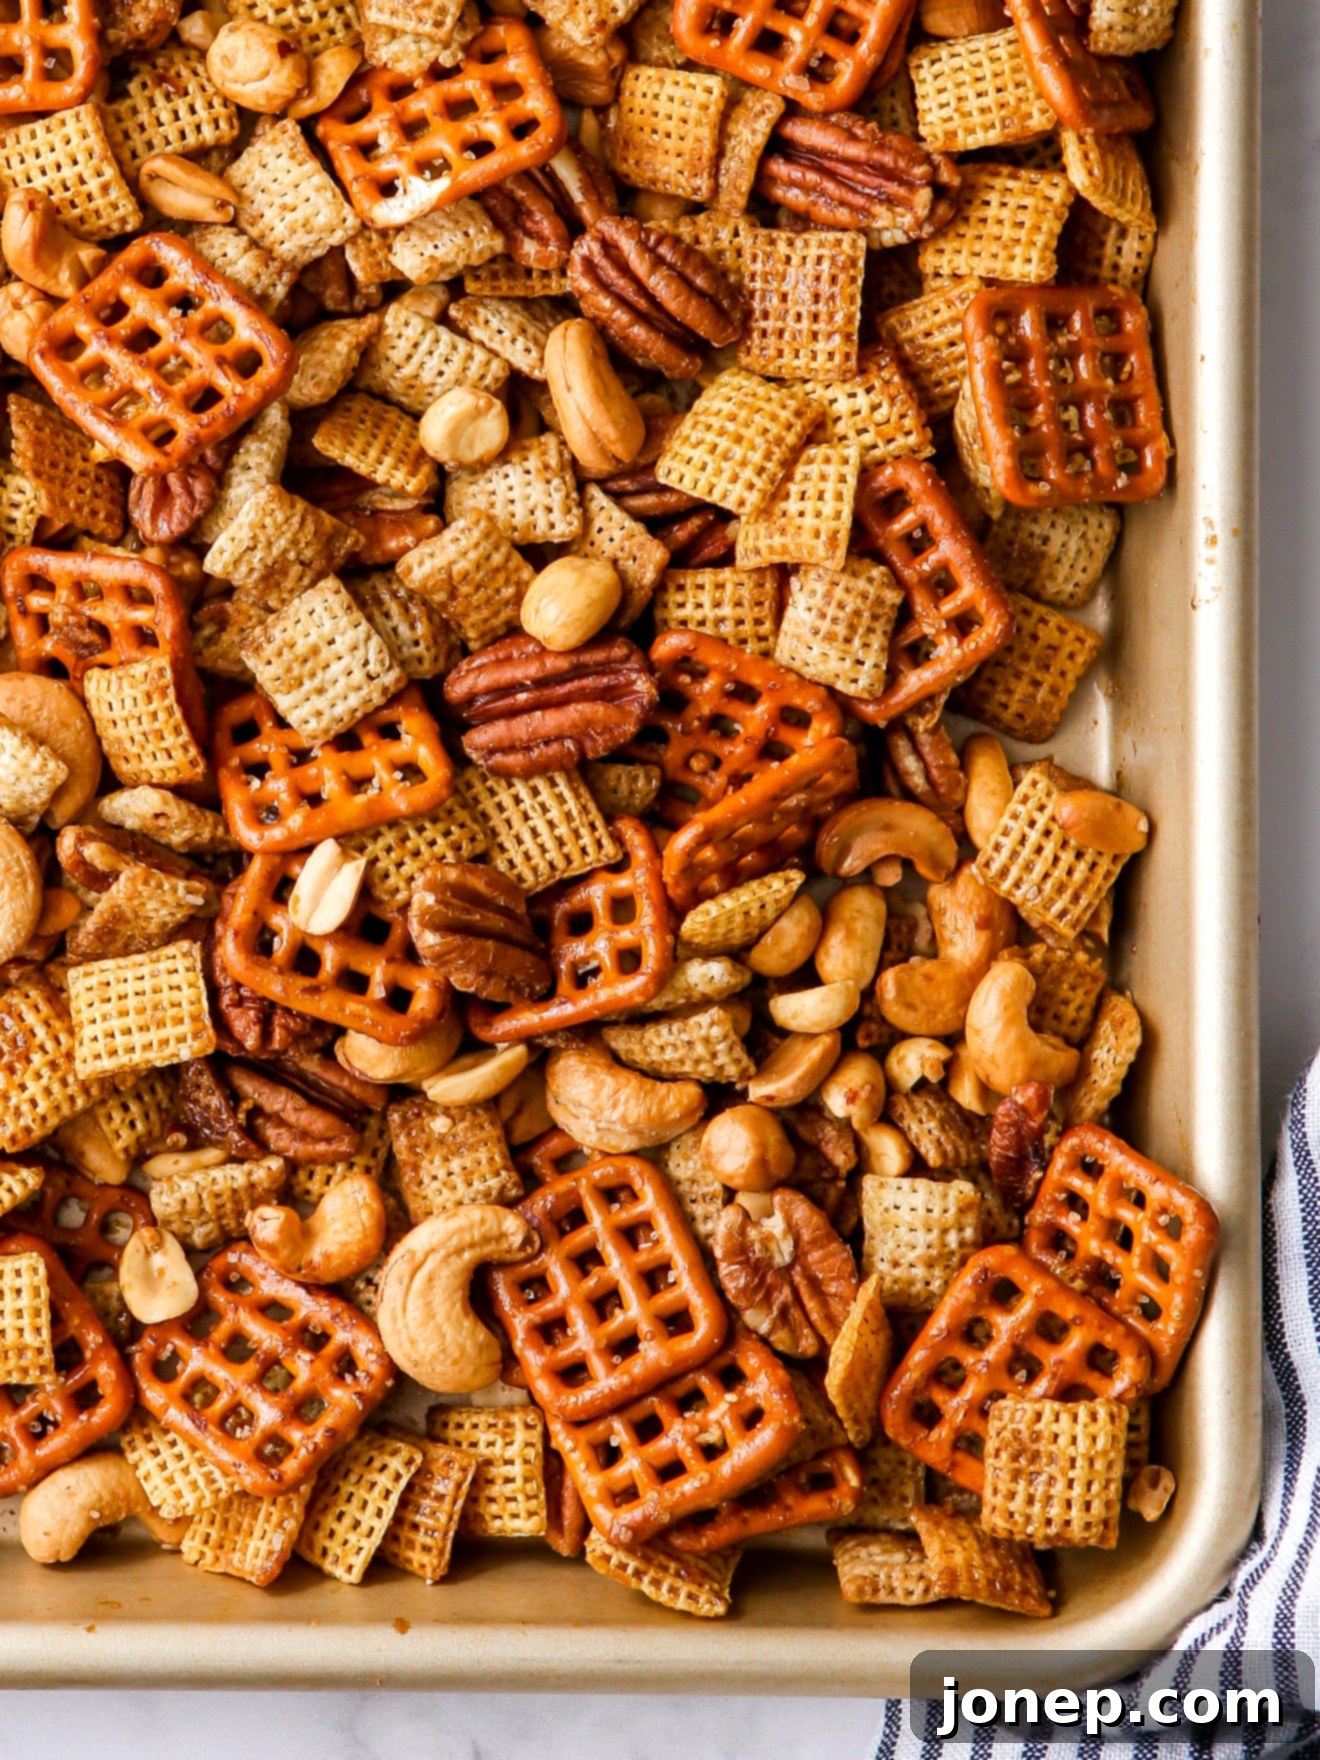
Are you ready to elevate your snacking game? Forget store-bought options filled with artificial ingredients and bland flavors. This homemade Maple Nut Snack Mix is about to become your new obsession! Imagine a delightful blend of crispy Chex cereal, crunchy pretzels, and an assortment of wholesome nuts, all coated in an irresistible sweet and savory maple-Worcestershire glaze. It’s the perfect balance of flavors and textures that makes every handful incredibly satisfying.
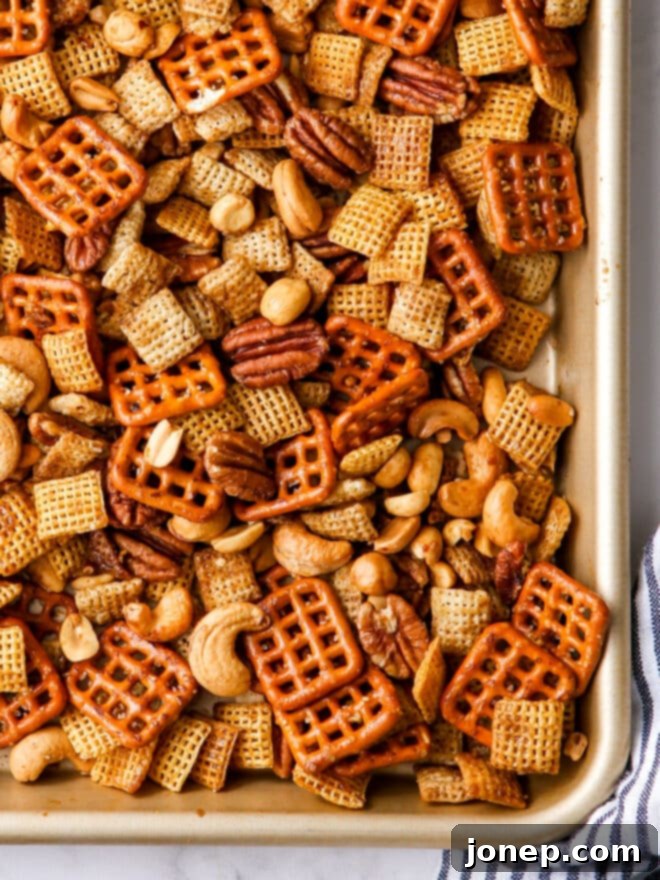
In our household, snacks are practically a food group – especially for my husband. Chips, crackers, trail mix, you name it, we love it all, and it never seems to last long. This constant craving for delicious, satisfying munchies led me down a path of experimenting with homemade snack recipes. And honestly, there’s nothing quite like the joy of creating a batch of fresh, warm, and perfectly seasoned snack mix right in your own kitchen.
Homemade Chex mix has recently experienced a major resurgence in popularity in our home. I find myself whipping up batches all the time – for lively parties, festive holidays, long road trips, and of course, for simple, everyday snacking. Over time, I’ve playfully tweaked the classic “back-of-the-box” recipe, adding a touch of sweetness and a medley of my favorite nuts. The result? This Maple Nut Chex Snack Mix, which has proudly claimed its spot as our current, undeniable favorite!
Why Choose Homemade Snack Mix?
Beyond the incredible flavor, there are so many reasons to embrace the art of homemade snack mix. First and foremost, you have complete control over the ingredients. This means you can choose high-quality components, avoid unwanted additives, and tailor the mix precisely to your dietary needs or taste preferences. It’s often more cost-effective than buying gourmet mixes from the store, and the aroma that fills your kitchen while it bakes is an added bonus that truly can’t be beaten.
Homemade mixes also make fantastic gifts. Package a batch in a decorative jar with a ribbon, and you’ve got a thoughtful, personalized present for friends, family, or teachers. Plus, the sheer satisfaction of creating something so delicious from scratch adds an extra layer of enjoyment to every bite. This Maple Nut Snack Mix perfectly embodies all these advantages, offering a truly superior snacking experience.
What’s in This Irresistible Maple Nut Snack Mix?
While this recipe shares its roots with traditional Chex mix, it boasts a unique sweet and savory twist that sets it apart. The combination of classic elements with a rich, maple-infused coating creates an addictive flavor profile you won’t soon forget. Here’s a detailed look at the delicious components you’ll find in this batch:
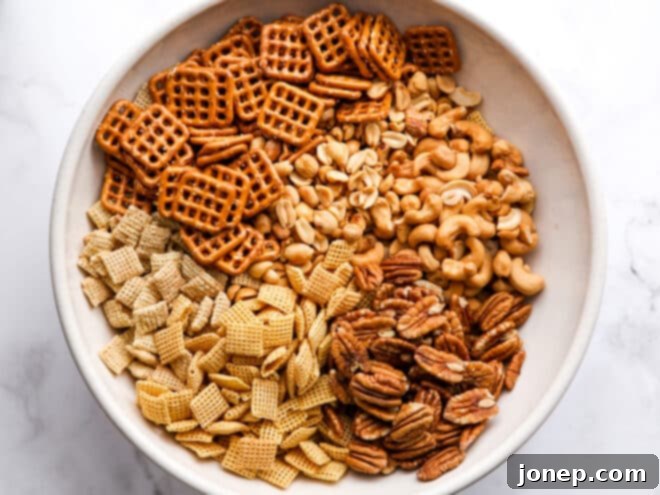
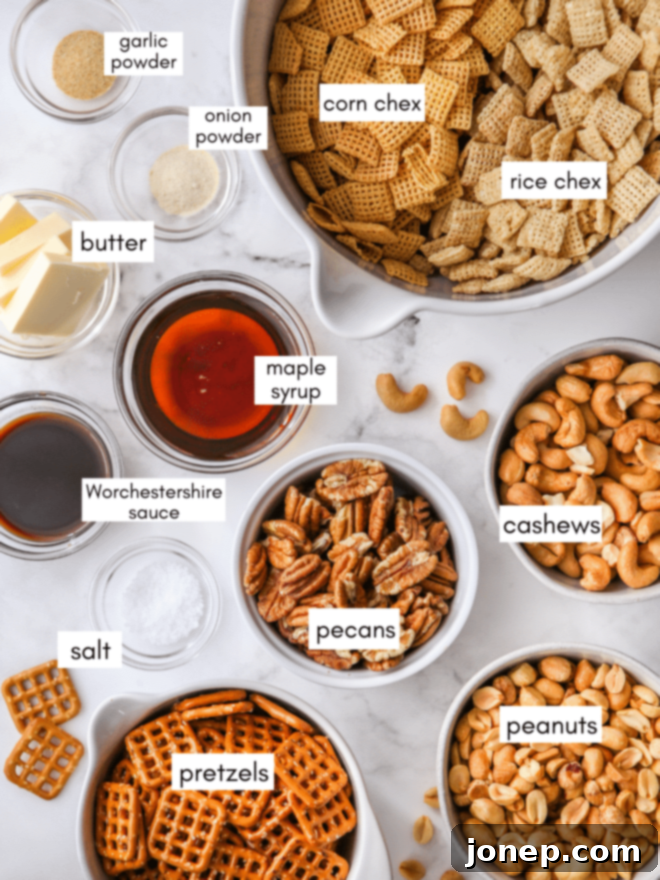
- Dual Chex Cereal Power: We use both crispy Rice Chex and hearty Corn Chex cereal. This combination provides varied textures and a robust foundation for the mix, ensuring every bite has that satisfying crunch.
- Perfectly Salty Pretzels: Whether you prefer mini pretzels, snaps, nuggets, or mini sticks, pretzels are essential for that classic salty crunch. Their nooks and crannies are perfect for capturing every drop of the savory coating.
- A Medley of Premium Nuts: Our mix is generously packed with a luxurious trio of nuts: creamy cashews, buttery pecans, and satisfyingly crunchy peanuts. These nuts add healthy fats, protein, and a rich depth of flavor that complements the sweet maple. Feel free to use lightly salted varieties to enhance the overall taste.
- The Signature Sweet and Spiced Coating: This is where the magic truly happens! The coating is a harmonious blend of melted unsalted butter, rich maple syrup (always choose pure maple syrup for the best flavor!), tangy Worcestershire sauce, and a carefully selected blend of spices including coarse salt, garlic powder, and onion powder. This balance creates a complex flavor that is both comforting and exciting.
Gathering your ingredients is the first step to creating this delectable snack. Here’s everything you’ll need to make this Maple Nut Snack Mix. You’ll find the full, detailed recipe card with precise measurements at the very end of this article:
How to Make the Best Maple Nut Snack Mix: A Step-by-Step Guide
Making this snack mix is surprisingly simple and incredibly rewarding. Follow these easy steps to achieve a perfectly coated, wonderfully crispy, and utterly delicious batch every time:
- Prepare Your Base (Combine Snacks): Begin by preheating your oven to 250°F (120°C). Then, in your absolute largest mixing bowl, gently combine the corn Chex cereal, rice Chex cereal, your chosen pretzels, and all the nuts. Give them a good toss to ensure they are well-mixed and evenly distributed. A spacious bowl is key here to prevent ingredients from spilling over when you add the sauce.

- Whisk Up the Flavorful Coating (Combine Sauce): In a separate, smaller bowl, it’s time to create our magical sweet and savory coating. Whisk together the melted unsalted butter, rich maple syrup, tangy Worcestershire sauce, coarse salt, fragrant garlic powder, and savory onion powder. Whisk vigorously until all these ingredients are thoroughly combined and the mixture is smooth. This ensures a consistent flavor in every bite of your snack mix.
- Coat Everything Evenly (Toss Together): Now for the fun part! Pour the whisked sauce evenly over your combined snack mixture in the large bowl. Using a large spatula, a sturdy spoon, or even your clean hands (if you don’t mind getting a little sticky!), gently but thoroughly toss everything together. The goal is to ensure every single piece of cereal, pretzel, and nut is beautifully and uniformly coated with the flavorful sauce. Take your time with this step to avoid any dry spots.

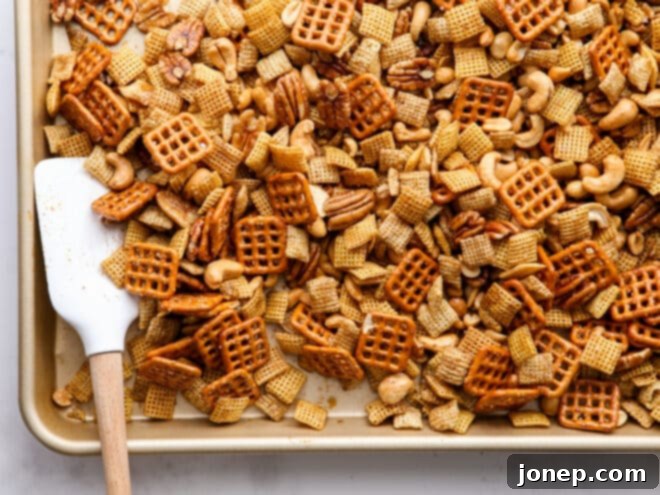
- Slow Bake to Perfection (Bake): Spread the coated snack mix out in a single, even layer on a large rimmed baking sheet. If you’re making a double batch, it’s often best to use two baking sheets to avoid overcrowding, which can lead to uneven baking and less crispiness. Bake in your preheated 250°F (120°C) oven for approximately 60 to 75 minutes. The secret to an evenly toasted and crispy mix is regular stirring: make sure to stir the mixture every 15-20 minutes. The snack mix is done when it’s a beautiful golden brown color, feels dry to the touch, and fills your kitchen with an irresistible fragrant aroma.
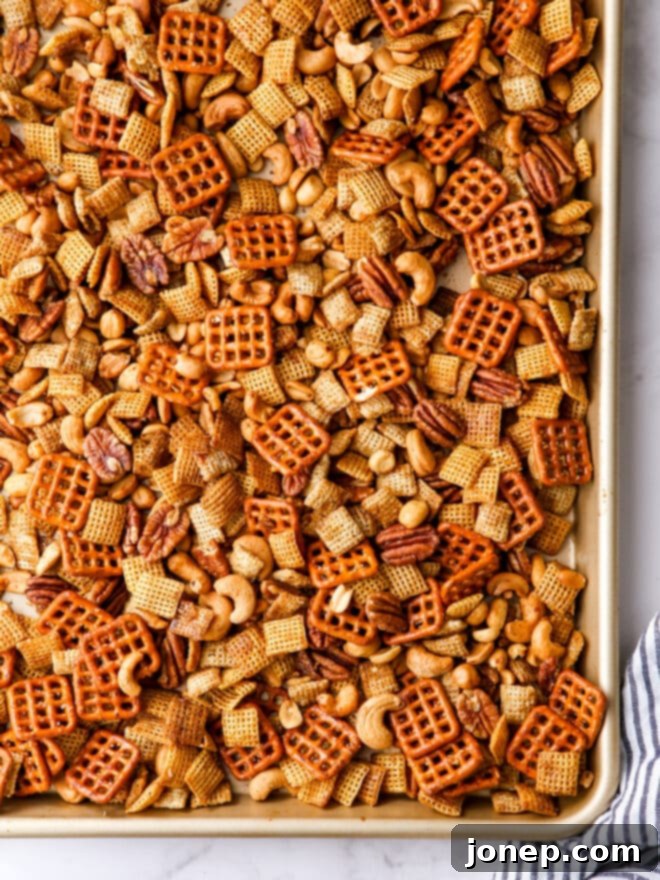
- Cool and Crisp (Let Cool and Dry): Once removed from the oven, the snack mix will likely still look and feel a bit wet or soft. This is completely normal! Resist the urge to dive in immediately. Leave it spread out on the baking sheet to cool completely at room temperature. As it cools, the coating will dry and harden, transforming the mix into those wonderfully crisp, addictive clusters you’re craving. This cooling process is crucial for achieving the perfect texture, so don’t rush it!
Tips for the Perfect Maple Nut Snack Mix
- Don’t Overcrowd the Pan: For maximum crispiness, ensure your snack mix is spread in a relatively thin, even layer on the baking sheet. If your pan is too full, use a second one. This allows for better air circulation and more even toasting.
- Use Pure Maple Syrup: While pancake syrup might be cheaper, pure maple syrup offers a depth of flavor that is simply unparalleled. It makes a significant difference in the final taste of your snack mix.
- Adjust Salt to Taste: If you use highly salted nuts or pretzels, you might want to slightly reduce the amount of coarse salt in the coating. Always taste your ingredients first!
- Stir Diligently: Stirring every 15-20 minutes during baking is key to preventing burning and ensuring all parts of the mix get evenly toasted and coated.
- Cool Completely: As mentioned, don’t skimp on cooling time. The mix will continue to crisp up as it cools, giving you that satisfying crunch.
Customize Your Snack Mix: Endless Variations!
One of the best things about homemade snack mix is its versatility. Once you’ve mastered the basic recipe, feel free to get creative and customize it to your heart’s content! Here are some ideas to inspire your next batch:
- Nutty Adventures: Swap out or add other nuts like roasted almonds, walnuts, pistachios, or even pumpkin seeds for varied flavors and textures.
- Cereal Play: Experiment with different Chex varieties, or even add other small, plain cereals like Cheerios for a broader base.
- Pretzel Perfection: While nuggets are great, feel free to use pretzel twists, sticks, or even sourdough pretzels for a different bite.
- Spice It Up: For a kick, add a pinch of cayenne pepper or smoked paprika to the coating. A dash of cinnamon or nutmeg could also enhance the maple flavor for a more dessert-like mix.
- Sweet & Chewy Add-ins: Once the mix has cooled completely, you can stir in dried cranberries, raisins, or even small chocolate chips for an extra layer of sweetness and chewiness. Avoid adding these before baking, as they can burn or melt.
- Seed Power: Add sunflower or sesame seeds for extra crunch and nutrition.
- Savory Boost: A dash of dried dill, rosemary, or thyme could lend a more herbaceous, savory note.
How to Store This Delicious Snack Mix
Proper storage is essential to keep your Maple Nut Snack Mix fresh and wonderfully crispy. This snack mix will maintain its optimal texture and flavor for 1-2 weeks if stored correctly in an airtight container at room temperature. Large glass jars, sturdy Tupperware containers, or even heavy-duty Ziploc bags (ensuring all air is pressed out) all work brilliantly for this purpose.
However, I’m willing to bet it won’t last anywhere near that long in your house! It certainly never does in ours; we tend to gobble it up far too quickly. This recipe makes a generously sized batch – approximately 8 cups – which is absolutely perfect for sharing with friends and family, bringing to a potluck, or simply ensuring you have enough to satisfy those inevitable snack cravings throughout the week. Even if you plan to share, you might want to make a double batch, just in case!
More Snackable Recipes You’ll Love
If you’re a fellow snack enthusiast, be sure to check out these other fantastic homemade treats that are perfect for any occasion:
- Sweet and Spicy Snack Mix
- Chewy Chocolate Chip Granola Bars
- Sweet Potato Cheddar Crackers
- Homemade Fruit Snacks
Shop Essential Tools for This Recipe
To make your snack mix creation even smoother, here are some tools we recommend:
Recipe originally published September 2016. Updated for clarity and enhanced SEO in 2024.

Maple Nut Snack Mix
Pin Recipe
Leave a Review
Ingredients
- 2 ½ cups corn Chex cereal (75 grams)
- 2 ½ cups rice Chex cereal (75 grams)
- 2 cups pretzel nuggets or mini pretzels (60 grams)
- 1 cup lightly salted peanuts (142 grams)
- 1 cup shelled pecans (100 grams)
- 1 cup cashews (120 grams)
- 3 tablespoons unsalted butter , melted
- ¼ cup maple syrup (80 grams)
- 2 tablespoons Worcestershire sauce
- 1 ½ teaspoons coarse salt
- ½ teaspoon garlic powder
- ½ teaspoon onion powder
Instructions
-
Preheat your oven to 250°F (120°C). Prepare a large rimmed baking sheet.
-
In a very large bowl, gently toss together the corn Chex cereal, rice Chex cereal, pretzels, peanuts, pecans, and cashews until well combined.
-
In a separate medium bowl, whisk together the melted unsalted butter, maple syrup, Worcestershire sauce, coarse salt, garlic powder, and onion powder until the sauce is smooth and fully blended. Pour this delicious coating evenly over the snack mix ingredients. Toss thoroughly with a spatula or your hands until every piece is uniformly coated.
-
Spread the coated snack mix out in a single layer on your prepared baking sheet. Bake for 60-75 minutes, making sure to stir the mixture every 15-20 minutes. Continue baking until the mix is beautifully toasted, golden brown, and feels dry to the touch, and is wonderfully fragrant.
-
Remove from the oven and allow the snack mix to cool completely on the baking sheet at room temperature. It will crisp up significantly as it cools. Once entirely cool, transfer to an airtight container. Store at room temperature for up to 1-2 weeks.
Notes
HELPFUL TIPS & VARIATIONS
- This recipe yields a generous batch of about 8 cups of delicious snack mix, perfect for sharing or savoring over several days.
- For an extra kick, add ¼ teaspoon of cayenne pepper to the sauce mixture.
- Customize your nut selection! Almonds, walnuts, or even mixed nuts work wonderfully here.
- Ensure the mix cools completely for the best crispy texture.
