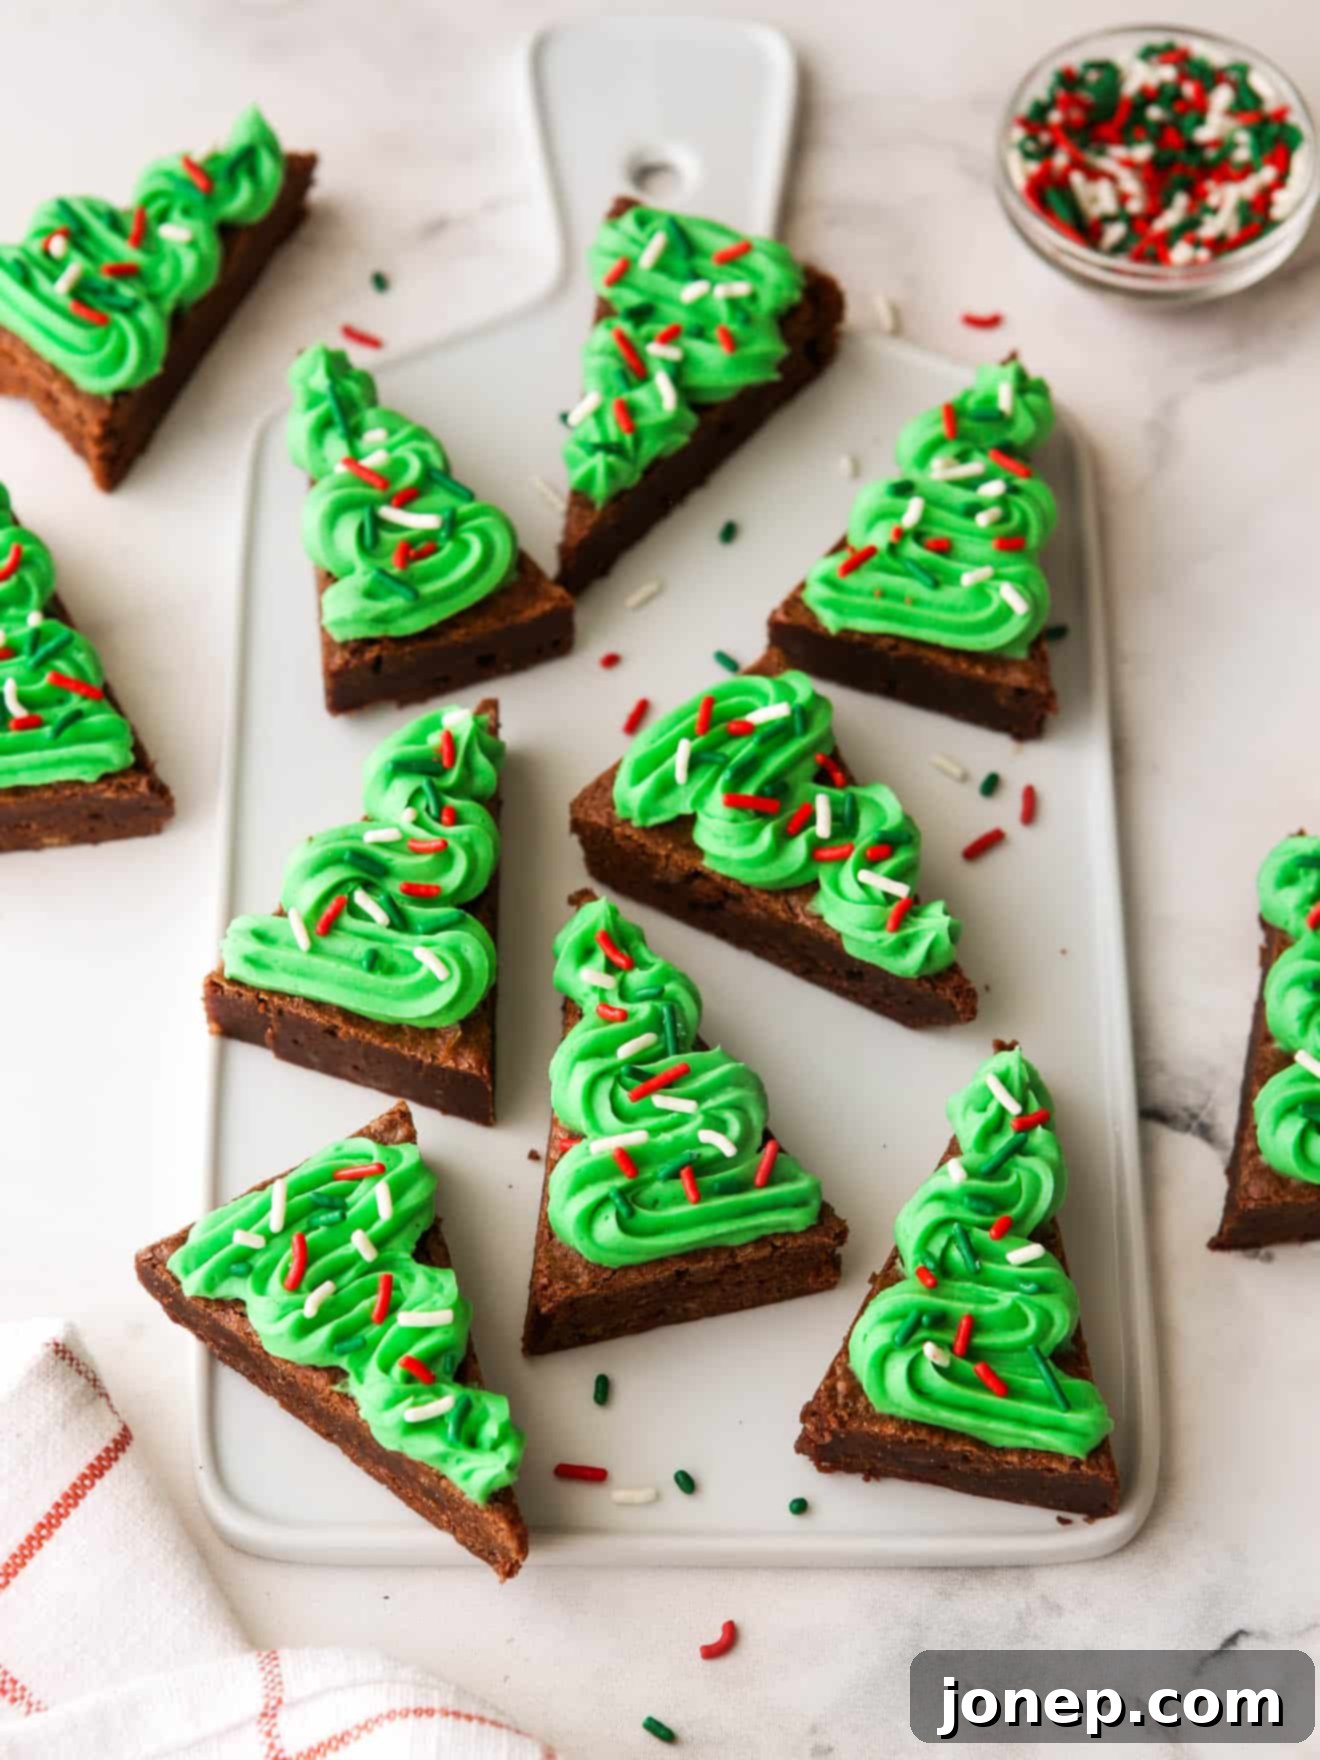
Festive Frosted Brownie Cut-Outs: Your Ultimate Guide to Easy Christmas Tree Brownies
Step into the festive season with these enchanting **frosted brownie cut-outs**, a delightful and unique alternative to traditional holiday treats. Imagine rich, intensely fudgy brownies crowned with light and airy buttercream frosting, artfully shaped and decorated to resemble whimsical Christmas trees, or any other festive design your imagination conjures! These irresistible confections are guaranteed to be the star of any holiday gathering, cookie exchange, or cozy family celebration.
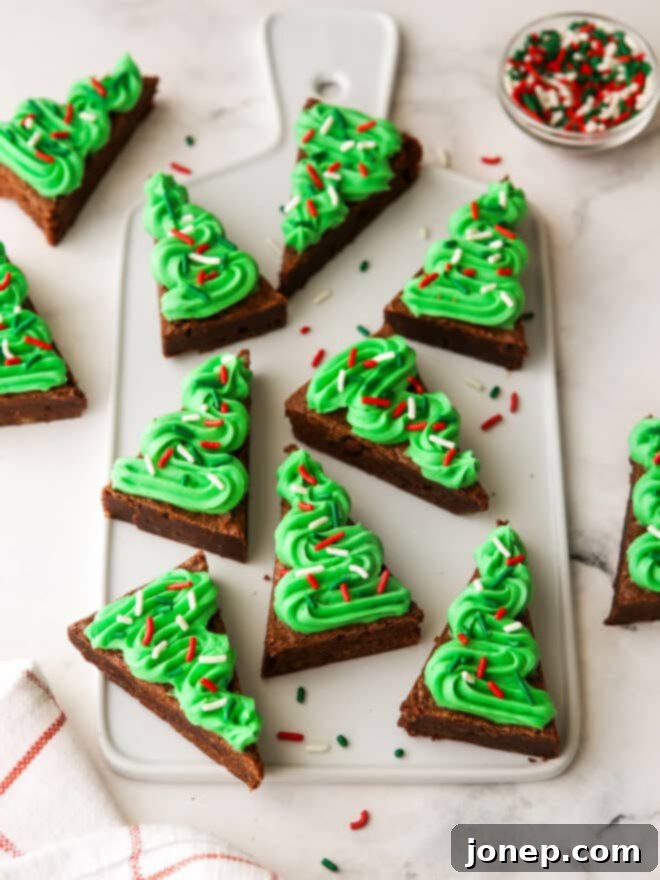
While the cherished tradition of frosting sugar cookies holds a special place in many hearts during the holidays, these delightful brownie “cookies” offer a refreshing and equally fun twist. Best of all, they’re significantly simpler to prepare! Forget about the tedious steps of chilling dough, rolling it out, or even needing specific cookie cutters. This recipe streamlines the process, allowing you more time to enjoy the holiday magic.
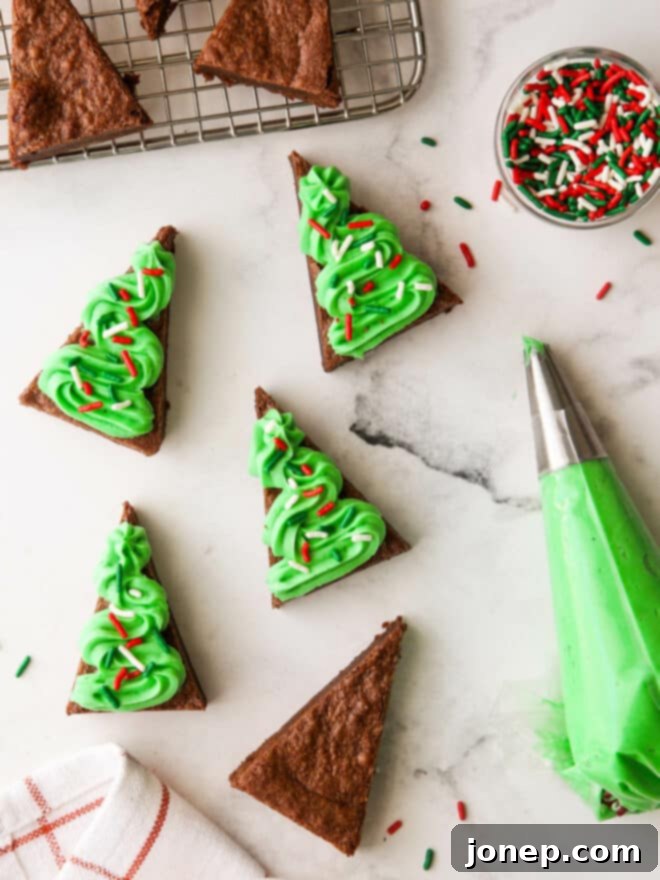
We’ve taken a beloved one-bowl homemade brownie recipe – known for its deep chocolate flavor and perfect fudgy texture – and transformed it into these festive delights. The secret lies in a clever cutting technique that yields perfect triangles, which are then generously topped with vibrant green-tinted vanilla buttercream frosting and a scattering of festive sprinkles. The result? Adorable edible Christmas trees that are almost too cute to eat!
Just one look at these charming treats and you’ll be smitten by their cuteness and playful appeal. But don’t let their charming appearance fool you – they taste absolutely incredible! If you’re on the hunt for something truly distinctive to bring to your next cookie exchange, holiday party, or simply to brighten your own home, then these frosted brownie cut-outs are precisely what you need!
Table of Contents
- Why Choose Brownie Cut-Outs for the Holidays?
- Ingredients you’ll need
- How to make brownie cut outs: Step-by-Step
- How to cut the brownies to look like Christmas trees
- Flavor variations and more decorating ideas
- Expert Tips for Perfect Frosted Brownie Cut-Outs
- More brownie recipes
- Get the recipe
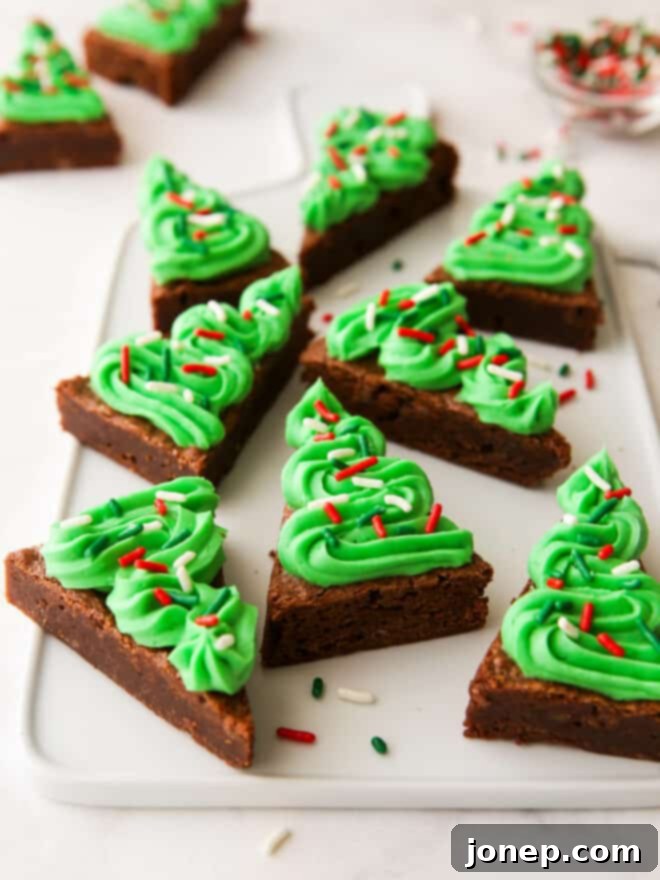
Why Choose Brownie Cut-Outs for the Holidays?
In a season often filled with intricate baking projects, these frosted brownie cut-outs offer a delightful shortcut without sacrificing flavor or festive appeal. Unlike traditional sugar cookies that demand extensive chilling, rolling, and delicate handling, brownies are inherently quick and forgiving. Their rich, dense, and chewy texture provides a satisfying contrast to the light and fluffy buttercream, creating a truly decadent bite. Plus, the ease of cutting them into shapes (no special cookie cutters required for our Christmas tree design!) means less fuss and more fun for bakers of all skill levels. They’re a crowd-pleaser that brings smiles and a wonderful homemade touch to any holiday spread.
Ingredients You’ll Need
Creating these fudgy frosted brownie cut-outs requires a few simple, high-quality ingredients that you likely already have in your pantry. For the brownies, we’ll focus on creating a rich, deeply chocolatey base. For the frosting, a classic vanilla buttercream provides the perfect sweet and creamy complement, ready to be tinted with festive colors.
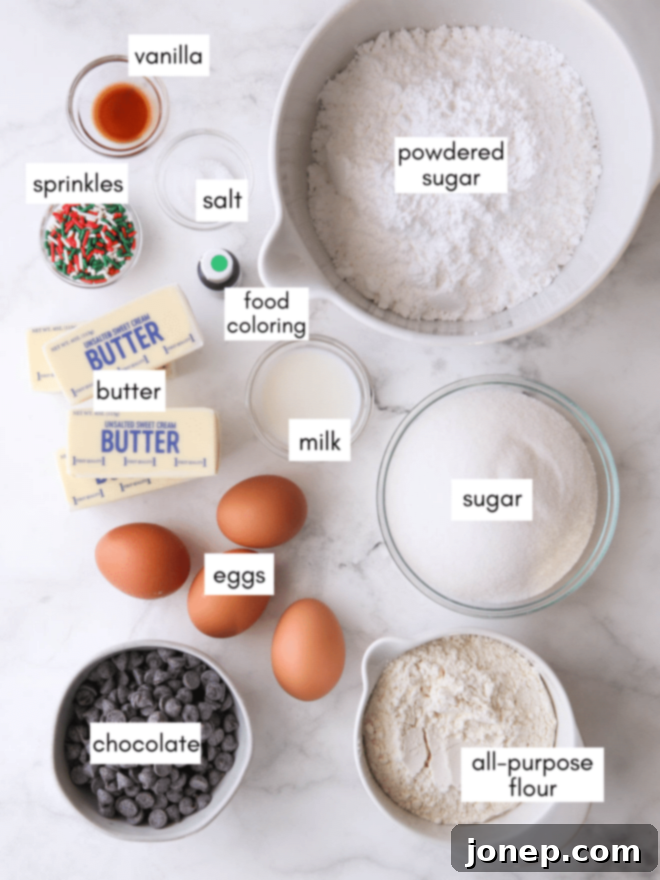
Make sure your butter is at room temperature for both the brownies (if melting with chocolate) and especially for the frosting, as this ensures a smooth, lump-free consistency. Using good quality bittersweet chocolate for the brownies will elevate their flavor significantly. For the frosting, sifted powdered sugar is key for that light and airy texture. Detailed quantities are available in the recipe card below.
How to Make Brownie Cut-Outs: Step-by-Step
This recipe is designed for simplicity, starting with a classic one-bowl brownie recipe that minimizes cleanup and maximizes flavor. Follow these straightforward steps to create your delicious base before moving on to the festive frosting.
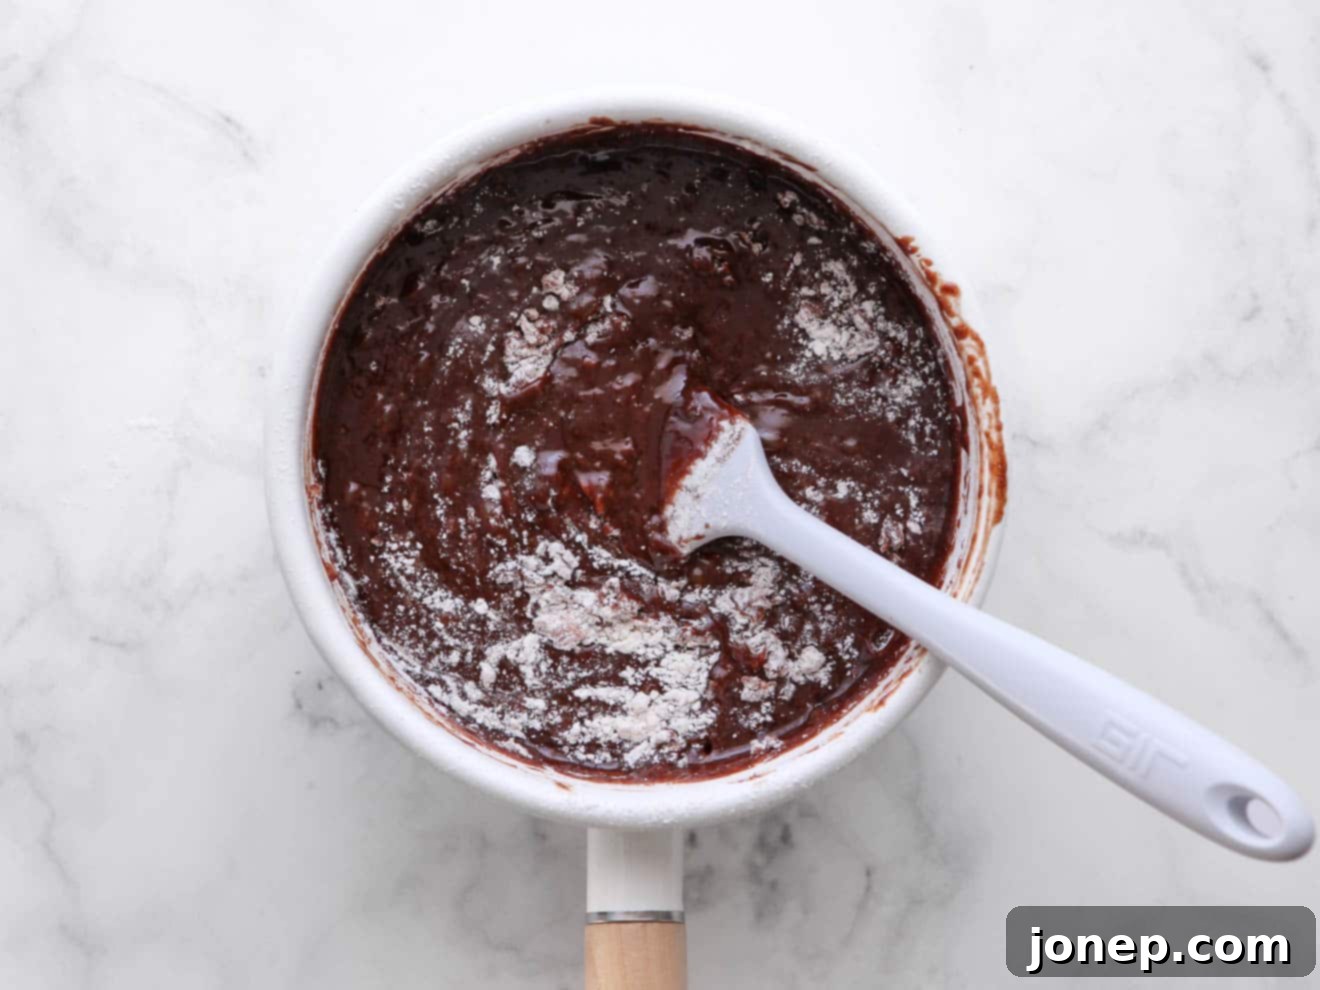
- Prepare the Brownie Batter: Our signature brownies are incredibly easy, made right in a single bowl! Begin by melting unsalted butter and bittersweet chocolate together until smooth and glossy. This combination creates the rich, fudgy foundation. Next, stir in the granulated sugar and a pinch of salt. Then, incorporate the large eggs one at a time, ensuring each is fully mixed before adding the next. Stir in the vanilla extract for that essential warm flavor. Finally, gently fold in the all-purpose flour, mixing just until the dry ingredients are fully combined. Be careful not to overmix, as this can lead to tougher brownies.
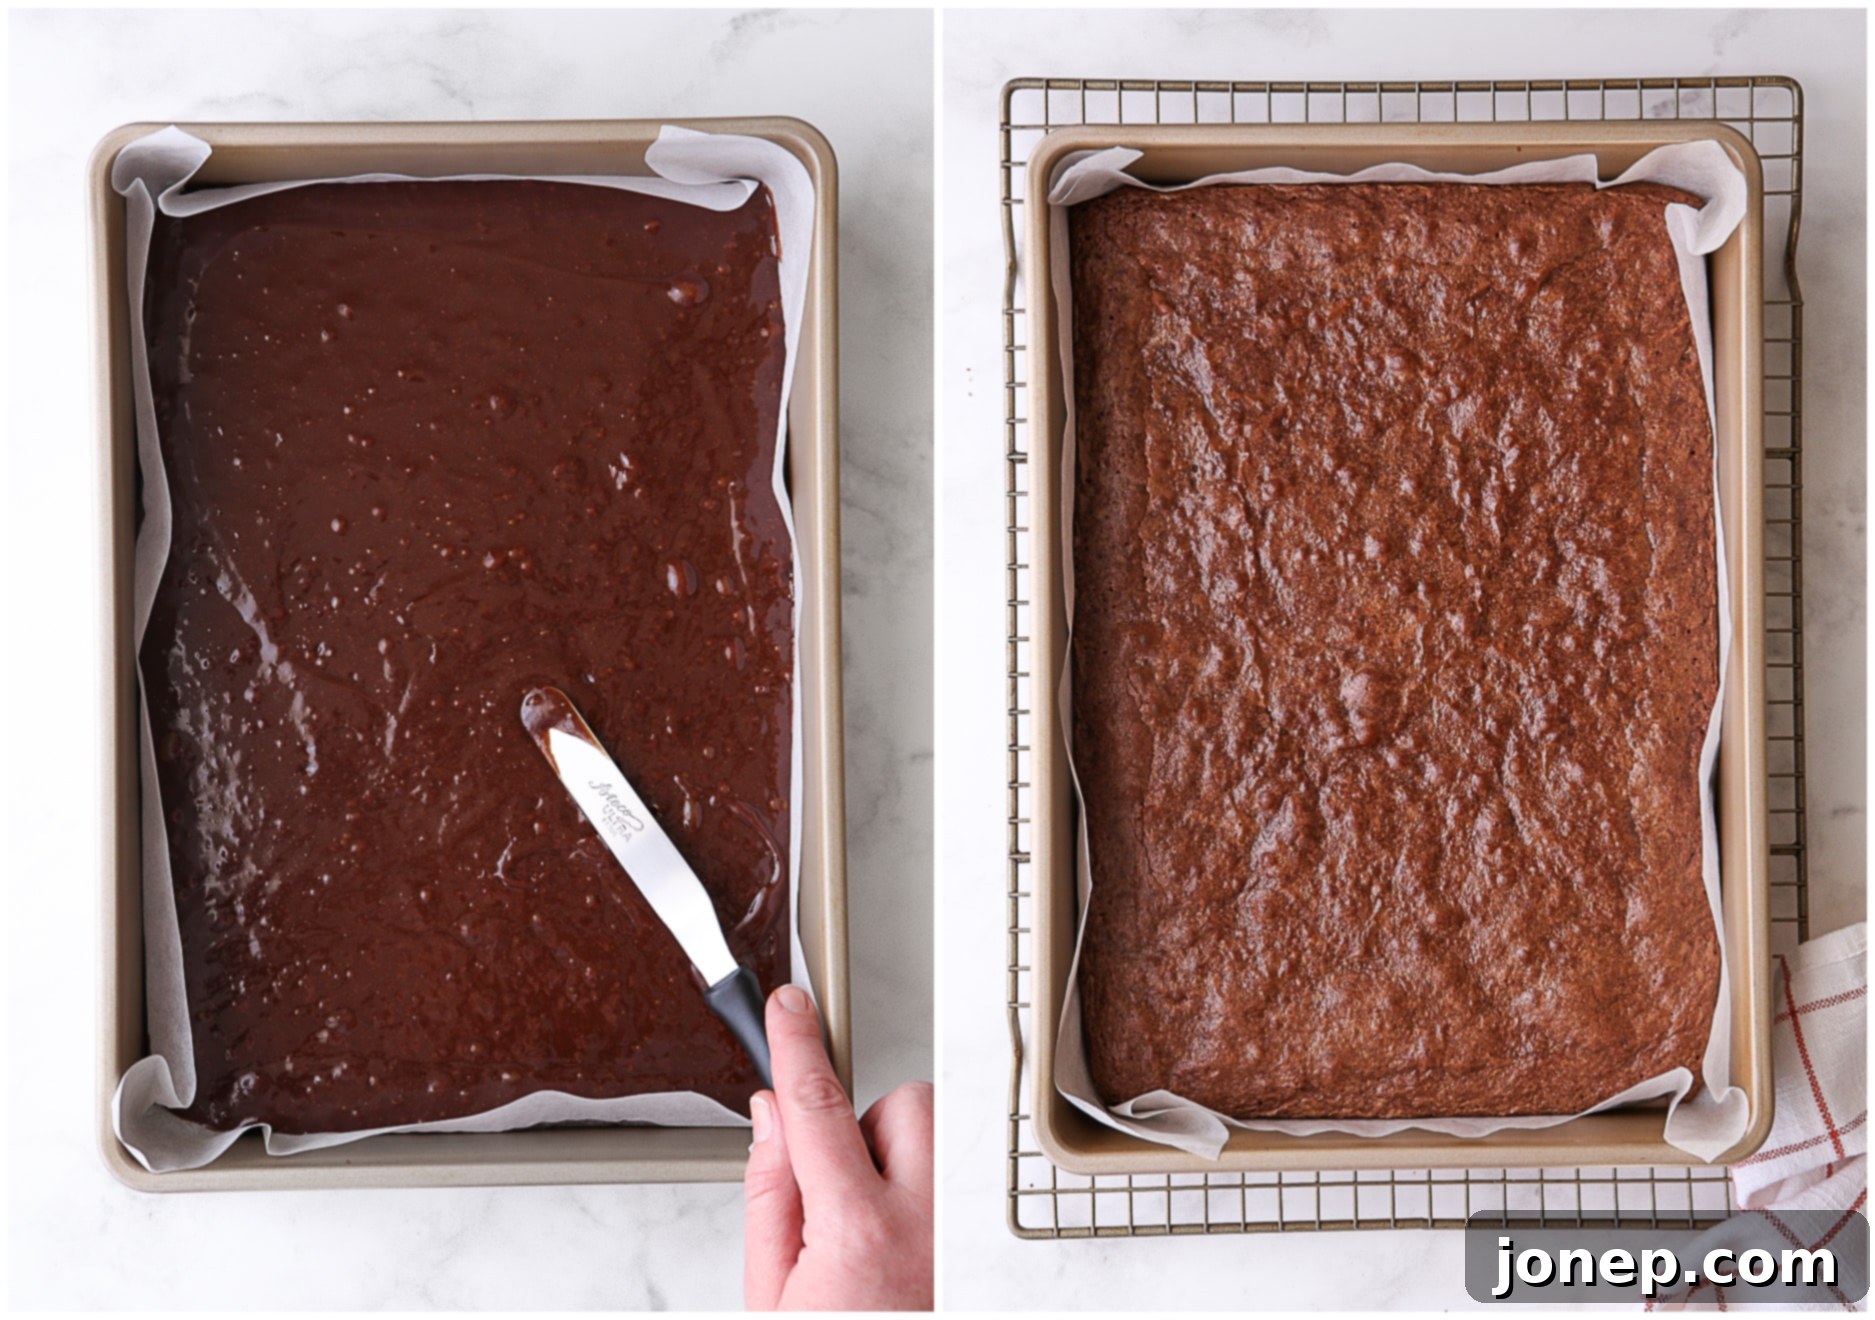
- Bake the Brownies to Perfection: Pour the prepared brownie batter evenly into a greased 9×13-inch baking pan. For easy removal later, we highly recommend lining the pan with parchment paper, leaving an overhang on the sides. Bake in a preheated oven at 350°F (175°C) for approximately 20-25 minutes. You’ll know they’re done when the edges appear slightly puffed and set, and the center looks mostly dry with a few moist crumbs clinging to a toothpick inserted into the middle. Avoid overbaking to maintain that desirable fudgy texture.
- Cool & Slice with Care: Patience is a virtue here! Allow the brownies to cool completely in the pan before attempting to remove or slice them. Cooling ensures they firm up and are much easier to cut cleanly without crumbling. Once thoroughly cooled, lift them out using the parchment paper overhang and transfer them to a cutting board. Now, you’re ready to cut them into festive triangles – more detailed instructions on this cutting technique are provided below!
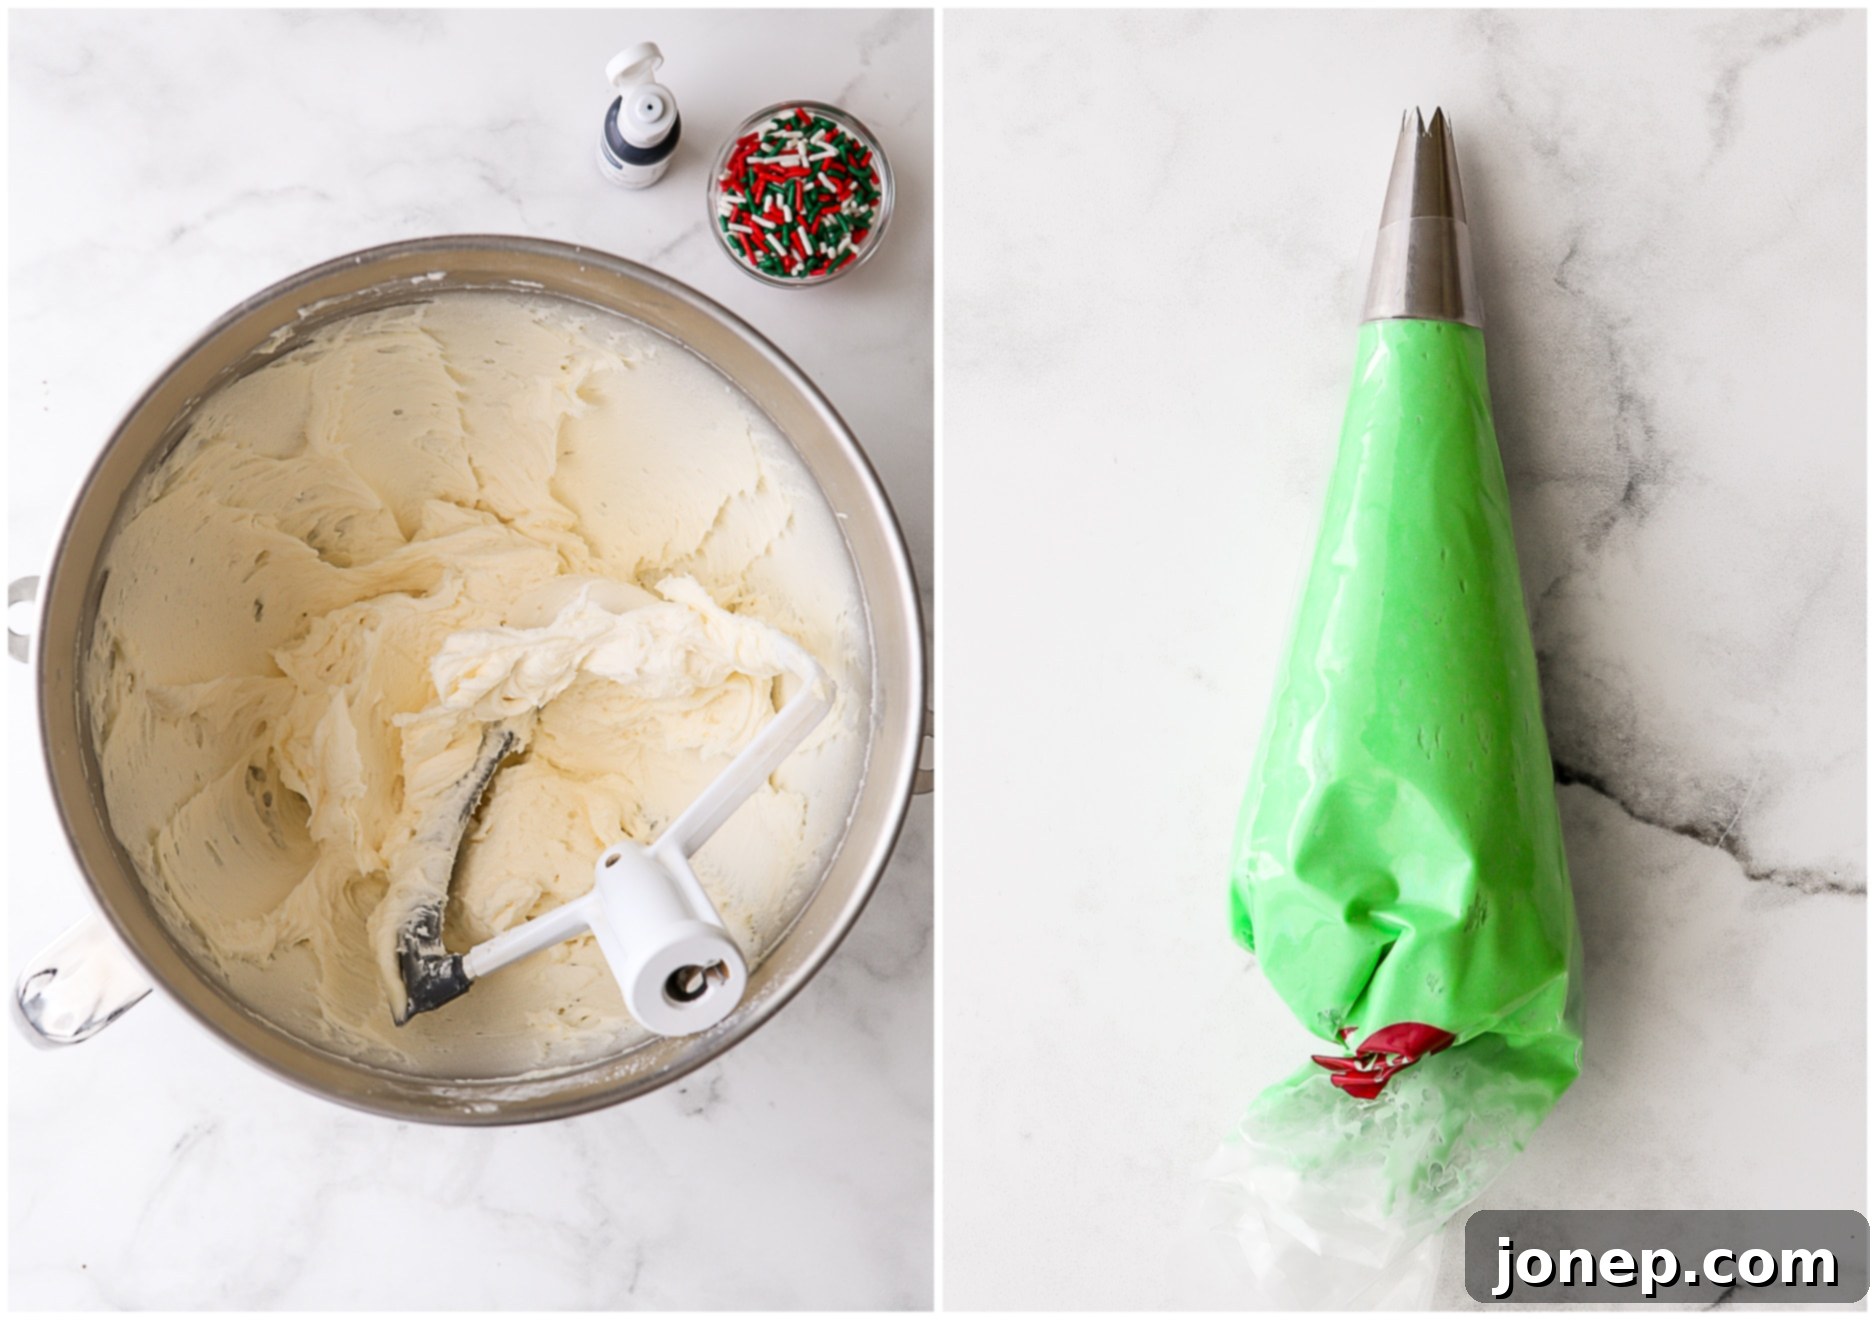
- Whip Up the Fluffy Buttercream Frosting: Using an electric mixer (either a stand mixer with a paddle attachment or a hand mixer), combine softened unsalted butter, sifted powdered sugar, milk, and vanilla extract. Start on low speed to combine the ingredients without creating a powdered sugar cloud. Once combined, increase the speed to medium-high and beat until the frosting becomes wonderfully light, airy, and fluffy. Don’t forget to scrape down the sides and bottom of the bowl as needed to ensure everything is evenly incorporated. If the frosting is too thick, add a tiny bit more milk, one teaspoon at a time, until you reach a perfect spreadable or pipeable consistency.
- Time to Decorate! Once your frosting is ready, add gel food coloring if desired (green for Christmas trees is our favorite!). Transfer the frosting to a piping bag fitted with a star tip for a beautiful, textured effect. I love using a swooping motion to create the look of tree branches, but feel free to get creative! If you prefer a simpler approach, a clean offset spatula works perfectly for spreading the frosting. And the grand finale? A generous shower of festive sprinkles to add that extra sparkle and holiday cheer!
- Serve and Enjoy! These beautifully decorated brownie cut-outs are ready to be served immediately. For a stunning presentation, arrange them on a festive platter or a decorative party tray. If you’re not serving them right away, don’t worry – they store wonderfully!
How to Cut the Brownies to Look Like Christmas Trees
Transforming a rectangular pan of brownies into festive Christmas trees is surprisingly simple, requiring just a little bit of planning and maybe a ruler for precision. Here’s a more detailed guide on how to achieve those perfect tree shapes:
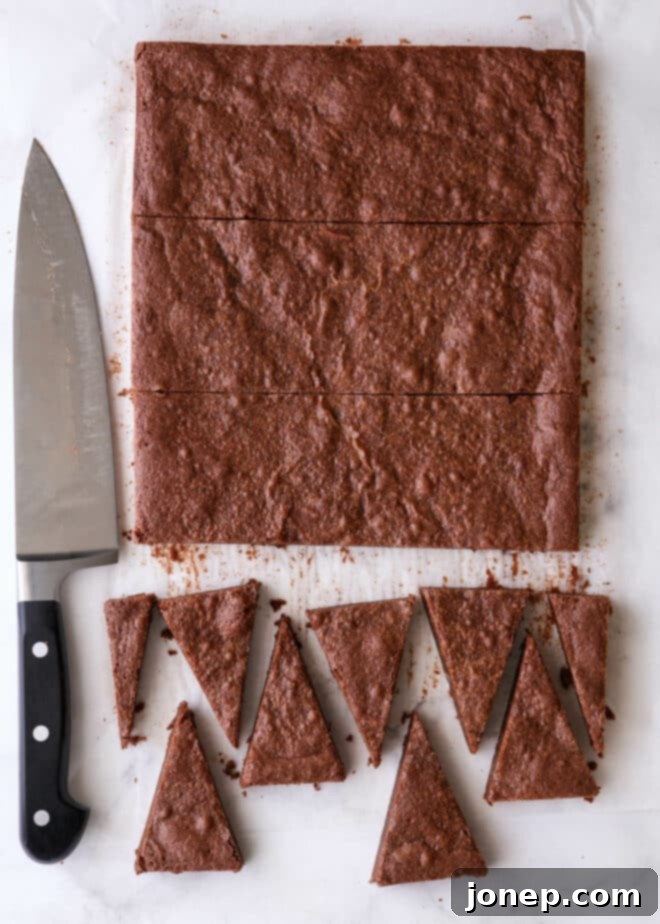
- Divide into Strips: Once your brownies are completely cooled and transferred to a cutting board, carefully cut the entire 9×13-inch slab into 4 even strips. Make these cuts parallel to the shorter sides of the pan, resulting in 4 long, narrow rectangles. Each strip will be approximately 2.25 inches wide.
- Prepare for Triangles: Now, we’ll work with each long rectangle individually to create the tree shapes. Our goal is to cut each strip into 7 isosceles triangles. This specific shape, where two sides are of equal length (but without a 90° angle, like a right triangle), gives the most natural and tree-like appearance.
- The Diagonal Cut Technique: Take one of the long brownie strips. Starting from one bottom corner, make a diagonal cut across to the opposite edge, approximately 1 inch in from that corner. Now, from the end point of your first cut on the opposite edge, cut diagonally back towards the other side, again about 1 inch further in from your previous starting point. Continue this pattern, making alternating diagonal cuts. Each cut should effectively “zigzag” across the strip, creating a series of triangles. If you have a ruler, use it to ensure your 1-inch increments are consistent, which helps in creating uniform triangles.
- Repeat and Enjoy the Scraps: Keep repeating the diagonal cutting motion until you’ve yielded 7 beautiful brownie triangles from that strip. You’ll likely have small, half-triangle-shaped scraps left over at each end – consider these your well-deserved chef’s treat! Repeat this process with the remaining 3 brownie strips until you have a grand total of 28 delightful brownie triangles, ready to be transformed into festive Christmas trees.
Flavor Variations and More Decorating Ideas
While classic chocolate brownies with vanilla buttercream are always a hit, don’t hesitate to get creative with flavors and decorations to make these cut-outs uniquely yours! Here are some inspiring ideas to spark your culinary imagination:
- Peppermint Brownie Trees: Infuse your brownies with a cool, minty kick by adding 1/2 teaspoon of peppermint extract to both the brownie batter and/or the buttercream frosting. This creates a refreshing twist, perfect for winter holidays. Top with crushed candy canes instead of sprinkles for an extra festive touch.
- Decadent Chocolate Overload: For the ultimate chocolate lover, opt for a rich fudge buttercream frosting instead of vanilla. The deep chocolate flavor of the frosting pairs exquisitely with the fudgy brownies, creating a truly luxurious dessert.
- Santa Hat Brownies: Instead of green Christmas trees, decorate your triangle-shaped brownies with white frosting for the brim and a dollop of red frosting for the main hat, then add a white pom-pom on top. You’ll have adorable Santa hats that are equally festive!
- Christmas Gift Brownies: For a different shape, cut your cooled brownies into traditional squares. Then, frost them with various colors and use contrasting frosting (or even edible glitter gel) to draw ribbons and bows, transforming them into charming edible Christmas gifts.
- Traditional Holiday Shapes: If you have specific cookie cutters you adore, feel free to use them! Once your brownies are completely cooled, use your favorite holiday cookie cutters (stars, snowmen, reindeer) to cut out fun shapes before frosting. This is a great way to personalize your treats.
- Unleash Your Creativity! The possibilities are endless. Don’t limit yourself to just green and red. Experiment with different frosting colors, sprinkle combinations (gold, silver, themed mixes), and unique piping designs. Let your creativity shine and have fun with it!
baking tip: How to tell when brownies are done
For the absolute gooey-est brownies, always err on the side of caution and bake for the minimum baking time listed in the recipe. Remember, brownies will continue to set up and firm as they cool in the pan, so taking them out a minute or two early is often better than a minute too late.
Expert Tips for Perfect Frosted Brownie Cut-Outs
Achieving bakery-quality frosted brownie cut-outs is easier than you think with these expert tips and tricks:
- The Magic of Parchment Paper: This is a game-changer! Lining your baking pan with parchment paper, allowing it to overhang on the sides, makes the entire process incredibly simple. Once the brownies are fully cooled, you can effortlessly lift the entire slab out of the pan, transferring it to a cutting board for clean and easy slicing. If parchment paper isn’t available, greased aluminum foil can serve as a suitable alternative.
- Opt for Gel Food Coloring: For the most vibrant and rich colors that truly pop, gel food coloring is highly recommended over liquid food coloring. Gel colors are concentrated, meaning you need less to achieve intense hues, and they won’t alter the consistency of your delicate buttercream frosting. Popular brands like Wilton and AmeriColor are widely available at craft and baking supply stores, and even some grocery stores now carry Betty Crocker gel colors.
- Prepare in Advance & Store Smartly: These brownies are fantastic make-ahead treats! Unfrosted brownies keep exceptionally well. Store them in an airtight container at room temperature for up to 1 week, or wrap them tightly with plastic wrap and freeze for a month or even longer. If you’re storing frosted brownies, allow the buttercream frosting ample time to set and develop a slight “crust” on its exterior before placing them in an airtight container. This crucial step prevents smudging and ensures your beautiful decorations remain intact, especially if you plan to stack them.
- Room Temperature Ingredients for Frosting: Ensure your butter for the frosting is truly at room temperature (softened but not melted). This allows it to cream smoothly with the powdered sugar, resulting in a light, airy, and lump-free buttercream.
- Sift Your Powdered Sugar: To guarantee the smoothest buttercream frosting, always sift your powdered sugar before adding it to the butter. This removes any lumps and ensures a silky texture that pipes beautifully.
More Brownie Recipes to Love
If you’ve fallen in love with these festive brownie cut-outs, you’ll be thrilled to explore more delicious brownie creations. Here are some other favorite recipes from our kitchen that are perfect for any occasion:
Get the Recipe
Ready to bake your own batch of festive frosted brownie cut-outs? Find the full printable recipe, including detailed instructions, ingredient measurements, and nutritional information, below. We hope you and your loved ones enjoy these delightful holiday treats as much as we do!
This recipe was originally published December 2013 in partnership with Go Bold With Butter.
Frosted Brownie Cut-Out Cookies
28
servings
10 minutes
30 minutes
30 minutes
1 hour
10 minutes
Pin Recipe
Leave a Review
Ingredients
For the brownies:
-
1 cup
unsalted butter , cut into cubes -
6 ounces
bittersweet chocolate , chopped or use chips -
1 ½ cup
granulated sugar -
¼ teaspoon
salt -
4
large eggs -
1 teaspoon
vanilla extract -
1 ½ cups
all-purpose flour
For the frosting:
-
1 cup
unsalted butter -
4 cups
powdered sugar , sifted -
2 teaspoons
vanilla extract -
Pinch
salt -
2-3 tablespoons
milk -
Food coloring , as desired -
Sprinkles , as desired
Prevent your screen from going dark
Equipment
Instructions
To make brownies:
-
To make the brownies, preheat oven to 350°F (175°C). Grease a 9×13-inch baking dish or line it with parchment paper, leaving an overhang on the longer sides for easy removal.
-
In a large, microwave-safe bowl or a saucepan set over low heat, melt the chocolate and butter together, stirring occasionally until smooth. Remove from heat and stir in the granulated sugar and salt. Add the eggs one at a time, mixing well after each addition until fully incorporated. Stir in the vanilla extract. Finally, add the all-purpose flour and mix gently until just combined. Be careful not to overmix.
-
Pour the brownie batter evenly into the prepared baking dish. Bake for 20-25 minutes, or until the edges are set and the center appears mostly dry. A toothpick inserted into the center should come out with moist crumbs, not wet batter. Let cool completely in the pan before proceeding.
To make frosting:
-
In the bowl of a stand mixer fitted with a paddle attachment, or in a large bowl with a hand mixer, beat together the softened unsalted butter, sifted powdered sugar, vanilla extract, pinch of salt, and 2 tablespoons of milk on low speed until smooth.
-
Increase the speed to medium-high and beat until the frosting is light, fluffy, and creamy, pausing to scrape down the bowl if needed. If the frosting seems too thick, add more milk, one teaspoon at a time, until you achieve the right spreadable or pipeable consistency.
-
Color the frosting as desired with gel food coloring (green is perfect for Christmas trees!).
To cut and decorate into Christmas trees:
-
Once the brownies are completely cooled, lift them from the pan using the parchment paper overhang and place them on a cutting board. Cut the brownies into 4 long rectangles, parallel with the short edges of the pan. Take one rectangle at a time and, starting from one corner, cut diagonally across to the other edge, approximately 1 inch in. Then, cut diagonally back to the other side, another 1 inch in from the previous cut. Repeat this zigzag pattern until you have 7 triangles from each strip. Use a ruler if needed for even cuts.
-
Repeat the cutting process with the remaining brownie strips until you have 28 total triangles. You’ll have a few small scraps leftover from each side, which are perfect for a baker’s snack!
-
Use a piping bag and tip (a star tip works wonderfully for a tree-like texture), or simply use an offset spatula, to top each brownie triangle with the prepared frosting. Add sprinkles as you like for a festive finish.
-
Store the decorated brownies in an airtight container at room temperature for up to 1 week, or wrap them well with plastic wrap and freeze for a month or more. If stacking, allow the frosting to set and develop a “crust” on its surface before layering to prevent smudging.
,
Carbohydrates: 36g
,
Protein: 2g
,
Fat: 16g
,
Saturated Fat: 10g
,
Polyunsaturated Fat: 1g
,
Monounsaturated Fat: 4g
,
Trans Fat: 1g
,
Cholesterol: 59mg
,
Sodium: 33mg
,
Potassium: 57mg
,
Fiber: 1g
,
Sugar: 30g
,
Vitamin A: 444IU
,
Calcium: 14mg
,
Iron: 1mg
American
Dessert
Annalise Sandberg
Have you tried this recipe?
I’d love to hear about it! Leave a rating and review below, or take a photo and tag it on Instagram
@completelydelicious with
#completelydelicious.
