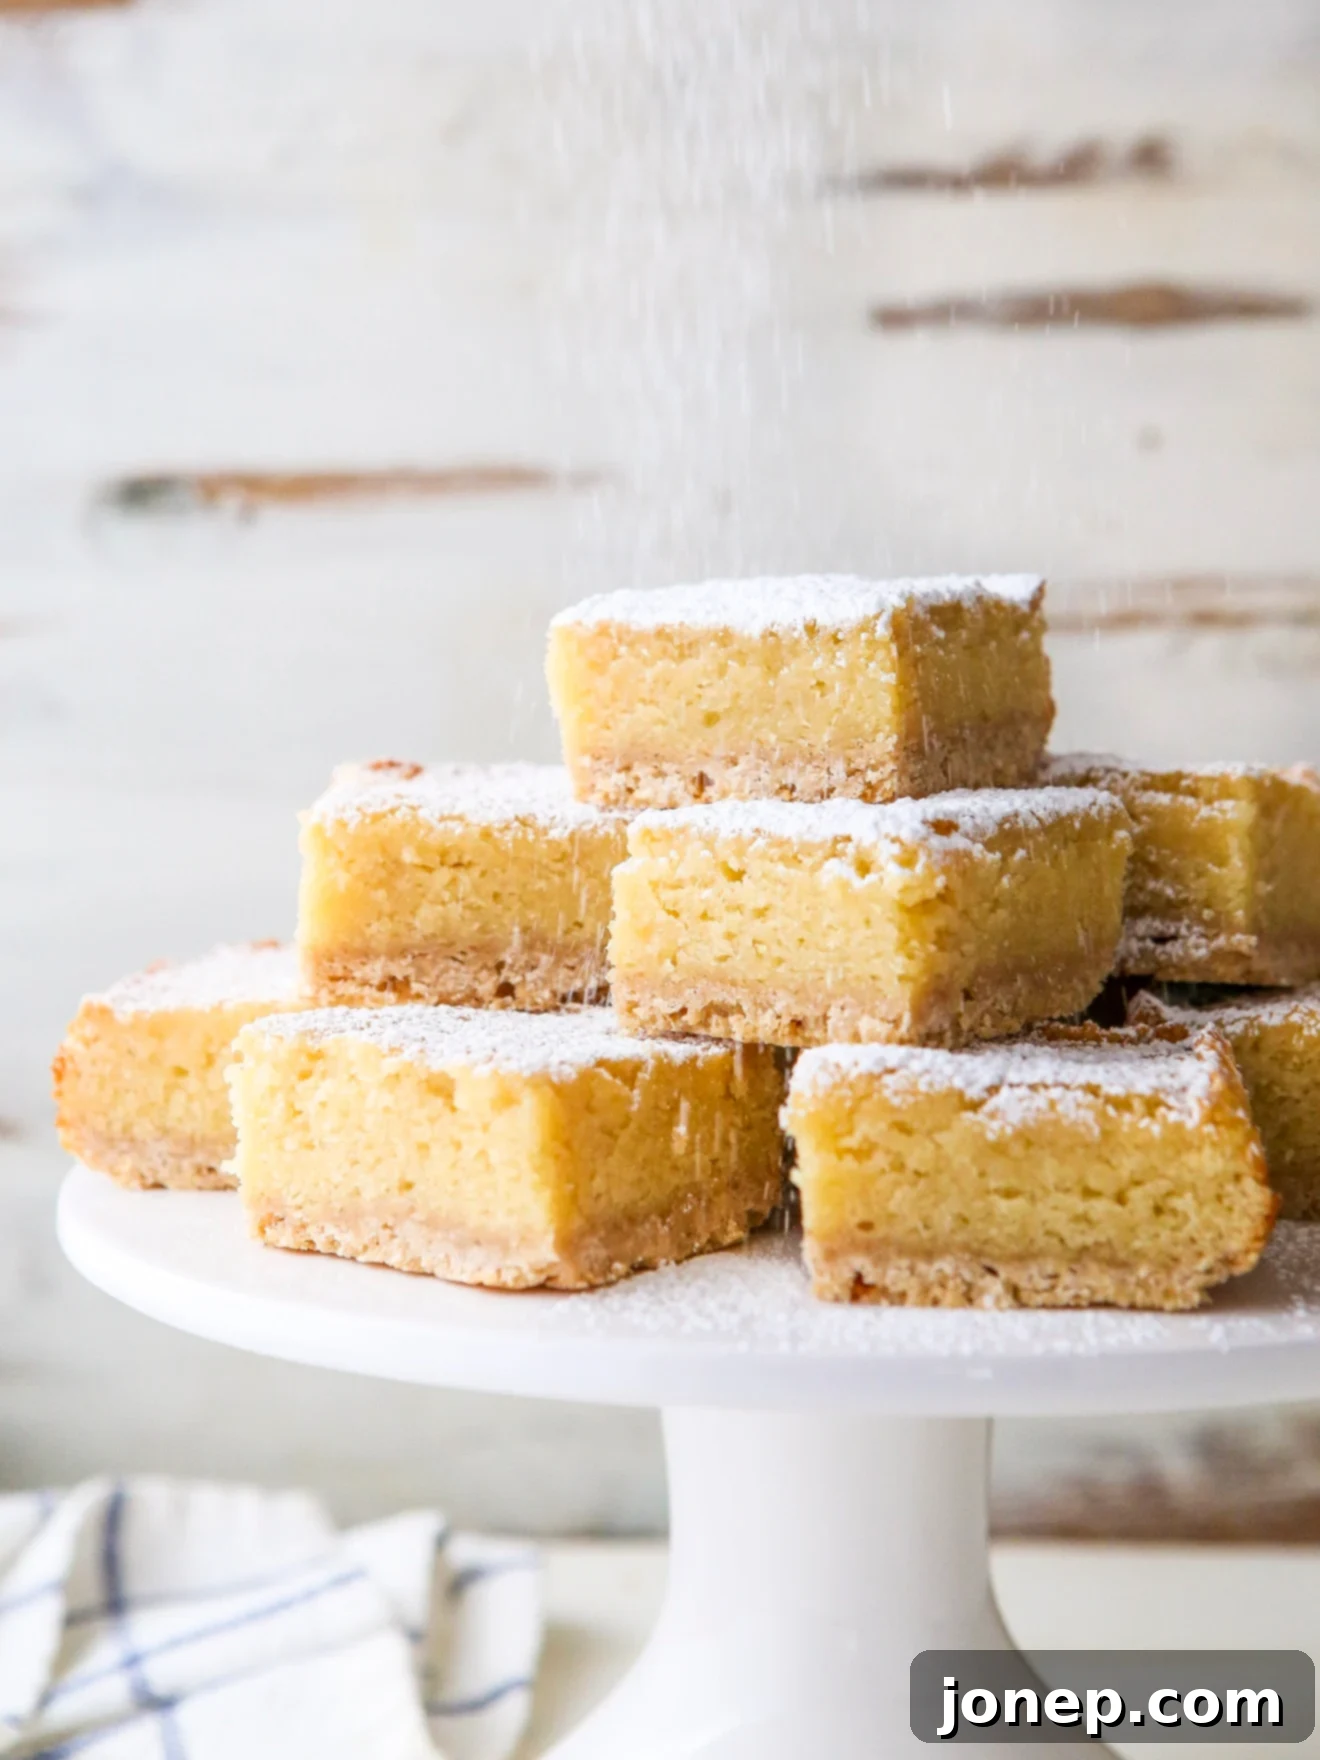
Irresistible Maple Butter Bars: Your Essential Guide to a Buttery, Sweet Fall Treat
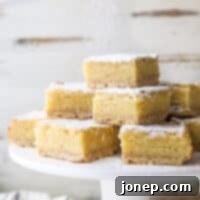
Maple butter bars are the epitome of simple elegance in baking – irresistibly buttery cake bars that are subtly sweetened with the rich, authentic flavor of real maple syrup. This recipe captures the comforting essence of fall in every bite, making it a beloved treat for any occasion.
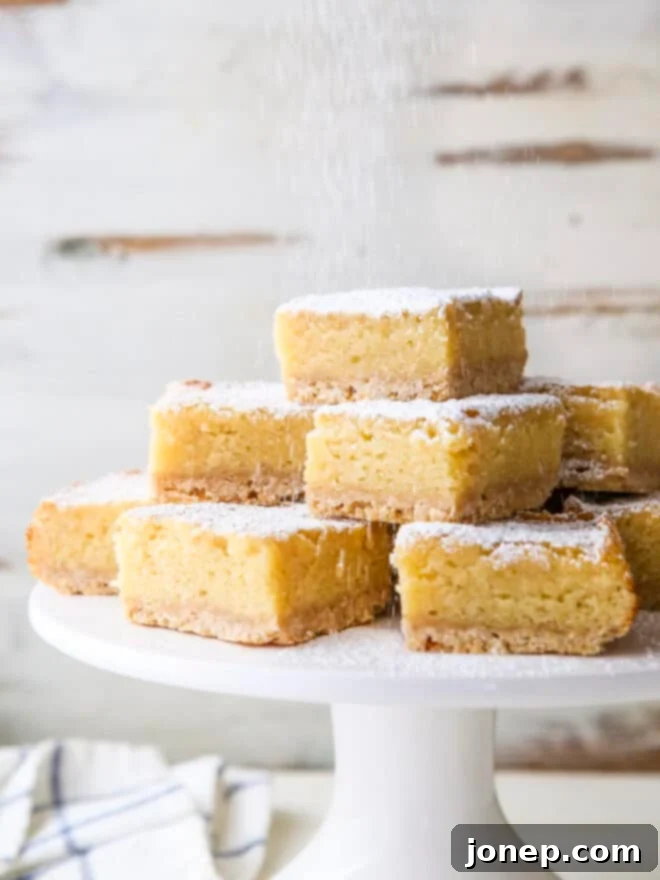
Sometimes, the simplest recipes yield the most profound flavors, and these maple butter bars are a perfect testament to that truth. They might not be the most elaborate dessert you’ve ever baked, lacking intricate decorations or complex techniques. Yet, I promise you, their straightforward charm hides an unbelievably delicious experience. Each bar offers a tender, melt-in-your-mouth texture paired with the warm, distinctive taste of pure maple syrup.
I often affectionately refer to these as the “lemon bars of fall.” Just as lemon bars capture the bright zest of summer, maple butter bars perfectly encapsulate the cozy, spiced essence of autumn. With a delicate hint of ground cinnamon, a generous amount of real maple syrup, and an incredibly rich, buttery flavor and texture, they are an absolute delight. What’s more, their make-ahead convenience makes them an ideal candidate for fall and holiday gatherings, ensuring you have a delectable dessert ready to impress. But don’t save them just for special occasions; they are also delightfully easy to whip up, making them a perfect antidote to any weeknight sweet craving.
So, gather your ingredients, preheat your oven, and let’s dive into the comforting world of maple-infused baking!
Essential Ingredients for Your Maple Butter Bars
Creating these delightful maple butter bars requires a selection of quality ingredients, each playing a vital role in achieving their signature taste and texture. Opting for the best quality, especially when it comes to the maple syrup, will truly elevate your baking experience.
- All-purpose flour: This foundational ingredient provides the necessary structure for both the tender crust and the creamy filling. Ensure it’s properly measured for the best results.
- Granulated sugar: Used in both layers, it contributes to the sweetness and helps achieve the perfect crumbly texture in the crust and the smooth consistency in the filling.
- Butter: The name “butter bars” isn’t just for show! Butter is crucial for the rich, irresistible flavor and tender texture of these bars. We use it cold for the crust and softened for the filling.
- Real maple syrup: This is the star of the show. Please, for an authentic and deep maple flavor, use pure, real maple syrup. Avoid artificial pancake syrups, as they lack the complex taste that makes these bars truly special. Grade A Amber or Dark Robust are excellent choices.
- Half and half: Adding richness and moisture, half and half contributes to the wonderfully smooth, almost custardy texture of the filling, balancing the sweetness and intensifying the creamy mouthfeel.
- Egg: A single large egg acts as a binder, helping to emulsify the filling mixture and contribute to its structure and luxurious texture.
- Ground cinnamon: A warm, aromatic spice that beautifully complements the maple, adding a subtle hint of autumnal flavor without overpowering the main ingredient.
- Powdered sugar: Used purely for dusting the cooled bars, it provides an elegant finish and a final whisper of sweetness.
baking tip: When to Bake with Salted Butter vs. Unsalted Butter
Conventional baking wisdom often advises using unsalted butter. The reasoning is sound: unsalted butter gives you precise control over the amount of salt in your recipe, as salt content can vary significantly between different brands of salted butter. It’s like starting with a blank slate, allowing you to tailor the flavor perfectly.
While this principle holds true, I’ve personally discovered that salted butter performs perfectly fine in most recipes without any noticeable negative difference. In fact, I often prefer it in recipes where I crave that extra “oomph” of flavor, a delightful interplay of sweet and salty notes. Think cookies, caramel sauces, or even rice krispie treats – the subtle saltiness can truly enhance the overall taste profile.
The bottom line? Don’t stress too much! Use what you already have in your refrigerator. If a recipe specifically calls for unsalted butter and you’re using salted, a good rule of thumb is to err on the side of caution and reduce any additional salt in the recipe by half. This little adjustment usually ensures your baked goods are perfectly balanced.
Step-by-Step Guide: How to Make Maple Butter Bars
Making these luscious maple butter bars is a straightforward process, broken down into simple steps. Follow these instructions carefully for a perfect batch every time.
- Prepare the Crust: In a medium bowl, whisk together the all-purpose flour, granulated sugar, and ground cinnamon for the crust until well combined. Add the cold, cubed unsalted butter. Using a pastry blender, a fork, or even your fingertips, cut the butter into the dry ingredients until the mixture resembles coarse crumbs with some pea-sized pieces of butter remaining. This creates a wonderfully tender and flaky crust.
- Bake the Crust: Line a 9-inch square baking pan with parchment paper, leaving an overhang on two sides to create a “sling” for easy removal later. Lightly grease the parchment if desired. Press the crumbly dough evenly into the bottom of the prepared pan. Ensure it’s compact and covers the entire base. Bake in a preheated oven at 350°F (175°C) for 5-7 minutes. You want the crust to be set and lightly fragrant, but not yet browning.
- Prepare the Filling: While the crust is par-baking, begin the filling. In the bowl of a stand mixer fitted with a paddle attachment (or a large bowl with a hand-held electric mixer), beat the softened unsalted butter and granulated sugar on medium-high speed until the mixture is light, fluffy, and creamy, about 2-3 minutes. Scrape down the sides of the bowl as needed. Beat in the large egg until fully incorporated, then slowly add the pure maple syrup, mixing until just combined. The mixture may appear slightly curdled at this stage, which is completely normal due to the different liquids and fats. Finally, add the all-purpose flour in two additions, alternating with the half and half, beginning and ending with flour. Mix on low speed until the batter is smooth and well combined, being careful not to overmix.
- Bake the Bars: Carefully pour the prepared maple filling evenly over the warm, par-baked crust in the pan. Gently spread it with a spatula to ensure it covers the entire crust. Return the pan to the oven and bake for approximately 35-40 minutes. The bars are done when the edges are lightly golden, and the center is set but still slightly jiggly when gently shaken. It should be barely firm to the touch. Overbaking can lead to a dry filling, so keep a close eye on it!
- Cool Completely: This step is absolutely crucial for the best results and clean slices. Allow the maple butter bars to cool completely in the pan on a wire rack at room temperature. This can take several hours. For perfectly neat and tidy slices, I highly recommend chilling the cooled bars in the refrigerator for at least 1-2 hours before cutting.
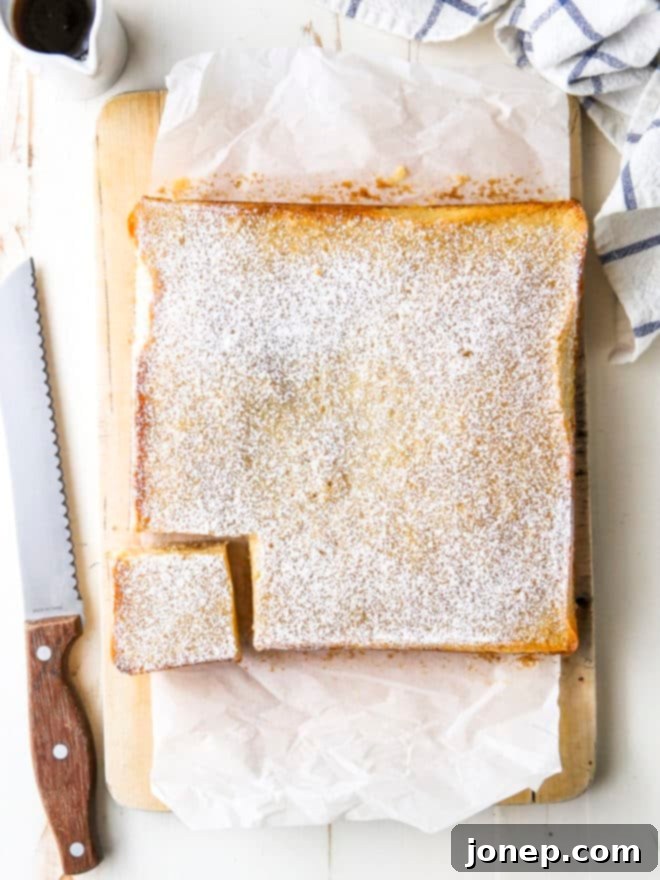
- Dust with Powdered Sugar and Serve: Once thoroughly chilled, use the parchment paper overhang as a sling to lift the entire slab of maple butter bars out of the pan. Place it on a cutting board. Dust generously with powdered sugar for a beautiful presentation and an extra touch of sweetness. Using a sharp knife, slice the bars into 16 squares (or your preferred size). Serve immediately and enjoy the rich, buttery, maple goodness!
How to Make This Recipe Ahead & Storage Tips
One of the many appealing qualities of these maple butter bars is how well they store, making them an excellent choice for advance preparation, especially during busy holiday seasons or for meal prepping sweet treats.
These delicious bars can be stored in an airtight container in the refrigerator for up to 1 week. Placing parchment paper between layers can help prevent sticking if you stack them. For longer storage, they freeze exceptionally well. If you plan to freeze them, it’s best to do so before slicing and dusting with powdered sugar. Wrap the cooled, unsliced slab tightly in two layers of plastic wrap, then an additional layer of aluminum foil to prevent freezer burn. They can be stored in the freezer for several months.
When you’re ready to enjoy your frozen maple butter bars, simply transfer the wrapped slab to the refrigerator and let it thaw overnight. Once thawed, you can slice them into your desired portions and dust them with fresh powdered sugar right before serving. This method ensures they taste just as fresh and delicious as when they were first baked.
Why You’ll Fall in Love with These Maple Butter Bars
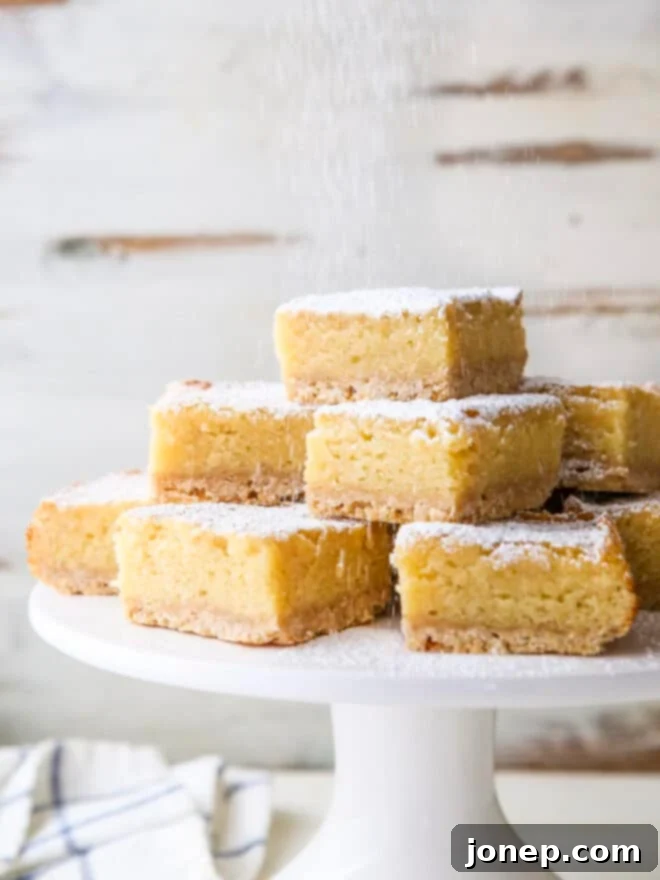
There’s something inherently comforting and utterly delightful about maple butter bars that makes them an instant favorite. Their appeal lies in a perfect symphony of flavors and textures, making them more than just a simple dessert. The rich, golden hue and inviting aroma alone are enough to draw you in.
First and foremost, it’s the authentic maple flavor that truly shines. By using real maple syrup, you’re not just getting sweetness; you’re experiencing the complex, nuanced notes that only pure maple can offer – earthy, caramel-like, and subtly woody. This natural sweetness is far superior to artificial flavors and creates a deeply satisfying taste that lingers pleasantly on the palate.
Then there’s the incredible texture. The base is a tender, crumbly shortbread-like crust that provides a delightful contrast to the smooth, almost custardy, rich butter filling. It’s a harmonious balance that makes each bite a textural dream. The hint of cinnamon woven into the crust and filling adds a comforting warmth, evoking images of crisp autumn days and cozy evenings.
These bars are also wonderfully versatile and approachable. They’re fancy enough for a holiday dessert table, yet simple enough to be a casual weeknight treat. Their straightforward preparation means even novice bakers can achieve impressive results. Plus, their make-ahead friendly nature is a huge bonus, allowing you to enjoy fresh-tasting treats without last-minute stress. They are a true celebration of fall flavors, perfect with a cup of coffee, tea, or even a glass of milk.
Tips for Achieving the Best Maple Butter Bars
To ensure your maple butter bars turn out perfectly every time, keep these expert tips in mind:
- Use Real Maple Syrup: This cannot be stressed enough. Artificial pancake syrups simply do not offer the depth and complexity of flavor that pure maple syrup does. Investing in good quality real maple syrup is the secret to truly outstanding maple butter bars.
- Don’t Overbake: The filling should be set but still have a slight jiggle in the center when gently shaken. Overbaking can lead to a dry, crumbly filling instead of the luscious, tender texture we’re aiming for. Keep a close eye on them during the last 10 minutes of baking.
- Cool Completely: Patience is a virtue, especially when it comes to cutting bars. For the cleanest, most attractive slices, allow the bars to cool completely at room temperature, then ideally chill them in the refrigerator for at least an hour or two. A chilled bar is much easier to slice neatly.
- Room Temperature Ingredients (for filling): Ensure your butter and egg for the filling are at room temperature. This allows them to cream together smoothly with the sugar, creating a light and airy base for your filling and preventing a curdled texture (though a slight curdling after adding maple syrup is normal).
- Properly Measure Flour: Spoon and level your flour rather than scooping directly from the bag. Too much flour can result in a dense or dry crust and filling.
Variations & Serving Suggestions
While these maple butter bars are perfect as is, a few simple additions or serving tweaks can customize them to your liking:
- Nutty Crunch: Add ½ cup of finely chopped toasted pecans or walnuts to the crust mixture for an extra layer of flavor and texture. You can also sprinkle them over the filling before baking.
- Maple Glaze: For an extra maple punch, whisk together ½ cup powdered sugar with 1-2 tablespoons of maple syrup and a tiny splash of milk. Drizzle over the cooled bars instead of, or in addition to, the powdered sugar dusting.
- Spiced Up: Enhance the warm spice profile by adding a tiny pinch of nutmeg or allspice to the crust or filling along with the cinnamon.
- Chocolate Chips: For a delightful twist, sprinkle a handful of mini chocolate chips over the filling before baking. Maple and chocolate are a surprisingly delicious combination!
Serve these bars as a delightful dessert after a comforting fall meal, alongside your morning coffee, or as an afternoon pick-me-up. They are also fantastic additions to potlucks, bake sales, and holiday dessert platters, where their simple elegance is sure to be appreciated.
Frequently Asked Questions About Maple Butter Bars
- Q: Can I use pancake syrup instead of real maple syrup?
- A: No, it’s highly recommended to use pure, real maple syrup. Pancake syrups are often corn syrup-based with artificial maple flavoring, which will not provide the rich, complex, and natural taste essential for these bars. The quality of your maple syrup directly impacts the final flavor.
- Q: How do I get clean slices?
- A: The key to clean slices is patience! Ensure the bars are completely cooled to room temperature, and then chill them in the refrigerator for at least 1-2 hours (or even longer). When slicing, use a sharp knife and wipe the blade clean with a damp cloth between each cut to prevent sticking.
- Q: My filling looked a little curdled when I added the maple syrup and egg. Is that normal?
- A: Yes, it’s quite normal for the mixture to appear slightly curdled or separated after adding the egg and maple syrup, especially if the ingredients aren’t perfectly at room temperature. Don’t worry, once you add the flour and half and half, it will come together smoothly again during mixing.
- Q: Can I make these in a different sized baking pan?
- A: You can, but you may need to adjust baking times. If using an 8×8-inch pan, the bars will be thicker, and baking time may increase by 5-10 minutes. Keep an eye on the center for firmness. For a larger pan like a 9×13-inch, the bars will be thinner, and baking time will likely decrease significantly. It’s best to stick to the 9-inch square pan for optimal thickness and baking consistency.
- Q: How can I tell if the bars are properly baked?
- A: The edges of the filling should be set and lightly golden, while the center should still have a very slight jiggle when gently shaken. It should look firm, but not dry or cracked. An inserted toothpick might come out with moist crumbs attached, but not wet batter.
More Maple Recipes to Love
If you’ve fallen in love with the rich taste of maple in these bars, you’ll surely enjoy exploring other maple-infused delights. Here are some more recipes to bring that comforting flavor to your kitchen:
- Maple Bundt Cake
- Maple Cornmeal Biscuits
- Maple Yogurt Muffins with Pecans
- Baked French Toast with Streusel Topping and Cranberry Maple Syrup
This recipe for Maple Butter Bars was originally published in October 2017 and has been loved by many ever since.
★
★
★
☆
Maple Butter Bars
16
bars
15
40
55
Print Recipe |
Pin Recipe |
Leave a Review
Ingredients
For the crust:
- 1 cup all-purpose flour (120 grams)
- 3 tablespoons granulated sugar
- ½ teaspoon ground cinnamon
- ⅓ cup unsalted butter , cold and cubed (75 grams)
For the filling:
- ¾ cup unsalted butter , softened to room temperature (170 grams)
- ¾ cup granulated sugar (150 grams)
- 1 large egg
- ⅔ cup pure maple syrup (205 grams)
- 1 cup all-purpose flour (120 grams)
- ½ cup half and half (125 ml)
Topping (optional):
- Powdered sugar , for sprinkling
Instructions
- Preheat oven to 350°F (175°C). Line a 9-inch square baking pan with parchment paper or greased foil.
- To make the crust, combine flour, sugar, and cinnamon in a bowl. Add butter and cut into dry ingredients with a fork or pastry blender until it resembles coarse crumbs.
- Press the crust mixture firmly into the prepared pan and bake for 5-7 minutes until set, but before it starts to turn brown.
- For the filling, in the bowl of a stand mixer fitted with a paddle attachment (or using a hand-held mixer), beat the softened butter and sugar on high until smooth and creamy, about 3 minutes. Add the egg, followed by the maple syrup, mixing until just combined. Add the flour in 2 additions, alternating with the half and half. The mixer may appear slightly curdled after adding liquids, but it will smooth out once the flour is fully incorporated.
- Pour the filling mixture on top of the par-baked crust. Bake until the center is barely firm when gently shaken, about 35-40 minutes.
- For best results, cool completely before slicing (I even like to chill it in the fridge for a bit for nice clean slices). Dust with powdered sugar right before serving.
- Store any leftovers in an airtight container in the fridge for several days.
Notes
Note: For the best flavor, always use real maple syrup.
Adapted from the Better Homes and Gardens 2017 Fall Baking Magazine.
Calories: 262kcal, Carbohydrates: 33g, Protein: 2g, Fat: 14g, Saturated Fat: 9g, Cholesterol: 46mg, Sodium: 10mg, Potassium: 63mg, Fiber: 1g, Sugar: 20g, Vitamin A: 426IU, Vitamin C: 1mg, Calcium: 30mg, Iron: 1mg
Have you tried this recipe? I’d love to hear about it! Leave a rating and review below, or take a photo and tag it on Instagram @completelydelicious with #completelydelicious.
Tools for this recipe
While specific tools aren’t listed in the original, for this recipe, you’ll find the following helpful:
- 9-inch square baking pan
- Parchment paper
- Large mixing bowls
- Pastry blender or fork (for crust)
- Electric mixer (stand or handheld, for filling)
- Rubber spatula
- Wire cooling rack
- Sharp knife (for slicing)
- Fine-mesh sieve (for dusting powdered sugar)
