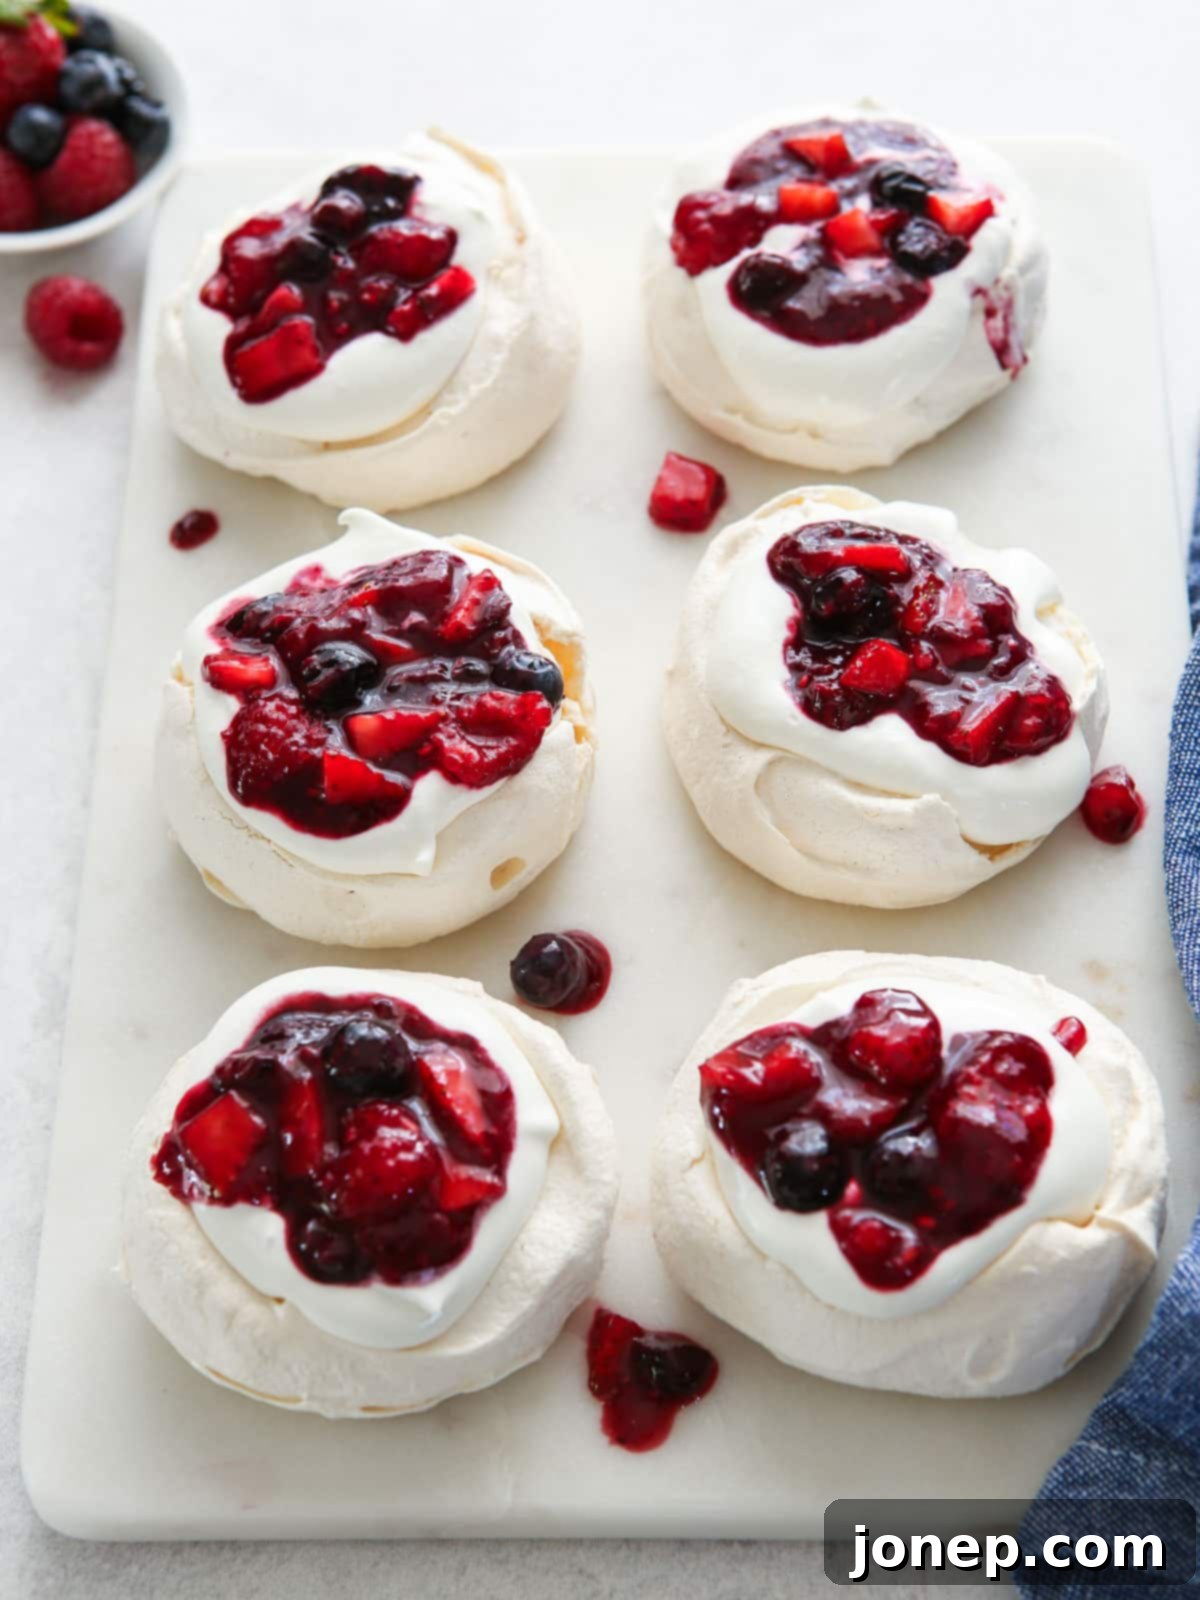
Easy Mini Mixed Berry Pavlova: Your Ultimate Summer Dessert Guide
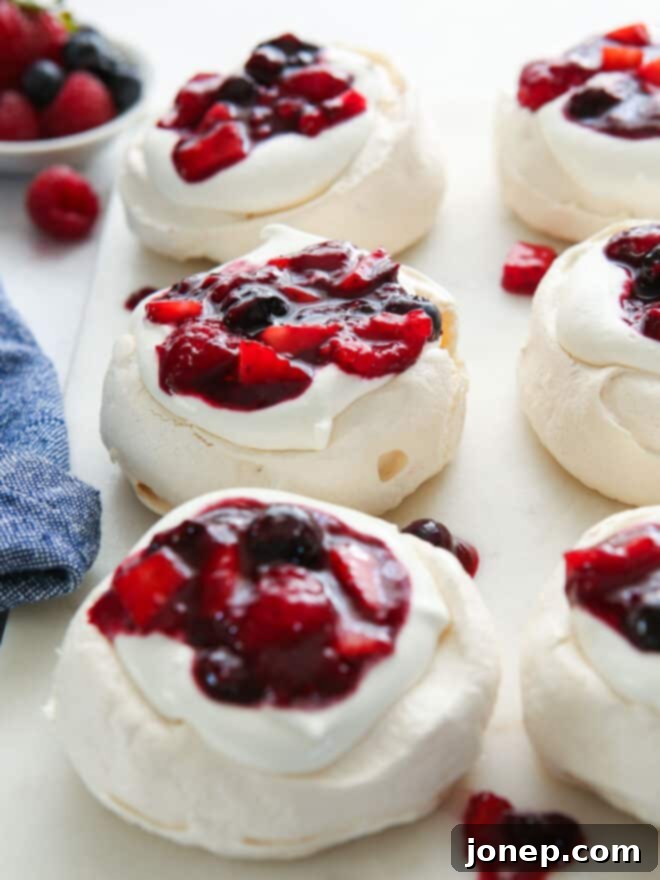
Prepare to be enchanted by these delightful mini mixed berry pavlovas! They are more than just a dessert; they are an experience—elegant, incredibly delicious, and surprisingly simple to create. Each individual pavlova shell boasts a perfectly crisp exterior that shatters gently, revealing a wonderfully soft, marshmallow-like center. Crowned with a generous dollop of sweetened whipped cream and a vibrant, simple berry compote, these individual treats offer an intensely light and refreshing finish, making them the ultimate summer dessert for any occasion.
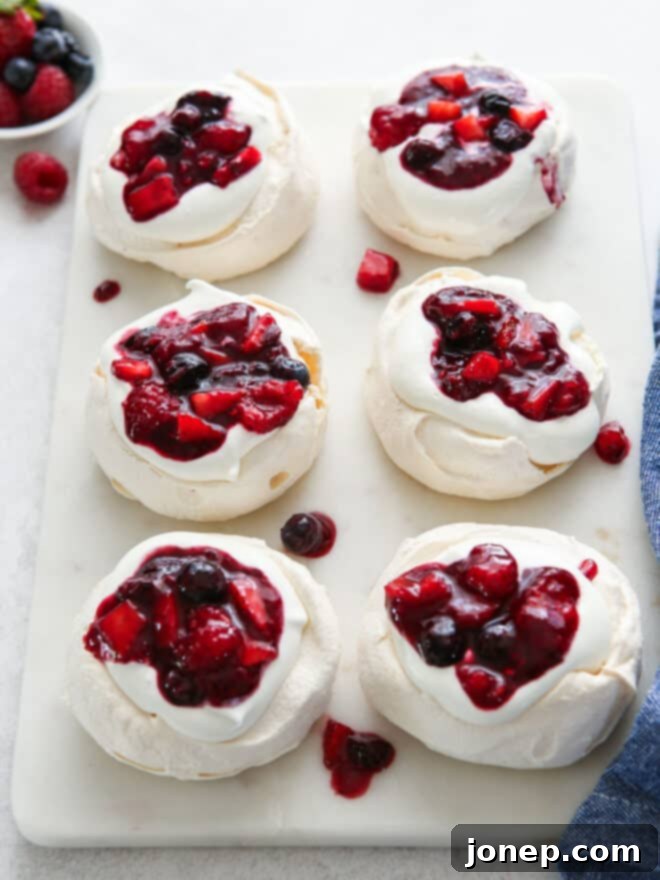
If you’re searching for a standout summer treat that truly impresses without requiring hours of complicated work, these mini mixed berry pavlovas are your answer. They’re astoundingly easy to master, thanks to your oven doing most of the heavy lifting. They also beautifully highlight the freshest seasonal berries or any other delightful fresh fruit you might have on hand. Beyond their ease, their striking visual appeal and incredible taste are guaranteed to ‘wow’ every guest, making them perfect for gatherings, holidays, or simply a special weekend indulgence.
At the heart of this dish lies an exquisite symphony of contrasting textures and flavors. Imagine: the delicate crunch of the meringue’s outer shell giving way to its tender, chewy interior, followed by the ethereal fluffiness of the whipped cream, all brightened by the tangy burst of fresh berries in a single, magical bite. This interplay is precisely what elevates this mixed berry pavlova to a truly unforgettable dessert. Serve it confidently at holidays, dinner parties, or any special occasion throughout the warmer months. Its lightness makes it ideal even after a rich meal.
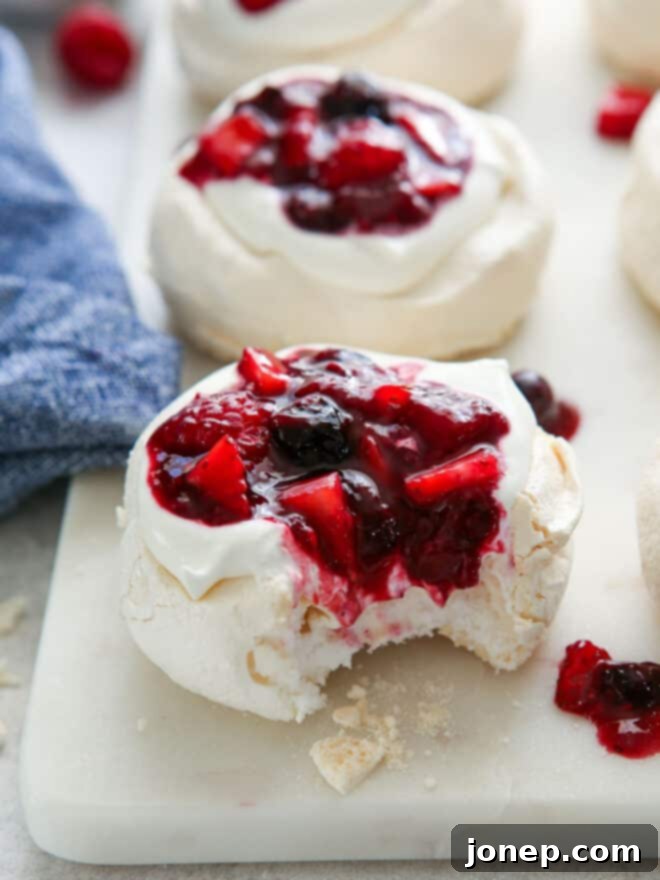
Table of Contents
- What is Pavlova? History & Texture Explained
- Essential Ingredients for Perfect Pavlova
- Step-by-Step Guide: Making & Assembling Mini Pavlovas
- Expert Baking Tips for Pavlova Success
- Pavlova FAQs: Troubleshooting & Storage
- More Delightful Berry Recipes
- Mixed Berry Pavlova Recipe Card
What is Pavlova? History & Texture Explained
Pavlova is an iconic meringue-based dessert that originated in the early 20th century, famously disputed between Australia and New Zealand, both claiming its creation in honor of the Russian ballerina Anna Pavlova. It’s truly a celebration of textural contrasts. The foundation is a delicate meringue, crafted by whipping egg whites with sugar and a few key pantry staples until thick and glossy. This mixture is then baked at a low temperature for several hours, resulting in a distinct crisp shell and a tender, almost gooey, marshmallow-like center. Unlike traditional meringues that are typically dry and crumbly throughout, pavlova offers this delightful soft interior, making it unique.
While pavlova can be baked into a single large round, resembling and slicing like a cake, I find these charming single-serve mini versions to be far more convenient and elegant. They are perfect for individual portions, reducing mess and making serving a breeze. My pavlova recipe meticulously breaks down this exquisite dessert into three essential components: the perfectly baked mini meringues, the rich and sweetened whipped cream, and a luscious homemade berry compote. This compote is a delightful medley, often featuring a mix of strawberries, raspberries, blueberries, and blackberries, providing a burst of fresh, tangy flavor.
Essential Ingredients for Perfect Pavlova
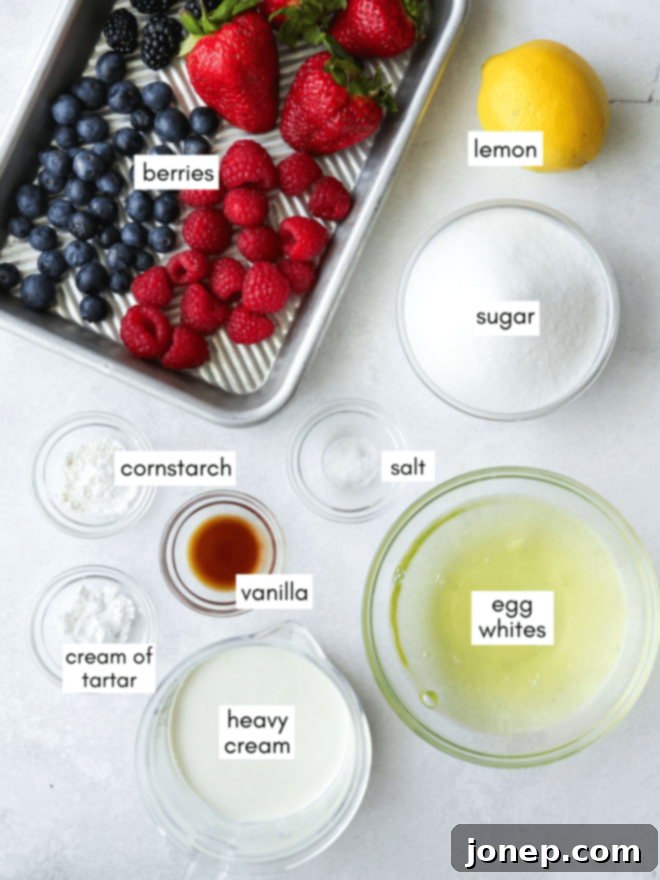
Crafting the perfect pavlova requires a few simple ingredients, each playing a critical role in achieving its signature texture and flavor profile. Here’s a closer look at what you’ll need and why each component is vital:
- Egg whites: These are the very foundation of our pavlova. When whipped, egg whites incorporate vast amounts of air, creating tiny pockets that expand and give the meringue its incredible volume and light, airy structure. Ensure your egg whites are at room temperature for optimal whipping.
- Granulated sugar: Sugar serves multiple purposes in pavlova. It provides essential sweetness, contributes to the meringue’s structural integrity, and is key to developing that beautiful, crisp, glossy exterior. We’ll also use sugar to sweeten both the vibrant berry compote and the fluffy whipped cream.
- Cornstarch: This secret ingredient is what helps create the pavlova’s unique marshmallow-y, chewy interior, distinguishing it from a standard, fully crisp meringue. It also acts as a thickening agent for our rich berry compote, ensuring it has the perfect consistency.
- Cream of tartar: An acidic ingredient, cream of tartar is crucial for stabilizing the egg whites. It helps the meringue hold its shape during the whipping process and prevents it from collapsing or weeping as it bakes, contributing to a robust and reliable structure.
- Salt: Just a pinch of salt is all that’s needed to enhance the overall flavor, cutting through the sweetness and adding a subtle depth that elevates the entire dessert.
- Vanilla extract: This aromatic extract is our primary flavor booster. It imparts a warm, sweet, and comforting note that complements the other ingredients beautifully in the pavlova itself, the berry compote, and the whipped cream.
- Berries or fresh fruit: Berries are the quintessential topping for this dessert, offering a burst of tartness and natural sweetness. A mixed berry compote with strawberries, raspberries, blueberries, and blackberries is classic, but you could also use single berries like just strawberries, or even switch it up with other seasonal fruits like fresh peaches, nectarines, or kiwi for delightful variations.
- Lemon: Fresh lemon zest provides a bright, aromatic lift, while fresh lemon juice adds a zesty tang that balances the sweetness of the berries and rounds out the flavor profile of the compote.
- Heavy cream: Also known as heavy whipping cream, this is essential for making our luxurious, sweetened whipped cream topping. Look for cream with a high fat content (at least 36%) for the best whipping results and a stable, fluffy texture.
Step-by-Step Guide: Making & Assembling Mini Pavlovas
Creating these exquisite mini pavlovas is a rewarding process. Follow these detailed steps to achieve perfect results, from meringue to assembly.
- Whip the meringue to stiff peaks: Begin by ensuring your mixing bowl and whisk attachment are impeccably clean and free of any grease, as even a tiny speck can prevent the egg whites from whipping properly. Use an electric mixer with a whisk attachment to beat the room temperature egg whites on medium-high speed. Continue beating until they start to form soft peaks, meaning when you lift the whisk, the peaks gently flop over. In a separate small bowl, combine the granulated sugar, cornstarch, cream of tartar, and salt. Once soft peaks are achieved, slowly add the sugar mixture, one tablespoon at a time, while the mixer continues to run. Increase the speed to high and continue beating until stiff, glossy peaks form. “Stiff peaks” means the meringue will stand up straight from the whisk without flopping over, and it will appear shiny and smooth. Finally, gently fold in the vanilla extract with a spatula, being careful not to deflate the meringue.
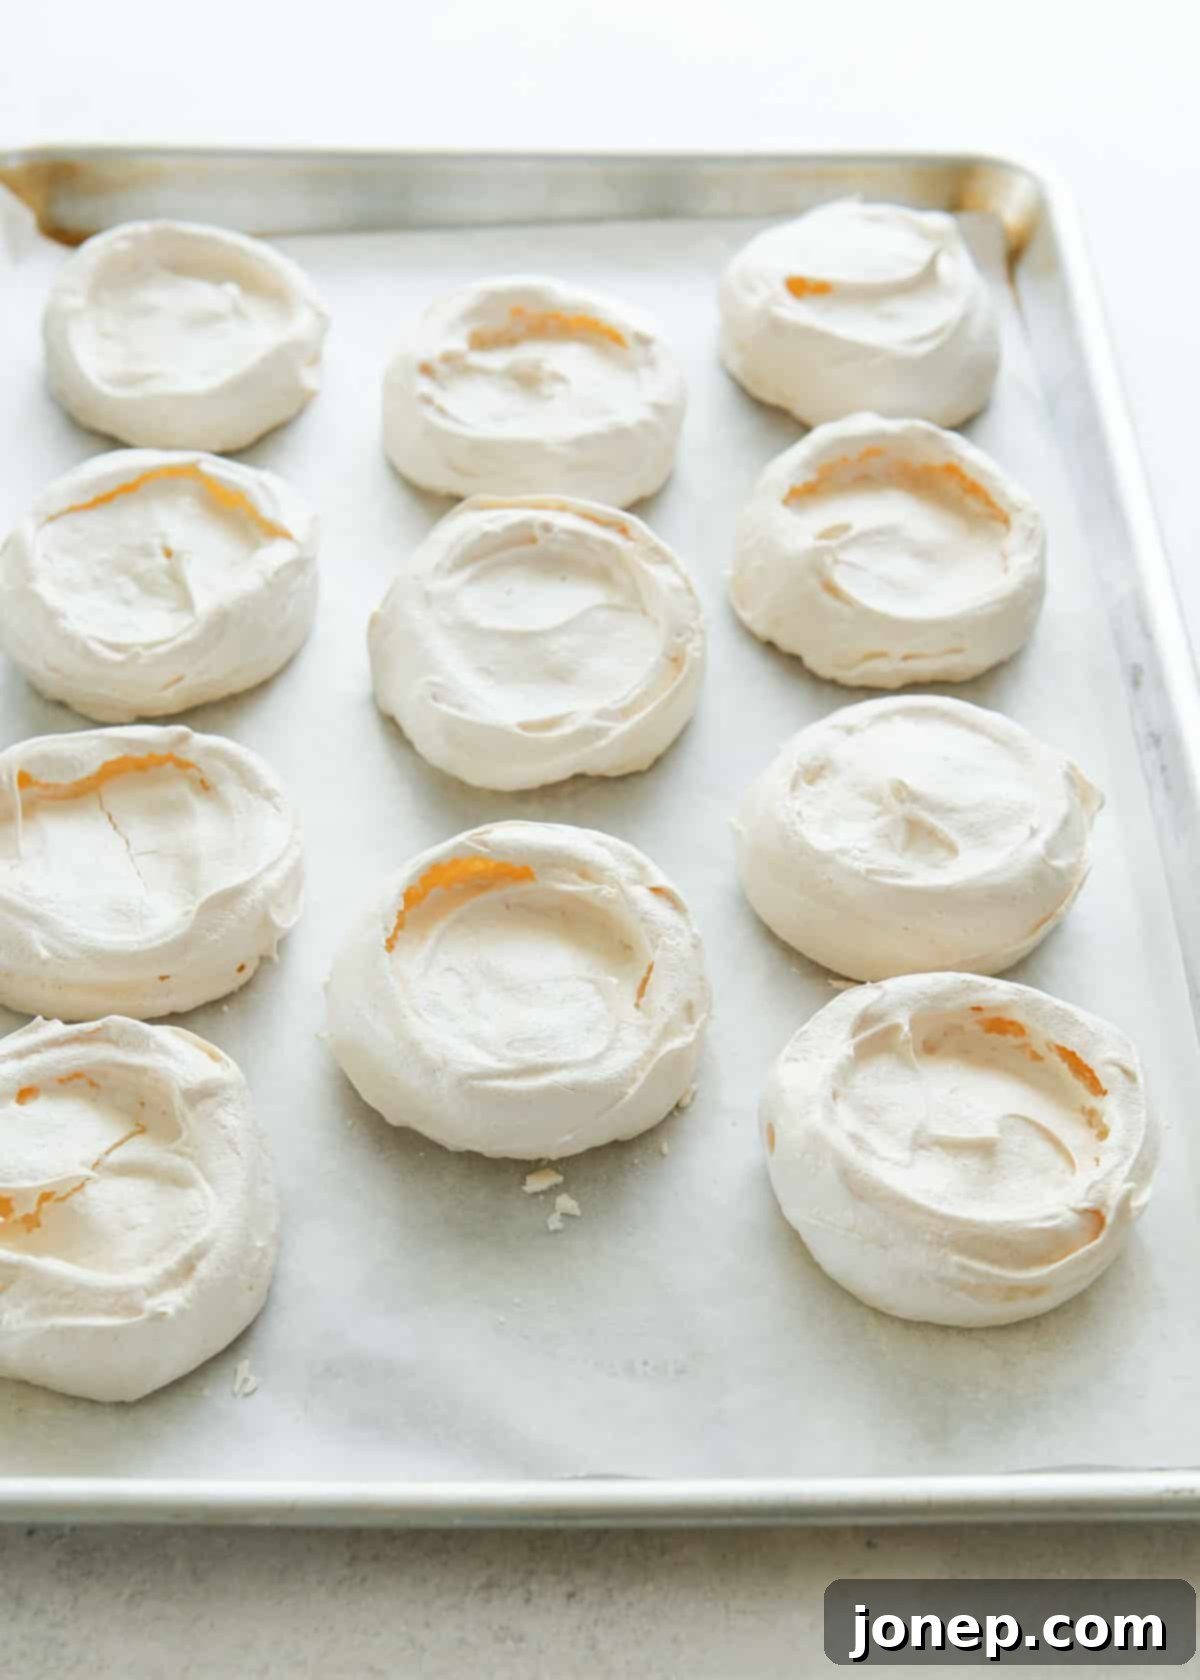
- Portion into mini pavlovas: Line a large baking sheet pan with parchment paper. Using a spoon or a medium cookie scoop (a 3-tablespoon size works well), portion large scoops of the meringue onto the prepared pan, leaving about 2-3 inches between each to allow for expansion. With the back of the spoon, gently smooth out the tops and create a small well in the center of each meringue. This well will serve as the perfect cradle for your whipped cream and berry compote later.
- Bake & cool slowly: Preheat your oven to a low 225°F (107°C). Place the baking sheet with the meringues into the preheated oven and bake for 1 hour and 15 minutes. It’s crucial not to open the oven door during this time, as sudden temperature changes can cause the pavlovas to crack or collapse. After the baking time, turn off the oven completely, but leave the pavlovas inside with the oven door ajar (or closed if your oven seals well and cools slowly) for an additional 30 minutes to an hour. This slow cooling process is vital for ensuring they maintain their crispness and structure without cracking. Once completely cool, carefully transfer the baked pavlovas to a cooling rack.
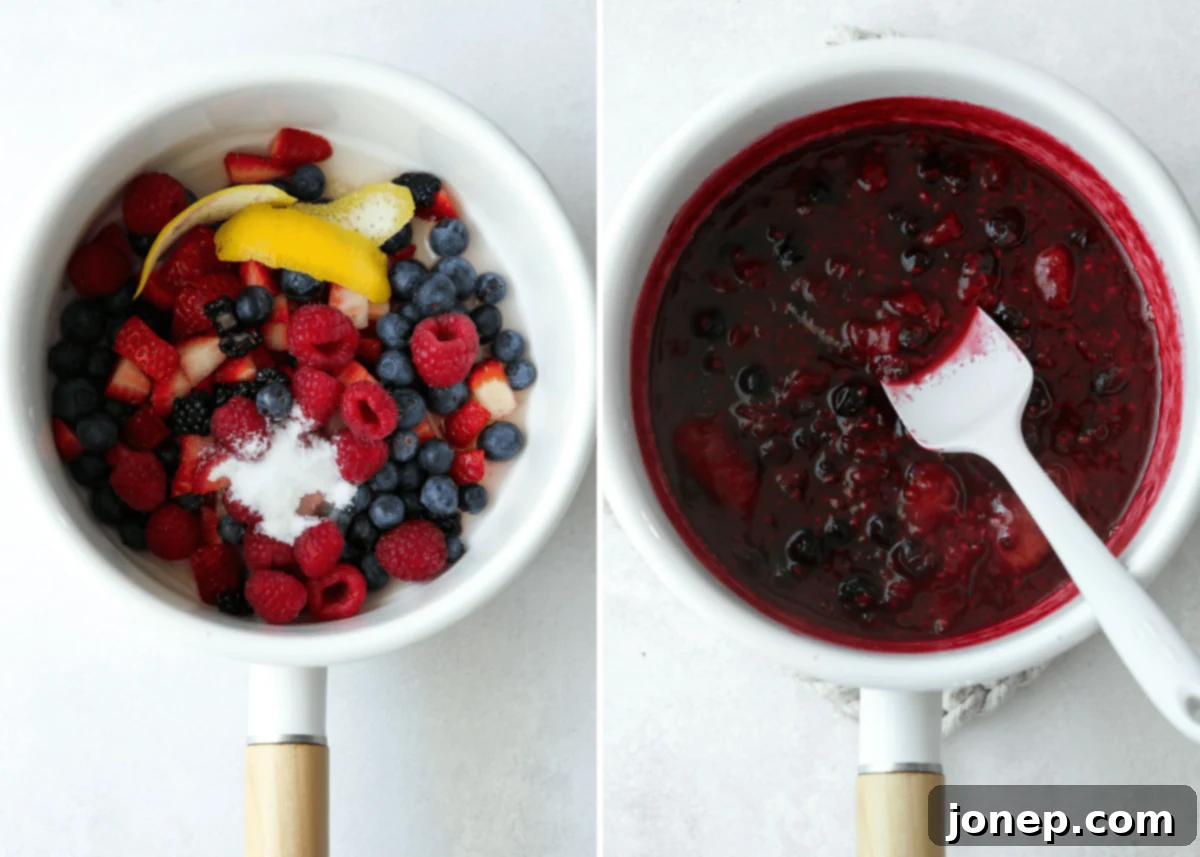
- Make the berry compote: While your pavlovas are baking and cooling, prepare the luscious berry compote. In a small saucepan, combine your fresh mixed berries, granulated sugar, lemon zest, and fresh lemon juice. Bring the mixture to a gentle boil over medium heat, then reduce the heat to a simmer. Cook for 8-10 minutes, stirring occasionally, until the berries begin to burst and soften, releasing their juices. In a separate tiny bowl, whisk together 1 teaspoon of cornstarch with 1 teaspoon of cold water to create a smooth slurry. Stir this cornstarch slurry into the simmering berry mixture and continue to cook for another 1-2 minutes, stirring constantly, until the compote visibly thickens. Remove from heat, stir in the vanilla extract, and let it cool completely. The compote will thicken further as it cools.
- Prepare sweetened whipped cream: In a chilled mixing bowl (this helps cream whip faster), pour in the heavy whipping cream. Using an electric mixer with a whisk attachment, whip the cream on medium-high speed until it just starts to thicken and hold soft mounds. Add the granulated sugar and vanilla extract, then continue to whip until soft peaks form. For pavlova, I prefer a slightly softer, looser whipped cream that gracefully drapes over the meringue, but you can whip it to medium-stiff peaks if you prefer a firmer topping. Be careful not to over-whip, or it will turn grainy.
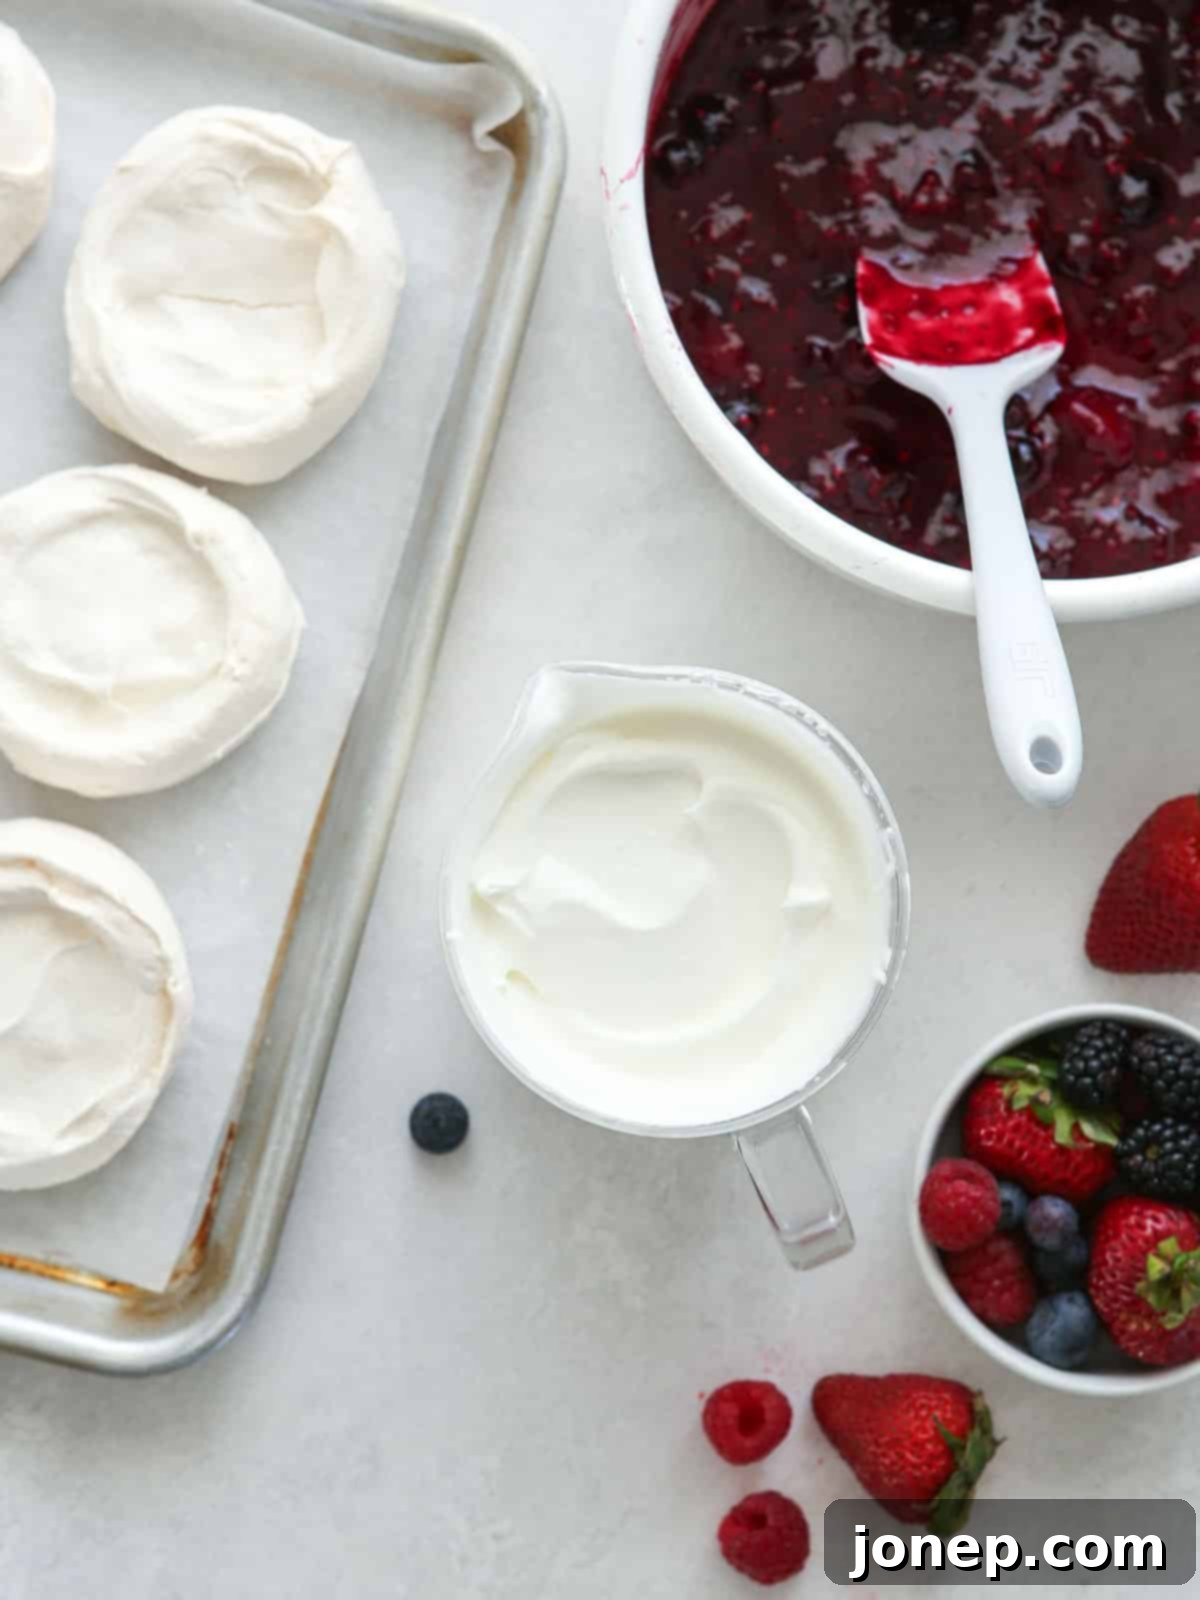
- Assemble and serve your mini pavlovas: Once the meringues are completely cooled, the compote is ready, and the whipped cream is prepared, it’s time for the grand assembly! Place individual mini pavlovas onto serving plates. Top each meringue with a generous dollop of the sweetened whipped cream, allowing it to nestle into the well you created. Finish by spooning a spoonful of the luscious berry compote over the whipped cream. These pavlovas are wonderfully versatile; you can serve them with forks for a more formal presentation, or simply enjoy them as perfect hand-held treats!
- Enjoy immediately! For the best textural experience, these assembled pavlovas are truly at their peak when served fresh. The contrast of crisp meringue, soft cream, and juicy berries is unparalleled.
baking tip:How to Separate Eggs Perfectly
Separating egg whites from yolks is a critical first step when making meringue for pavlova. Even the tiniest speck of egg yolk can prevent egg whites from whipping up properly, leading to a flat and failed meringue. While there are a few methods, this simple technique consistently works best for me and helps ensure your egg whites reach their full, airy potential.
- Gather your bowls: Start with three small, clean bowls. One will be your working bowl for separating each egg, one for collecting the yolks, and one for collecting the pure egg whites. This three-bowl method is crucial for damage control – if a yolk breaks, it only contaminates one egg white, not your entire batch.
- Crack and separate: Crack an egg gently over bowl #1. Carefully transfer the yolk back and forth between the two halves of the eggshell, allowing the whites to fall into the bowl. Alternatively, for a more hands-on approach (which I prefer), gently slide the yolk into your cupped fingers and let the egg whites fall through into the bowl below.
- Place and check: Once the white has fully separated, place the intact yolk in bowl #2 (the yolk bowl) and the clean egg white into bowl #3 (the whites bowl). This way, each egg white is added to the main batch only after it’s confirmed to be yolk-free. If any egg yolk accidentally falls into the egg white in bowl #1, you absolutely must discard that white and egg yolk (or save them for another recipe like scrambled eggs), then clean bowl #1 and try again with a fresh egg. Do not risk contaminating your entire batch of whites!
Any leftover egg yolks or egg whites not immediately used can be stored separately in airtight containers in the fridge and should be used within a few days for other culinary adventures.
Pavlova FAQs: Troubleshooting & Storage
Even though pavlova is relatively easy, a few common questions and concerns arise. Here are some FAQs to help you achieve pavlova perfection every time:
How do you know when pavlova is done baking?
A perfectly baked pavlova will appear pale, dry, and firm to the touch on the outside. It should lift easily off the parchment paper without sticking. If you notice any liquid (sometimes called ‘weeping’ or ‘syrup’) seeping from the base onto the sheet pan after baking, it indicates that the pavlova is likely underbaked. Conversely, if small, sugary droplets appear on the surface of the pavlova, it’s a sign that it might be slightly overbaked, or that the sugar wasn’t fully dissolved during whipping. For these mini pavlovas, they are quite forgiving! The key is to look for a dry, crisp exterior. Once they reach this stage, turn off your oven and allow them to cool down slowly inside, which helps them set properly and prevents cracking.
What is the best way to store pavlova?
Unassembled pavlova shells should be stored in an airtight container at room temperature. They will retain their crisp texture for 1-2 days. Humidity is the enemy of meringue, so avoid refrigerating the shells as they can become chewy and soft. The berry compote and whipped cream, however, should be stored separately in airtight containers in the refrigerator until ready to assemble. This keeps all components fresh and allows for optimal texture upon serving.
Can pavlova be made ahead of time?
Absolutely! This recipe is an excellent make-ahead dessert, which makes it perfect for entertaining. All three components—the baked mini meringues, the berry compote, and the sweetened whipped cream—can be prepared in advance and stored separately. The meringues at room temperature, and the compote and cream in the fridge. This allows you to assemble the pavlovas just before serving, ensuring the freshest and most delightful experience for your guests.
Why did my pavlova crack or collapse?
Cracking is common but often preventable. Rapid temperature changes are the main culprit. Ensure your oven temperature is consistent and avoid opening the oven door during baking. Leaving the pavlovas to cool slowly inside the turned-off oven is crucial. Collapsing can also happen if the egg whites weren’t whipped to stiff enough peaks, or if there was any grease in your bowl.
Can I use frozen berries for the compote?
Yes, you can! Frozen berries work wonderfully for the compote. There’s no need to thaw them beforehand; simply add them to the saucepan as directed. Keep in mind that frozen berries release more liquid, so you might need to simmer the compote for a few extra minutes to reduce the liquid, or slightly increase the cornstarch slurry to achieve your desired thickness.
More Delightful Berry Recipes
If you love the fresh, vibrant flavors of berries, you’ll adore these other delicious recipes perfect for summer and beyond!
Mixed Berry Pavlova Recipe Card
Ready to create your own magnificent mini mixed berry pavlovas? Follow this detailed recipe card for precise measurements and instructions.

Mixed Berry Pavlova
Pin Recipe
Leave a Review
Ingredients
For the meringue:
- 5 (175 grams) large egg whites
- 1 cup (200 grams) granulated sugar
- 1 teaspoon cornstarch
- ½ teaspoon cream of tartar
- Pinch of salt
- 1 teaspoon vanilla extract
For the berry compote:
- 2 cup (285 grams) fresh berries , such as strawberries, blueberries, blackberries and/or raspberries
- 2 tablespoons granulated sugar
- 1 lemon , zest and ¼ cup lemon juice
- 1 teaspoon cornstarch
- 1 teaspoon water
For the whipped cream:
- 1 cup (227 grams) heavy whipping cream
- 1 tablespoon granulated sugar
- ½ teaspoon vanilla extract
Equipment
Instructions
To make the pavlova:
-
Preheat oven to 225°F (107°C) and line a sheet pan with parchment paper. This low temperature and parchment are crucial for preventing sticking and achieving the ideal meringue texture.
-
In the impeccably clean bowl of an electric mixer fitted with a whisk attachment, beat the egg whites on medium-high speed. Ensure there is no trace of grease.
-
Combine the sugar, cornstarch, cream of tartar, and salt in a small bowl. When the egg whites start to form soft peaks, slowly add the sugar mixture, about a tablespoon at a time, allowing each addition to fully dissolve before adding more. Continue to beat the egg whites on high speed until they are glossy, shiny, and form stiff peaks. This means when you lift the whisk, the meringue stands straight up without flopping over. Gently fold in the vanilla extract with a spatula.
-
Spoon the meringue onto the parchment paper (a medium 3-tablespoon cookie scoop works perfectly for uniform mini pavlovas). Use the back of a spoon to gently smooth out the tops and create a little well in the center of each meringue, which will hold your toppings.
-
Bake for 1 hour 15 minutes without opening the oven door at all. During this time, the pavlovas will lose their gloss and appear dry and firm on the outside. After baking, turn off the oven and let the pavlovas cool completely inside for at least 30 minutes to an hour. This slow cooling prevents cracking and ensures a perfect texture. Then, remove and let cool completely on a wire rack before assembling.
-
When ready to serve, prepare the whipped cream as directed below. Spoon over the baked meringue and generously top with the berry compote.
To make the berry compote:
-
While the pavlova is baking and cooling, make the berry compote. Add fresh fruit (or frozen, no need to thaw), sugar, lemon zest, and lemon juice to a small saucepan. Bring to a gentle boil over medium heat, then reduce heat to a simmer and cook for 8-10 minutes, stirring occasionally, until berries start to burst and soften, and the juices are released.
-
In a very small bowl, combine 1 teaspoon of cornstarch and 1 teaspoon of cold water to make a smooth slurry. Add this slurry to the saucepan with the berries and stir to combine well. Continue to cook for 1-2 more minutes, stirring, until the compote has thickened to your desired consistency.
-
Remove from heat and stir in the vanilla extract. Let the berry compote cool completely before serving. If making ahead, store it in an airtight container in the fridge for up to 3-4 days until ready to use.
To make the whipped cream:
-
In a chilled bowl, whip heavy whipping cream with an electric mixer until it begins to thicken. Add granulated sugar and vanilla extract, then continue to whip until soft or medium peaks form, depending on your preference for cream consistency. Be careful not to over-whip.
To assemble mixed berry pavlovas:
-
Once all components are ready, place cooled meringues on individual serving plates. Top each with a generous dollop of the freshly whipped cream and a spoonful of the vibrant berry compote. Serve immediately with forks if you prefer, though their size also makes them a delightful hand-held dessert. Enjoy the textural marvel!
This recipe was originally published July 2010 and has been updated and expanded for clarity and improved reader experience.
