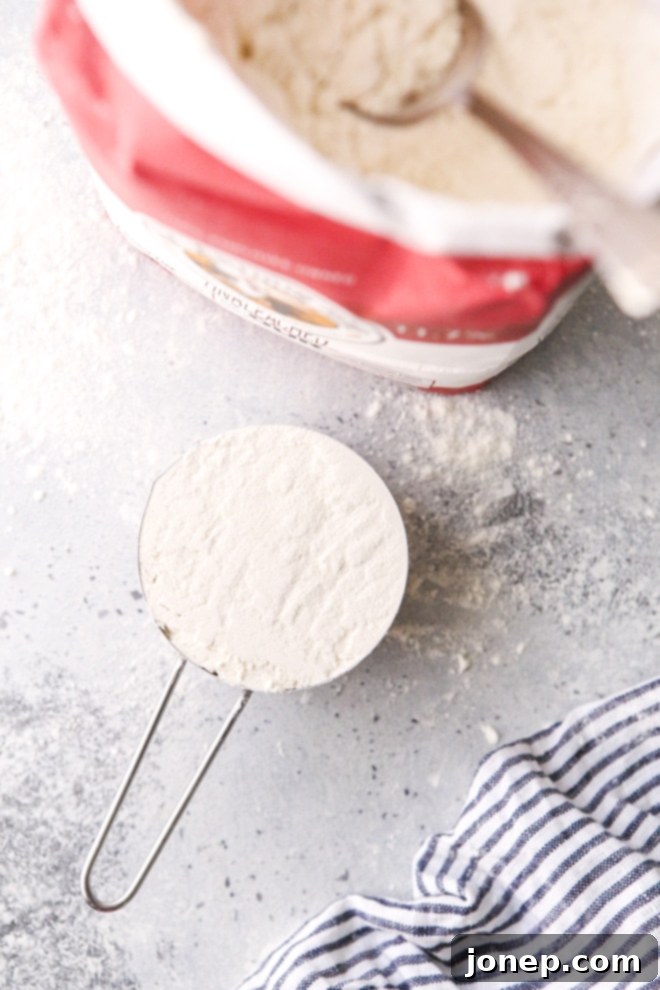
How to Measure Flour for Baking: The Spoon and Sweep Method & Digital Scale Accuracy
Baking is often described as a science, and for good reason! Unlike cooking, where a pinch of this or a dash of that can often work, baking demands precision. The delicate balance of ingredients is crucial for achieving the perfect texture, rise, and flavor in your cakes, cookies, breads, and pastries. Even a slight variation in the amount of a key ingredient like flour can completely alter the outcome of your recipe, turning a potentially delicious treat into a disappointing baking fail.
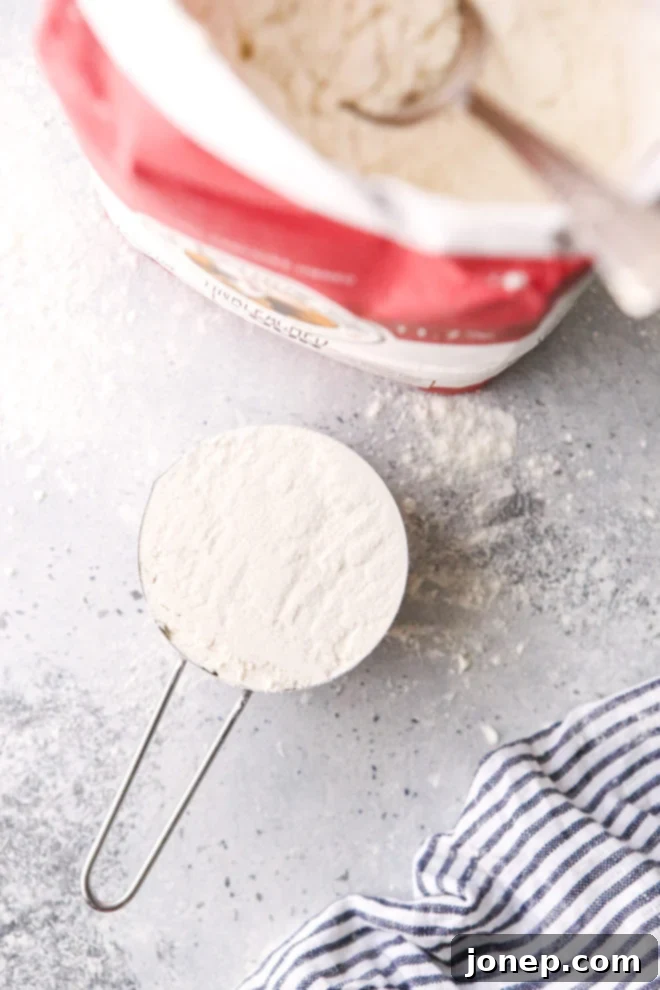
Among the many common baking mistakes, incorrectly measuring flour stands out as one of the most frequent culprits behind dry, dense, or tough baked goods. It’s a subtle error that many home bakers make without even realizing it. The good news? It’s an incredibly easy fix! Once you master the correct techniques, you’ll consistently achieve superior results and avoid wasting precious time and ingredients.
This comprehensive guide will walk you through the most reliable methods for measuring flour: the popular “spoon and sweep” technique and the ultra-accurate digital scale method. By understanding the science behind why certain measuring methods fail and embracing these proven practices, you’ll unlock a new level of baking success, ensuring your creations are always light, tender, and perfectly delicious.
Table of Contents
- Does it really matter how you measure flour?
- Don’t measure flour this way
- Use the “spoon and sweep” method to measure flour
- Use a digital scale for the most accuracy
- You’re ready to get baking!
- More baking tips
Does It Really Matter How You Measure Flour? Absolutely!
The short answer is a resounding yes! The way you measure flour profoundly impacts the final texture and quality of your baked goods. Many home bakers underestimate this critical step, assuming all cupfuls are equal. However, the density of flour can vary significantly depending on how it’s handled, leading to vastly different amounts of flour in your measuring cup.
Consider the visual evidence below. Both images represent what *should* be one cup of flour, yet their actual weights are strikingly different. That 30-gram discrepancy isn’t just a minor detail—it’s enough to dramatically alter your recipe. For example, an extra 30 grams (or about 1/3 cup) of flour can transform tender cookies into dry, cakey discs that refuse to spread properly. Cakes can become dense, crumbly, and lacking in moisture. Yeast breads might turn out tough, chewy, and fail to achieve their expected airy texture. This subtle error is a common cause of many baking frustrations.
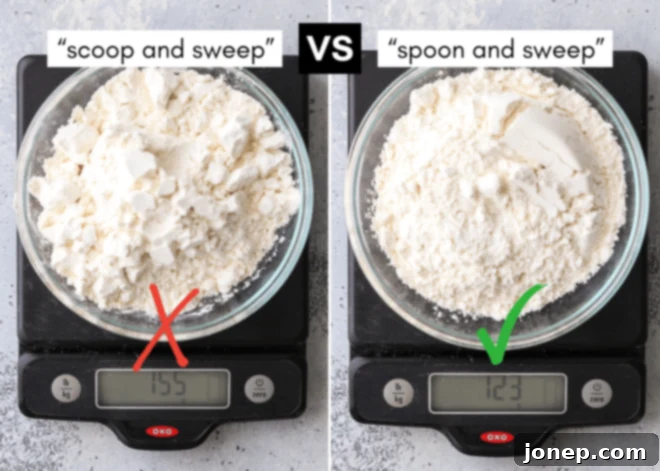
The science behind it is simple: flour settles and compacts over time in its bag or container. When you simply scoop it directly, you’re packing down even more flour into your measuring cup than intended, resulting in an excess amount by weight. This added dry ingredient then throws off the delicate ratio of wet to dry ingredients in your recipe, leading to the undesirable outcomes mentioned above. Understanding this fundamental concept is the first step toward consistent baking excellence.
Don’t Measure Flour This Way: The Scooping Mistake
Let’s address the most common measuring error head-on. The photo on the left in the comparison image above perfectly illustrates what *not* to do. In that example, the flour was measured by simply dipping the measuring cup directly into the flour canister or bag, scooping it out, and then leveling off the top. This method yielded 155 grams of flour, significantly more than the standard 120-130 grams typically associated with one cup of all-purpose flour. That’s nearly a third of a cup of extra flour, which can be catastrophic for your baked goods.
Why this method doesn’t work: Flour, much like sand or snow, naturally settles and compacts when left undisturbed. Over time, the individual flour particles pack tightly together, expelling air and increasing their density. When you forcefully scoop a measuring cup directly into this compacted flour, you are inadvertently compressing even more flour into the cup. This action removes critical air, making the flour heavier by volume than it should be. The result is an over-measurement that leads to a higher proportion of dry ingredients in your recipe, robbing your cakes of moisture, your cookies of spread, and your breads of their soft crumb. It’s a quick shortcut that consistently sabotages your baking efforts, making your baked goods dry, dense, and unappetizing.
Use the “Spoon and Sweep” Method to Measure Flour
Often referred to as the “spoon and level” method, this technique is a cornerstone of accurate volumetric flour measurement. It’s simple, effective, and ensures you consistently incorporate the right amount of flour into your recipes, leading to perfectly textured results every time. Here’s how to master it:
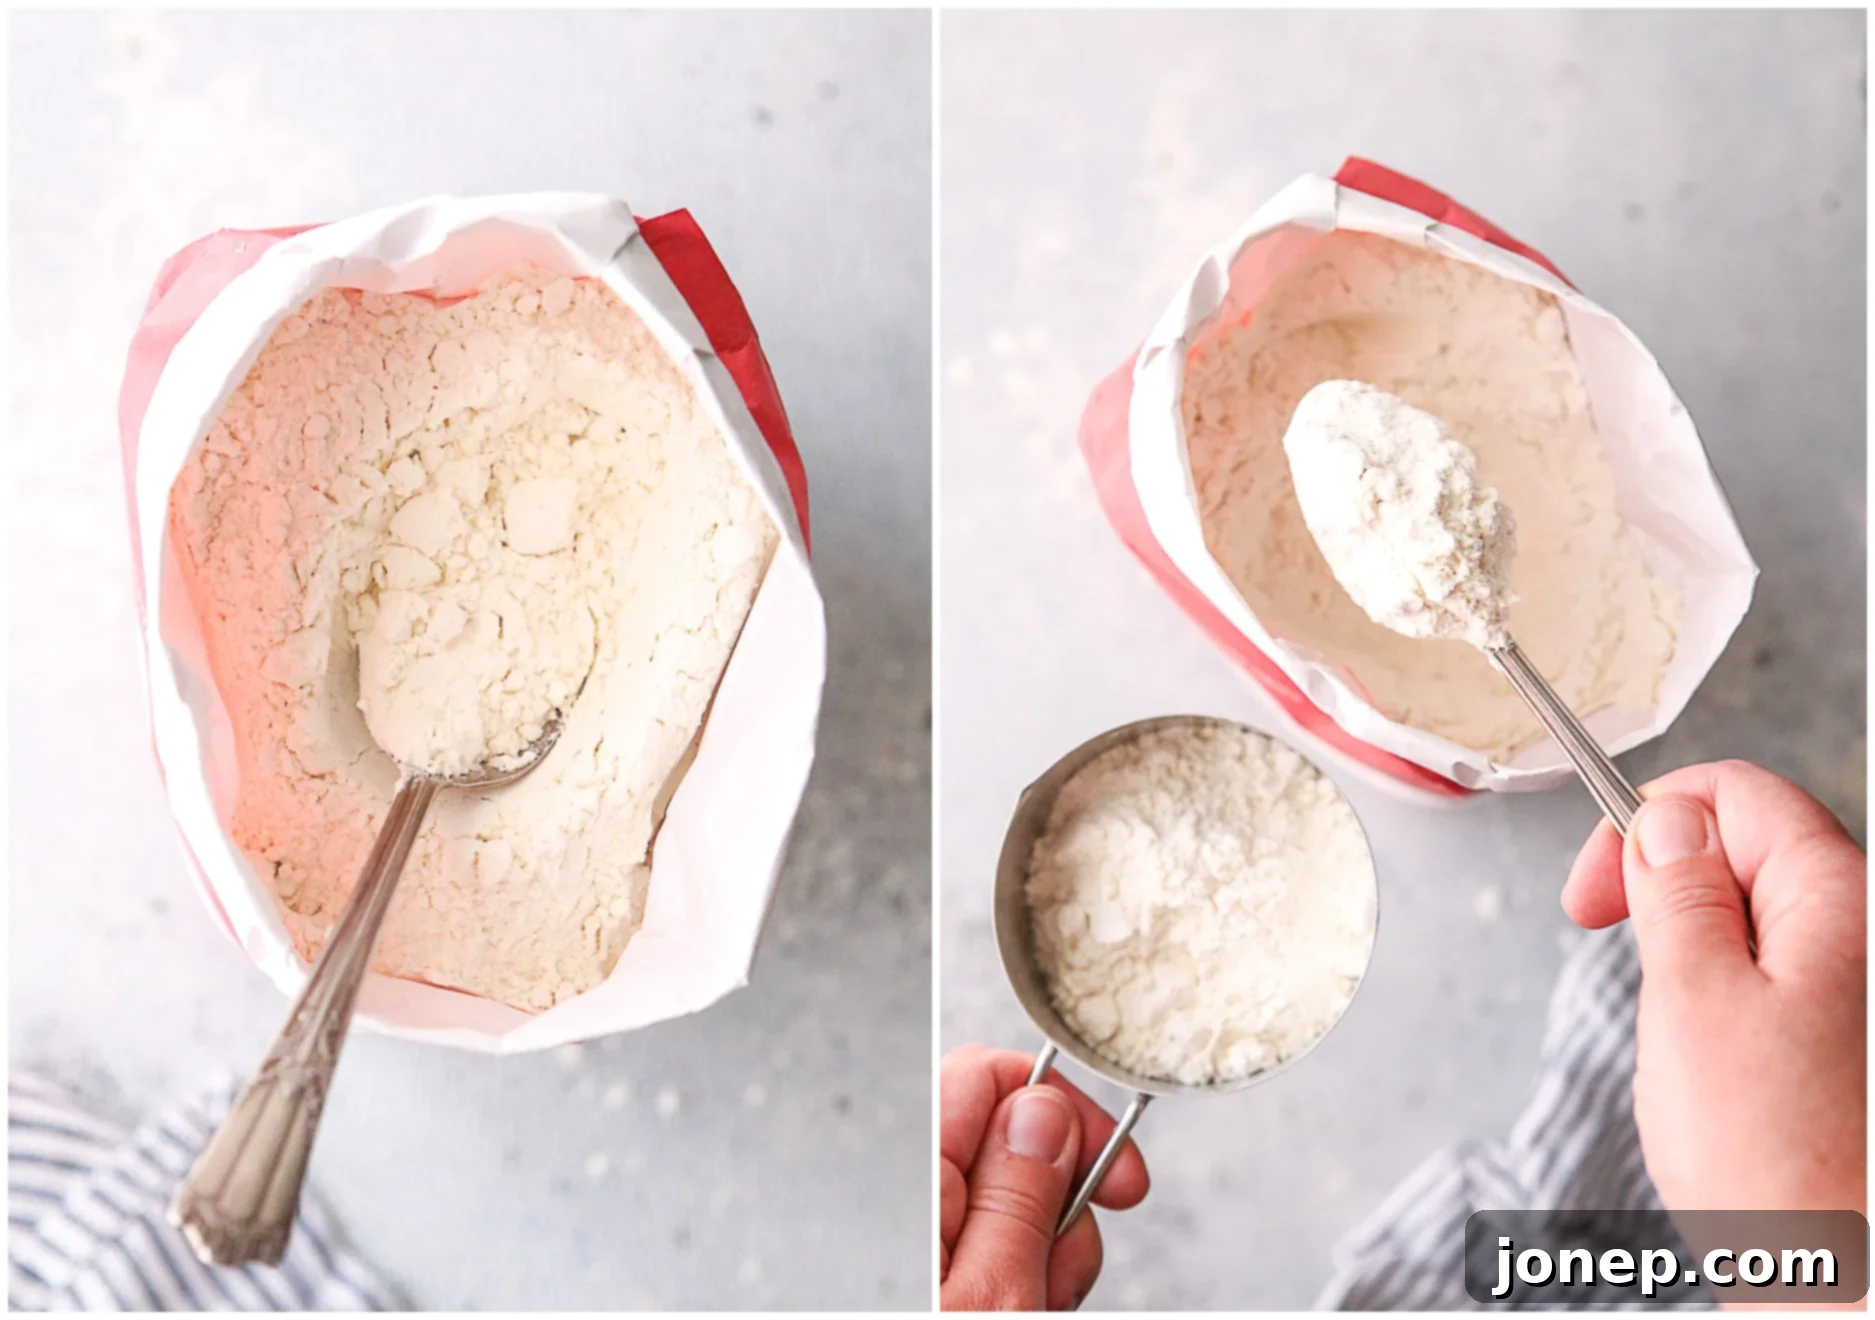
- Fluff the flour: Before you even touch your measuring cup, use a spoon, whisk, or even the measuring cup itself to gently fluff and aerate the flour inside its container or bag. This crucial step breaks up any compaction and incorporates air back into the flour, returning it to a lighter, more consistent density. I typically give it 4-5 good “fluffs” to ensure it’s thoroughly loosened.

- Spoon flour into measuring cup: Once fluffed, use a separate spoon (not the measuring cup itself!) to gently spoon the aerated flour into your dry measuring cup. Do not pack it down or tap the cup. Let the flour fall naturally into the cup.
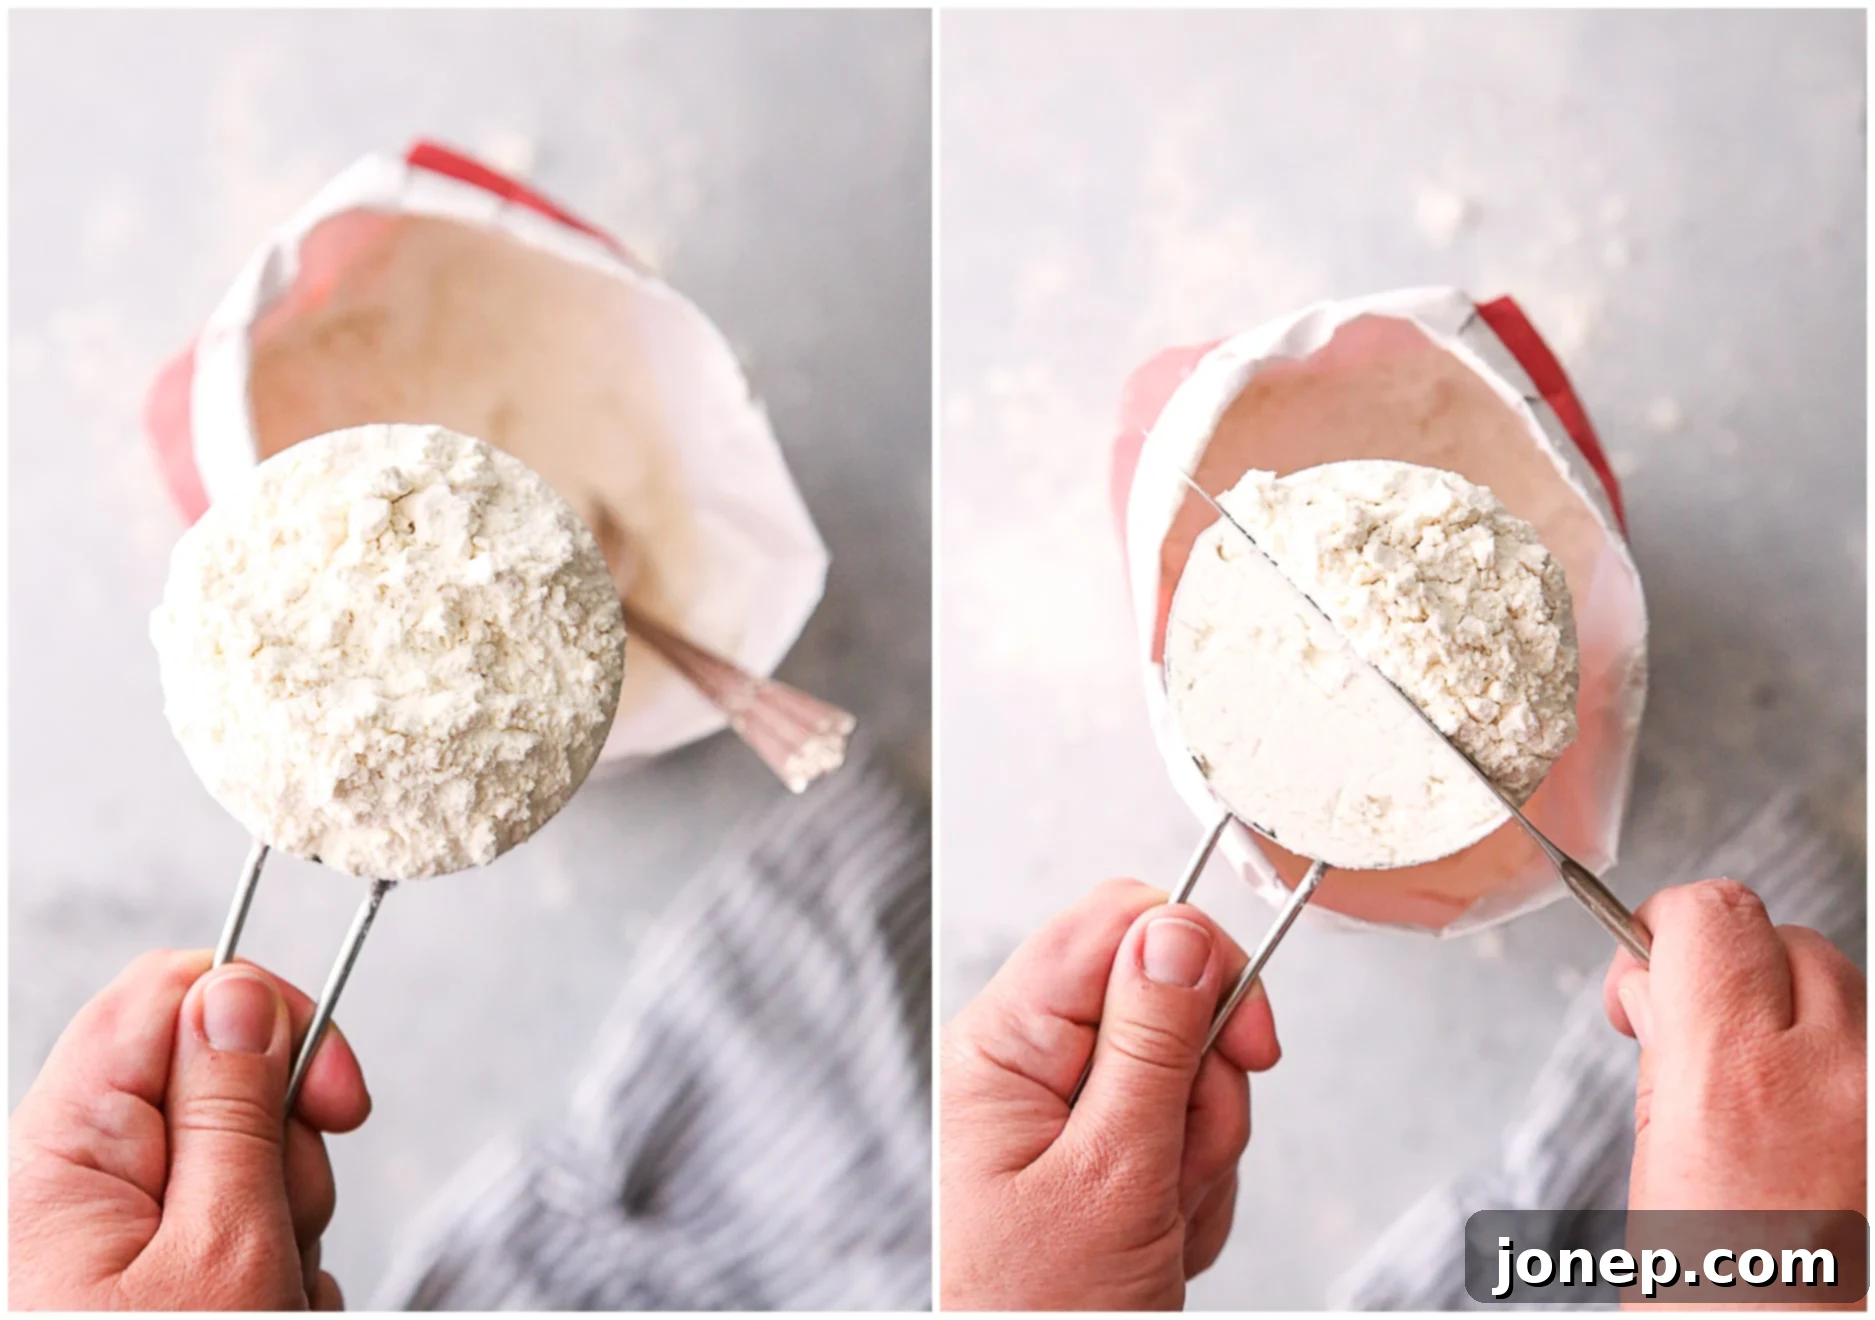
- Fill until measuring cup is overflowing: Continue spooning flour into the measuring cup until it is well mounded over the rim. You want a generous heap of flour, indicating that the cup is completely full but not forcefully compacted.

- Sweep the top: Take a flat edge, such as the back of a knife, a straight-edged spatula, or even a ruler, and gently sweep it across the top of the measuring cup. This action will level off the excess flour, allowing it to fall back into your flour container. You should be left with a perfectly level cup of flour.
Why this method works: The spoon and sweep method is effective because it counters the natural compaction of flour. By fluffing the flour, you reintroduce air, creating a consistent density before measurement. Spooning the flour into the cup rather than scooping prevents further compression. Finally, sweeping off the excess ensures an accurate, level measure by volume. This systematic approach guarantees consistent results every time, regardless of how long your flour has been sitting or which type of wheat flour you’re using—be it all-purpose, bread, or cake flour. It’s a simple technique that yields significant improvements in your baking precision.
Note: This method of measuring flour is suitable for all types of wheat flour, including all-purpose flour, bread flour, cake flour, pastry flour, and even whole wheat flour. The key is to aerate before measuring by volume.
Use a Digital Scale for the Most Accuracy
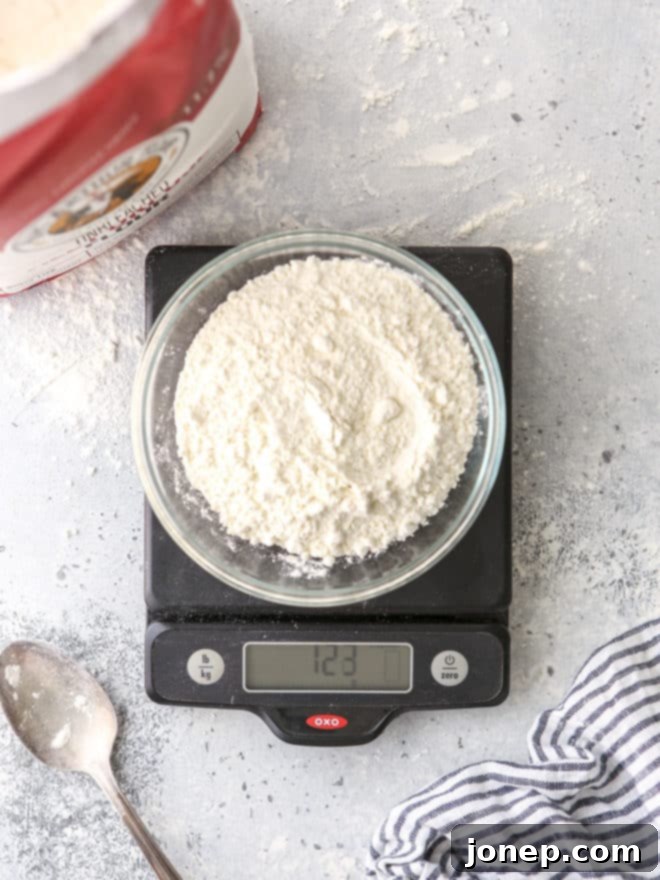
While the spoon and sweep method is a vast improvement over direct scooping, for the absolute pinnacle of baking accuracy and consistency, nothing beats a digital kitchen scale. If you’re looking to elevate your baking from good to consistently great, investing in a digital baking scale is arguably the best decision you can make.
The MOST accurate way to measure ingredients, particularly flour, is by weight in grams, rather than relying on volume measurements like cups. Measuring by weight eliminates all the variables that plague volume measurements—such as flour compaction, humidity, and even slight differences in how firmly you spoon or sweep. A gram is always a gram, regardless of how dense or fluffy the flour is.
Digital scales are incredibly easy to use. Simply place your mixing bowl on the scale, tare it (zero it out), and add your flour until you reach the desired weight. It’s quick, mess-free, and guarantees unparalleled precision. This method is what professional bakers and test kitchens rely on for repeatable, perfect results. Even if a recipe provides measurements in cups, many online conversion charts or baking apps can help you convert them to grams.
Learn more about the fascinating world of weight vs. volume measurements here! You’ll discover a treasure trove of “nerdy” baking info that can truly transform your kitchen skills.
Note on Flour Weight Standards: It’s important to be aware that different recipe developers and culinary publications may adhere to slightly varying standards for the weight of one cup of flour. For instance, King Arthur Baking, a highly respected source in the baking community, typically defines 1 cup of all-purpose flour as 120 grams. While this is a widely accepted standard, I’ve personally found that consistently achieving exactly 120 grams using the spoon and level method can be quite challenging, often resulting in slightly more or slightly less. Through extensive testing on this website, my standard for recipes using the spoon and level method has been refined to 1 cup of all-purpose flour equating to approximately 125-130 grams.
I am in the process of gradually updating all my recipes to reflect this specific weight amount for maximum consistency. However, rest assured that all recipes published on this site have been rigorously tested and developed using the precise spoon and level method outlined in this guide. This transparency ensures that whether you’re using volume or weight, you can trust the intended outcome.
You’re Ready to Get Baking!
Congratulations! You now possess the essential knowledge and techniques to measure flour like a seasoned pro. By understanding the pitfalls of incorrect measuring and embracing either the meticulous “spoon and sweep” method or the unparalleled precision of a digital kitchen scale, you’ve unlocked one of the most significant secrets to consistent baking success. No more guessing, no more dry cakes, and no more wasted ingredients.
The next time you step into the kitchen, remember these simple yet powerful methods. Take that extra moment to fluff, spoon, and sweep, or simply weigh your flour. You’ll be amazed at the difference it makes in the texture, taste, and overall triumph of your homemade treats. Get ready to enjoy perfectly risen breads, wonderfully chewy cookies, and exquisitely tender cakes every single time. Happy baking!
More Essential Baking Tips for Success
Mastering flour measurement is just one step on your journey to becoming a baking expert. To further enhance your skills and ensure every baking endeavor is a delicious triumph, explore these other helpful guides:
- How to Build a Layered Cake: Perfect your cake decorating with this step-by-step guide.
- Use Parchment Paper to Make Baking Easier: Discover the many benefits of this simple kitchen essential.
- Do Eggs Really Need to Be at Room Temperature?: Uncover the science behind ingredient temperatures and why it matters.
- How to Bake Picture Perfect Cookies: Get the secrets to beautifully shaped and evenly baked cookies.
How to Measure Flour Correctly
Pin Recipe
Leave a Review
Ingredients
- All-purpose flour
Equipment
Instructions
-
First, “fluff” your flour: Use a spoon, whisk, or even the measuring cup itself to gently aerate and loosen the flour inside its container or package. Give it 4-5 good fluffs to break up any compaction and incorporate air.
-
Next, spoon the fluffed flour into your dry measuring cup. Do not use the measuring cup to scoop directly from the bag, and avoid packing the flour down or tapping the cup. Continue spooning until the flour is mounded generously over the rim of the measuring cup.
-
Using a flat edge, such as the back of a knife or a straight spatula, sweep across the top of the measuring cup to level off the excess flour. Allow the removed flour to fall back into your flour bag or jar.
-
For recipes on this site, 1 cup of all-purpose flour measured using this “spoon and sweep” method should weigh between 125-130 grams. For the absolute most accurate and consistent measurements, especially when precision is paramount, always use a digital scale.
