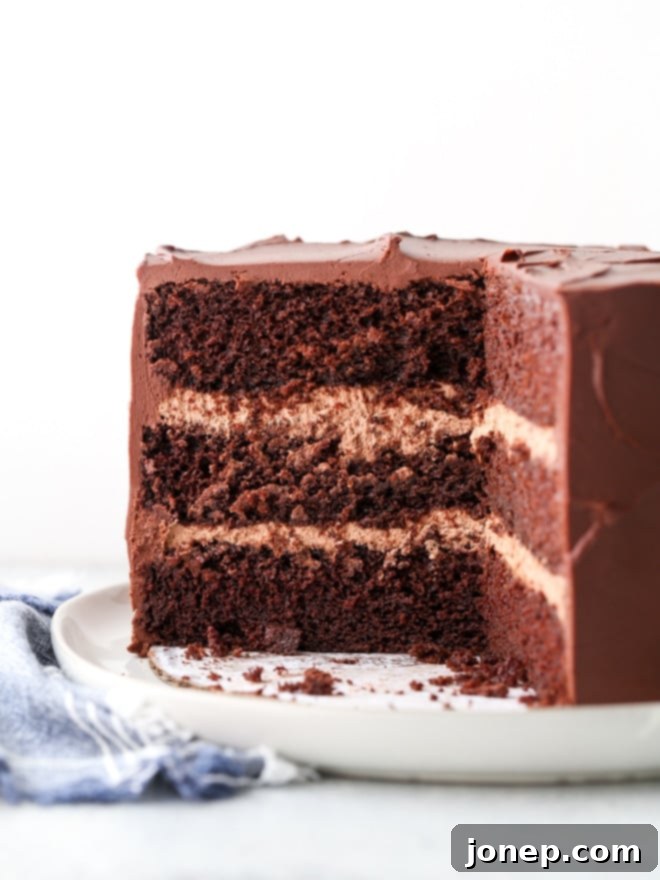
Ultimate Rich & Moist Chocolate Sour Cream Cake Recipe
Prepare to discover your new favorite chocolate cake recipe! The secret ingredient to this incredibly rich, moist, and unbelievably tender chocolate cake is none other than sour cream. This chocolate sour cream cake isn’t just a delicious treat; it’s also surprisingly easy to bake, making it perfect for both novice bakers and seasoned pros. Its superior texture and profound chocolate flavor will undoubtedly earn it a permanent spot in your baking repertoire.
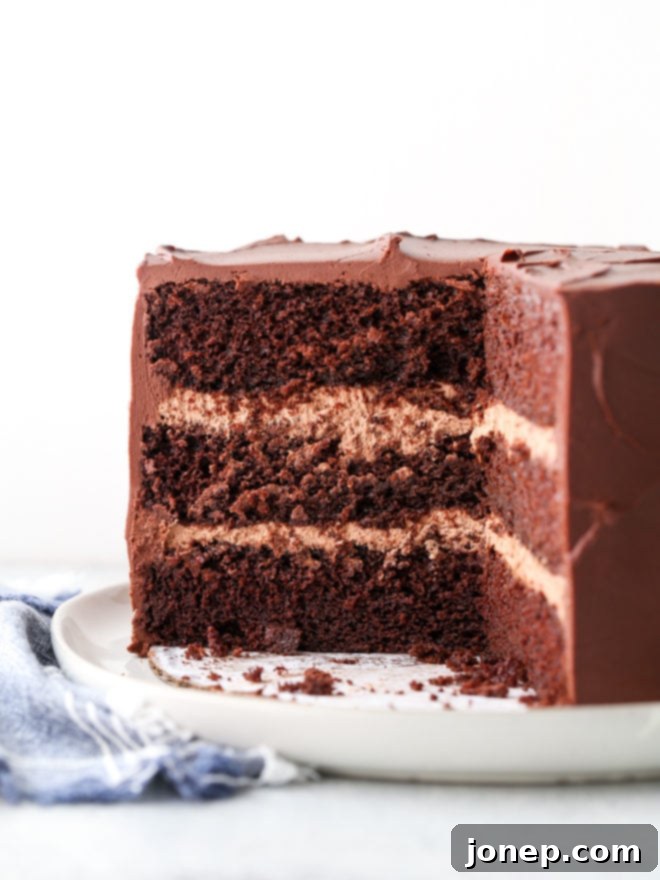
For years, this particular chocolate sour cream cake recipe has been my go-to, consistently delivering a light yet substantial crumb with an intensely smooth, decadent chocolate flavor. Each bite reveals a cake that is exceptionally moist, light, and tender, far surpassing typical chocolate cake recipes. The magic of sour cream truly transforms the texture, preventing any dryness and ensuring a delightful melt-in-your-mouth experience.
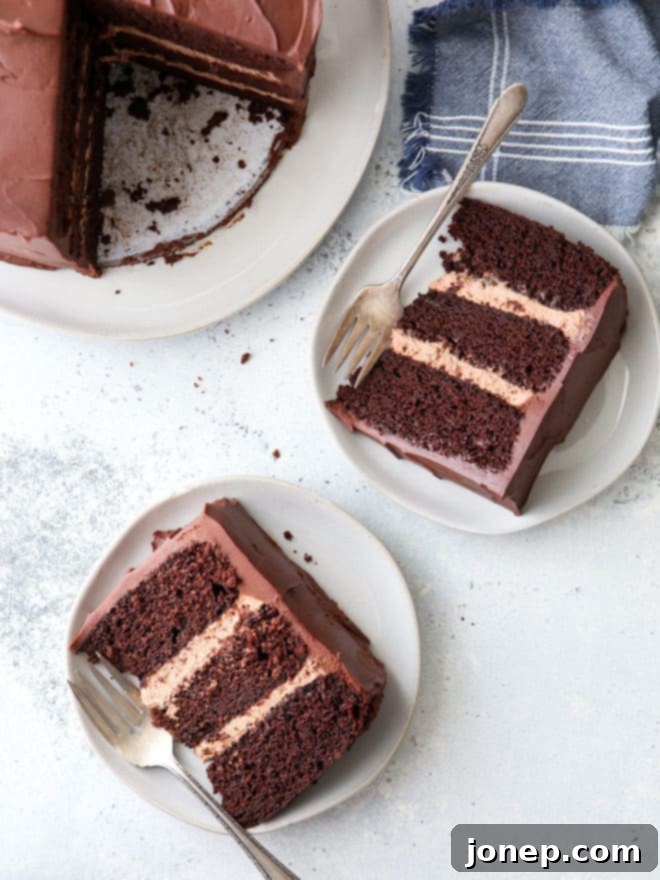
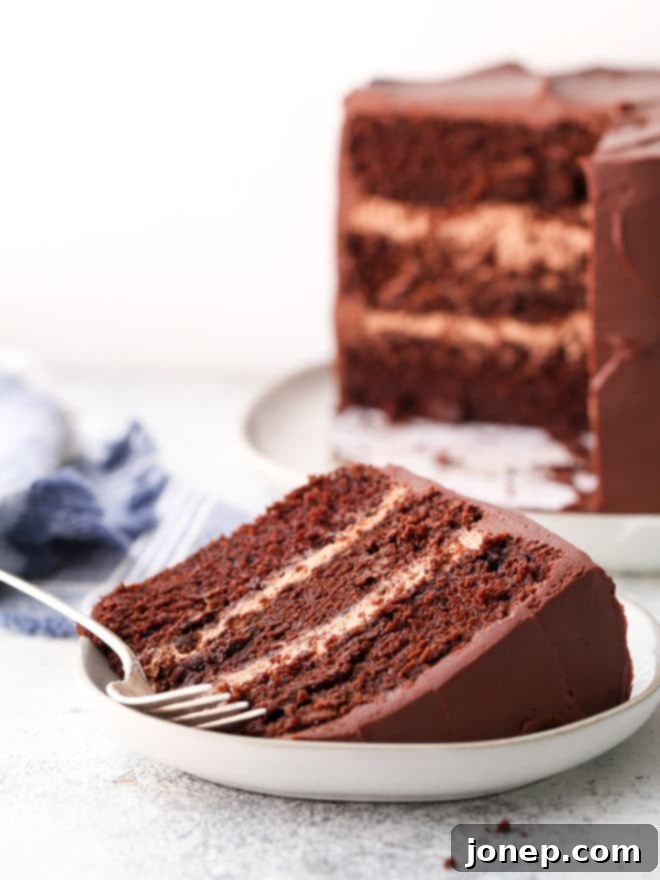
Imagine pairing these perfectly baked, moist chocolate cake layers with a cloud-like, fluffy chocolate filling, all enveloped in a luscious, tangy chocolate sour cream icing. The combination is simply divine – a true symphony of flavors and textures that will transport any chocolate lover straight to dessert heaven. This cake offers a deep, satisfying chocolate experience that is both sophisticated and comforting.
While it’s undeniably a chocolate lover’s dream come true, this recipe is also remarkably basic and uncomplicated. This makes it an ideal choice for grand celebrations, holiday gatherings, or even the simplest of everyday occasions when you crave something truly special. Don’t hesitate to try this easy sour cream cake today and experience the difference it makes in your baking!
Table of Contents
- Why Sour Cream in a Chocolate Cake?
- Essential Ingredients for Your Decadent Cake
- Crafting the Perfect Chocolate Sour Cream Cake Layers
- Creating the Frosting and Assembling Your Masterpiece
- Expert Tips for the Best Chocolate Cake
- Frequently Asked Questions About This Recipe
- Explore More Chocolate Cake Recipes
- Full Chocolate Sour Cream Cake Recipe
Why Sour Cream in a Chocolate Cake? The Ultimate Moisture Secret
You might wonder, “Why sour cream?” The answer lies in its unique properties that are perfectly suited for baking the most exquisite chocolate cakes. Thanks to its significant fat content and natural acidity, sour cream works wonders in a cake batter, adding unparalleled moisture, body, and a beautiful rise. It enriches the flavor profile of the chocolate, lending a subtle tang that balances the sweetness and deepens the overall complexity. More importantly, it acts as a phenomenal moistening agent, ensuring your chocolate cake remains tender and prevents it from drying out, even days after baking.
The acidity in sour cream also reacts with baking soda, producing carbon dioxide gas that helps the cake rise, creating a lighter, more airy texture. The fat content contributes to a tender crumb, ensuring each slice is soft and velvety. Simply put, sour cream is the secret weapon that elevates this chocolate cake from good to truly extraordinary. It’s the reason why every bite is so incredibly amazing and memorable! So, let’s gather our ingredients and get ready to bake some magic, shall we?
Essential Ingredients for Your Decadent Cake
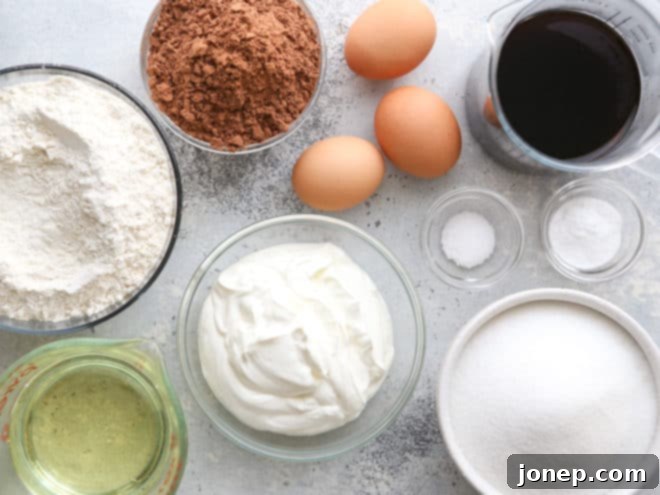
To embark on your journey to baking the perfect chocolate sour cream cake, you’ll need a selection of high-quality ingredients. Each component plays a crucial role in achieving the desired flavor and texture. Here’s a detailed look at what you’ll need for both the rich chocolate cake layers and the indulgent chocolate sour cream frosting and filling. Remember, the full recipe with precise measurements is conveniently located at the bottom of this post.
For the rich and moist chocolate cake layers, gather these pantry staples:
- All-purpose flour: The structural backbone of your cake.
- Granulated sugar: Provides sweetness and helps with moisture retention.
- Unsweetened cocoa powder (natural, not Dutch process): Essential for a deep, authentic chocolate flavor. Natural cocoa powder is acidic and reacts with baking soda to aid in leavening.
- Baking soda: Our primary leavening agent, activated by the acidic sour cream and cocoa.
- Salt: A flavor enhancer that brings out the richness of the chocolate.
- Sour cream: The star ingredient, ensuring an incredibly moist and tender crumb.
- Vegetable oil: Contributes to the cake’s tenderness and moisture, keeping it soft for longer.
- Eggs: Provide structure, richness, and bind the ingredients together.
- Brewed coffee: This might sound unusual, but hot coffee doesn’t add a coffee flavor; instead, it intensely deepens and enhances the chocolate notes, making the cake taste even more chocolaty.
And for the irresistible chocolate sour cream frosting and delicate filling, you’ll need:
- Quality semi-sweet chocolate: Whether you opt for chocolate chips or finely chopped chocolate bars, the quality of your chocolate will directly impact the richness of your frosting.
- Sour cream: Adds a delightful tang and creamy texture to the frosting, perfectly complementing the cake.
- Corn syrup: Helps create a smooth, glossy, and stable frosting consistency while adding a touch of sweetness.
- Instant espresso powder (optional): Just like in the cake, a pinch of espresso powder here will amplify the chocolate flavor without making the frosting taste like coffee.
- Vanilla extract: A classic flavor enhancer that rounds out the chocolate.
- Heavy cream: Whipped into a light and airy consistency for the luscious filling.
Crafting the Perfect Chocolate Sour Cream Cake Layers
One of the best features of this chocolate sour cream cake recipe is its straightforward process. It’s an almost one-bowl wonder, requiring no fancy stand mixer, making it accessible for bakers of all skill levels. Follow these simple steps for perfectly moist and fluffy cake layers:
- Prepare your dry ingredients: Begin by sifting together the all-purpose flour, granulated sugar, unsweetened cocoa powder, baking soda, and salt into a large mixing bowl. Sifting is crucial here as it helps to aerate the dry ingredients, preventing lumps and ensuring a light, even crumb in your finished cake. Use a fine-mesh strainer for the best results.
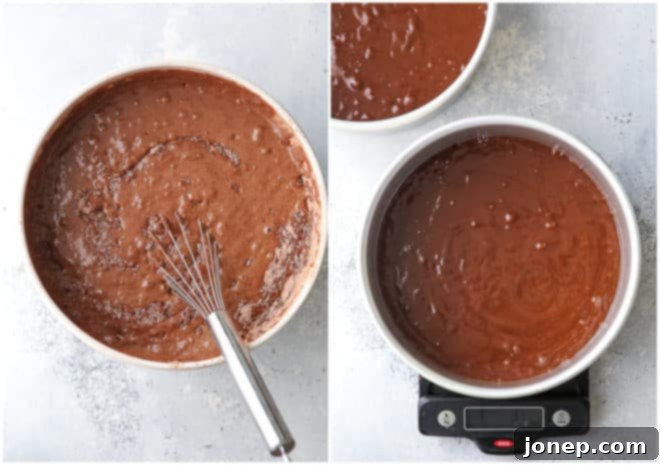
- Combine your wet ingredients: In a separate medium bowl, whisk together the sour cream, vegetable oil, and large eggs until thoroughly combined and smooth. Next, gradually whisk in the brewed coffee until the mixture is uniform. This liquid blend will provide the essential moisture and richness for your cake.
- Marry wet and dry: Pour the entire wet ingredient mixture into the bowl containing your sifted dry ingredients. Gently whisk everything together until just combined. It’s important not to overmix the batter; a few small lumps are perfectly fine and even desirable. Overmixing can develop the gluten in the flour too much, leading to a tough, dry cake.
- Divide into prepped cake pans: Before adding the batter, ensure your cake pans are properly prepared. Grease the cake pans thoroughly and line their bottoms with parchment paper. This step is vital for easy cake release. Divide the velvety batter mixture evenly among your prepared pans. Remember, never fill cake pans more than 2/3 full, as the batter needs space to rise in the oven without overflowing.
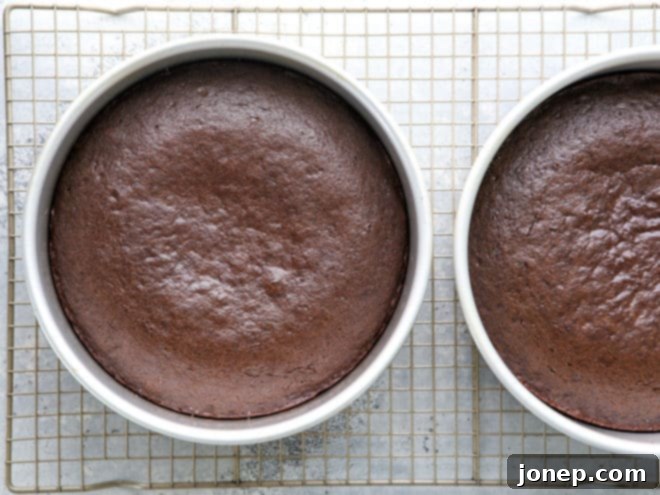
- Bake and cool to perfection: Place the filled cake pans into a preheated oven at 350°F (175°C) and bake for approximately 25-35 minutes. Baking time may vary depending on your specific oven and pan size. To check for doneness, insert a toothpick into the center of a cake; it should come out with moist crumbs, but not wet batter. Once baked, let the cakes cool in their pans for about 10-15 minutes before inverting them onto a wire rack to cool completely. Cooling completely is essential before frosting to prevent the icing from melting.
Creating the Frosting and Assembling Your Masterpiece
With your perfectly baked chocolate cake layers cooling, it’s time to prepare the delectable chocolate sour cream frosting and light filling that will truly complete this dessert. These components add layers of flavor and texture, making each slice an unforgettable experience.
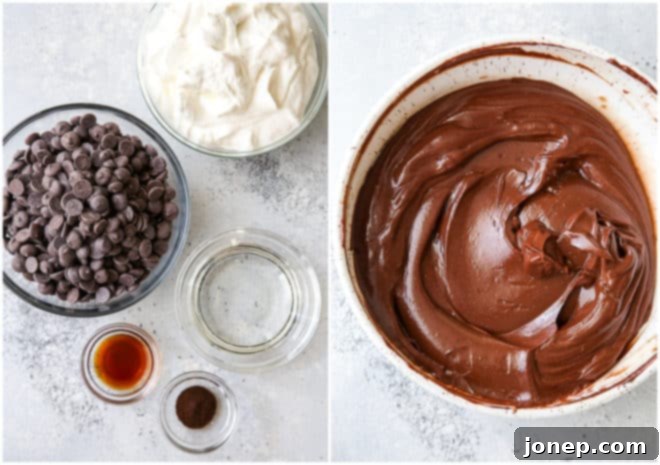
- Craft the decadent frosting: Begin by melting your quality semi-sweet chocolate, along with the instant espresso powder (if using), in a double boiler over medium heat. Stir occasionally until the chocolate is smooth and fully melted. Remove from heat and allow it to cool slightly for about 10 minutes. This cooling step prevents the sour cream from curdling. Once slightly cooled, whisk in the room temperature sour cream, corn syrup, and vanilla extract until the mixture is smooth and evenly combined. Initially, the frosting will appear quite thin, but don’t worry – its consistency will thicken significantly as it cools. Stir it occasionally over the next 15-20 minutes until it reaches a rich, spreadable consistency, perfect for frosting. The corn syrup contributes to the frosting’s glossy finish and helps maintain its smooth texture.
- Prepare the light and airy filling: In a separate bowl, whip the heavy cream until it forms thick, medium peaks. This creates a wonderfully airy base for your filling. Carefully fold in 1 cup of the prepared chocolate sour cream frosting into the whipped cream. This combination yields a light, creamy filling that provides a delightful contrast to the denser cake layers and rich outer frosting.
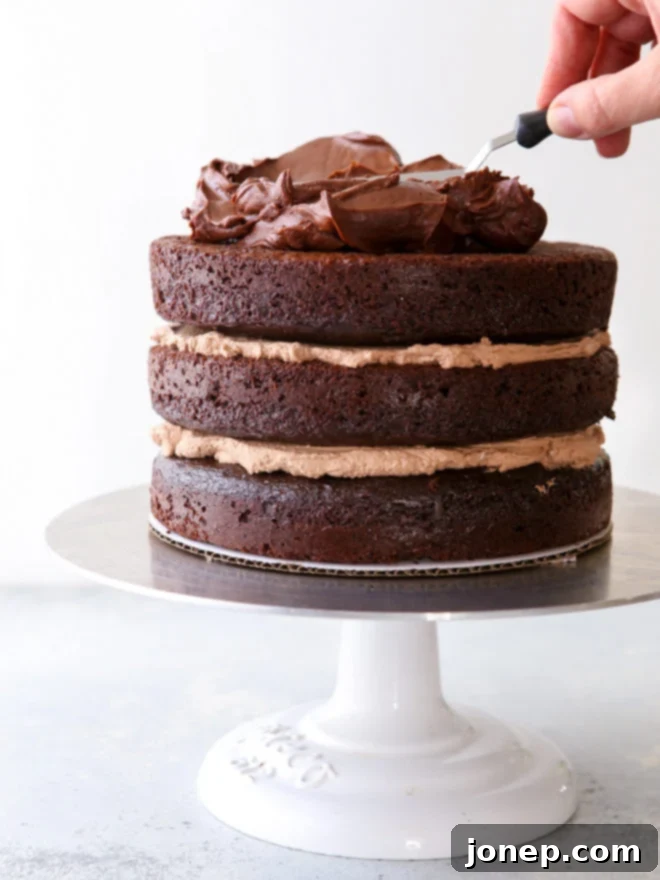
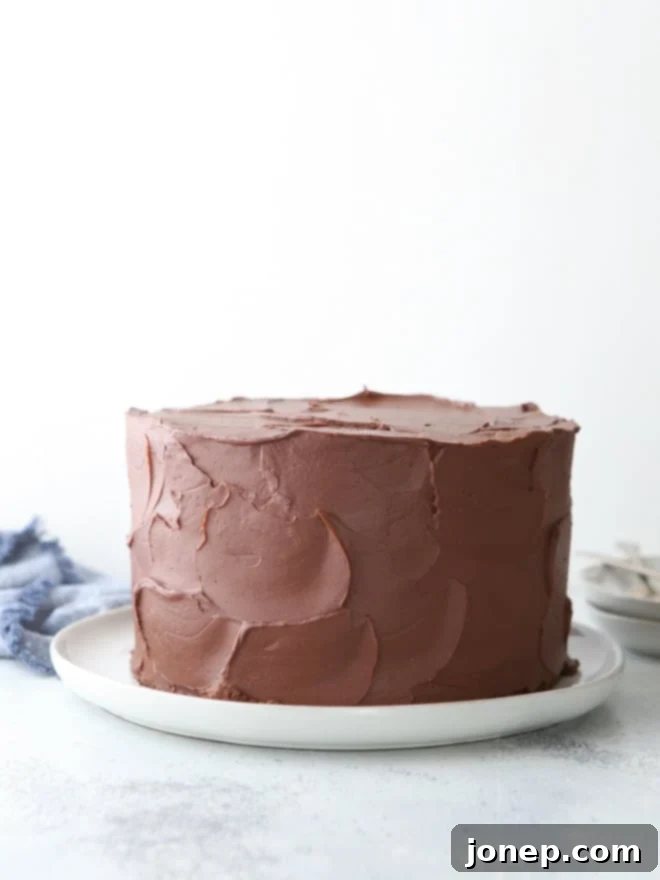
- Assemble your showstopping cake: Once your cake layers are completely cool and your frosting and filling are ready, it’s time for assembly. Place one cake layer onto your chosen serving plate or cake stand. Spread half of the luscious whipped chocolate filling evenly over the top of this first layer. Carefully place a second cake layer on top, then spread the remaining half of the filling. Finish by topping with the final cake layer. Now, using an offset spatula or knife, generously frost the entire cake with the rest of the chocolate sour cream icing. Take your time to achieve a smooth, even coating, or go for a rustic look – either way, it will be delicious!
And now, your ultimate rich and moist chocolate sour cream cake is ready to be enjoyed! Slice into this masterpiece and savor the incredible flavors and textures you’ve created.
Expert Tips for Making the Best Chocolate Sour Cream Cake
Achieving a bakery-quality chocolate cake at home is entirely possible with a few expert tips. These insights will help you ensure your chocolate sour cream cake turns out perfectly every single time, from its moist crumb to its beautiful presentation:
- Mastering Layer Cake Assembly: If you’re new to baking layered cakes or simply need a refresher, consider reviewing a comprehensive guide on how to build a layer cake. Learning techniques like leveling your cake layers, creating a stable base, and applying a crumb coat can significantly elevate your final product. It’s got everything you need to know for a professional finish!
- Room Temperature Ingredients are Key: For the absolute best results, ensure your sour cream and eggs are at room temperature before you begin mixing the cake batter. Room temperature ingredients emulsify much better, creating a smoother, more uniform batter. This leads to a more consistent rise and a superior, tender texture in the baked cake. Plan ahead by taking them out of the fridge at least 30 minutes to an hour before you start baking.
- Choosing the Right Cake Pans: This recipe works beautifully with either 8-inch or 9-inch cake pans. (These are the pans I personally use and highly recommend for their consistent results.) Using 8-inch pans will result in a taller, more dramatic cake, while 9-inch pans will yield a slightly wider cake with fewer layers. I often opt for three 8-inch pans for an impressive multi-layered look, but you can adjust the number of pans for a 2-layer or 4-layer cake. A crucial reminder: never fill your cake pans more than 2/3 full, as overfilling can cause the batter to overflow in the oven, leading to a mess and an uneven bake.
- Preventing Sticking Cakes: Do your cakes sometimes stubbornly stick to the inside of the pan? This can be frustrating! To ensure your cake layers release cleanly every single time, learn how I prepare my cake pans. A combination of butter/shortening, flour, and parchment paper is usually the foolproof method.
- Frosting Like a Pro (or Semi-Pro!): Applying frosting smoothly can seem daunting, but it’s an achievable skill. If you’d like a little extra guidance to make your cake look as good as it tastes, see my full tutorial on frosting a layer cake. It covers everything from basic spreading techniques to achieving elegant swirls.
- Don’t Overmix the Batter: We’ve mentioned it before, but it bears repeating. Overmixing your cake batter develops the gluten, resulting in a tough, chewy cake rather than a tender, moist one. Mix only until the dry ingredients are just incorporated into the wet, with no visible streaks of flour remaining. A few small lumps are perfectly acceptable.
- Quality Ingredients Matter: While simple, the quality of your ingredients, especially the cocoa powder and chocolate, will significantly impact the cake’s flavor. Opt for a good quality unsweetened cocoa powder (natural, not Dutch-processed for this recipe) and a semi-sweet chocolate you enjoy eating on its own.
Frequently Asked Questions About This Recipe
While I highly recommend sticking to sour cream for the authentic rich and moist texture this recipe is known for, I understand that sometimes substitutions are necessary. I have not personally tested this exact recipe with alternatives to sour cream. However, you can likely substitute full-fat plain Greek yogurt with good results. The key is to ensure that whatever dairy product you choose is full-fat or made with whole milk, as low-fat or fat-free versions will not provide the same richness and moisture. The acidity of Greek yogurt is also similar to sour cream, which is important for reacting with the baking soda.
Yes, absolutely! While it might seem counterintuitive to add coffee to a chocolate cake, it’s a culinary secret that dramatically enhances the chocolate flavor. The coffee in this recipe does not give the cake a “coffee flavor” at all; instead, it deepens and intensifies the cocoa notes, making the cake taste profoundly more chocolaty. It truly makes a significant difference. If you’re not a coffee drinker, simply keep some instant coffee granules in your pantry for baking, or pick up a small amount of brewed coffee from your local coffee shop. As a last resort, you can substitute with hot water, but the depth of chocolate flavor won’t be quite the same.
Yes, this delightful sour cream chocolate cake recipe can certainly be adapted for a bundt cake pan. When using a bundt pan, it’s crucial to prepare it meticulously to prevent sticking. Make sure the pan is greased exceptionally well with a nonstick baking spray that contains flour, or use the traditional butter-and-flour method, ensuring every nook and cranny is coated. Also, be mindful not to fill the bundt pan more than 2/3 full to allow for proper rising. Baking times might vary slightly for bundt cakes, typically ranging from 50-60 minutes, so keep an eye on it and use the toothpick test for doneness.
This particular sour cream chocolate frosting is a unique delight – it’s essentially a rich chocolate ganache with an added pleasing tang from the sour cream. It perfectly complements the cake’s flavor profile. However, if you’re looking for an alternative or prefer a different style of frosting, my easy fudge buttercream recipe would also be incredibly delicious and pair wonderfully with the deep chocolate flavor of this cake. It offers a classic, rich, and creamy experience.
Absolutely, this cake is excellent for making ahead, especially the cake layers! The unassembled cake layers store very well. Once cooled, wrap each cake layer individually and tightly in plastic wrap. You can then store them in the fridge for up to 3 days, or for longer storage, double-wrap them and freeze them for several months. When you’re ready to assemble, simply thaw the frozen layers in the fridge overnight. For the freshest and best results, I always recommend preparing the frosting and assembling the cake on the day you plan to serve it. This ensures optimal texture and flavor for both the cake and the icing.
To maintain its freshness, firmness, and delicious taste, I prefer to store assembled cakes in the fridge. This also helps keep them safe from curious little hands or pets! The cake will be at its absolute freshest within 2-3 days of assembly, but it can be stored for up to a week. For the best serving experience, remember to pull the cake out of the fridge about 30 minutes before you plan to serve it. Allowing it to rest at room temperature briefly will soften the frosting and cake layers slightly, enhancing their flavors and textures.
This recipe calls for unsweetened natural cocoa powder, not Dutch-processed cocoa. Natural cocoa powder is acidic and reacts with the baking soda in the recipe to help the cake rise and achieve its light texture. Dutch-processed cocoa has been treated to reduce its acidity, so it would not react the same way with baking soda, potentially affecting the cake’s rise and texture. Always check the label to ensure you’re using the correct type for optimal results.
Explore More Decadent Chocolate Cake Recipes
As you’ve learned, this chocolate sour cream cake recipe is truly exceptional. It’s so beloved and versatile that it actually serves as the fantastic base for many other delightful chocolate creations. I told you it was my favorite! Once you master this foundational recipe, you open up a world of possibilities for variations. Here are a few more chocolate cake recipes that utilize this very same incredible chocolate sour cream base, proving its enduring appeal and adaptability:
- Chocolate Sheet Cake: Perfect for feeding a crowd with ease.
- Chocolate Rainbow Ice Cream Cake: A fun, festive twist combining cake and ice cream.
- Oreo Dirt Layer Cake: A playful and delicious cake, especially popular with kids.
- Chocolate Fudge Layer Cake: For those who crave an extra dose of rich, fudgy goodness.
- Mint Chocolate Chip Cupcakes: A refreshing and individual dessert option using the same great base.
Each of these recipes leverages the inherent moisture and deep chocolate flavor of this sour cream cake, ensuring consistent success and delicious results every time you bake.
This beloved recipe was originally published in July 2012 and has been a reader favorite ever since, consistently praised for its unmatched richness and moisture.
Full Chocolate Sour Cream Cake Recipe
Chocolate Sour Cream Cake
Pin Recipe
Leave a Review
Ingredients
For the cake:
- 1 cup (110 grams) unsweetened cocoa powder
- 2 ½ cup (330 grams) all-purpose flour
- 1 ¼ teaspoon (5 grams) salt
- 2 ½ teaspoon (11 grams) baking soda
- 2 cups (400 grams) granulated sugar
- 3 large eggs
- 1 ¼ cups (282 grams) sour cream
- 1 cup (267 ml) vegetable oil
- 1 ¼ cup (295 ml) coffee
For the icing:
- 15 ounces (425 grams) semi-sweet chocolate , chopped
- 1 ¼ teaspoon instant espresso , optional
- 2 cups (450 grams) sour cream , at room temperature
- ¼-½ cup (59-118 ml) light corn syrup
- ¾ teaspoon vanilla extract
For the filling:
- 1 cup heavy whipping cream
- 1 cup icing (above)
Instructions
To make cake layers:
-
To make the cake, preheat oven to 350°F (175°C). Butter and flour three 8-inch or 9-inch cake pans and line bottoms with parchment paper for easy release.
-
In a large bowl, sift together the all-purpose flour, granulated sugar, unsweetened cocoa powder, salt, and baking soda. Sifting ensures a lump-free batter and helps create a light cake.
-
In another bowl, whisk together the room temperature eggs, sour cream, and vegetable oil until well combined. Add the brewed coffee and whisk again until the mixture is smooth.
-
Pour the wet ingredients all at once into the bowl with the dry ingredients. Whisk gently until no streaks of dry ingredients remain. Be careful not to overmix, as this can lead to a tough cake; a few small lumps are perfectly fine.
-
Divide the batter evenly between the prepared cake pans (do not fill more than 2/3 full). Bake in the preheated oven until a toothpick inserted into the center comes out with moist crumbs, about 25-35 minutes depending on pan size. Let cool in the pan for 10-15 minutes, then remove and place on a wire rack to cool completely before frosting.
To make filling and frosting:
-
Melt the chopped semi-sweet chocolate and instant espresso (if using) in a heatproof bowl placed over a pan of simmering water (double boiler method). Stir until smooth. Remove from heat and let cool for about 10 minutes until slightly warm.
-
In another bowl, combine the room temperature sour cream, vanilla extract, and ¼ cup light corn syrup. Add the slightly cooled melted chocolate and stir until the mixture is smooth and fully incorporated. The icing will have a thin consistency at first, but it will gradually thicken as it cools to room temperature. Stir occasionally for about 15-20 minutes until it reaches a spreadable consistency. Taste for sweetness and add additional corn syrup a tablespoon at a time if you prefer it sweeter (¼ cup was ideal for me).
-
To make the filling, beat the heavy whipping cream in a clean bowl until it forms medium peaks. Gently fold together with 1 cup of the prepared chocolate sour cream frosting until fully combined.
To assemble the cake:
-
Place one cooled cake layer on a cake stand or serving plate. Evenly cover the top with half of the creamy chocolate filling. Place a second cake layer on top, followed by the remaining half of the filling. Finish by adding the third cake layer.
-
Generously frost the entire cake with the rest of the chocolate sour cream frosting, using an offset spatula to spread it smoothly or create decorative swirls as desired. Store the finished cake in the fridge until ready to serve, and refrigerate any leftovers to maintain freshness. Allow the cake to sit at room temperature for 30 minutes before serving for optimal flavor and texture.
Video
