Homemade Apple Pie Filling Recipe: Easy Canning & Freezing for Perfect Pies All Year Round
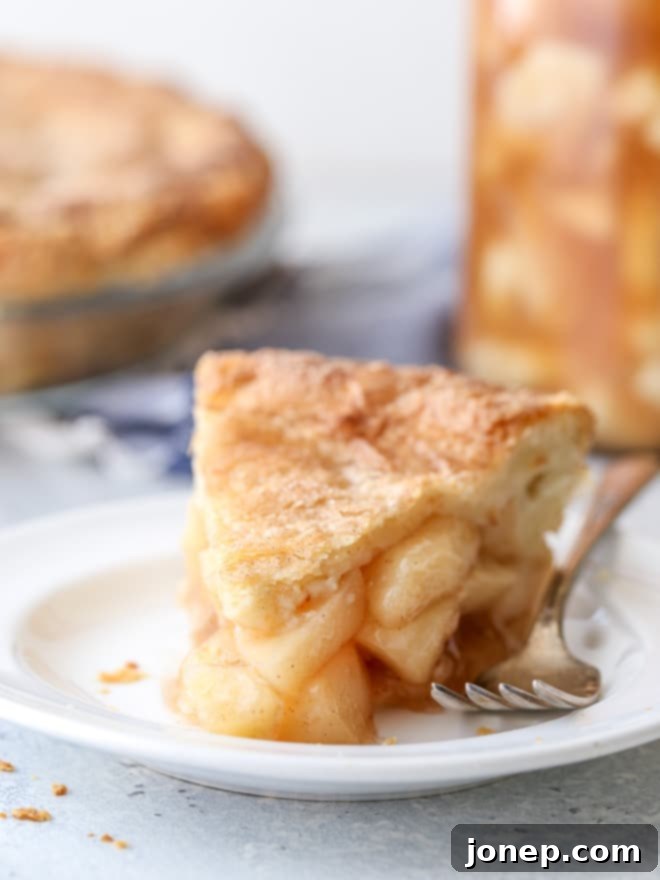
There’s nothing quite like the comforting aroma of a fresh apple pie baking, especially during the crisp days of fall. But let’s be honest, preparing a fruit pie from scratch can be a labor of love that often feels like a labor of work. That’s where this incredible homemade apple pie filling comes in! Crafting your own filling not only guarantees a taste far superior to anything store-bought, but it also simplifies future pie baking dramatically.
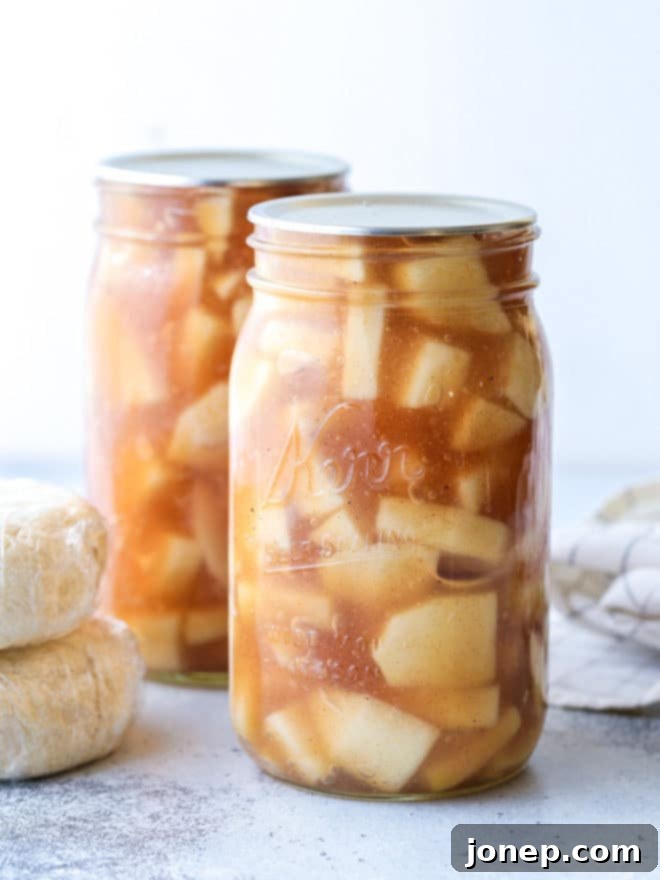
Imagine this: the holidays are approaching, guests are coming over, or perhaps a sudden craving for a warm, spiced apple dessert strikes on a quiet Tuesday evening. With a jar of this delicious homemade apple pie filling ready in your pantry, all you’ll need to do is pour it into a pre-made crust and bake! It’s the ultimate shortcut to homemade goodness, allowing you to enjoy the rich flavors of a classic apple pie without the last-minute rush.
Canning apple pie filling is a surprisingly easy and rewarding kitchen project, perfect for beginners and seasoned canners alike. This detailed guide will walk you through every step, ensuring you achieve a perfectly preserved, flavorful filling that’s ready whenever you are.
Why Make and Can Your Own Apple Pie Filling?
Beyond the sheer convenience, there are several compelling reasons to embrace homemade canned apple pie filling:
- Unbeatable Flavor: You control the quality and freshness of your ingredients. Ripe, seasonal apples combined with your preferred balance of spices result in a filling that’s vibrant and deeply flavorful, a stark contrast to often bland store-bought versions.
- Ingredient Control: No artificial flavors, colors, or preservatives. You know exactly what goes into your filling, making it a healthier choice for your family.
- Cost-Effective: Buying apples in bulk when they’re in season and canning them can be significantly cheaper than purchasing pre-made pie fillings throughout the year.
- Seasonal Enjoyment: Capture the essence of apple season, whether it’s late summer or early fall, and enjoy that fresh, wholesome taste all year round.
- Peace of Mind: Knowing you have delicious, ready-to-use pie filling on hand for spontaneous baking, holiday meals, or unexpected guests is incredibly satisfying.
Choosing the Best Apples for Your Pie Filling
The foundation of any great apple pie filling is, of course, the apples themselves. Not all apples are created equal when it comes to baking and canning. The ideal apple for pie filling should be:
- Firm: They need to hold their shape during blanching, cooking, and canning, preventing a mushy, unappetizing texture.
- Tart: A good tartness provides balance against the sugar, creating a more complex and interesting flavor profile.
- Flavorful: You want apples with robust flavor that will shine through the spices and sugar.
Some of the best varieties that fit this description include:
- Granny Smith: A classic for a reason! They are exceptionally tart and firm, holding up beautifully to heat.
- Honeycrisp: Sweet, crisp, and incredibly juicy with a good balance of tartness. They maintain a nice texture.
- Gala: Sweet with a mild flavor, they can add a lovely dimension, especially when combined with a tarter apple.
- Jonathan: A well-balanced apple with a sweet-tart flavor and crisp texture, excellent for baking.
- Jonagold: A cross between Jonathan and Golden Delicious, offering a sweet-tart taste and firm flesh.
- Pink Lady (Cripps Pink): Known for their crisp texture and balanced sweet-tart flavor, they perform wonderfully in pies.
Feel free to stick to one variety for a pure apple taste or experiment by combining several types to create a more nuanced and complex flavor profile in your homemade apple pie filling.

Preparing Your Apples: Peel, Core, and Slice
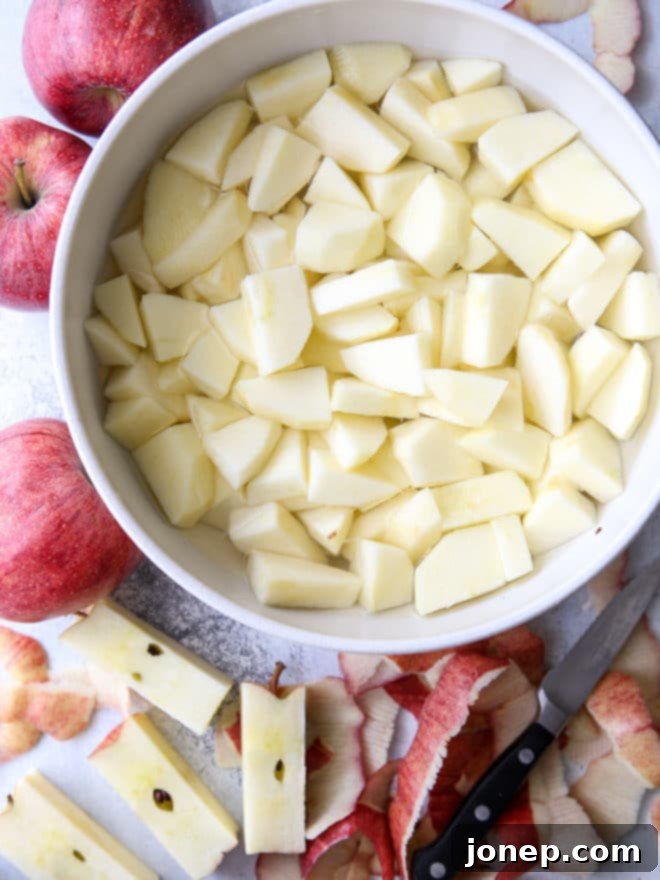
Prepping the apples is often the most time-consuming part of this recipe, but with a good technique, it can be quite efficient. You’ll need approximately 7 cups of sliced apples, which typically translates to about 7 medium-large apples (roughly 800 grams). Aim for slices about ½ inch thick.
To make the process smoother:
- Peel: Use a sharp vegetable peeler or a paring knife. Some people swear by apple peelers/corers that do all three steps at once, which can be a real time-saver if you’re processing a large batch.
- Core: An apple corer makes this quick and easy, or you can quarter the apples and cut out the core with a knife.
- Slice: Aim for uniform slices. This ensures even cooking and a consistent texture in your finished filling. This video shows how I peel and chop apples to minimize waste and maximize efficiency.
Preventing Browning: The Lemon Water Trick
As you peel and slice your apples, they will naturally begin to oxidize and turn brown when exposed to air. To prevent this, prepare a simple lemon juice solution. Fill a large bowl with water (enough to submerge your apples) and add 2 tablespoons of lemon juice (bottled or freshly squeezed). As you slice the apples, immediately place them into this solution. Keep them submerged until you’re ready for the blanching step. The acidity of the lemon juice will halt the enzymatic browning process, keeping your apples looking fresh and appealing.
Gathering the Rest of Your Ingredients
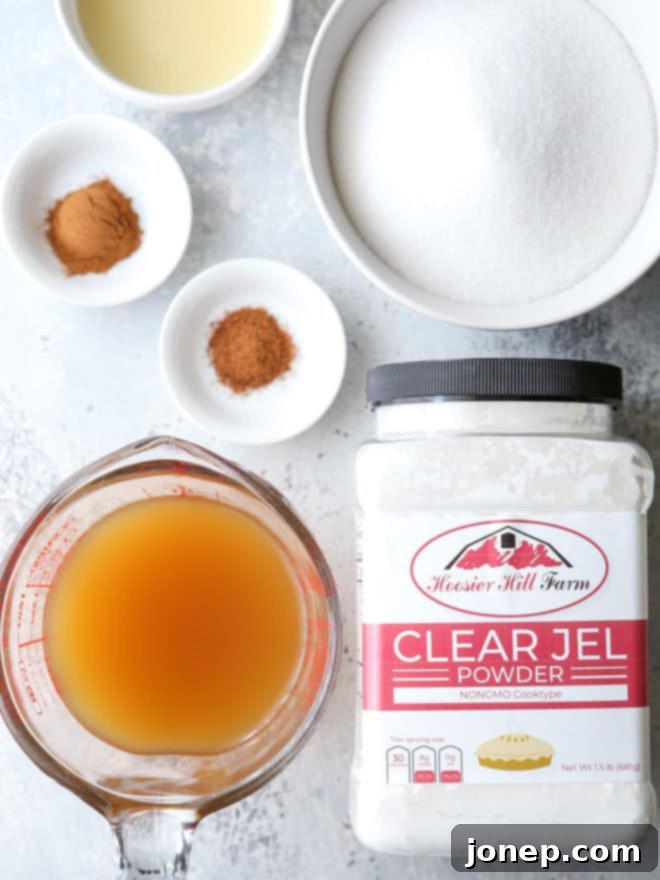
Once your apples are prepped, assembling the rest of your ingredients is straightforward. For this perfectly balanced, canned apple pie filling, you will need:
- Apple juice: Adds an extra layer of apple flavor and liquid for the syrup.
- Granulated Sugar: Sweetens the filling to perfection.
- Lemon Juice (bottled): Essential for both flavor and crucial for canning safety as it ensures the proper acidity level for water bath canning.
- Ground Cinnamon: The classic spice companion to apples.
- Ground Nutmeg (optional): Adds a warm, aromatic depth. Feel free to adjust spices to your preference. A pinch of ground cloves or allspice can also be a lovely addition.
- Clear Jel (Modified Corn Starch – Cook Type, not Instant): This is the secret ingredient for a stable, perfectly thickened canned filling.
The Importance of Clear Jel in Canning Apple Pie Filling
You might be wondering about Clear Jel. It’s a modified corn starch specifically designed for canning. Here’s why it’s indispensable for this recipe:
- Stability under Heat: Unlike regular cornstarch or flour, Clear Jel maintains its thickening power even after prolonged cooking and the high heat of water bath canning. Other thickeners will break down, leaving you with a watery, separated filling.
- Long-Term Storage: Clear Jel helps the filling retain its thick, smooth consistency over months of shelf storage, ensuring your pies are perfectly textured whenever you open a jar.
- Freeze-Thaw Stability: It also performs well if you decide to freeze your filling, preventing separation upon thawing.
Crucial Note: Always use “Cook Type” Clear Jel, not “Instant” Clear Jel. Instant Clear Jel is designed for no-cook or cold applications and will not hold up to canning temperatures. Most large grocery stores do not typically carry Clear Jel, but it’s readily available online at Amazon and at specialty food stores or stores catering to home canners.
What if you can’t find Clear Jel or prefer not to use it for non-canning purposes? If you plan to make and use the pie filling fresh, or freeze it without canning, you can omit Clear Jel from the recipe. Instead, when you are ready to assemble your pie for baking, stir in 3 tablespoons of cornstarch or all-purpose flour per quart jar of filling directly into the filling. Whisk well to avoid lumps before pouring into your pie crust. Keep in mind that this alternative is not suitable if you intend to water bath can the filling for shelf stability.
Finally, avoid confusion with “Sure-Jel.” “Sure-Jel” is a brand of pectin used for making jams and jellies, and it will not work as a thickener for pie filling.
Step-by-Step Guide to Making and Canning Your Filling
1. Blanch the Apples
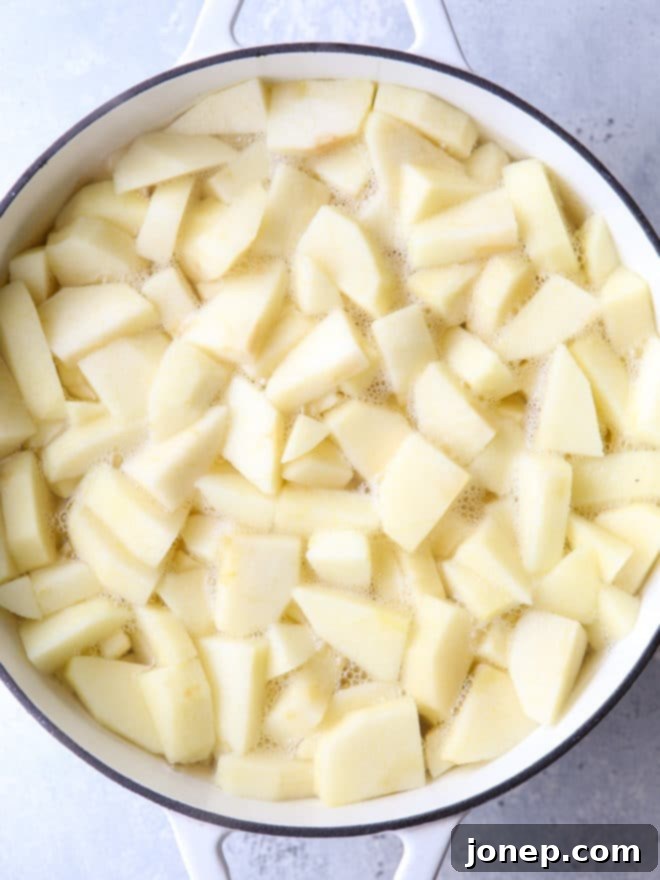
After straining your sliced apples from the lemon water solution, the next step is a quick blanch. Bring a large pot of water to a rolling boil. Carefully add the chopped apples and cook for just 1 minute. This brief boil helps to soften the apples slightly, making them more pliable, preventing them from becoming mushy later, and allowing you to pack more into each jar. Immediately drain the apples and set them aside.
2. Prepare the Thickened Syrup
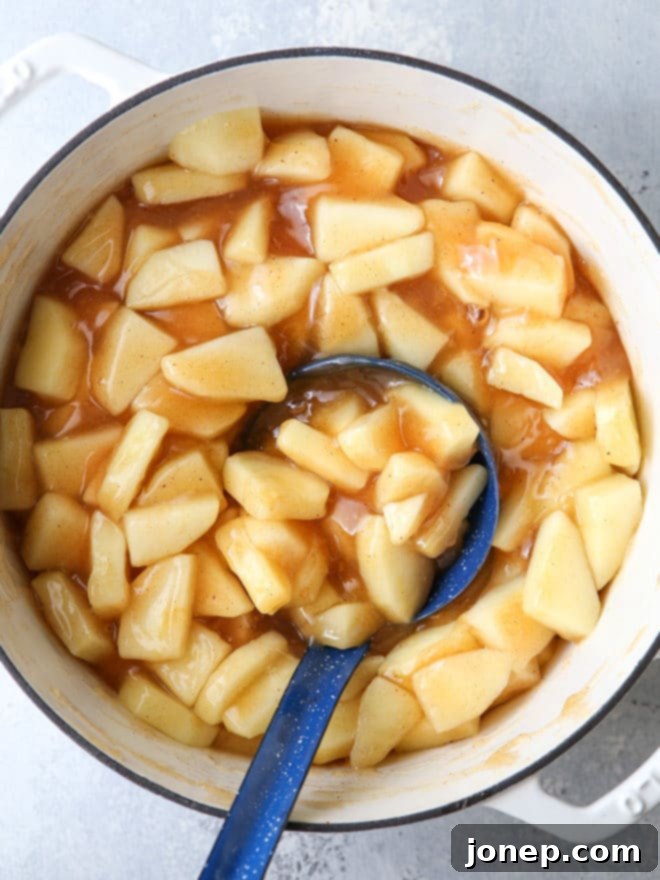
In the same large pot (or a clean one), combine the granulated sugar, Clear Jel, cinnamon, and nutmeg (if using). Whisk these dry ingredients together thoroughly to prevent lumps when the liquid is added. Gradually whisk in the cold water and apple juice until smooth. Place the pot over medium-high heat and continue to stir constantly. The mixture will begin to thicken and eventually come to a rolling boil. Once boiling, add the bottled lemon juice and continue to cook, stirring, for 1 minute more. The mixture will be noticeably thick. Remove the pot from the heat.
3. Combine Apples and Syrup
Carefully stir the blanched apples into the hot, thickened syrup. The apples will be fully coated, and the mixture will look like a perfect pie filling. At this point, it’s impossible not to sneak a bite or two – it’s absolutely delicious!
4. Ladle into Jars and Process for Canning
This recipe yields approximately 2 quarts of apple pie filling. If you’re planning a larger batch, it can easily be doubled or tripled.
- Prepare Jars: Ensure your quart jars are clean and sterilized. Keep them hot to prevent thermal shock when filling.
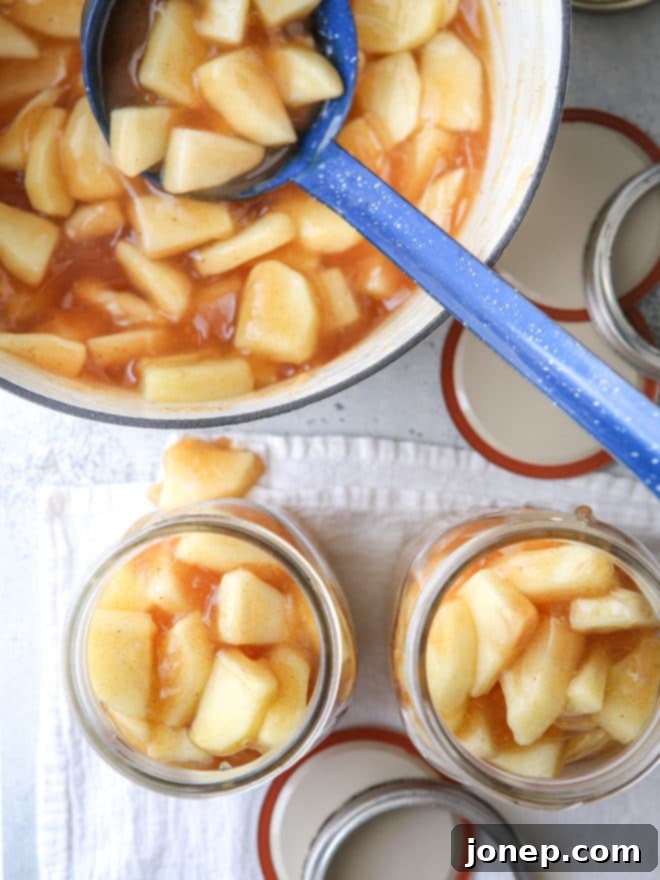
- Fill Jars: Carefully ladle the hot apple pie filling into the hot jars, leaving 1 inch of headspace at the top. Headspace is crucial for proper sealing and to prevent liquid from siphoning out during processing.
- Remove Air Bubbles: Use a non-metallic utensil (like a thin spatula or plastic knife) to gently remove any trapped air bubbles from the filling. Press down lightly to release them, adding more filling if needed to maintain the 1-inch headspace.
- Clean Rims: Wipe the rims of the jars thoroughly with a clean, damp cloth. Any residue can prevent a proper seal.
- Apply Lids and Rings: Place clean, warmed lids on top of each jar, then screw on the band rings fingertip-tight. Do not over-tighten.
- Water Bath Processing: Gently lower the jars into a large canning pot filled with boiling water. The water must completely cover the tops of the jars by at least 1 inch. Bring the water back to a rolling boil and “process” the jars for 25 minutes. (See recipe notes for high altitude adjustments.) The water must maintain a rolling boil throughout the entire processing time for safe canning.
- Cool and Check Seals: Once processing is complete, carefully remove the jars from the canner and place them on a clean towel on your countertop, leaving space between them. Let them cool undisturbed for 12-24 hours. You will hear a “ping” as the lids seal. After cooling, check the seals by pressing the center of each lid; it should not flex or pop up. If any jar hasn’t sealed, store it in the refrigerator and use it within a few weeks.
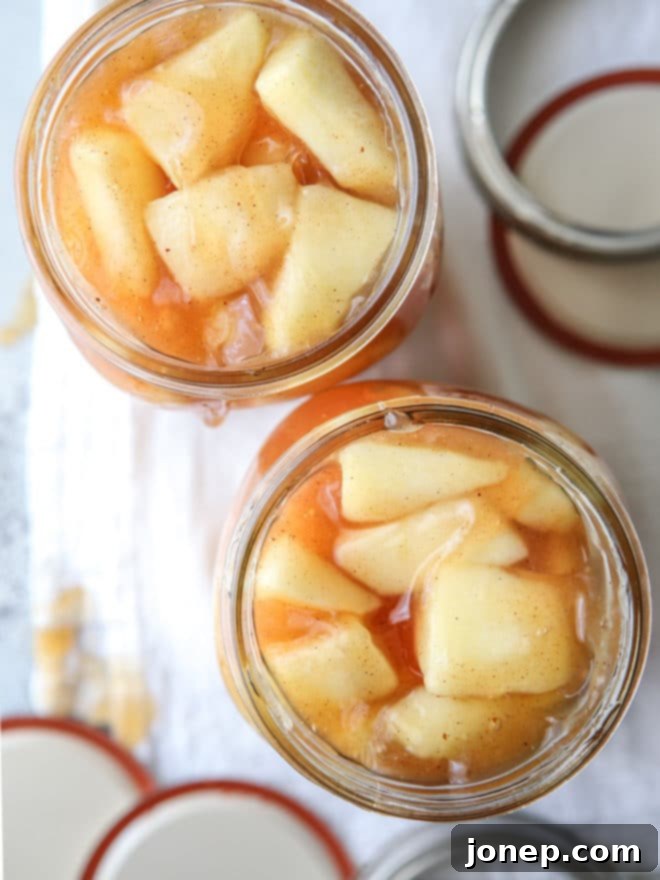
Store sealed jars in a cool, dark place out of direct sunlight. Your homemade apple pie filling will be delicious for up to 1 year.
Can I Freeze the Apple Pie Filling Instead of Canning?
Absolutely! Freezing is a fantastic alternative if you prefer not to can or want to enjoy your filling in the shorter term (within 3 months). Instead of ladling into jars for processing, let the cooked apple pie filling cool completely to room temperature. Once cool, transfer it to gallon-sized freezer-safe Ziploc bags, pressing out as much air as possible and flattening the bags for easy stacking. Store them in the freezer for up to 3 months. When you’re ready to use it, simply defrost the filling overnight in the refrigerator and proceed with your recipe as desired.
Delicious Ways to Use Your Homemade Apple Pie Filling
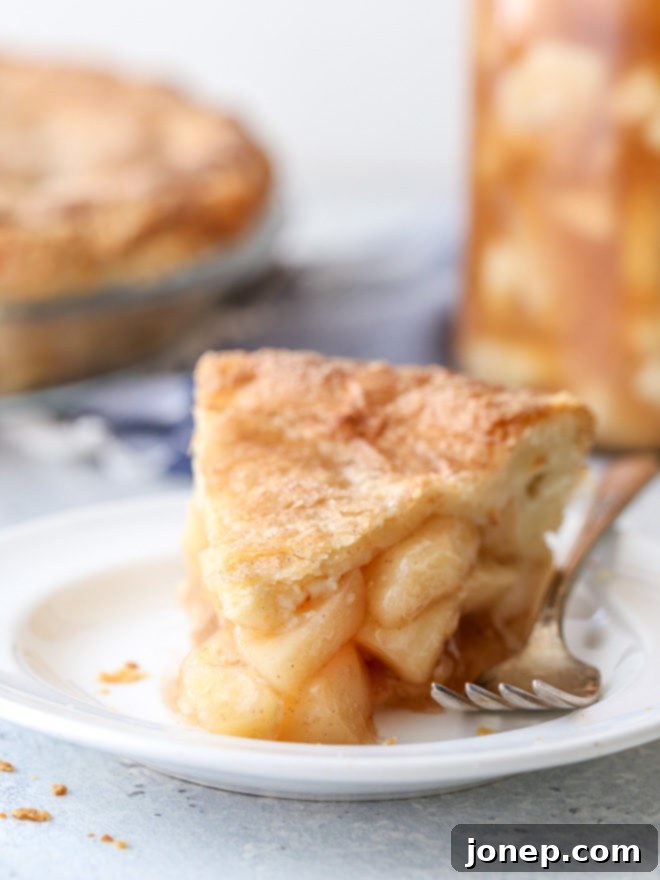
The most obvious, and arguably most satisfying, way to use this incredible filling is to bake a classic apple pie! Simply pour one quart jar of your homemade filling into a prepared, flaky pie crust. Top with a second crust (lattice or full), crimp the edges, and cut a few vents. Bake at 400°F (200°C) for 45-60 minutes, or until the crust is golden brown and the filling is bubbly. Serve warm with a scoop of vanilla ice cream, of course!
But don’t limit yourself to just pies! This versatile filling is a culinary chameleon. Here are more creative ideas:
- Apple Crumble or Crisp: Top the filling with a buttery oat crumble and bake for a delightful textural contrast.
- Ice Cream Topping: Warm it slightly and spoon it over vanilla ice cream for an instant dessert.
- Breakfast Bliss: Swirl into oatmeal or yogurt, or use as a topping for pancakes, waffles, or French toast.
- Turnovers and Hand Pies: Fill puff pastry squares with the apple mixture, fold, seal, and bake for individual treats.
- Cobblers and Bettys: Bake under a sweet biscuit topping or streusel for a rustic dessert.
- Cheesecake Topping: Elevate a plain cheesecake with a generous layer of spiced apple filling.
- Muffin or Scone Filling: Fold small pieces of apple filling into your muffin or scone batter before baking.
- Crepe or Blintz Filling: A warm, sweet apple filling is perfect inside delicate crepes.
With a batch of this homemade apple pie filling, you’re always just moments away from a comforting and delicious apple dessert or breakfast treat!
Explore More Canning Adventures
Caught the canning bug? It’s a wonderful way to preserve the bounty of the season and stock your pantry with homemade goodness. If you enjoyed making this apple pie filling, you’ll love these other favorite canning recipes:
- Homemade Tomato Basil Marinara Sauce
- The Best Strawberry Jam
- How to Can Peaches
Shop Essential Tools for This Recipe
Having the right tools makes canning and baking much easier and more enjoyable. Here are some essentials you might find useful:
This recipe was originally published September 2013, and has been updated and expanded for clarity and comprehensive guidance.
Homemade Apple Pie Filling
Pin Recipe
Leave a Review
Ingredients
- 7 cups apples , peeled and sliced into 1/2 inch pieces (800 grams, about 7 apples)
- 1 ¾ cup granulated sugar (350 grams)
- ½ cup Clear Jel starch (113 grams)
- 1 teaspoon ground cinnamon
- ¼ teaspoon ground nutmeg , optional
- 1 cup cold water (237 ml)
- 2 ½ cup apple juice (355 ml)
- ¼ cup bottled lemon juice (60 ml)
Instructions
-
Blanch apple slices by dipping them in a large pot of boiling water for 1 minute. Drain set aside.
-
Combine sugar, clear jel, cinnamon, and nutmeg (if using) in a large pot. Whisk in the cold water and apple juice. Set over medium high heat and cook, stirring almost constantly, until mixture thickens and begins to boil.
-
Add the bottled lemon juice and cook for 1 minute. Remove from heat. Mixture will be very thick.
-
Add the blanched apples to the mixture and immediately ladle into hot sterilized jars, leaving 1 inch headspace at the tops of the jars. Remove air bubbles with a long knife or thin spatula. Wipe rims and cover with lids and ring bands.
-
Process in a large pot of boiling water for 25 minutes (see notes for high altitude processing time). Make sure jars are completely covered by the water and water is at a rolling boil for the entire processing time.
-
Let jars cool and ensure lids have sealed (lids should not bounce back when pressed). Store any unsealed jars in the fridge and use within a few weeks.
-
To bake a pie, simply pour it into a prepared pie shell. Bake at 400°F until filling is bubbling and crust is golden brown.
Notes
- Store sliced apples in a solution of water and lemon juice (2 tablespoons lemon juice per large bowl of water) to prevent browning until ready to proceed with recipe.
- Increase processing time for high altitude as needed: 1,001-3,000 ft 30 minutes, 3,001-6,000 ft 35 minutes, 6,001+ ft 40 minutes.
- New to canning? See my post on Home-Canning Tips and Resources.
