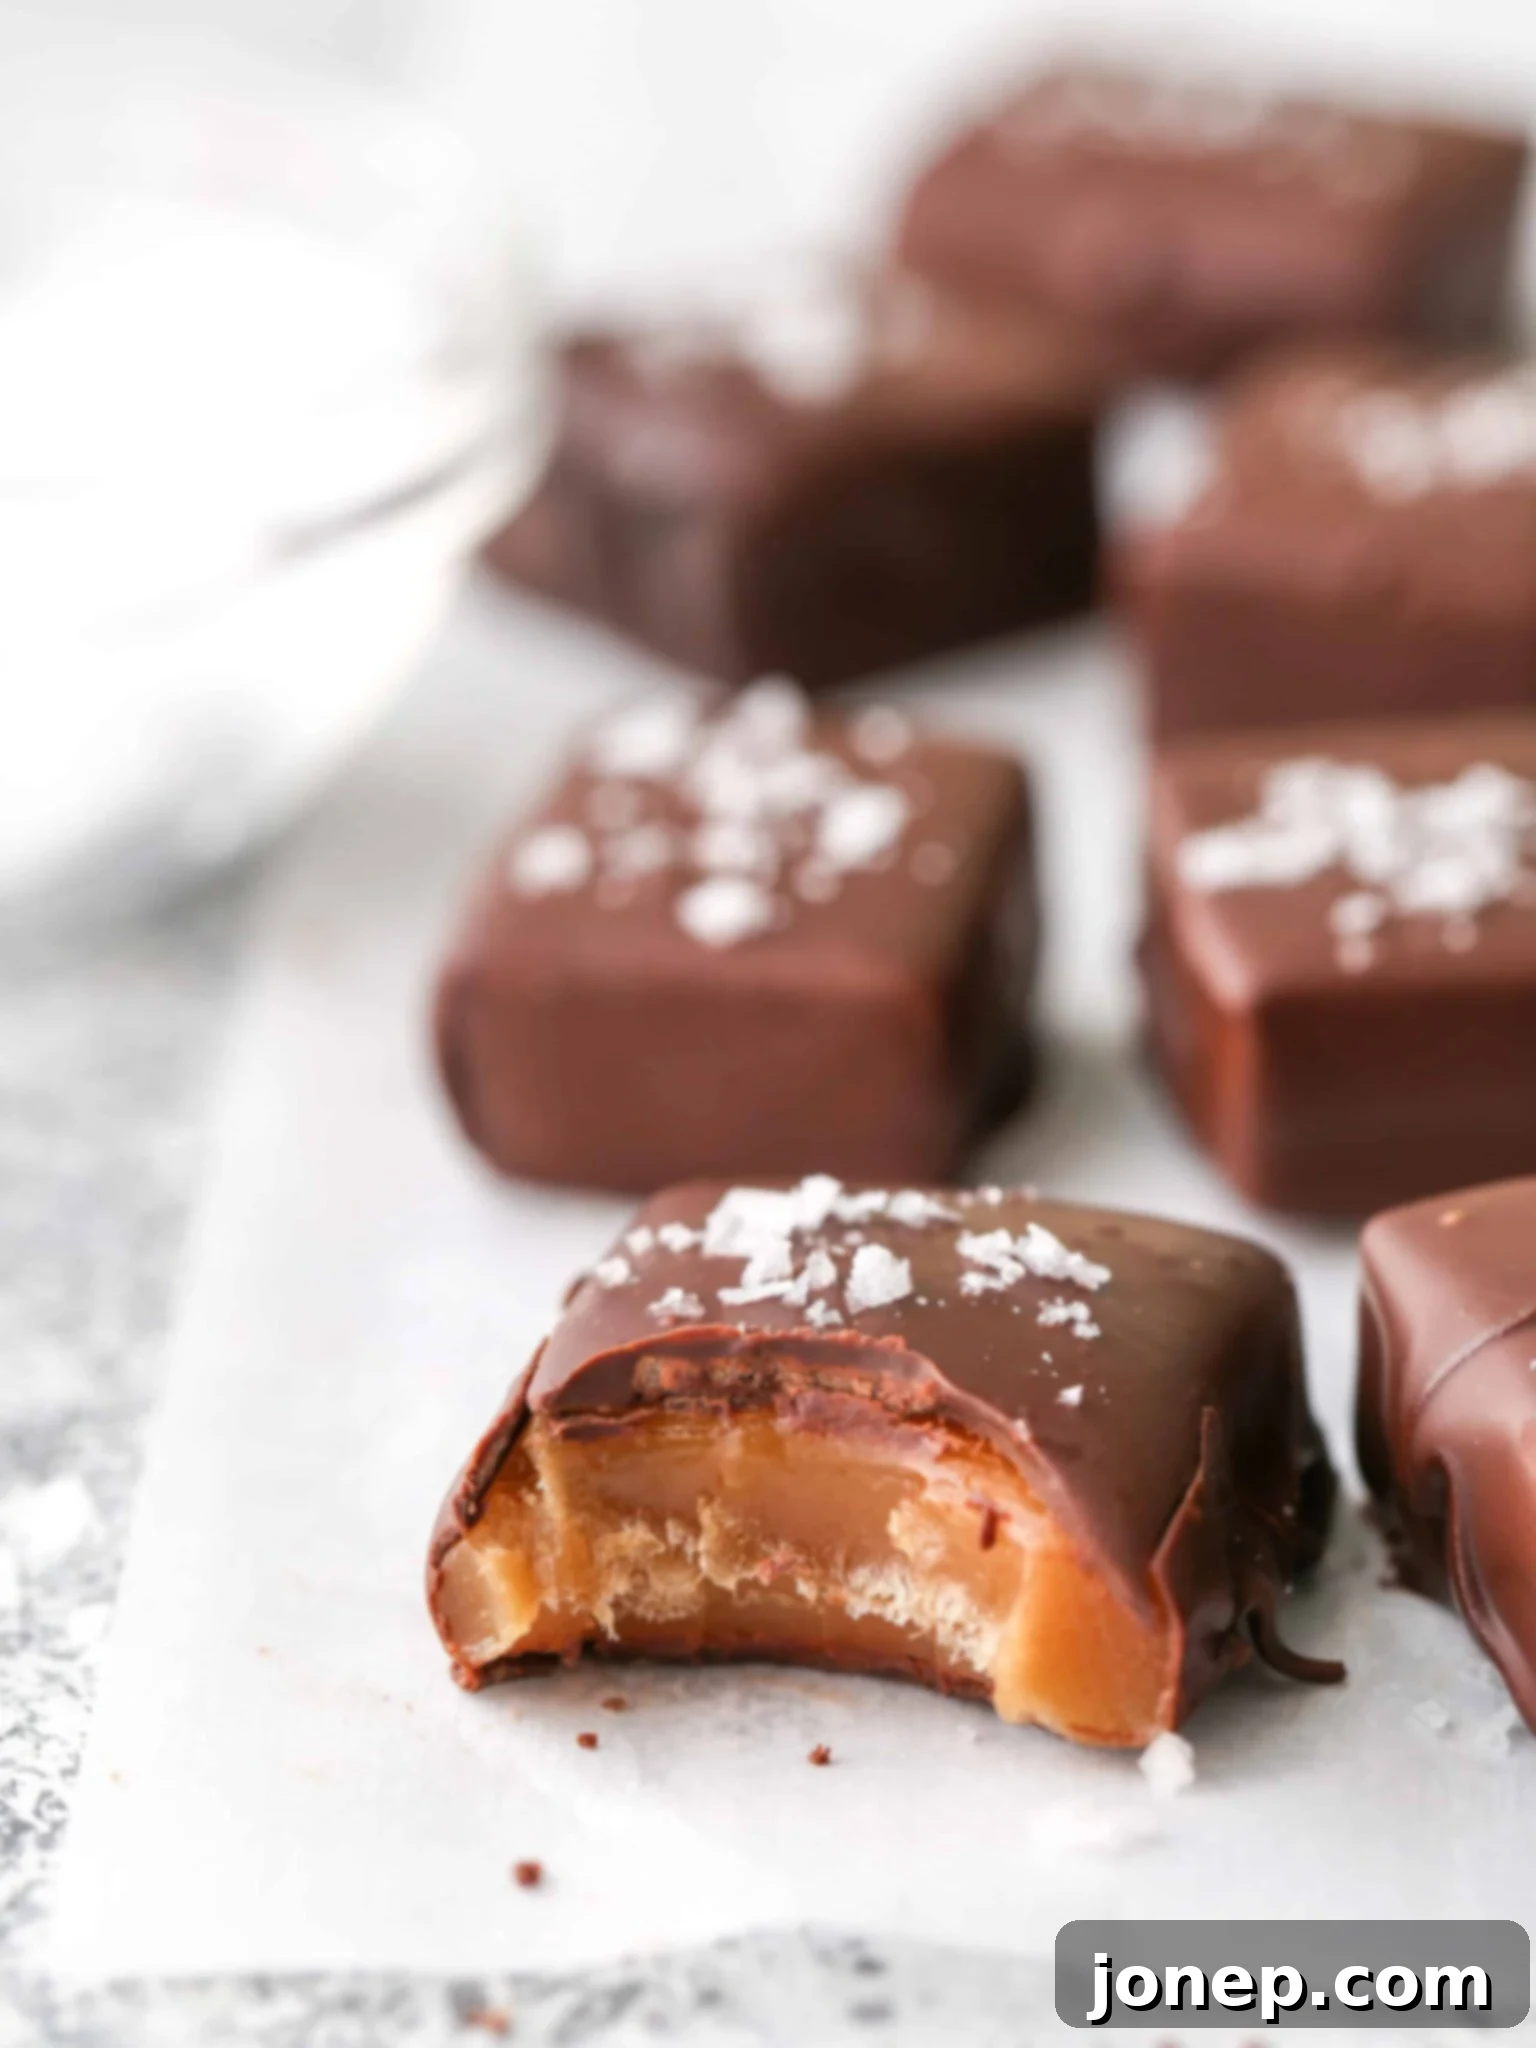
The Ultimate Guide to Making Irresistible Homemade Chocolate Covered Caramels with Sea Salt
Imagine biting into a perfectly chewy, rich caramel, enveloped in smooth, bittersweet chocolate, and finished with a delicate sprinkle of flaky sea salt. This luxurious combination is often found in high-end candy shops, but what if we told you that these decadent homemade chocolate covered caramels are surprisingly simple to make in your own kitchen? Get ready to impress your taste buds and loved ones with a treat that is truly unforgettable.
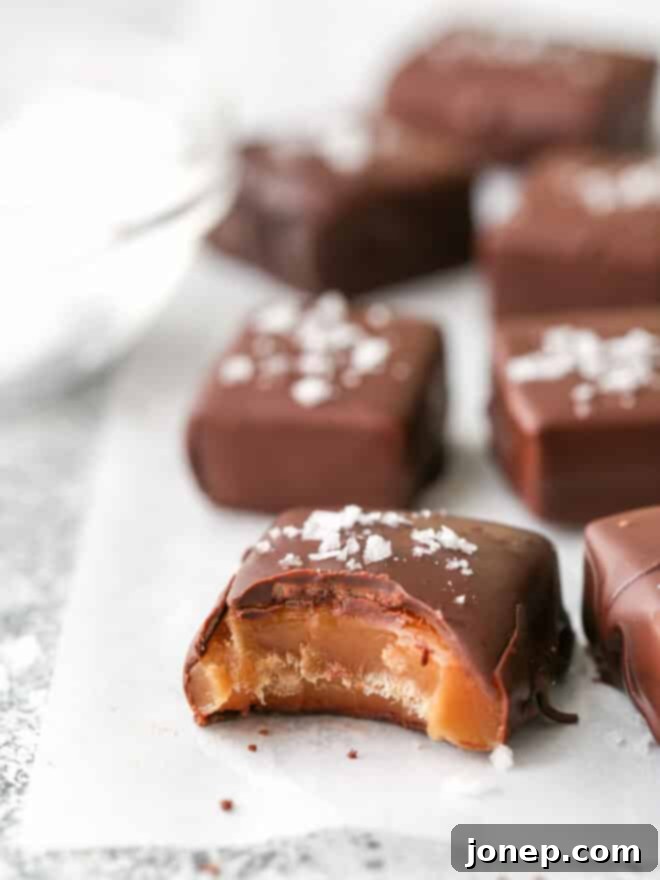
This recipe is proudly sponsored by Go Bold With Butter, celebrating the joy and richness butter brings to every dish.
For many, caramels hold a special place among favorite candies. Their delightful chewiness and melt-in-your-mouth texture are simply irresistible. While store-bought versions are convenient, nothing quite compares to the deep, buttery flavor and satisfying texture of homemade caramels. And the best part? Creating these delightful confections at home is more straightforward than you might think! This recipe guides you through making incredibly rich, chewy caramels that literally dissolve on your tongue, and then elevates them further with a coating of bittersweet chocolate and a hint of coarse sea salt.
Whether you’re looking for an impressive homemade gift, a festive treat to share during the holidays, or simply a special indulgence for yourself and your family, these sea salt chocolate covered caramels are an ideal choice. They’re a true testament to how simple ingredients, combined with a little attention, can create something truly extraordinary. Let’s dive into the process and discover the secrets to perfect homemade caramel candy.
Crafting Homemade Chocolate Covered Caramels: A Step-by-Step Guide
Preparation is Key: Your Blueprint for Caramel Success
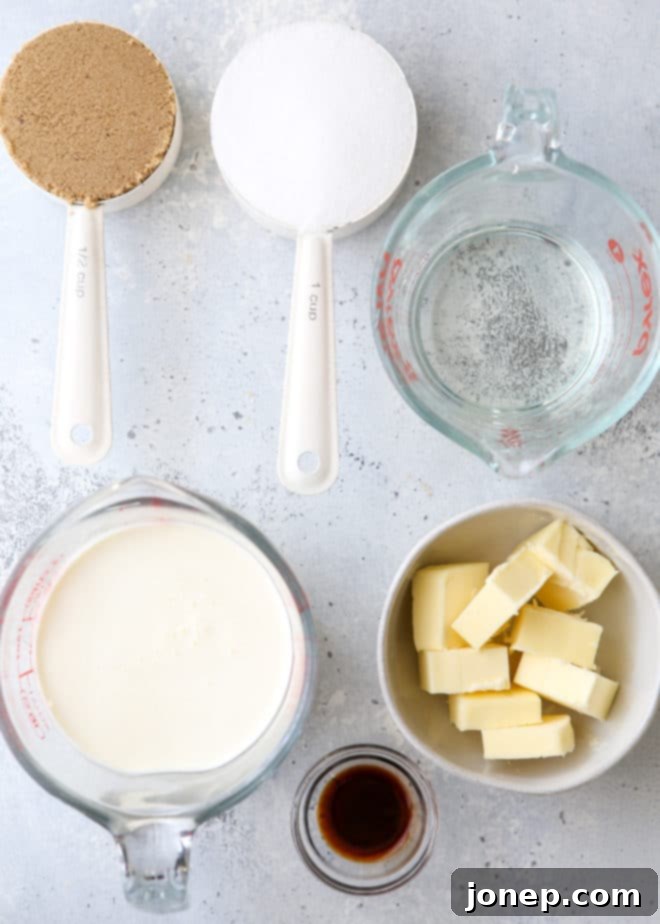
While the process of making homemade caramels isn’t overly complicated, it does demand your full attention and a bit of foresight. Before you even think about turning on the stove, take the time to read through the entire recipe. Understanding each step ensures a smooth process. Crucially, have all your ingredients measured and ready, and your equipment laid out. This preparation, often called “mise en place,” significantly reduces the risk of burning your caramel or overshooting your target temperature, greatly increasing your chances of success in creating perfectly chewy caramel candy.
Essential Ingredients for Perfect Chewy Caramels
The beauty of these caramels lies in their simple yet high-quality ingredients. Here’s what you’ll need for your homemade caramel candy:
- Salted Butter: We highly recommend using salted butter for an added depth of flavor that complements the sweetness of the caramel. If you only have unsalted butter, simply add a generous pinch (about ¼ teaspoon) of fine salt to the mixture. Butter is crucial for that melt-in-your-mouth texture and rich flavor.
- Heavy Cream: This provides the creamy base and contributes to the smooth, luxurious texture of the caramels. Don’t skimp on the fat content here; heavy cream is essential.
- Granulated Sugar: The foundation of any caramel, granulated sugar provides the primary sweetness and structure.
- Light or Dark Brown Sugar: Brown sugar adds a wonderful molasses undertone, enhancing the complexity and chewiness of the caramel. You can use either, depending on your preference for a lighter or deeper caramel flavor.
- Light Corn Syrup: This often-misunderstood ingredient is a caramel maker’s best friend! Light corn syrup is vital for preventing sugar crystallization, which can result in grainy caramels. It ensures your homemade caramels are perfectly smooth and chewy, so do not hesitate to use it.
- Pure Vanilla Extract: Added at the end, vanilla extract brightens and rounds out all the rich flavors, providing that classic caramel aroma and taste.
Indispensable Equipment for Your Caramel Journey
Having the right tools makes all the difference when tackling candy making:
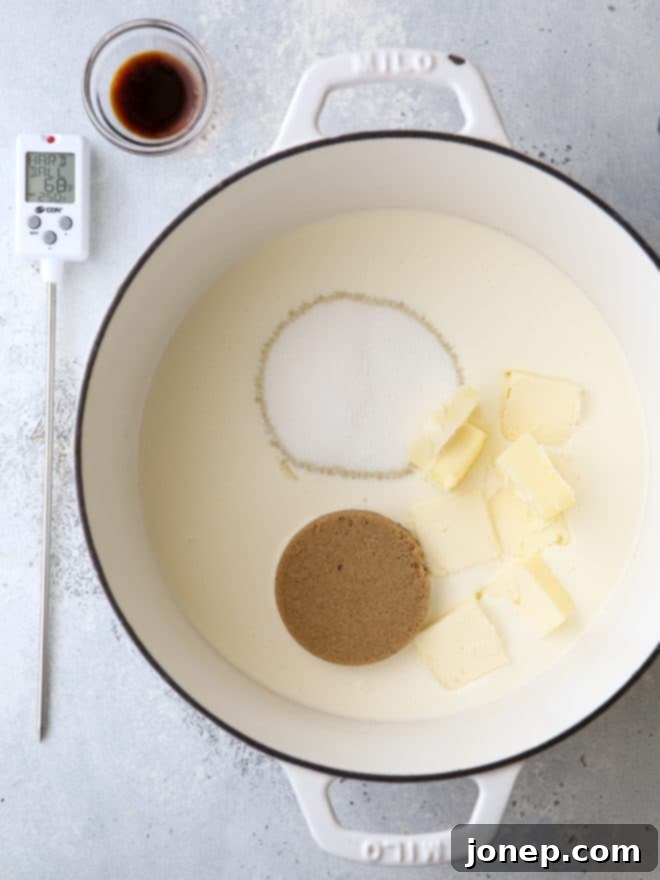
- Heavy-bottom Saucepan: This is non-negotiable. A heavy-bottomed pot distributes heat evenly, preventing scorching and allowing the caramel to cook consistently. Remember, the caramel mixture will bubble up and roughly double in size as it cooks, so ensure your pan has ample room to prevent boil-overs.
- Candy Thermometer: Absolutely essential for accuracy. While the “cold water test” is an option, a reliable digital candy thermometer takes all the guesswork out of achieving the perfect consistency.
- Heat-proof Spatula: For stirring the hot caramel safely and effectively. Silicone spatulas are ideal.
- 8 or 9-inch Square Baking Pan: Lined with parchment paper with an overhang, this makes removing the set caramel effortless.
The Magic of Butter in Homemade Caramel
Butter is more than just a flavor enhancer in caramel; it’s a structural hero. It’s responsible for the incredibly luscious flavor and the signature melt-in-your-mouth feel that distinguishes a truly great caramel. Furthermore, butter plays a crucial role in creating caramel’s desired softer, chewier texture. In many traditional caramel recipes, butter and other dairy components are often added towards the end, after the sugars have already caramelized. However, this particular recipe takes a different, more flavorful approach.
Here, nearly all the ingredients – including the butter, heavy cream, and various sugars – are cooked together from the start. This method allows the naturally occurring sugars within the butter and cream to caramelize alongside the granulated and brown sugars. The result is a much more complex, deeply intense, and incredibly rich caramel flavor. More caramelization equals more deliciousness, making your homemade chocolate covered caramels truly stand out.
Is a Candy Thermometer Truly Essential for Caramels?
While some experienced candy makers might attempt caramel by eye, for consistent success and peace of mind, a digital candy thermometer is your best friend. It eliminates all guesswork, precisely telling you when to remove the caramel from the heat. This accuracy is paramount to ensuring your homemade caramels are perfectly soft and chewy, rather than disappointingly hard or overly sticky.
If you find yourself without a thermometer in a pinch, or simply want to try an old-school method, the cold water test can be used. To perform this, carefully drop a small teaspoon of the hot caramel mixture into a glass of very cold water. Let it cool for a few seconds, then use your fingers to try and roll it into a ball. If the caramel forms a ball that holds its shape but is still pliable and chewy, it’s done. If it’s too soft and dissolves, or too hard and brittle, continue cooking and test again in a few minutes. While it works, the thermometer offers unparalleled precision for perfect chewy caramels every time.
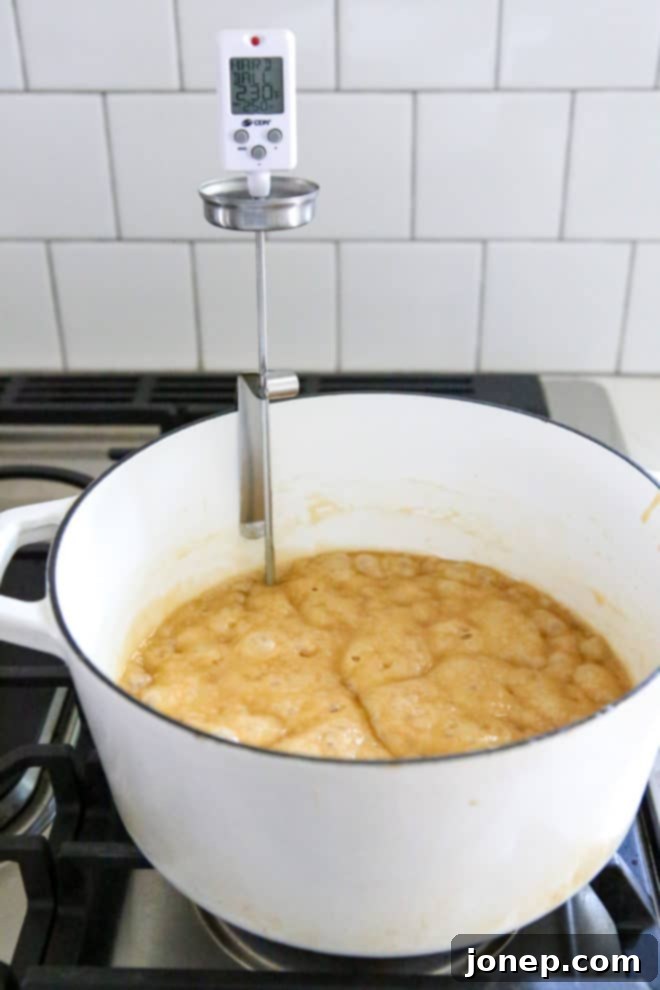
Achieving the Perfect Caramel Temperature for Chewy Perfection
The ideal temperature range for soft and chewy caramel candies is generally between 240-250°F (115-121°C). The exact temperature within this range depends on your preferred consistency: closer to 240°F for a super-soft, almost spoonable caramel, and closer to 250°F for a firmer, more traditional chewy caramel. Through extensive testing, we’ve found that around 245°F (118°C) hits the perfect sweet spot for a deliciously chewy yet tender homemade caramel.
**Important Note on Altitude:** These temperatures are for sea level. If you live at a higher altitude, you’ll need to adjust your target temperature downwards accordingly, as water boils at a lower temperature:
- 2,000 feet: 238-244°F (114-118°C)
- 5,000 feet: 232-238°F (111-114°C)
- 7,500 feet: 227-233°F (108-112°C)
Patience is a virtue when making caramel. It typically takes anywhere from 35-45 minutes to reach the desired temperature, and it’s crucial not to rush the process by cranking up the heat. Maintain a consistent medium heat and stir the caramel every few minutes with your heat-proof spatula. This prevents it from scorching on the bottom and ensures even cooking. During the initial 20 minutes, you might feel relaxed enough to multitask, but once the caramel is within 10-15 degrees of your target temperature, stay close to the stove and increase your stirring frequency. This is the critical window where the caramel can quickly go from perfect to overcooked.
Working Quickly: Cooling and Slicing Your Homemade Caramels
The moment your caramel reaches its precise target temperature, immediately remove it from the heat. This is where your prior preparation pays off! Quickly stir in the pure vanilla extract. Having your vanilla already measured and waiting in a small bowl next to the stove saves precious seconds. Then, without delay, pour the hot caramel into your prepared, parchment-lined baking pan. Caramel sets surprisingly fast as it cools, so you only have a short window—mere minutes—once it’s off the heat to get it into the pan.
Allow the caramel to cool completely at room temperature, which usually takes about an hour. If you’re short on time, you can briefly place it in the refrigerator for a few minutes to speed up the cooling process. However, be careful not to chill it for too long, as a completely cold caramel will be significantly tougher to slice. Once cooled, use the parchment paper overhang to easily lift the entire block of homemade caramel out of the pan. Transfer it to a cutting board and use a sharp, lightly oiled knife to slice it into your desired candy-sized pieces. Precision here makes for beautiful finished chocolate covered caramels!
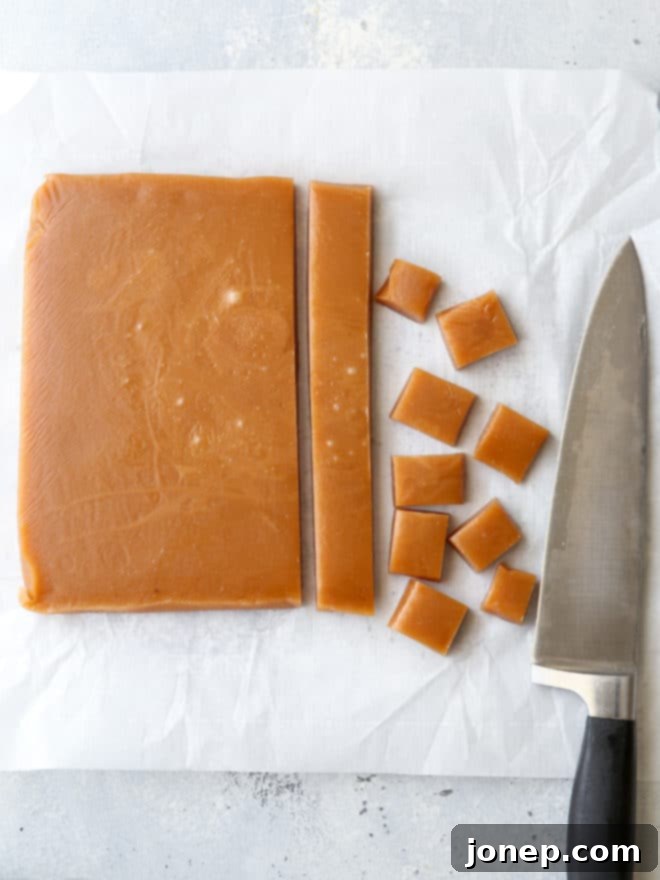
Elevating Your Caramels: The Chocolate & Sea Salt Finish
Now for the truly exciting part: transforming your delicious homemade caramels into extraordinary chocolate covered caramels! Of course, these chewy delights are fantastic on their own (and we wouldn’t blame you for eating a few naked caramels!), but a luscious chocolate coating and a sprinkle of coarse sea salt elevate them to an entirely new level of gourmet indulgence. The combination of sweet, salty, and rich is utterly irresistible and adds a sophisticated touch, making them perfect for any occasion or gift.
The process of dipping is surprisingly simple and incredibly rewarding:
- Melt the Chocolate: Choose high-quality semi-sweet or bittersweet chocolate for the best results. You can melt it gently using a double boiler over the stove (a heatproof bowl set over a pot of simmering water) or in the microwave in short 30-second bursts, stirring well after each interval until smooth and fully melted. Avoid overheating the chocolate.
- Dip the Caramels: Drop individual caramel pieces into the melted chocolate. Use a fork to carefully submerge and cover each caramel completely. The fork allows excess chocolate to drip off easily.
- Remove and Tap: Lift the chocolate-covered caramel with the fork. Gently tap the fork against the edge of the bowl to encourage any surplus chocolate to drip back, ensuring a thin, even coating.
- Transfer and Sprinkle: Using a toothpick or another fork, carefully ease the chocolate-covered caramel onto a baking pan lined with parchment or wax paper. Immediately sprinkle with flaky or coarse sea salt (this is our favorite kind for a beautiful finish). The salt will adhere best while the chocolate is still wet.
- Set and Enjoy: Allow the chocolate-covered caramels to set for about 20 minutes at room temperature, or briefly in the refrigerator, until the chocolate is firm.
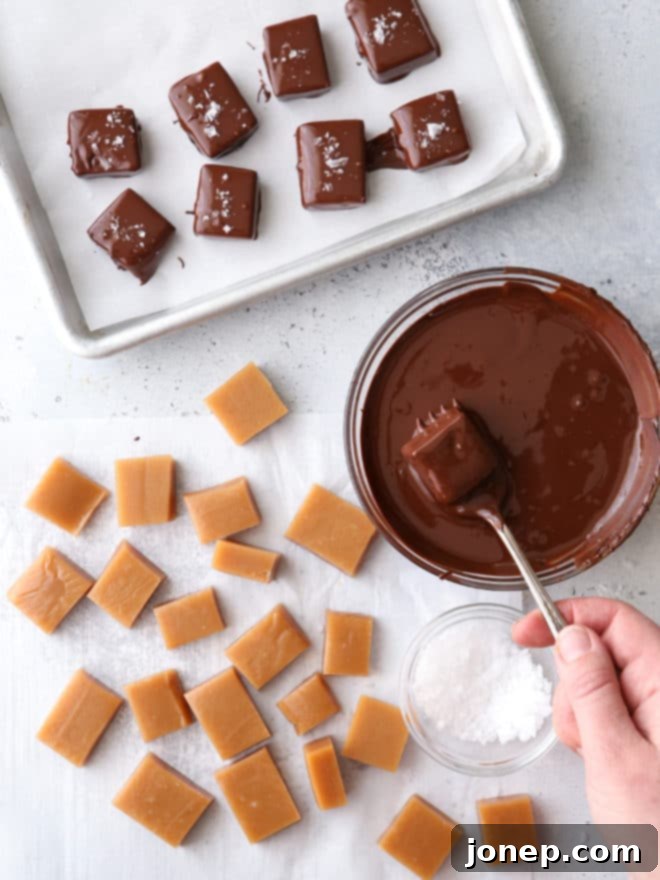
Storage for Your Delectable Treats
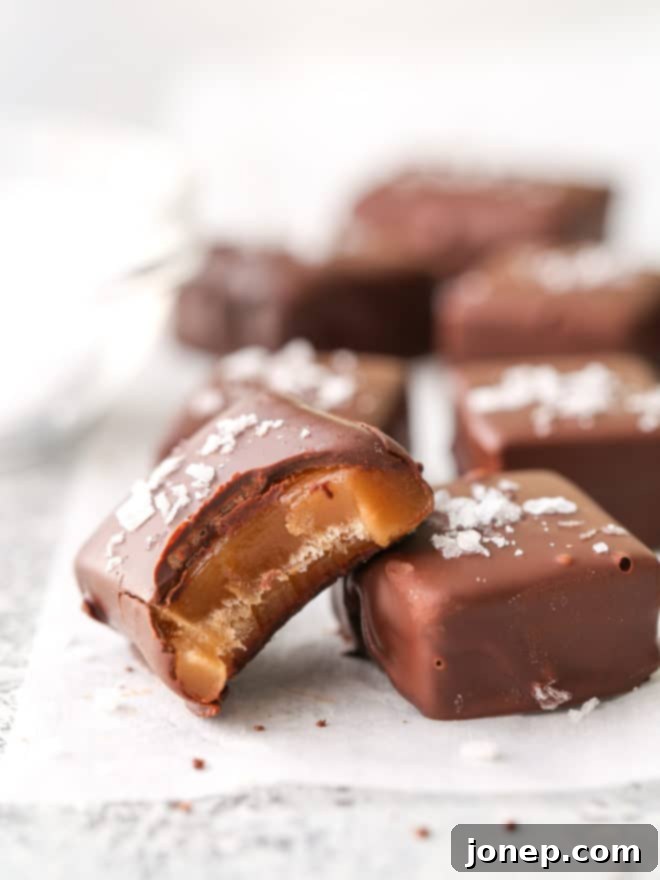
These exquisite chocolate covered caramels will keep beautifully in an airtight container at room temperature for up to a few weeks. That is, of course, if they manage to last that long! To prevent them from sticking together, especially in warmer climates, you might want to place a sheet of parchment or wax paper between each layer of caramels. Enjoy your homemade labor of love, share them with friends, or savor them one by one!
Explore More Homemade Candy Recipes
- Classic English Toffee
- Salted Caramel Nut Brittle
- Coffee Toffee
- Soft Caramel Corn
- Homemade Caramel Apples
Shop Essential Tools for This Recipe
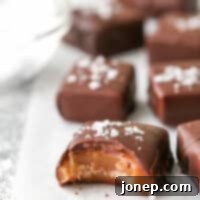
Chocolate Covered Caramels
Pin Recipe
Leave a Review
Ingredients
- 1 cup granulated sugar (200 grams)
- ½ cup light or dark brown sugar (105 grams)
- ½ cup light corn syrup
- 1 ½ cup heavy cream (325 ml)
- ½ cup salted butter (1 stick, 113 grams)
- 1 teaspoon pure vanilla extract
- 8 ounces semisweet or bittersweet chocolate , chopped or use chocolate chips
- 1 tablespoon flaky or coarse sea salt
Instructions
-
1. Line an 8 or 9 inch square baking pan with parchment paper, ensuring there’s an overhang, and set it next to your stove for immediate use.
-
2. In a medium, heavy-bottomed saucepan, combine the granulated sugar, brown sugar, light corn syrup, heavy cream, and salted butter. Measure the pure vanilla extract and keep it ready in a small bowl right next to your stove.
-
3. Place the pan over medium heat. Stir continuously until all the sugar is completely dissolved and the mixture appears smooth and uniform.
-
4. Insert your candy thermometer into the mixture, making sure it doesn’t touch the bottom of the pan. Continue to cook on medium heat, stirring frequently, until the caramel reaches 240-250°F (115-121°C). Refer to the notes above for altitude adjustments. This process will take approximately 35-45 minutes.
-
5. As soon as the caramel hits the target temperature, remove it immediately from the heat. Stir in the vanilla extract quickly. Without delay, pour the hot caramel into your prepared baking pan.
-
6. Allow the caramel to cool completely at room temperature for about 1 hour. You can briefly chill it in the fridge for a few minutes if you’re in a hurry, but avoid prolonged refrigeration as it makes slicing difficult.
-
7. Once cooled, use the parchment paper to lift the caramel block out of the pan and transfer it to a cutting board. Using a sharp, lightly oiled knife, slice the caramel into 1-inch pieces or your desired size.
-
8. Melt the chosen chocolate (semi-sweet or bittersweet) in a heatproof bowl set over simmering water (a double boiler) or in the microwave in 30-second intervals, stirring until completely smooth.
-
9. Dip each caramel into the melted chocolate, using a fork to fully coat it. Tap the fork gently against the edge of the bowl to remove any excess chocolate.
-
10. Place the chocolate-covered caramels onto a pan lined with fresh parchment or wax paper. Immediately sprinkle with flaky or coarse sea salt.
-
11. Let the caramels cool and set for about 20 minutes, or until the chocolate is firm. Store them in an airtight container at room temperature for up to a few weeks, separating layers with parchment paper if desired.
Notes
- For the best results and helpful tips, we highly suggest reading through the entire article above before you begin making these delicious caramels.
- Altitude Adjustments: If you are cooking above sea level, please adjust your target temperature for the caramel: 2,000 feet— 238-244°F (114-118°C), 5,000 feet— 232-238°F (111-114°C), 7,500 feet— 227-233°F (108-112°C).
Nutrition Facts (per serving)
Calories: 71kcal, Carbohydrates: 7g, Protein: 1g, Fat: 5g, Saturated Fat: 3g, Cholesterol: 12mg, Sodium: 125mg, Potassium: 27mg, Fiber: 1g, Sugar: 6g, Vitamin A: 128IU, Vitamin C: 1mg, Calcium: 8mg, Iron: 1mg
Disclosure: This recipe was created in partnership with Go Bold With Butter. Thank you for supporting partnerships with brands I love and believe in, which make Completely Delicious possible. All opinions are always 100% my own. To learn more about Go Bold With Butter, you can visit their website here. You can also find them on facebook, instagram, and pinterest.
