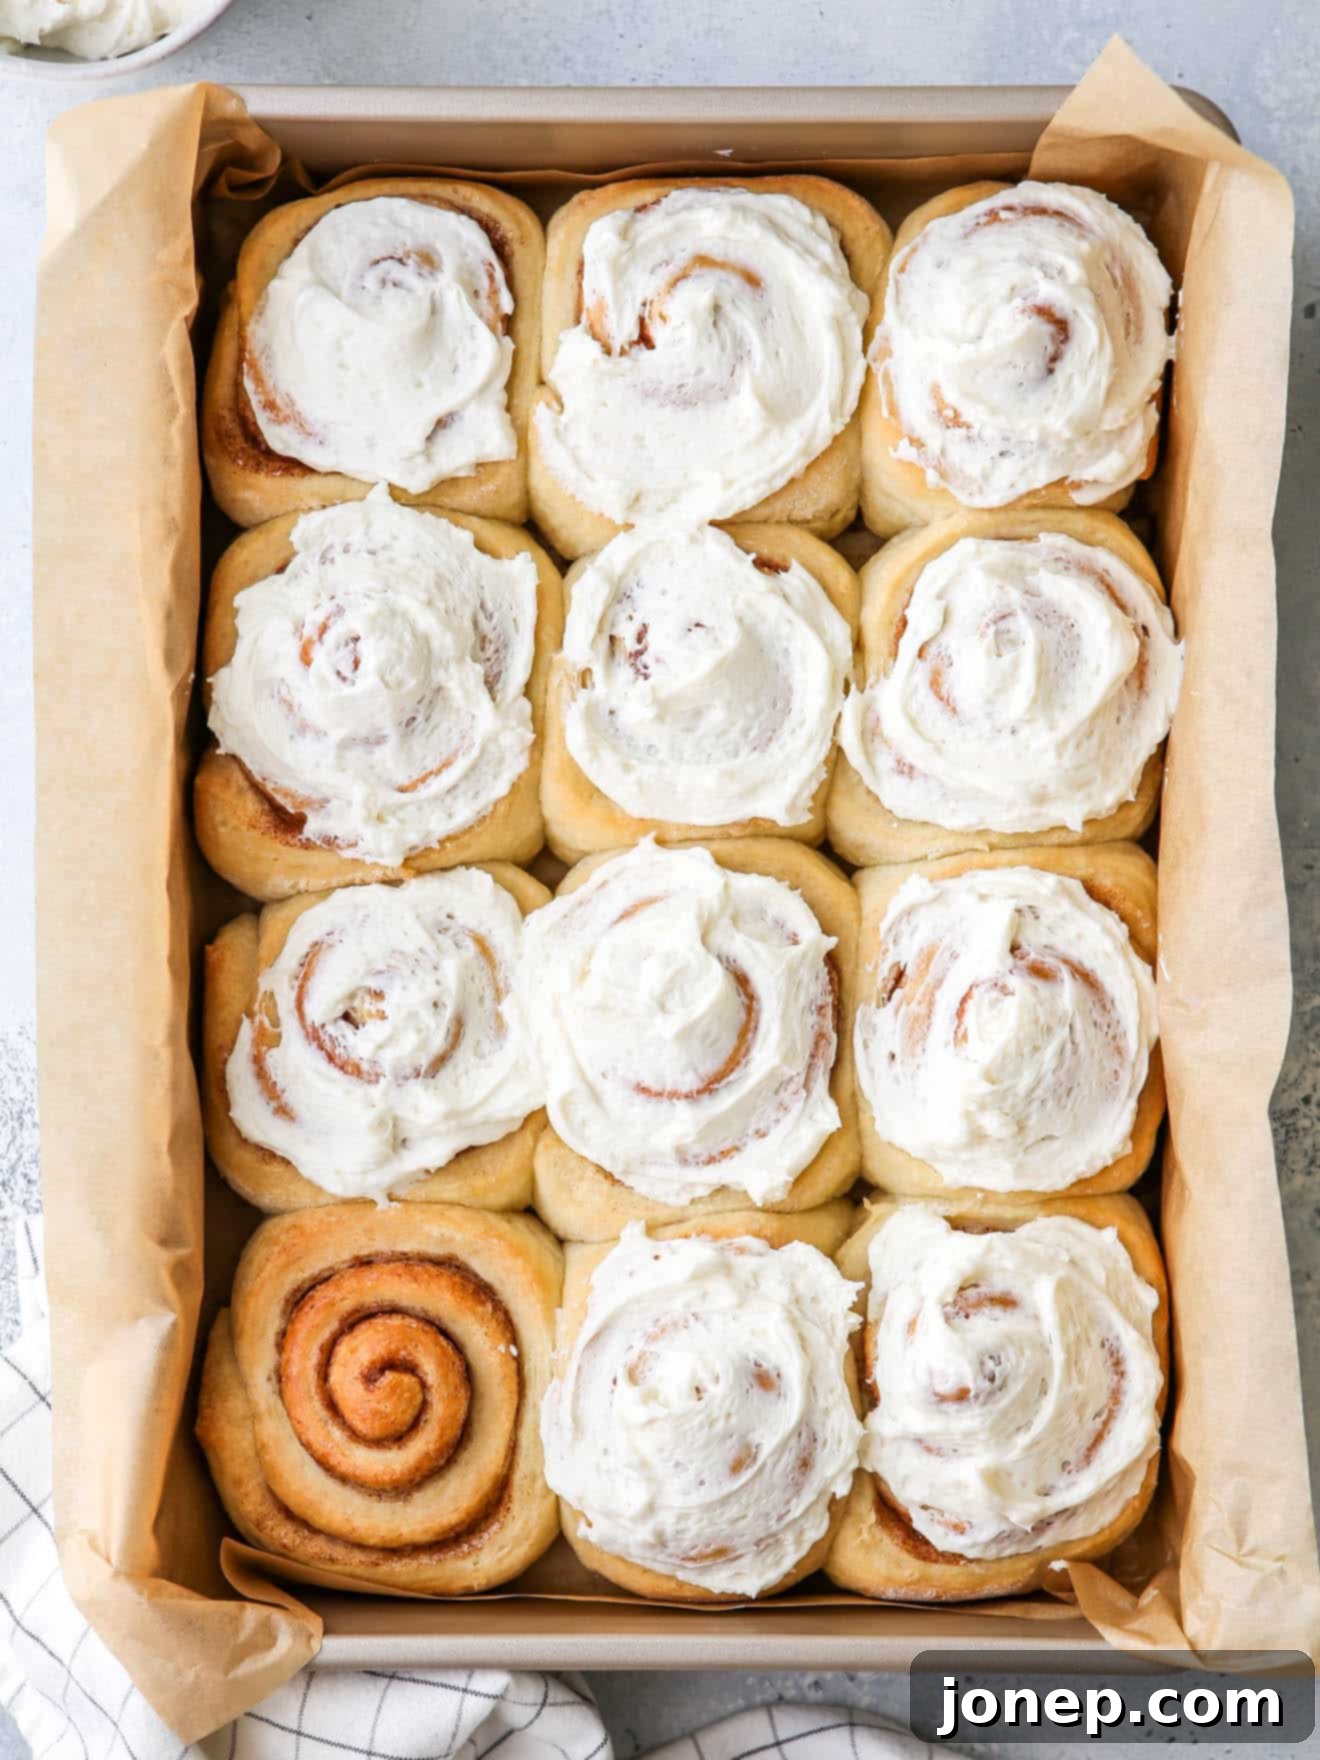
Irresistibly Soft & Easy No-Knead Cinnamon Rolls with Vanilla Bean Frosting
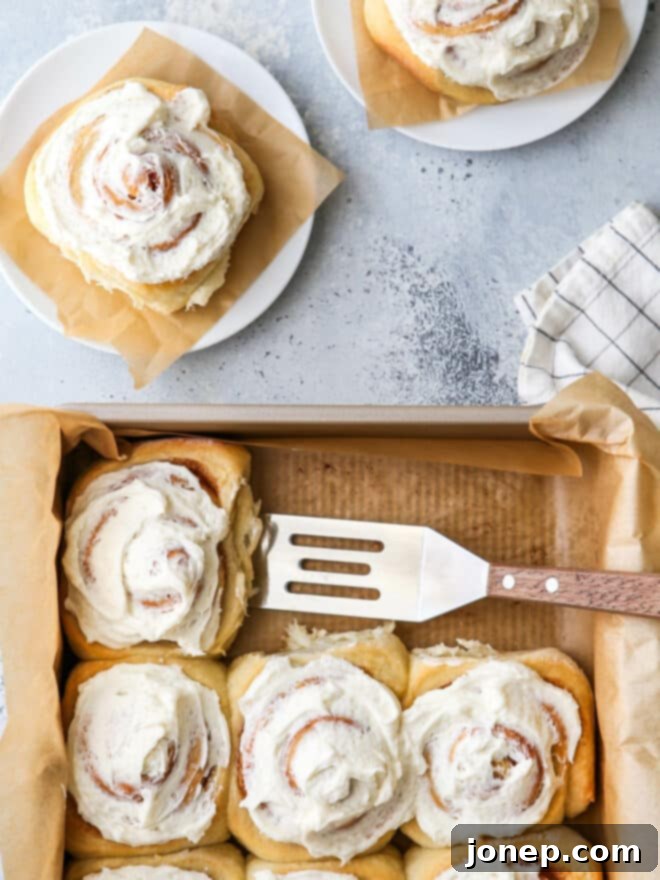
Imagine waking up to the comforting aroma of freshly baked cinnamon rolls, their fluffy dough swirled with sweet cinnamon sugar, and generously topped with a rich, creamy vanilla bean frosting. Sounds like a dream, right? What if we told you that achieving this blissful morning treat doesn’t require hours of kneading or complex baking techniques? Welcome to the magic of these incredibly soft and utterly delicious **no-knead cinnamon rolls** – quite possibly the easiest you’ll ever bake, delivering bakery-quality results with minimal effort!
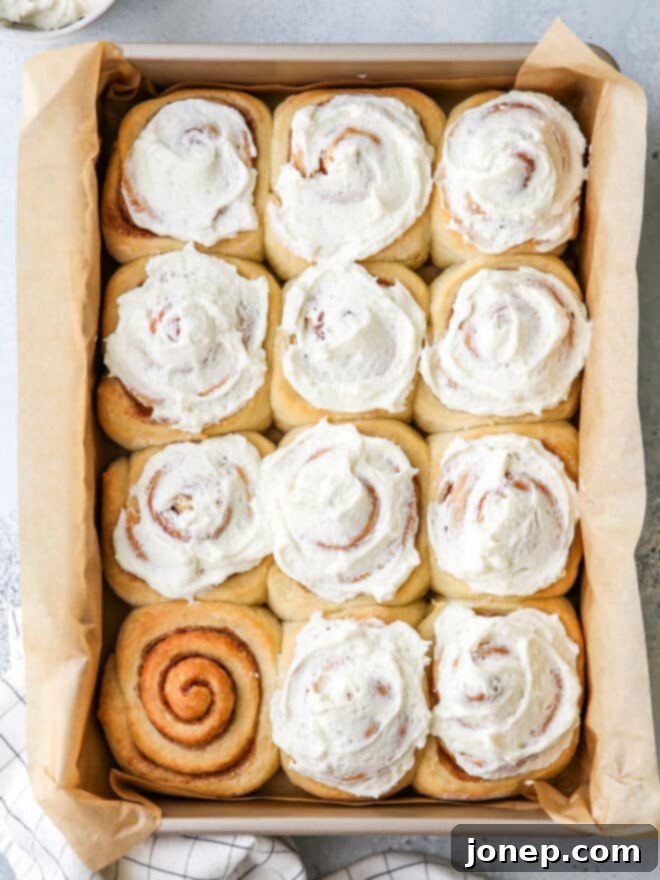
Chilly fall and winter mornings, festive holiday gatherings, or simply a lazy weekend brunch are all made infinitely better with a warm, tender cinnamon roll. There’s truly nothing finer than pulling a golden-brown batch straight from the oven, applying a generous slather of homemade vanilla frosting, and savoring every warm, gooey bite. This particular recipe isn’t just a crowd-pleaser; it’s my personal favorite, renowned for its exceptional softness, perfectly balanced sweetness, and a delightful cinnamon kick, all crowned with the fluffiest vanilla bean icing you can imagine.
But here’s the best part: these cinnamon rolls are revolutionary because they are completely no-knead, making them astonishingly quick and easy to prepare! Forget the stand mixer or the arm workout. You literally combine all the dough ingredients into a large bowl, give it a good stir until a very wet, smooth dough forms, and that’s it! The active preparation for the dough takes less than 5 minutes. It feels like pure magic watching such minimal effort yield such spectacular results!
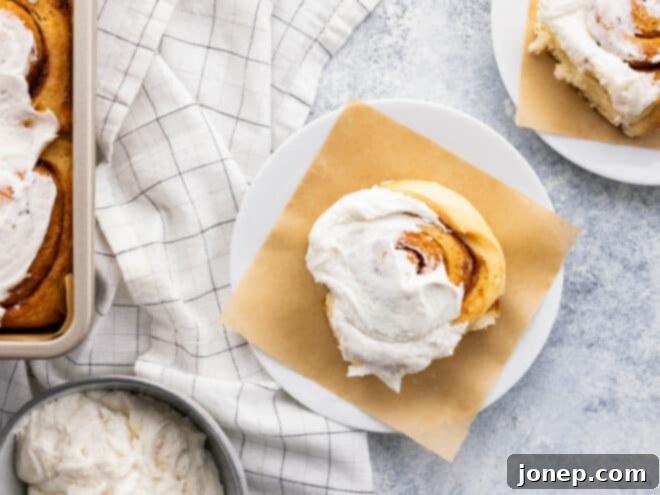
Table of Contents
- The Easiest Homemade No-Knead Cinnamon Rolls
- Why You’ll Love These Effortless Cinnamon Rolls
- Essential Ingredients for Your Cinnamon Rolls
- Step-by-Step Guide: How to Make No-Knead Cinnamon Rolls
- Baking Tips for Perfect Cinnamon Rolls
- Prep Ahead: Make Overnight Cinnamon Rolls
- Frequently Asked Questions (FAQs)
- Other Sweet Roll Recipes to Try
- Full Recipe Card
The Easiest Homemade No-Knead Cinnamon Rolls You’ll Ever Make
This phenomenal no-knead cinnamon roll recipe is built upon a cherished family secret: the very same dough my mom used for her famous no-knead fairy crescent rolls. Growing up, these fluffy, tender rolls were a staple, and transforming that reliable dough into cinnamon rolls was a stroke of pure genius. This recipe brings that same incredible ease and deliciousness to your kitchen, making homemade cinnamon rolls accessible to everyone, regardless of their baking experience. You don’t need to be an experienced baker to create these soft, sweet, and perfectly spiced treats.
Why You’ll Fall in Love with These No-Knead Cinnamon Rolls
Prepare to be completely won over by this simple yet spectacular recipe. Here’s a closer look at why these no-knead cinnamon rolls are destined to become a new favorite in your home:
- Effortless Preparation: No Kneading Required! The biggest game-changer is the complete absence of kneading. Traditional cinnamon roll recipes often involve extensive kneading, which can be time-consuming and intimidating. Our dough comes together in a large bowl with just a spoon or dough whisk in a matter of minutes, perfect for beginners and seasoned bakers alike who appreciate a shortcut without compromising quality. This means less mess and less stress in the kitchen!
- Unbelievably Soft and Tender Texture: Despite the lack of kneading, these rolls are every bit as soft, light, and tender as their traditional counterparts. The high moisture content in the dough and the gentle rising process contribute to a melt-in-your-mouth texture that will have everyone reaching for seconds. Each bite is a pillowy cloud of cinnamon-sugar goodness.
- Lightning-Fast Baking with Quick Rise Yeast: If you opt for instant or quick-rise yeast (which we highly recommend for speed!), you can have a batch of these warm, frosted beauties ready to enjoy in approximately 1 hour from start to finish. This makes them ideal for spontaneous cravings, unexpected guests, or a quick, impressive holiday breakfast.
- Perfect for Planning Ahead: Overnight Option: For ultimate convenience, these rolls can be prepped the night before. Simply shape them, place them in the pan, and let them do their final rise slowly in the refrigerator overnight. Wake up, pull them out, let them warm up slightly, and bake for fresh cinnamon rolls with minimal morning effort. This is perfect for busy mornings or entertaining.
- Delicious, Rich Vanilla Bean Frosting: The generous swirl of cinnamon sugar filling is perfectly complemented by a luscious, fluffy vanilla bean frosting. It’s the ideal sweet topping that brings all the flavors together for a truly indulgent treat, adding a creamy, aromatic finish to every roll.
Essential Ingredients for Your No-Knead Cinnamon Rolls
One of the beauties of this recipe is its reliance on readily available, simple ingredients. You likely have most of these staples in your pantry already! Using good quality ingredients will always elevate your baking, but even with standard grocery store items, these rolls will shine. Pay attention to the specified temperatures and measurements for the best results, especially when working with yeast, as proper activation is key to a light and fluffy dough.
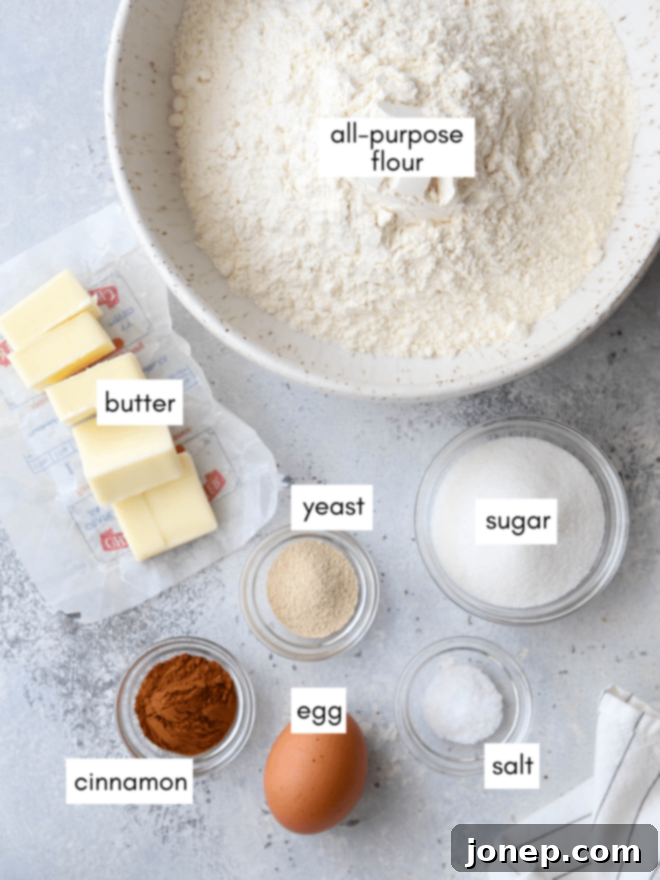
You’ll need basic baking ingredients for the dough like warm water, yeast (active dry or instant), melted butter, granulated sugar, an egg, all-purpose flour, and a pinch of coarse salt. The filling is a simple yet irresistible combination of more melted butter, granulated sugar, and fragrant ground cinnamon. And for that dreamy vanilla bean frosting, you’ll whip up softened butter, sifted powdered sugar, heavy cream, pure vanilla extract, and a touch of salt to balance the sweetness. Simple ingredients, extraordinary results, and a truly unforgettable taste!
Step-by-Step Guide: How to Make These No-Knead Cinnamon Rolls
Making these cinnamon rolls is a straightforward process, broken down into a few simple steps. Follow along to create bakery-quality treats right in your own kitchen with minimal fuss:
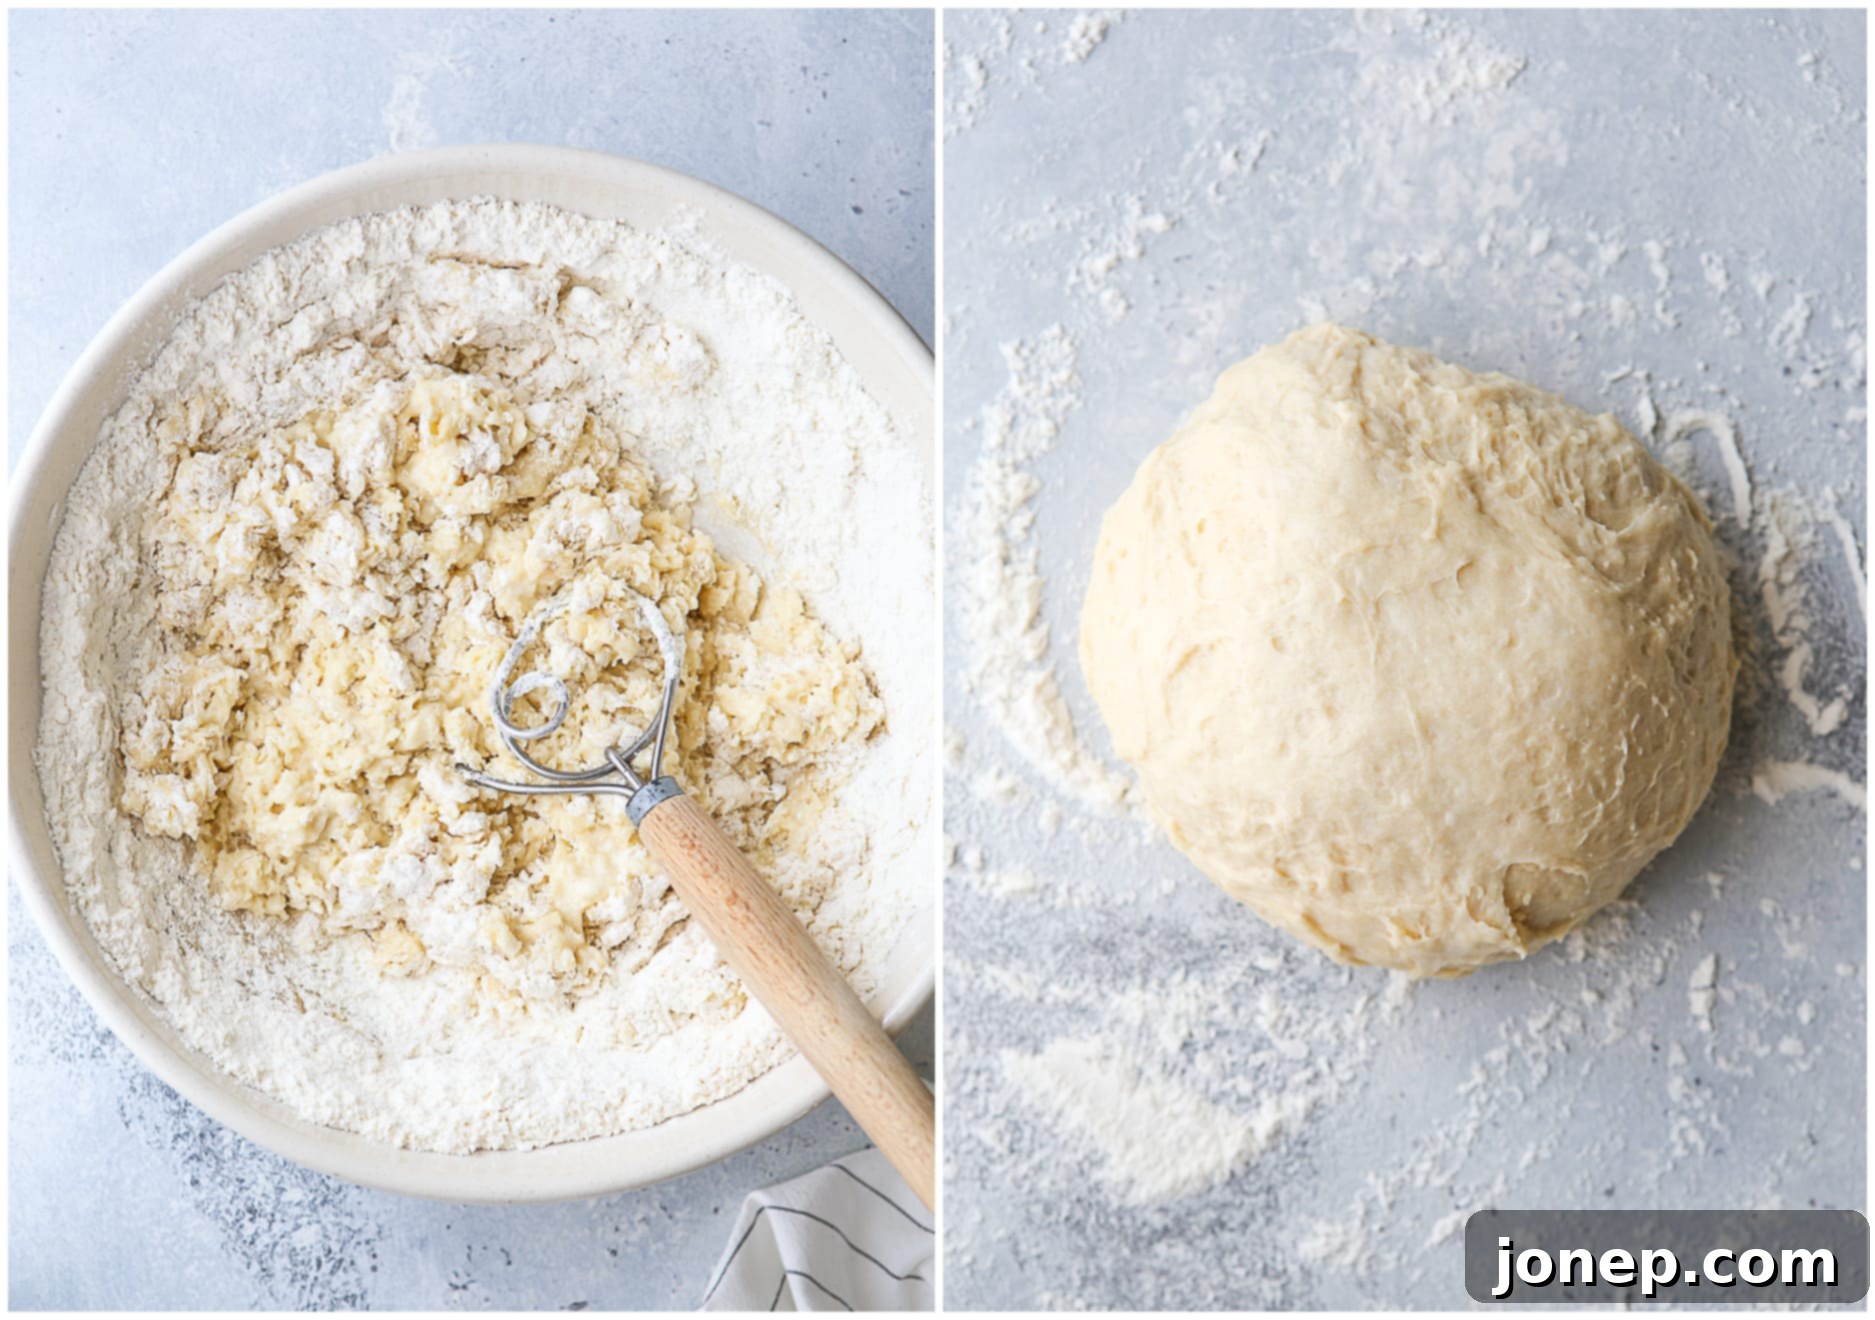
- Prepare the Dough in One Bowl: Begin by combining the warm water (ensure it’s around 105-115°F or 40-46°C – too hot will kill the yeast, too cold won’t activate it) and yeast in a large bowl. Let it sit for about five minutes until it becomes foamy. This bubbling action is a crucial sign that your yeast is active and ready to work its magic. Then, add the slightly cooled melted butter, granulated sugar, and egg to the bowl, stirring gently until well combined. Finally, incorporate the all-purpose flour and salt. Use a dough whisk, sturdy spatula, or wooden spoon to mix everything together until you have a very wet, shaggy dough. Don’t worry if it looks uneven or not perfectly smooth at this stage; its wetness is key to its no-knead texture and ultimate tenderness.
- First Rise for Fluffy Dough: Cover the bowl with plastic wrap or a clean kitchen towel and let the dough rise in a warm, draft-free spot for approximately 1 hour. If you’re using instant or quick-rise yeast, this time might be closer to 30 minutes, as it’s designed for a faster proof. The dough should visibly expand and roughly double in size, becoming light and airy. (See our detailed baking tips below for how to create an ideal warm environment for faster rising during colder months, ensuring your dough gets the boost it needs!)
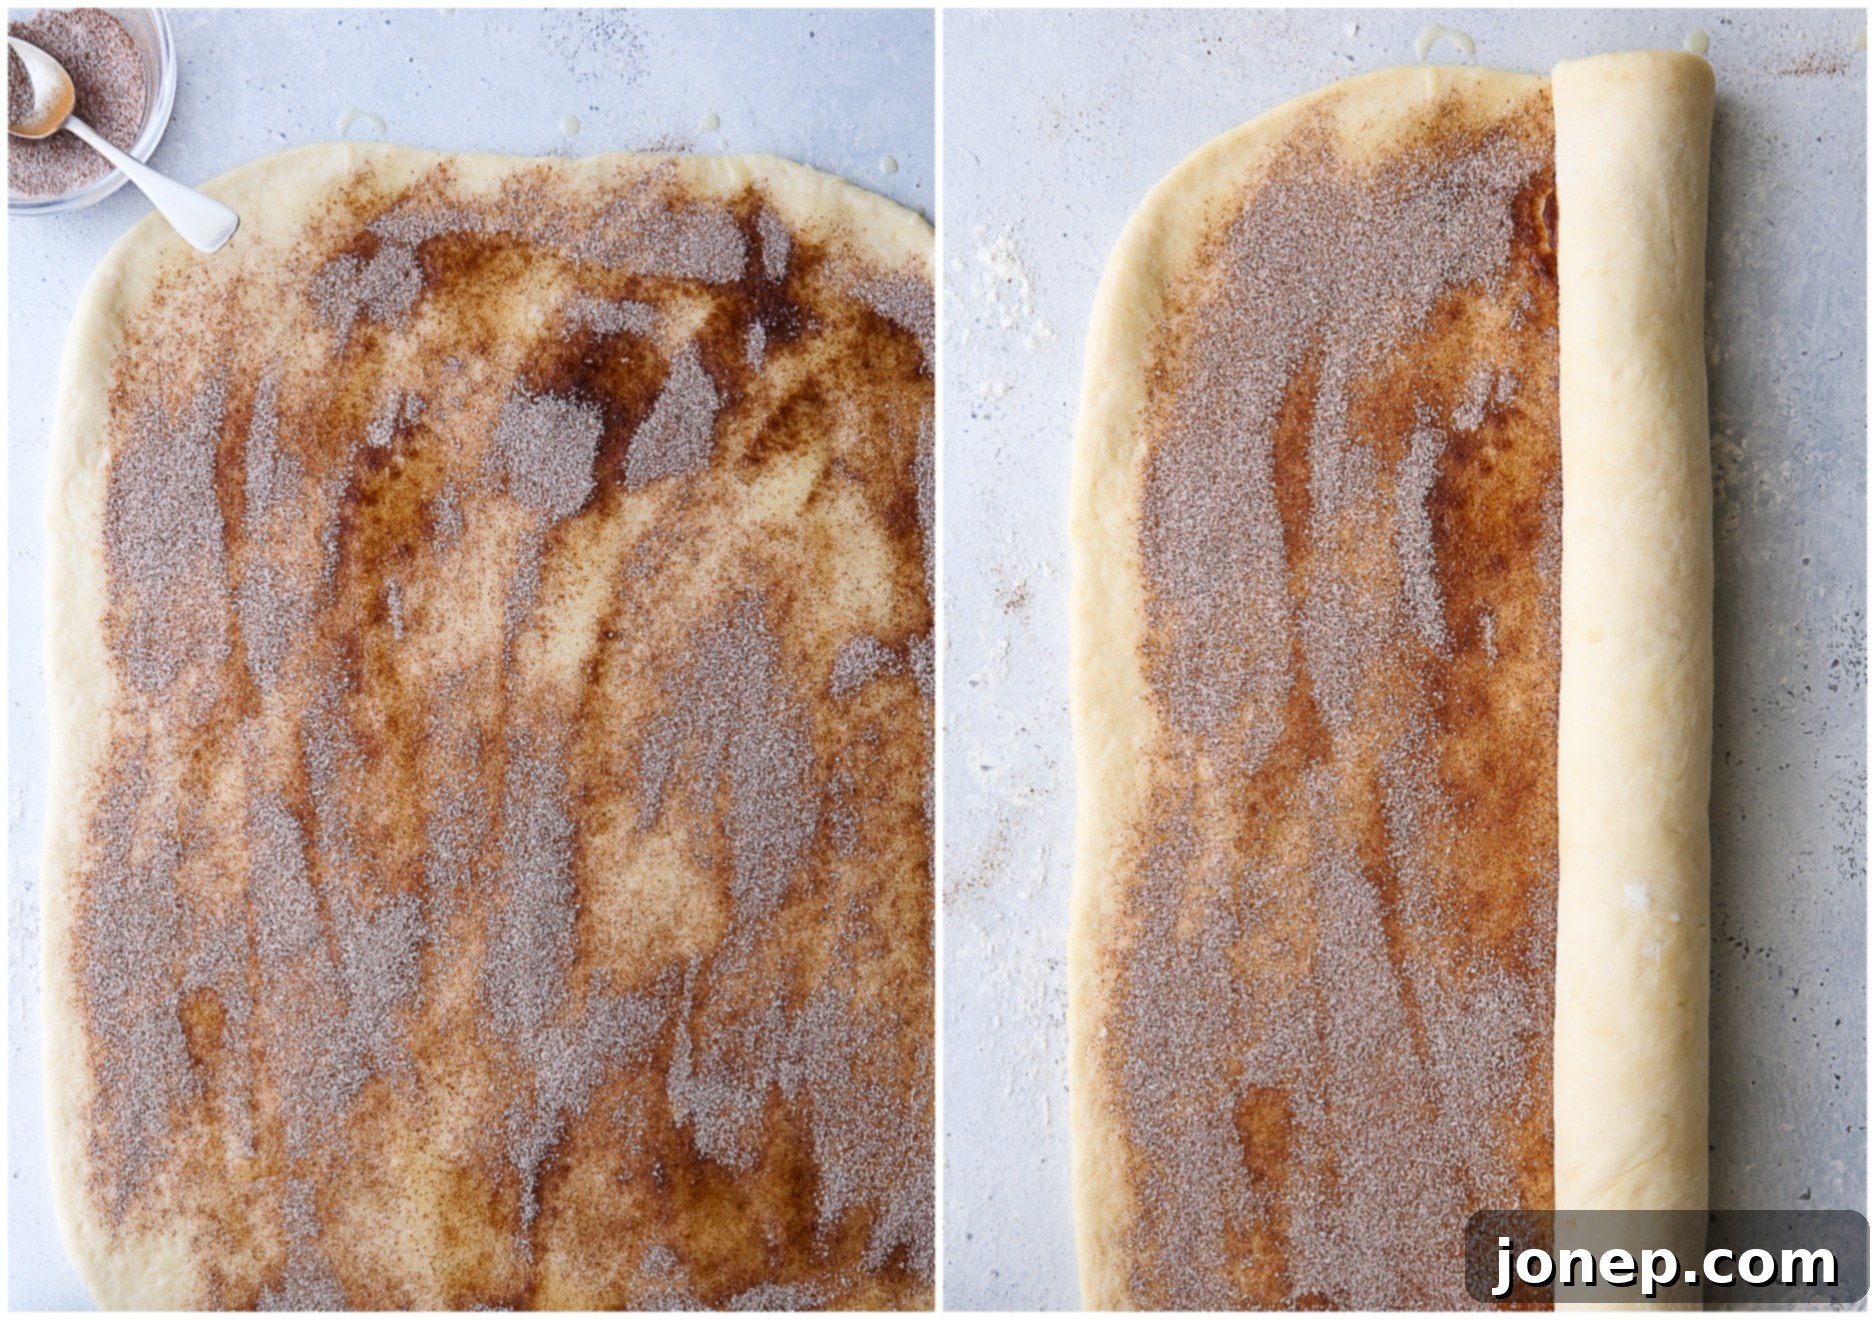
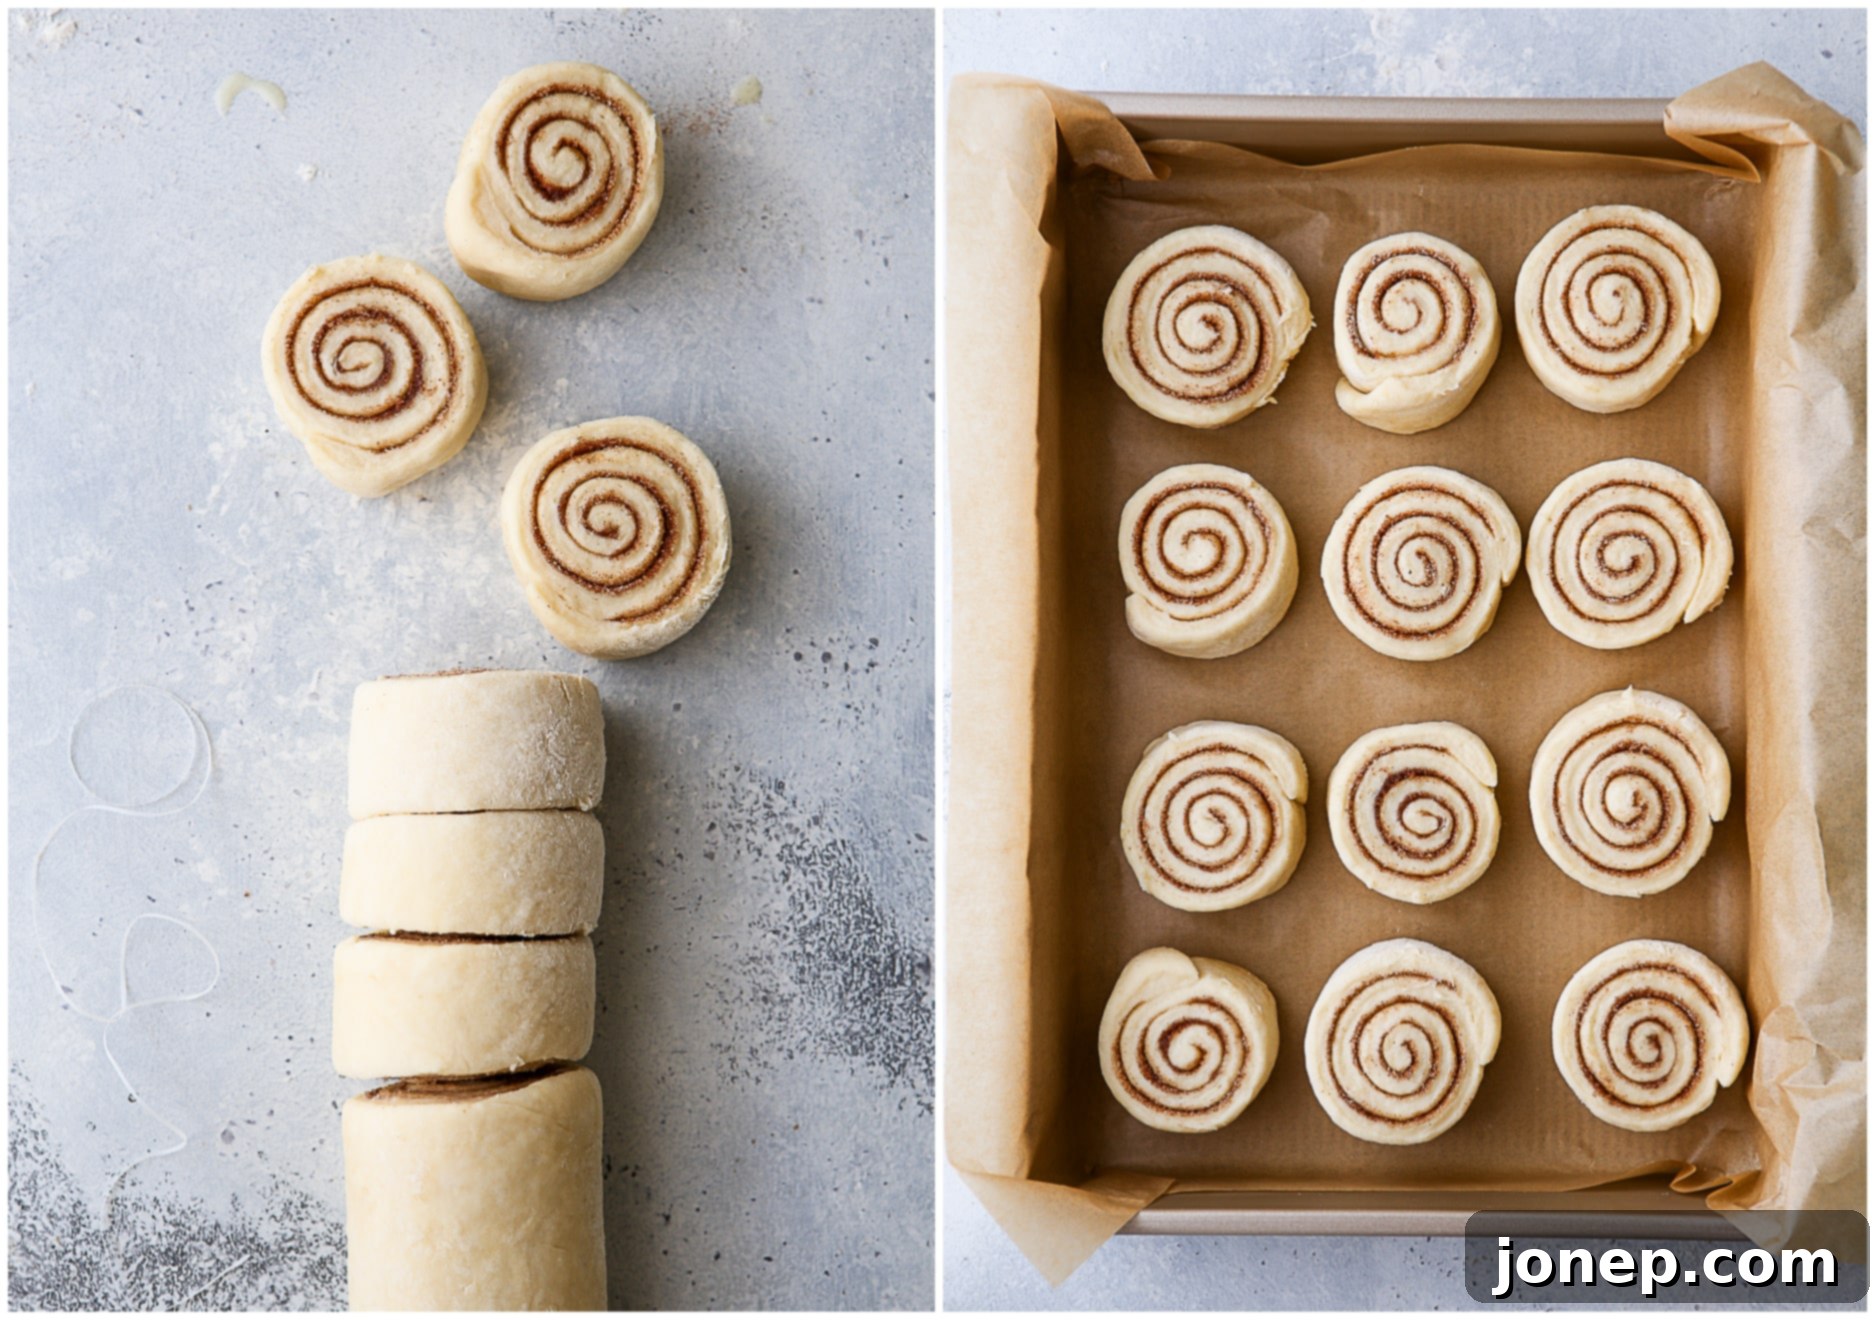
- Roll, Fill, and Slice Your Rolls: Once risen, gently turn the dough out onto a lightly floured surface. Using a rolling pin, carefully roll the dough into a large rectangle, aiming for dimensions of approximately 12 x 17 inches. Strive for an even thickness across the entire surface for consistent rolls. Brush the rolled-out dough generously with melted butter, ensuring it covers almost all edges of the rectangle. Then, evenly sprinkle your delightful cinnamon sugar mixture over the butter, making sure every inch is coated for maximum flavor. Starting from one of the longer ends, carefully and tightly roll the dough into a log. This tight roll helps create those beautiful, distinct cinnamon swirls. Trim off any uneven edges from both ends of the log for a cleaner appearance, then slice the dough into 12 equally sized rolls. A very sharp knife works well, or for perfectly clean, non-squished cuts, use unscented dental floss (see our FAQs for a helpful video guide on this technique!).
- Second Rise in the Pan (Proofing): Arrange the sliced rolls in a greased or parchment paper-lined 9×13-inch baking pan. Leave a little space between them, as they will expand significantly during this stage. Cover the pan loosely with plastic wrap or a clean kitchen towel and let the rolls rise again for another 30 minutes or until they look visibly puffy, have softened, and have snuggled up against each other in the pan. This crucial second rise, or proof, is essential for their final light, airy, and ultra-tender texture.
- Bake to Golden Perfection: Preheat your oven to 350°F (175°C). Once preheated and the rolls have had their second rise, place the pan in the oven and bake for 30-35 minutes, or until the rolls are beautifully golden brown on top, cooked through, and smell heavenly. For precision, the internal temperature should reach about 200-205°F (93-96°C) for perfect doneness. Avoid over-baking, which can lead to dry rolls.
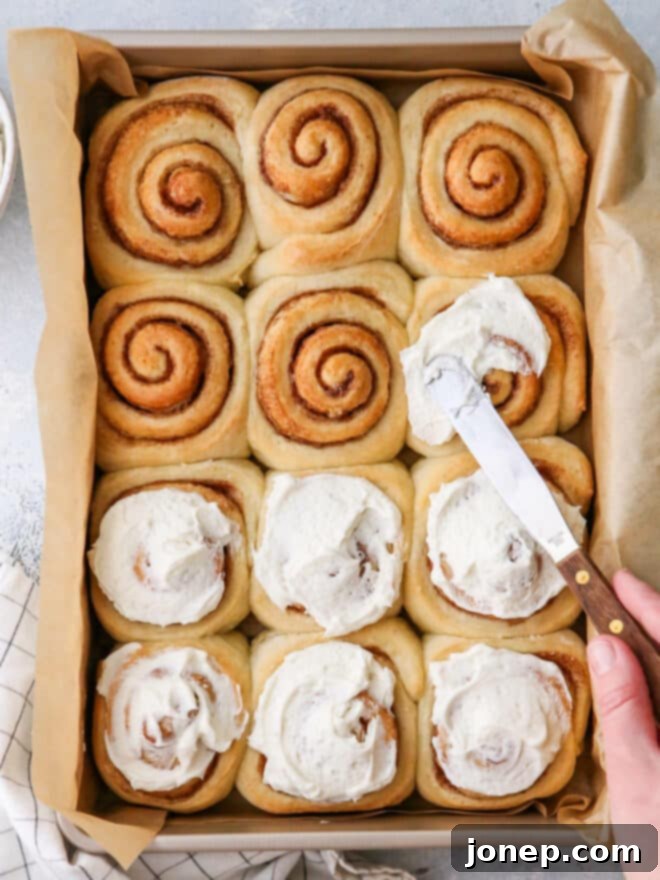
- Frost and Serve: While the rolls are baking, prepare your heavenly vanilla bean frosting using an electric mixer to ensure it’s light, airy, and creamy. Once the cinnamon rolls are out of the oven, decide on your frosting preference:
- For a luscious, thick glaze: Spread the frosting over the cinnamon rolls while they are still warm, directly from the oven. The residual heat will cause the frosting to slightly melt and seep into the rolls, creating a wonderful, syrupy glaze that’s incredibly gooey and delicious.
- For fluffy, defined frosting: If you prefer a more structured, fluffy frosting, allow the cinnamon rolls to cool completely before spreading on the frosting. This will keep the frosting light, airy, and beautifully piped or spread, providing a lovely contrast to the warm rolls.
Either way, these no-knead cinnamon rolls are utterly delicious! Serve immediately and enjoy the fruits of your effortless labor.
Baking Tips for Perfect No-Knead Cinnamon Rolls Every Time
baking tip: How to Help Your Dough Rise Faster in Colder Kitchens
- Oven Method (Warm, Not Hot): Turn your oven on to its absolute lowest setting (often around 170°F/75°C) for just a few minutes – typically 2-5 minutes – then immediately turn it off. Place your covered bowl of dough on the center rack and close the door. The residual warmth will provide an ideal proofing environment. Be careful not to let the oven get too hot, as extreme heat can kill the yeast and prevent your dough from rising.
- Microwave Method (Steam Power): Heat 1 cup of water in your microwave until it’s boiling (about 2 minutes). Once the water is steaming hot, carefully remove the cup of hot water, then immediately place your covered dough into the microwave and close the door. The steam and residual heat create a perfectly warm, humid, and draft-free spot for your dough to rise. Do not turn the microwave on with the dough inside.
- Other Warm Spots: Don’t underestimate other sources of gentle, consistent heat! I’ve successfully risen dough on top of a running dryer machine (the warmth from the vent is great), near a warm radiator, or even on a chair positioned over a heater vent. The key is gentle, consistent warmth without direct, intense heat that could dry out or damage the yeast.
Beyond finding a warm spot for your dough, ensuring your ingredients are at the right temperature is also crucial. Warm water for the yeast is essential, and slightly cooled melted butter for the dough prevents the yeast from being scalded. For the frosting, softened butter will whip up much creamier than cold butter, resulting in a smoother, more luscious topping that spreads effortlessly. Always measure your flour correctly by spooning it into the measuring cup and leveling it off, rather than scooping directly from the bag, to avoid a dense dough.
Prep Ahead: Turn These into Convenient Overnight Cinnamon Rolls
Looking to streamline your morning routine or prepare these delectable treats for a special brunch without the early start? These no-knead cinnamon rolls are wonderfully adaptable and can be easily transformed into an overnight sensation. This make-ahead method allows you to do most of the work the day before, leaving you with minimal effort on baking day and the reward of fresh, warm cinnamon rolls for breakfast or dessert with very little fuss in the morning!
After you’ve completed step 3 (rolling, filling, and slicing the dough, then placing the shaped rolls into your baking pan), simply cover the pan tightly with plastic wrap. Ensure the plastic wrap makes good contact with the pan to prevent the dough from drying out, which can hinder its rise and texture. Place the covered pan directly into the refrigerator for a slow, cold rise. You can leave them in the fridge for up to about 12 hours, making them ideal for overnight preparation.
On baking day, approximately 1-2 hours before you plan to bake, remove the pan from the refrigerator. It’s crucial that the rolls come back to room temperature and have a chance to undergo a final, shorter rise before they hit the oven. This allows the yeast to become active again after its cold slumber and the dough to relax, ensuring the rolls bake up beautifully light and fluffy. So, plan accordingly to allow for this crucial warming and final rising time. Once they’ve visibly puffed up again and feel soft to the touch, proceed with baking as directed in the recipe!
Frequently Asked Questions (FAQs) for No-Knead Cinnamon Rolls
For this no-knead cinnamon roll recipe, you have the flexibility to use either **active dry yeast** or **instant/quick-rise yeast**. Both types will work perfectly! The main difference you’ll notice is the rising time. Instant or quick-rise yeast is designed to work faster, meaning your dough will typically double in size in a shorter period (often around 30 minutes for the first rise). Active dry yeast might take a bit longer (closer to an hour to an hour and a half). Ensure your water is warm (around 105-115°F or 40-46°C) to properly activate either type of yeast. Always check the expiry date on your yeast for best results.
Dough can sometimes be stubborn and resistant, springing back when you try to roll it. This usually happens when the gluten in the dough is too tight, preventing it from stretching. The best solution is to let it relax! Simply cover the dough with a clean kitchen towel and let it rest on your countertop for about 10-15 minutes. This short rest allows the gluten strands to relax, making the dough much more pliable and easier to roll out into your desired rectangle without it constantly shrinking back. Patience is key!
You have a couple of excellent options for slicing your cinnamon rolls cleanly without squishing them. A very sharp, un-serrated knife can work well, ensuring you press straight down rather than sawing to avoid distorting the rolls. However, my preferred method for perfectly shaped rolls is using **unscented dental floss**! It’s a surprisingly effective trick. Simply slide a piece of floss under the log of dough, bring the ends up and cross them over the top, then pull tightly to slice through. This creates incredibly clean, even cuts without squishing the delicate layers of dough. Here’s a quick video demonstrating how to use floss for perfect slices.
While cinnamon rolls are truly at their absolute best when enjoyed fresh, straight from the oven on the day they’re baked, they can be stored. If you have leftovers, place them in an airtight container at room temperature. They will generally stay fresh and delicious for 2-3 days. After that, they tend to progressively dry out and lose some of their tender texture and fresh flavor. For best reheating, a quick zap in the microwave for 15-30 seconds can soften them up nicely, making them warm and gooey again.
Absolutely! While the fluffy vanilla bean frosting provided in this recipe is a perfect complement, feel free to use your favorite topping. Cinnamon rolls are incredibly versatile! Popular alternatives include a classic cream cheese frosting for a tangy kick, or a simple vanilla icing (often a thinner glaze made with powdered sugar and milk/cream). Don’t be afraid to experiment and personalize your rolls to suit your taste or what you have on hand!
Yes, you absolutely can freeze these cinnamon rolls to enjoy later! For **unbaked rolls**, after placing them in the pan (before the second rise), cover them very tightly with plastic wrap and then aluminum foil to prevent freezer burn, and freeze for up to 2-3 weeks. When ready to bake, thaw them overnight in the refrigerator, then let them rise at room temperature for 1-2 hours before baking as directed. For **baked rolls**, let them cool completely without frosting, then wrap individually in plastic wrap and freeze for up to 1 month. Thaw at room temperature, warm gently in the microwave or oven, then frost and serve.
Other Sweet Roll Recipes to Explore
If you’ve fallen in love with the ease and deliciousness of these no-knead cinnamon rolls, you might be eager to explore more sweet roll variations. The world of warm, yeasted pastries is incredibly diverse and satisfying! Here are a few other delectable recipes from my collection that offer unique flavors and the same comforting, homemade experience:
Full Recipe Card: No-Knead Cinnamon Rolls with Vanilla Bean Frosting

No-Knead Cinnamon Rolls
Pin Recipe
Leave a Review
Ingredients
For the dough:
- 1 cup (227 grams) warm water
- 2 ¼ teaspoons (7 grams) Active-dry yeast
- ½ cup (113 grams) butter , melted and slightly cooled
- ⅓ cup (66 grams) granulated sugar
- 1 large egg
- 4 cups (480 grams) all-purpose flour , measured correctly
- 1 teaspoon coarse salt
For the filling:
- 3 tablespoons (40 grams) butter , melted
- ¼ cup (50 grams) granulated sugar
- 1 tablespoon ground cinnamon
For the frosting:
- 5 tablespoons (70 grams) butter , softened to room temperature
- 2 cups (227 grams) powdered sugar , sifted
- 3 tablespoons heavy cream
- 1 teaspoon vanilla extract
- Pinch of salt
Equipment
Instructions
To prepare the dough:
-
In a large bowl, combine the warm water (105-115°F) and yeast and allow to sit for five minutes until foamy.
-
Add the slightly cooled melted butter, sugar, and egg; stir until combined. Add flour and salt and stir thoroughly with a dough whisk or spatula until it forms a wet shaggy dough.
-
Cover with a towel or plastic wrap and let rise in a warm, draft-free spot until doubled, about 1 hour (or 30 mins with instant yeast).
-
Dump the risen dough onto a lightly floured surface and gently shape into a ball. Roll dough out to a rough 12×17 inch rectangle (no need to be exact, but aim for evenness).
Add filling and shape:
-
Brush the rolled-out dough with the 3 tablespoons of melted butter. In a small bowl, combine cinnamon and sugar together, then sprinkle this mixture evenly over the buttered dough.
-
Starting at one long end, tightly roll the dough into a long log. Use a sharp knife or unscented dental floss to carefully cut off the ends for clean edges, then slice the log into 12 even rolls.
-
Place the sliced rolls in a greased or parchment paper-lined 9×13-inch baking pan, leaving a little space between each. Cover loosely and let rise again for about 30 minutes, or until puffy.
Bake:
-
Preheat oven to 350°F (175°C). Bake the cinnamon rolls until golden brown, approximately 30-35 minutes.
-
Let cool slightly or completely, per your preference, before frosting.
Top with frosting:
-
In a medium bowl, beat the softened butter with an electric mixer until creamy. Gradually add the sifted powdered sugar, heavy cream, vanilla extract, and a pinch of salt. Beat until light and fluffy, 3-4 minutes, scraping the bowl down once or twice.
-
Spread frosting generously onto warm or completely cooled rolls and serve immediately. (Remember: warm rolls will result in a melted glaze, while cooled rolls will keep the frosting fluffy.)
-
These cinnamon rolls are best enjoyed fresh on the day they are baked but will keep well in an airtight container at room temperature for a few days.
Video
Notes
- For an even quicker preparation, definitely use “quick rise” or “instant” yeast. It significantly shortens the dough’s rising time, getting you to fresh cinnamon rolls faster!
- To make ahead (Overnight Option): After shaping your rolls and placing them in the baking pan, cover them tightly with plastic wrap and refrigerate for up to 12 hours. The next morning, remove them from the fridge about 1-2 hours before baking to allow them to come completely to room temperature and undergo a final short rise. This step is essential for their fluffy texture!
