The Ultimate Guide to Homemade Turkey Gravy: With or Without Drippings for a Perfect Thanksgiving
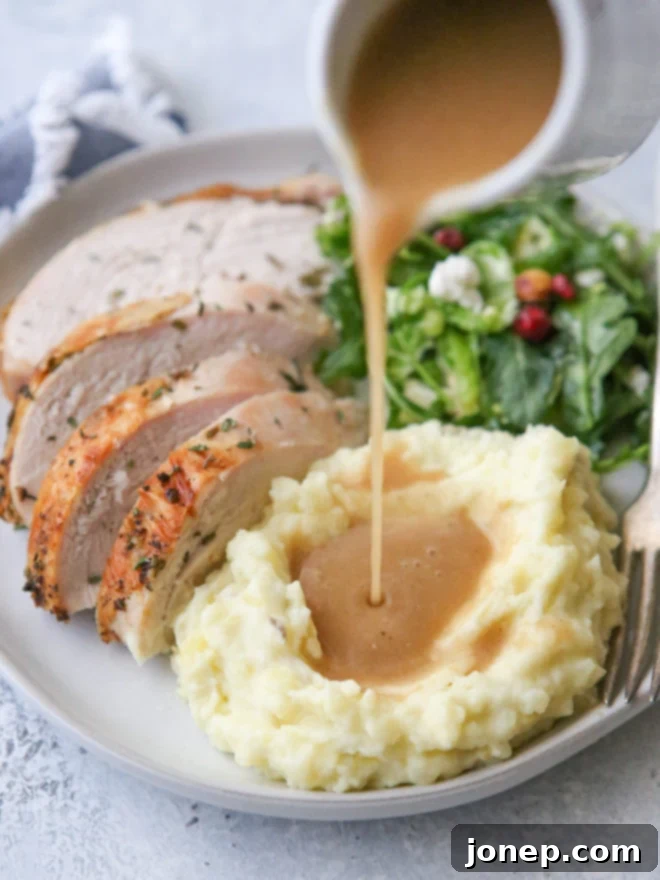
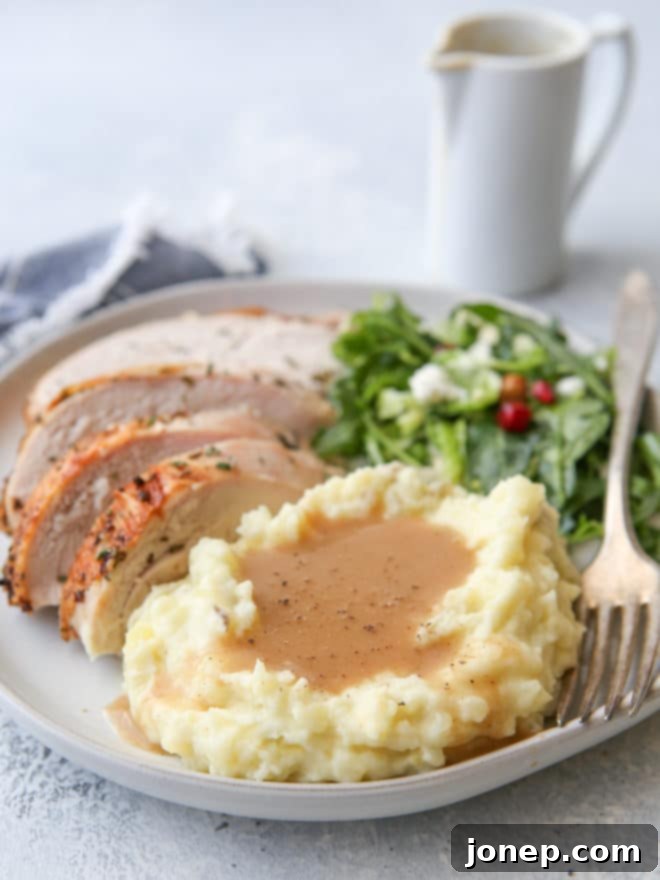
Thanksgiving dinner, a feast of roasted turkey, creamy mashed potatoes, savory stuffing, and crisp green beans, simply isn’t complete without a generous pour of rich, homemade turkey gravy. It’s the luxurious “glue” that brings every element of the plate together, enhancing flavors and adding a comforting warmth that defines the holiday meal. While some might think gravy is a complicated affair, you’re about to discover how incredibly easy it is to make a truly exceptional homemade turkey gravy in just minutes, whether you have a roasting pan full of precious turkey drippings or need to start from scratch.

For many, the aroma of a roasting turkey signals the start of the holiday season. But it’s the simmering of the gravy that truly cements the Thanksgiving experience. That luscious, velvety sauce, drizzled over every component of your plate – from the succulent turkey slices to the fluffy mashed potatoes and herbaceous stuffing – transforms a collection of delicious dishes into a cohesive culinary masterpiece. It’s more than just a condiment; it’s an integral part of the tradition.
The beauty of homemade gravy lies not only in its superior taste but also in its surprising simplicity. While your magnificent turkey rests, allowing its juices to redistribute for maximum tenderness, you have the perfect 10-minute window to create a gravy that will steal the show. Many recipes suggest making gravy ahead of time, and while that’s an option, the absolute best, most concentrated flavor comes directly from the rich, caramelized drippings left at the bottom of your roasting pan. Trust us, waiting a few extra minutes to harness these flavorful treasures is well worth the effort and results in an unparalleled depth of taste.
So, delegate the turkey carving and table-setting duties to others, and let’s focus on crafting that perfect gravy! And if, by chance, your roasting pan didn’t yield as many drippings as you hoped, or if you’re making gravy for another occasion without a whole turkey, fret not! We’ve included equally delicious instructions for making a superb turkey gravy entirely from scratch.
Table of Contents
- The Secret to Great Gravy
- Essential Ingredients for Your Gravy
- What if I Don’t Have Turkey Drippings?
- How to Make Homemade Turkey Gravy (Step-by-Step)
- Expert Tips for Perfect Gravy Every Time
- Troubleshooting Common Gravy Issues
- Serving and Storage Suggestions
- More Thanksgiving Side Dishes
- Get the Full Recipe

The Secret to Great Gravy
The secret to a truly outstanding gravy often lies in two key elements: the rich, savory foundation provided by turkey drippings or a flavorful broth, and a perfectly made roux. A roux, a mixture of fat and flour cooked together, is what gives gravy its smooth, thickened consistency without any lumps. When prepared correctly, it also adds a lovely nutty flavor that complements the richness of the turkey.
Our recipe prioritizes speed and flavor, ensuring that you can whip up a batch of glorious gravy right when you need it most – just before serving, when all the other dishes are ready for their golden drizzle. The process is straightforward, requiring minimal fuss but delivering maximum impact.
Essential Ingredients for Your Gravy
Crafting the perfect turkey gravy requires just a few basic ingredients, each playing a crucial role in developing its rich flavor and ideal consistency. Here’s what you’ll need:
- Turkey Drippings: These are the golden liquid gold left in the roasting pan after your turkey is cooked. They contain concentrated turkey flavor, caramelized bits (fond), and fat, all essential for the most authentic and delicious gravy. Don’t discard them!
- Turkey or Chicken Broth/Stock: This forms the liquid base of your gravy. You can use high-quality store-bought broth or stock (ensure it’s low sodium to control seasoning). For an even richer flavor, consider using Better Than Bouillon base mixed with hot water, which provides an intense, savory depth. A clever alternative, as my mom often used, is the flavorful cooking liquid from mashed potatoes – it’s already seasoned and starchy, adding extra body!
- Unsalted Butter: Butter is the primary fat used to create the roux. Using unsalted butter allows you to control the overall saltiness of the gravy, which is important given the potentially salty nature of drippings and broth. It also contributes a creamy, rich flavor.
- All-Purpose Flour: This is the other half of the roux, acting as the thickening agent. When cooked with butter, it loses its raw flour taste and becomes an effective binder. For those with dietary restrictions, gluten-free flour blends work wonderfully as a substitute, producing a similarly smooth and thick gravy.
- Kosher Salt and Freshly Ground Black Pepper: These are your final seasoning agents. Turkey drippings and some broths can be quite salty already, so it’s crucial to taste your gravy before adding any extra salt. Adjust seasonings gradually until it reaches perfection.
What if I Don’t Have Turkey Drippings?
No drippings? No problem! You can still make an incredibly flavorful and satisfying turkey gravy without a roasted bird. This method is perfect if you’re making gravy for a smaller meal, if your turkey didn’t produce many drippings, or if you simply prefer a lighter base. You’ll just need a few additional ingredients to build up that foundational flavor:
- Shallots and/or Garlic: These aromatic vegetables are excellent flavor boosters. Finely chopped shallots offer a milder, sweeter onion flavor, while minced garlic provides a pungent, savory kick. You can use one or both to create a robust base, sautéing them gently in butter before adding the flour.
- Fresh Rosemary, Thyme, and/or Sage: These classic poultry herbs are essential for replicating the savory notes of turkey. A combination of all three (often found conveniently packaged as “Poultry Blend” at grocery stores) will give the most comprehensive flavor. However, using any one or two of these herbs will still create a wonderfully fragrant and tasty gravy.
- Extra Salt and Pepper: Since you won’t have the inherent seasoning from turkey drippings, you’ll need to add a bit more salt and pepper to taste when building your gravy from scratch.
By incorporating these aromatics and herbs, you can create a gravy that’s every bit as comforting and delicious as its drippings-based counterpart.

How to Make Homemade Turkey Gravy (Step-by-Step)
Making homemade gravy is a straightforward process that yields incredibly rewarding results. Follow these steps for a smooth, rich, and flavorful gravy:
- Prepare Turkey Pan Drippings (If Using):
- Once your turkey is beautifully roasted and removed from the oven, transfer it to a cutting board and cover it loosely with foil to rest.
- Immediately add 1 cup of turkey or chicken broth to the hot roasting pan. Place the pan over two burners on your stovetop (or directly on low heat if it’s oven-safe on the stove).
- Using a sturdy whisk or wooden spoon, vigorously scrape up all the delicious brown bits (known as “fond”) stuck to the bottom and sides of the pan. These caramelized bits are packed with concentrated flavor.
- Carefully pour all the liquid and scraped-up bits from the roasting pan into a large liquid measuring cup (a quart-size or larger one is ideal).
- For easier fat separation, place the measuring cup in the freezer for about 5-10 minutes while you start your roux. The cold will cause the fat to rise to the top and slightly solidify, making it much simpler to skim off.
- Make a Flavorful Roux:
- In a large saucepan, melt 3 tablespoons of unsalted butter over medium heat.
- **If making gravy WITHOUT pan drippings:** Add 1 finely chopped shallot and/or 2 minced garlic cloves to the melted butter. Cook for 2-3 minutes, stirring occasionally, until softened and fragrant. This builds a foundational layer of flavor.
- Sprinkle ¼ cup of all-purpose flour over the melted butter (and aromatics, if using).
- Whisk constantly for 3-5 minutes to create a smooth, thick paste, which is your “roux.” Continue cooking, stirring frequently, until the roux turns a golden brown color. This cooking process eliminates the raw flour taste and enhances the nutty flavor, contributing to a richer gravy.
- Separate the Fat from Drippings (If Using):
- Retrieve your liquid measuring cup from the freezer. You should see a distinct layer of fat solidified on top.
- Use a spoon to carefully skim off and discard the fat. Don’t worry about getting every last drop, but remove most of it. (If the fat hasn’t solidified enough, pop it back in the freezer for a few more minutes, removing your roux from the heat if necessary to avoid overcooking).
- Alternatively, you can skim the liquid fat with a spoon without chilling, or use a fat separator, which makes this step incredibly easy.
- Combine and Thicken the Gravy:
- **If making gravy WITH pan drippings:** Add enough extra turkey or chicken broth to your defatted pan drippings to reach a total volume of 4 cups.
- **If making gravy WITHOUT pan drippings:** Measure out 3 cups of turkey or chicken broth. Stir in 1 tablespoon of fresh herbs (rosemary, thyme, sage, or a mix).
- Gradually pour the broth mixture (either with drippings or plain broth with herbs) into your cooked roux in the saucepan, whisking continuously to prevent lumps.
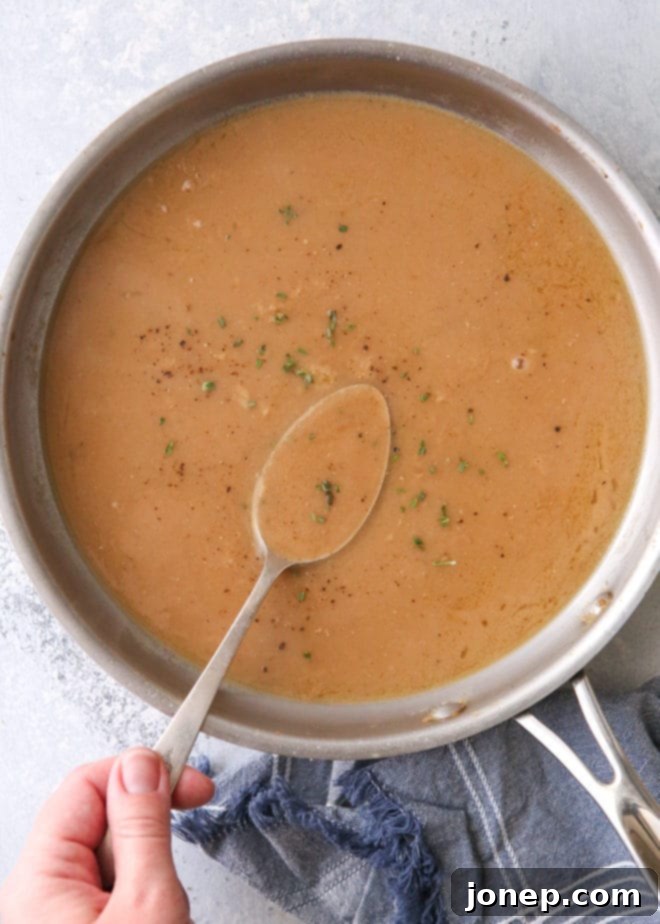
- Bring the gravy to a boil, then immediately reduce the heat to medium-low and simmer for 1-2 minutes, whisking occasionally, until it thickens to your desired consistency. It will continue to thicken slightly as it cools.
- Season and Serve:
- Taste the gravy first. If using pan drippings, they are often quite salty, so you may need minimal or no additional salt.
- Add salt and freshly ground black pepper gradually, tasting after each addition, until the seasoning is perfect.
- Keep the gravy warm over very low heat until you are ready to serve. If it becomes too thick, you can thin it with a little hot broth or water.
Expert Tips for Perfect Gravy Every Time
- Deglaze Properly: Don’t leave those flavorful browned bits in the roasting pan! Deglazing with broth is crucial for capturing all the rich flavor.
- Control the Fat: Too much fat can make gravy greasy. Skimming it off (especially after chilling) is key for a silky, rich sauce. A fat separator is a great tool, but a spoon and patience work just as well.
- Cook the Roux: Don’t rush this step. Cooking the flour and butter for a few minutes until golden brown eliminates the raw flour taste and develops a nutty flavor that enhances the gravy.
- Whisk Constantly: When adding liquid to the roux, whisk vigorously and continuously to prevent lumps. Start with a small amount of liquid to create a smooth paste, then gradually add the rest.
- Adjust Consistency: If your gravy is too thick, whisk in a little more hot broth or water until it reaches your desired consistency. If it’s too thin, you can simmer it gently for a few more minutes to reduce, or make a very small slurry of cornstarch (1 tsp cornstarch mixed with 1 tbsp cold water) and whisk it in, simmering for another minute.
- Taste, Taste, Taste: Seasoning is personal. Always taste your gravy before adding salt and pepper, and adjust as needed.
Troubleshooting Common Gravy Issues
- Lumpy Gravy: The most common issue! This happens when liquid is added too quickly to the roux, or not whisked enough. If your gravy is lumpy, don’t despair! You can pour it through a fine-mesh sieve to catch the lumps, or use an immersion blender right in the saucepan to smooth it out.
- Too Salty: If your gravy ends up too salty, you can try adding a splash of unsalted broth or water. Some cooks suggest adding a raw potato slice to simmer for a few minutes, which can absorb some salt, but this isn’t always effective. Prevention (tasting before seasoning) is best!
- Too Greasy: This means you didn’t skim enough fat. You can re-chill the gravy and skim more fat, or simply serve it carefully, leaving the greasy layer behind.
- Lacks Flavor: If your gravy tastes bland, consider adding a dash of soy sauce or Worcestershire sauce for umami, or a pinch of poultry seasoning. For gravy made without drippings, you might need more herbs, shallots, or garlic.
Serving and Storage Suggestions
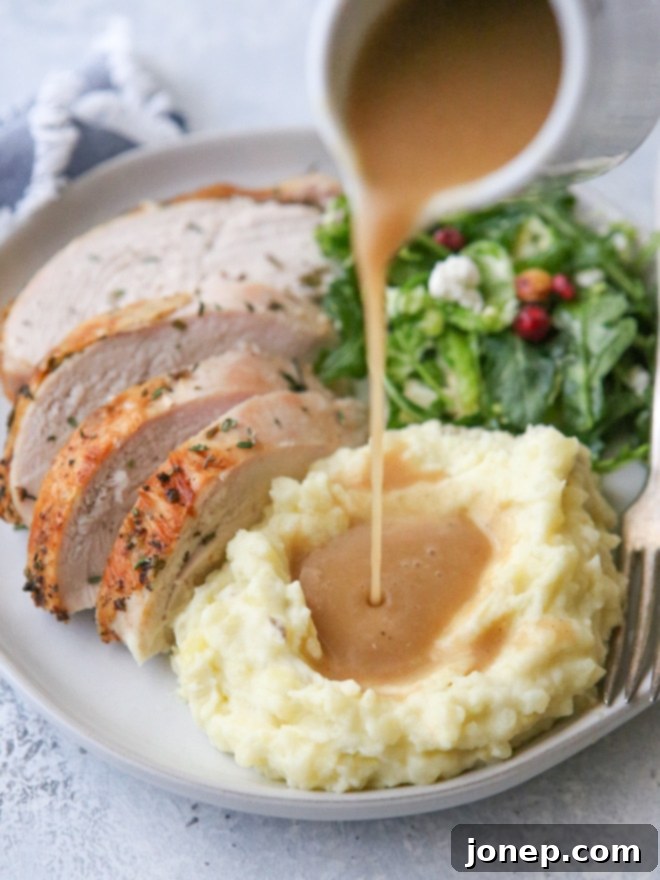
Serve your homemade turkey gravy piping hot over everything on your Thanksgiving plate – turkey, mashed potatoes, stuffing, green bean casserole, and even dinner rolls. It’s also fantastic with leftover turkey sandwiches!
Leftover gravy should be stored in an airtight container in the refrigerator for up to 3-4 days. To reheat, gently warm it in a saucepan over low heat, whisking constantly. If it has thickened too much, add a splash of broth or water to achieve the desired consistency. Gravy can also be frozen for up to 3 months; thaw overnight in the refrigerator and reheat as directed.
More Thanksgiving Side Dishes
No Thanksgiving table is complete without an array of delectable side dishes. Here are some of our favorites that pair perfectly with your glorious homemade turkey gravy:
Get the Full Recipe
This comprehensive guide and recipe was originally published in November 2018 and has been updated for clarity, detail, and enhanced SEO.

Homemade Turkey Gravy for Thanksgiving
Pin Recipe
Leave a Review
Ingredients
To make gravy with pan drippings:
- Turkey drippings from roasted turkey
- 2-3 cups Turkey or chicken broth/stock
- 3 tablespoons unsalted butter
- ¼ cup all-purpose flour
- Kosher salt and freshly ground black pepper , to taste
To make gravy without pan drippings:
- 3 tablespoons unsalted butter
- ¼ cup all-purpose flour
- 3 cups Turkey or chicken broth/stock
- 1 shallot , finely chopped
- 2 garlic cloves , minced (can be used in addition to, or instead of shallot)
- 1 tablespoon fresh rosemary, thyme, sage (use any combination, finely chopped)
- 1 teaspoon Kosher salt
- ½ teaspoon freshly ground black pepper
Equipment
Instructions
To make gravy with pan drippings:
-
After removing the turkey from the roasting pan, add 1 cup of chicken/turkey broth to the pan. Place the pan over medium heat (using two burners if needed) and scrape up all the flavorful brown bits (fond) from the bottom of the pan with a whisk or wooden spoon. This process is called deglazing.
-
Carefully pour the deglazed liquid and drippings into a liquid measuring cup (preferably quart-size or larger). For easier fat removal, place the measuring cup into the freezer for 5-10 minutes while you prepare the roux. The cold will cause the fat to solidify at the top.
-
In a large saucepan, melt 3 tablespoons of unsalted butter over medium heat. Once melted, add ¼ cup of all-purpose flour. Whisk continuously to form a thick, smooth paste (the roux). Continue cooking the roux for 3-5 minutes, stirring often, until it turns a light golden brown. This step is crucial for removing the raw flour taste and developing a nutty flavor.
-
Remove the pan drippings from the freezer. Use a spoon to skim off and discard the solidified fat from the top of the measuring cup. Add enough additional chicken/turkey broth to the defatted drippings to reach a total volume of 4 cups.
-
Slowly pour the broth-and-drippings mixture into the roux in the saucepan, whisking constantly and vigorously to prevent any lumps from forming. Bring the gravy to a boil, continuing to whisk frequently. Reduce the heat to medium-low and simmer for about 1-2 minutes, or until the gravy has thickened to your desired consistency.
-
Taste the gravy. Since turkey drippings can be quite salty, you may not need much, if any, additional salt. Add Kosher salt and freshly ground black pepper to taste, adjusting until it’s perfectly seasoned. Serve immediately and enjoy!
To make gravy without pan drippings:
-
In a large saucepan, melt 3 tablespoons of unsalted butter over medium heat. Once the butter is melted and sizzling gently, add 1 finely chopped shallot and/or 2 minced garlic cloves. Cook for 2-3 minutes, stirring frequently, until the aromatics are softened and fragrant. Be careful not to burn the garlic.
-
Sprinkle ¼ cup of all-purpose flour over the melted butter and aromatics. Whisk constantly until combined to make a thick, smooth paste (the roux). Continue cooking the roux for 3-5 minutes, stirring often, until it turns a light golden brown. This develops a rich, nutty flavor.
-
Slowly add 3 cups of turkey or chicken broth to the roux, whisking constantly and vigorously to ensure a smooth, lump-free gravy. Stir in 1 tablespoon of finely chopped fresh herbs (rosemary, thyme, sage, or a mix), 1 teaspoon of Kosher salt, and ½ teaspoon of freshly ground black pepper. Bring the gravy to a boil, continuing to whisk frequently. Reduce the heat to medium-low and simmer for about 1-2 minutes, until thickened to your preference. Taste and adjust seasoning if needed.
-
Keep warm over very low heat until ready to serve. If it thickens too much, whisk in a little more broth or water.
Notes
- To prevent drippings from burning while the turkey roasts, maintain a layer of liquid (water or broth) at the bottom of the roasting pan. Check periodically and replenish as needed.
- For an extra smooth gravy, you may strain the defatted drippings before adding them to the roux to remove any small pieces of herbs, turkey skin, or sediment that might have collected in the roasting pan.
- Chilling the drippings in the freezer is an effective method for easy fat removal, though it adds a few minutes to the process. Alternatively, you can carefully spoon off the liquid fat without chilling, or use a specialized fat separator for quick and efficient fat removal.
- This recipe yields approximately 4 cups of delicious gravy, enough for a substantial Thanksgiving gathering.
- Gluten-Free Option: You can substitute all-purpose flour with a 1:1 gluten-free flour blend for a gluten-free gravy. The cooking method remains the same.
- Make Ahead: While fresh is best, you can make gravy a day or two in advance. Store in an airtight container in the refrigerator. Reheat gently over low heat, whisking in a little extra broth or water to adjust consistency.
