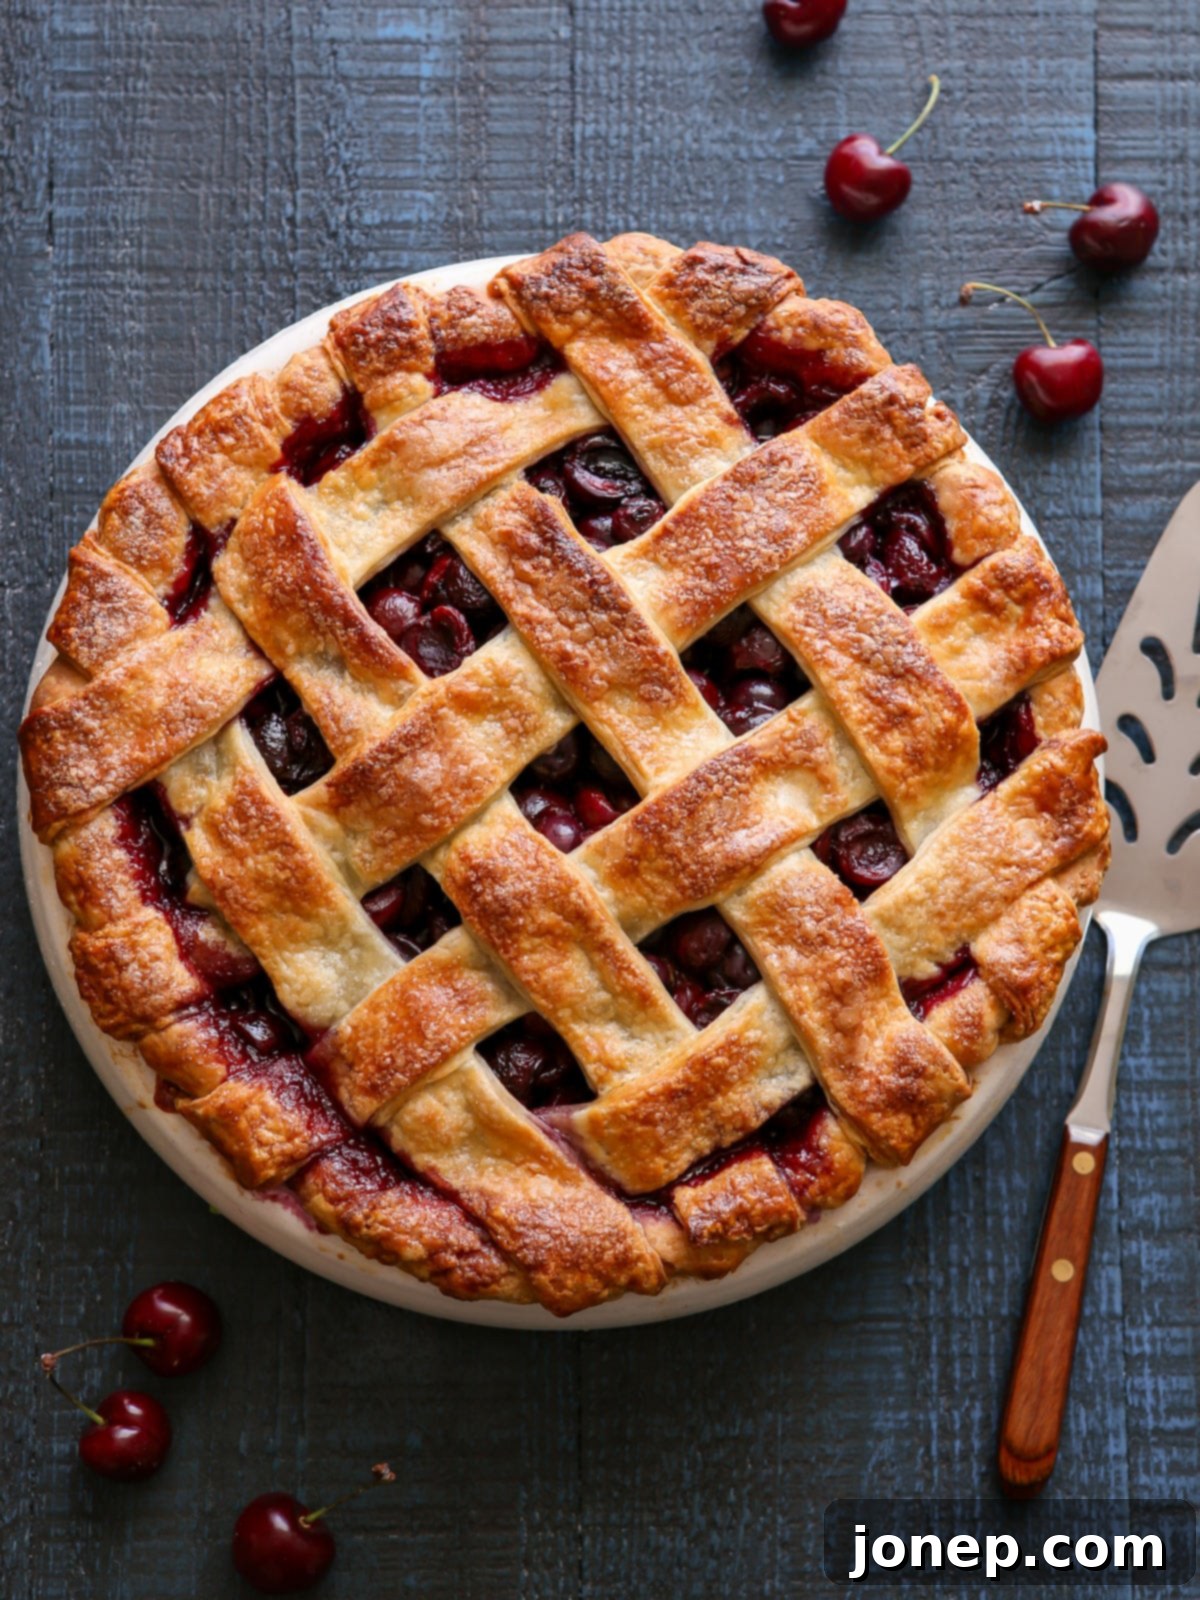
The Best Sweet Cherry Pie: A Perfect Summer Dessert with Flaky Crust
Prepare to fall in love with what might just be the most perfect summer dessert: this incredible **Sweet Cherry Pie**. Far from your average fruit pie, this recipe celebrates the vibrant flavor of fresh, juicy sweet cherries, all nestled within a spectacularly flaky, buttery homemade pie crust. Baked to golden perfection with a bubbling, luscious filling, each slice is a taste of pure summertime bliss. And for the ultimate indulgence? Serve it warm with a generous scoop of classic vanilla ice cream. It’s an unforgettable combination that truly captures the essence of the season!
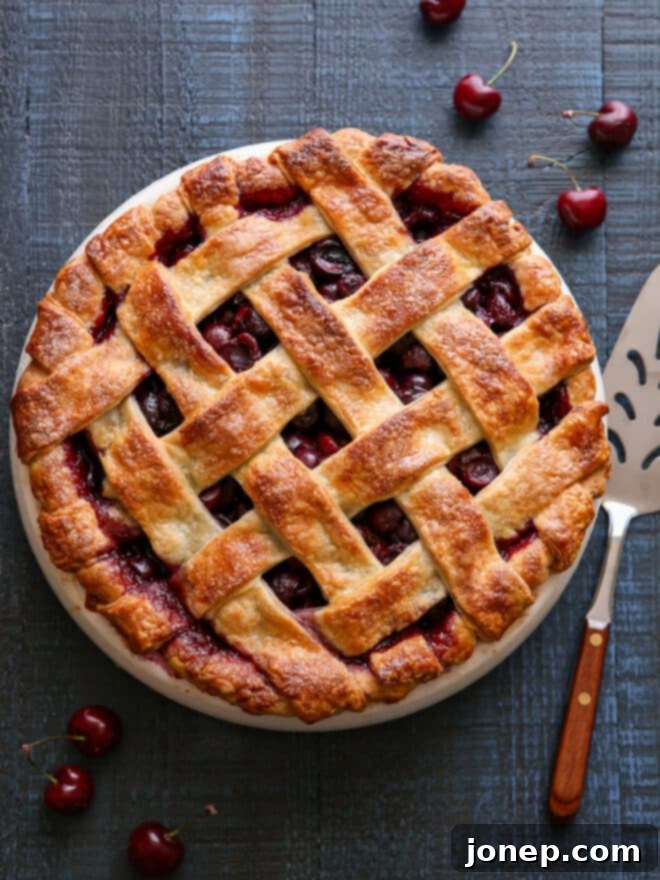
If you’re accustomed to traditional cherry pies made with tart or sour cherries, you’ll find this sweet cherry version a delightful departure. While sour cherries offer a classic pucker, **using sweet cherries results in a pie that is intensely fruity, wonderfully rich, and naturally sweet**, almost reminiscent of a berry pie but with that distinctive cherry depth. This approach creates a dessert that requires less added sugar, allowing the natural sugars and flavors of the cherries to truly shine.
This sweet cherry pie, crafted with peak-season summer cherries, is more than just a dessert – it’s a seasonal celebration! I wholeheartedly encourage you to add this recipe to your summer baking itinerary without delay. Yes, pitting fresh cherries for the filling and crafting a homemade pie crust requires a bit of effort, but trust me when I say the reward is absolutely worth every moment. The exquisite flavor and texture of this pie will make it a treasured tradition in your home.
But don’t just take my word for it. Our reader Kate raves, “I love this recipe sooooooooooooo much! My family loved it! ⭐⭐⭐⭐⭐”
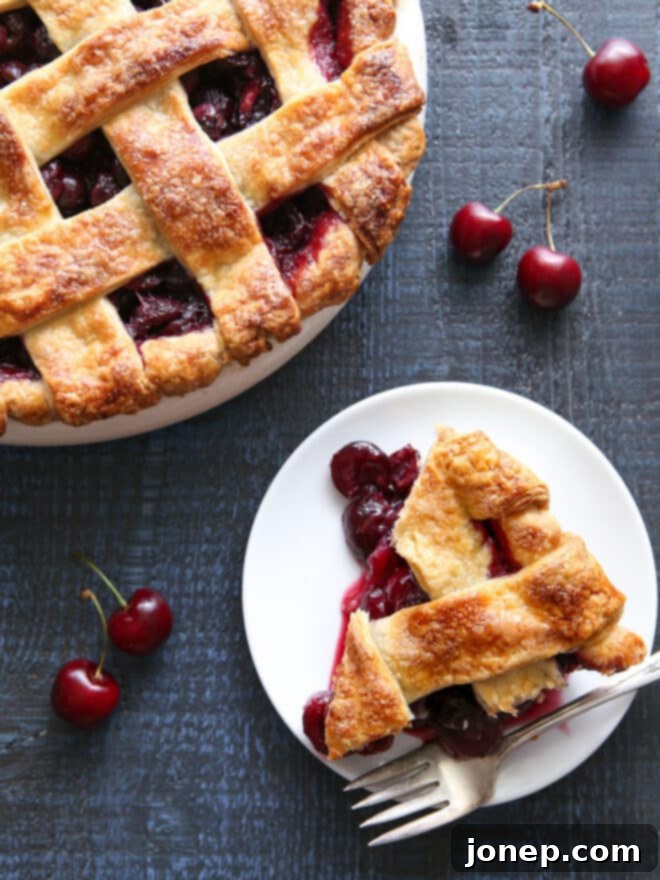
Table of Contents
- Ingredients You’ll Need for Sweet Cherry Pie
- Selecting the Best Cherries for Your Pie
- Step-by-Step Instructions to Bake Perfect Cherry Pie
- Expert Tips & Frequently Asked Questions
- More Delightful Cherry Recipes to Explore
- Get the Full Sweet Cherry Pie Recipe Card
Ingredients You’ll Need for Sweet Cherry Pie
Crafting the perfect sweet cherry pie begins with a selection of fresh, high-quality ingredients. Here’s a detailed look at what you’ll need to create this magnificent summer dessert:
- Homemade Pie Crust (Double Crust): A truly flaky, tender, and buttery pie crust is the foundation of an outstanding fruit pie. I enthusiastically recommend my buttermilk pie crust recipe, specifically designed to complement fruit fillings. Its rich flavor and incredible texture make all the difference. Alternatively, feel free to use your own tried-and-true favorite double crust recipe.
- Fresh Sweet Cherries: The star of our pie! Look for plump, dark, and firm sweet cherries. Bing cherries are particularly recommended for their intense sweetness and juicy flesh. Ensure they are pitted and halved for the filling.
- Granulated Sugar: While sweet cherries are naturally flavorful, a touch of granulated sugar enhances their sweetness and helps create that perfectly syrupy filling.
- Cornstarch: This is our secret weapon for achieving a thick, perfectly set filling that slices beautifully without being runny. It activates as it heats, ensuring a luscious texture.
- Zest and Juice of a Lemon: Don’t skip the lemon! The zest adds a bright, aromatic lift, while the juice provides a crucial hint of acidity that balances the sweetness of the cherries and amplifies their natural flavor.
- Almond Extract: This ingredient adds a certain “je ne sais quoi.” Cherries and almonds are a classic flavor pairing, and just half a teaspoon of almond extract elevates the pie with a subtle, sophisticated depth that truly makes it magical.
- Egg (for egg wash): An optional but highly recommended addition, an egg wash (one large egg beaten with a teaspoon of water) brushed over the crust before baking creates a beautiful, shiny, and deeply golden-brown finish.
- Additional Sugar or Coarse Sugar: For sprinkling over the top crust, especially if you’re making a lattice. This adds a delightful sparkle and a pleasant textural crunch.
- Vanilla Ice Cream: The quintessential accompaniment! While the pie is delicious on its own, a scoop of creamy vanilla ice cream melting over a warm slice is pure heaven.
Selecting the Best Cherries for Your Pie
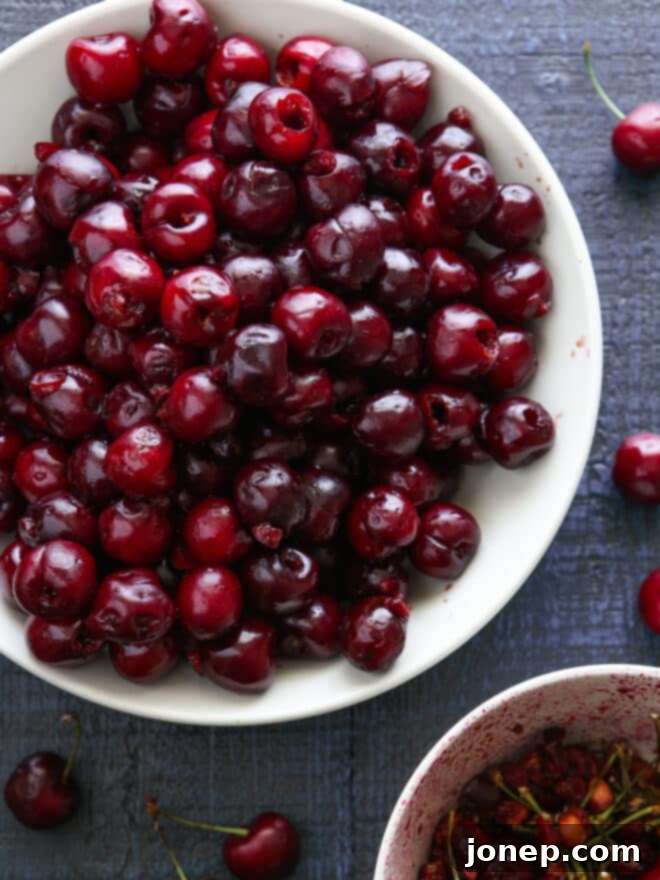
The type of cherries you choose is paramount to the success of this pie. For this specific recipe, which aims for a rich, naturally sweet, and intensely fruity flavor profile, **you’ll want to use sweet “Bing” cherries**. These dark, plump, and juicy cherries are renowned for their high sugar content and robust flavor, making them ideal for a dessert that celebrates their natural sweetness.
While fresh sweet cherries are always my first preference for their unparalleled flavor and texture, **frozen sweet cherries can also work beautifully**. If using frozen, make sure to thaw them completely in a colander set over a bowl. This crucial step allows any excess juices to drain away, preventing a watery pie filling. Pat them gently with paper towels before using.
It’s important to note that I **do not recommend using canned cherries**, even if they are labeled as sweet cherries. Canned varieties are typically packed in a heavy, sweet syrup, which will throw off the sugar balance of this recipe and can lead to an overly sweet and potentially runny filling. Furthermore, as explicitly stated earlier, **do not use sour cherries or tart cherries** for this recipe. While delicious in their own right, sour cherries require a different sugar-to-fruit ratio and often a different thickening agent to achieve the desired balance. This recipe is specifically formulated for the unique characteristics of sweet cherries.
Step-by-Step Instructions to Bake Perfect Cherry Pie
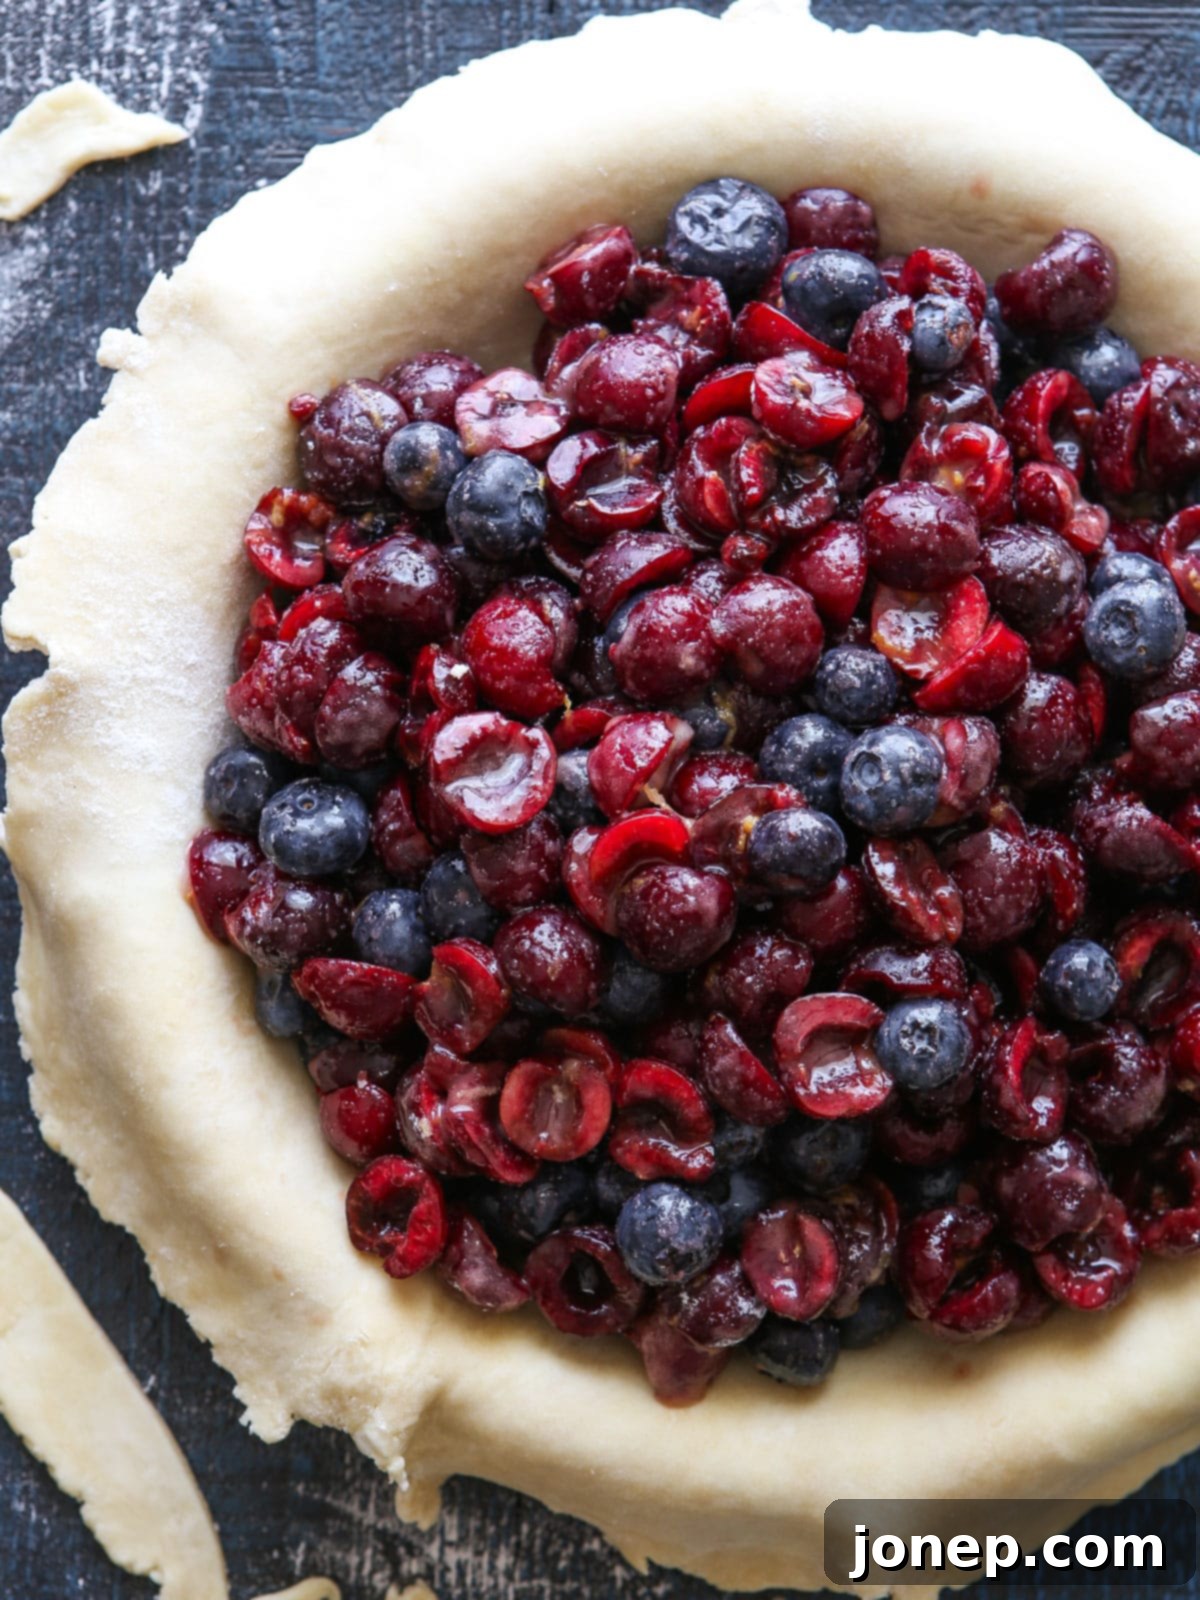
*Note: You might spot some blueberries in the photos below alongside the cherries. On the day I photographed this recipe, my family, being true cherry lovers (understandably!), devoured a little too many fresh cherries from the bag. To ensure I had enough fruit for the pie, I substituted a small amount with blueberries. The pie was still absolutely delicious, but for the classic sweet cherry pie experience, I recommend using all sweet cherries as specified in the recipe. Rest assured, the instructions below are for the all-cherry version!
Okay, enough preamble, let’s get baking this incredible summer pie!
- Prepare Your Pie Crust: Begin by making your homemade double pie crust. This step is crucial and ideally should be done at least 2 hours ahead of time to allow the dough to chill thoroughly. Even better, you can prepare the dough a day or two in advance and store it in the fridge, or even freeze it for future use. A well-chilled dough is key to a flaky crust.
- Pit the Cherries: This is the most labor-intensive part, but absolutely essential. You can make quick work of it with a dedicated cherry pitter, which is a worthwhile investment if you bake with cherries often. If you don’t have one, check out these easy hacks for pitting cherries without special tools. Be prepared for a little mess – cherry juice can stain, so wearing an apron is a smart idea!
- Roll Out the Bottom Pie Crust: Lightly flour your work surface and rolling pin to prevent sticking. Take one disk of your chilled pie dough and roll it out into a rough 13-inch circle. Carefully transfer this rolled-out crust into a 9-inch pie dish. Trim the excess dough around the edges, leaving about a 1-inch overhang.
- Prepare the Pie Filling: In a large bowl, combine your pitted and halved sweet cherries. Add the granulated sugar, cornstarch, fresh lemon juice, lemon zest, and almond extract. Gently toss all the ingredients together until the cherries are evenly coated. The cornstarch will help thicken the juices as the pie bakes, while the lemon and almond extract enhance the cherry flavor.
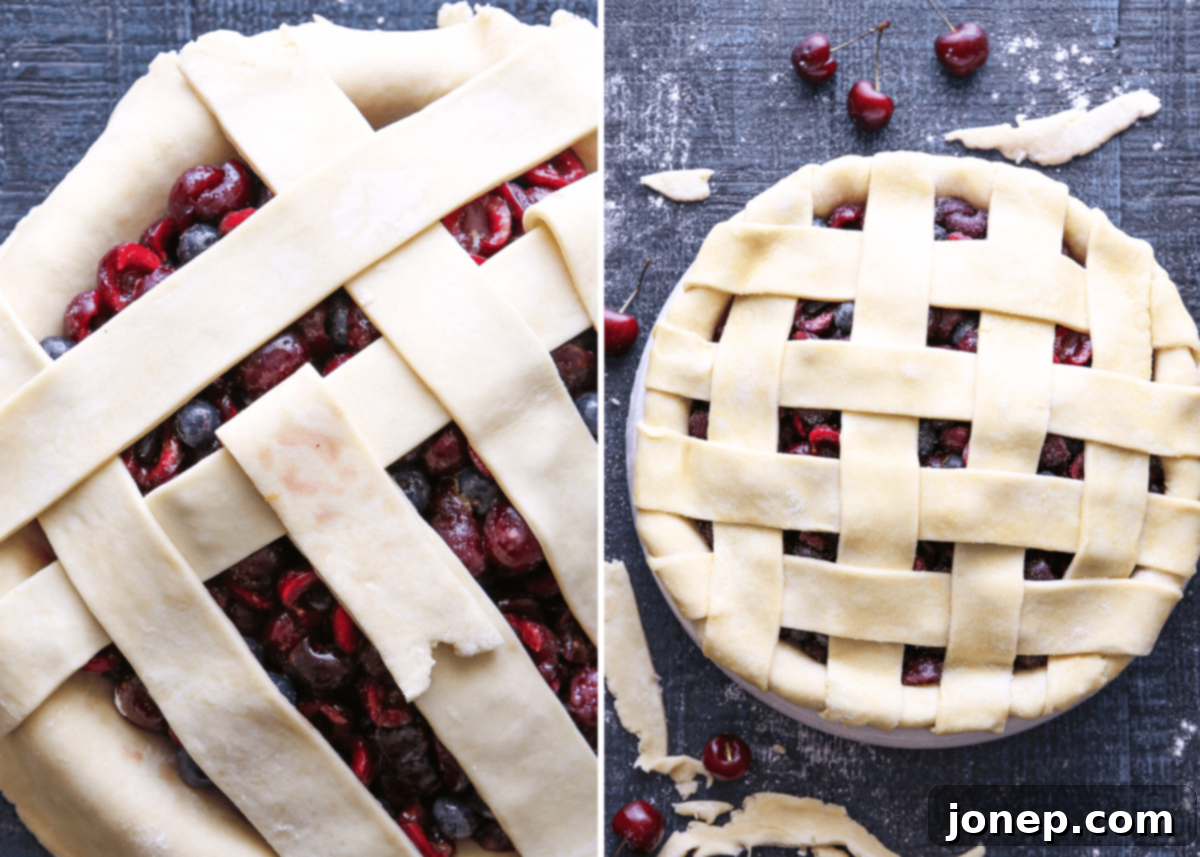
- Create a Lattice Top Crust (or Solid Top): Roll out your second disk of pie dough into a roughly 10-inch circle. If you desire a beautiful lattice top, cut this dough into wide strips (about 1-inch wide). Pour the prepared cherry filling into the bottom pie crust. Now, arrange the pie crust strips on top, alternating them to create an elegant lattice pattern. (For a detailed visual guide, refer to our full lattice pie crust tutorial here!). Alternatively, if you prefer a simpler look, you can place the entire second circle of dough over the filling, cutting a few slits in the center to allow steam to escape.
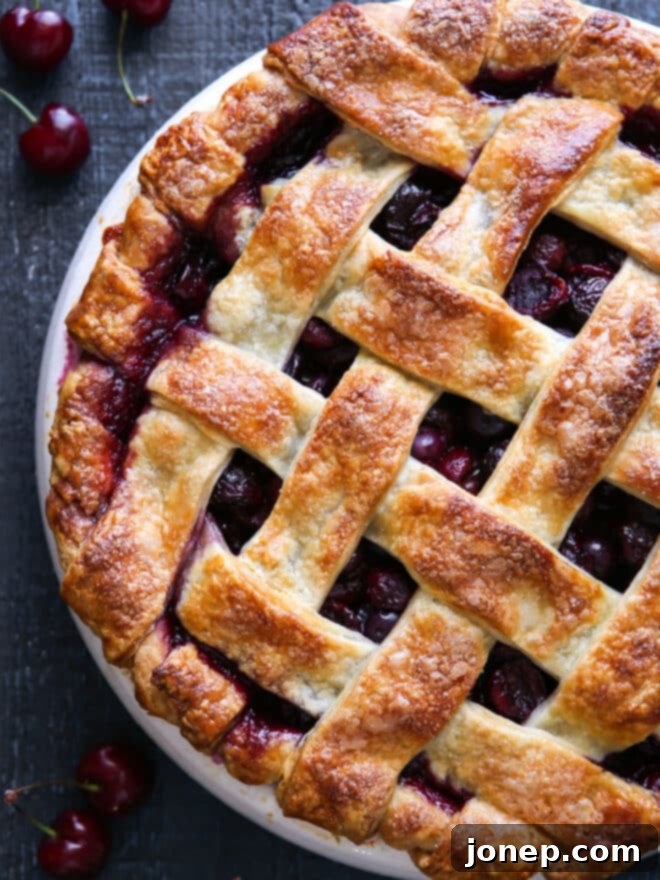
- Bake to Golden Perfection: Place the assembled pie on a baking sheet (to catch any potential drips). Bake in a preheated 400°F (200°C) oven for approximately 1 hour, or until the crust is beautifully golden brown and you see the fruit juices actively bubbling in the center of the pie (especially visible through the lattice or vent slits). If the crust starts browning too quickly, you can loosely tent the pie with aluminum foil.
- Crucial Cooling Step: This step requires patience but is absolutely vital for a perfectly set filling. Let the pie cool completely to room temperature before slicing. This can take anywhere from 2 to 4 hours, depending on your kitchen’s temperature. Cutting into a warm pie will almost certainly result in a runny filling.
- Serve and Enjoy: Once fully cooled and set, slice your magnificent sweet cherry pie. Top each slice with a generous scoop of vanilla ice cream, allowing its cool creaminess to meld with the warm, fruity pie. Enjoy every delicious bite of this ultimate summer treat!
Expert Tips & Frequently Asked Questions
This particular pie recipe was meticulously developed to highlight the unique sweetness and flavor of fresh sweet cherries. While you can successfully use frozen sweet cherries (thawed and drained, as noted above), I have not tested this specific recipe with sour cherries, tart cherries, or canned cherries. Using sour cherries would require significant adjustments to the sugar content and potentially the thickener to achieve a balanced flavor.
However, if you’re looking to add other fruits to this pie in combination with the cherries, or want to substitute a portion of them, fruits like blueberries (as seen in my note and photo above!) or diced peaches will work wonderfully. Aim for a total of 6 cups of fruit, and no adjustments to the thickener or sugar should be needed for these substitutions, ensuring a delicious and well-set pie.
Yes, you can absolutely make this sweet cherry pie ahead of time! For optimal results and to ensure the filling sets perfectly, allow the pie to cool completely to room temperature before serving. Once cooled, you can store it uncovered at room temperature for about 24 hours. The pie will be at its absolute best within this timeframe. If you have leftovers beyond 24 hours, or if your kitchen is very warm, it’s best to store the pie in the refrigerator. Wrap it loosely with plastic wrap or foil, and it will keep well for 3-4 days. You can also freeze a fully baked and cooled pie: wrap it tightly in two layers of plastic wrap, then an additional layer of aluminum foil, and store in the freezer for up to 1 month. To thaw, simply transfer it to the refrigerator overnight.
baking tip: How to avoid a runny pie filling
Fruit pies can sometimes be notoriously tricky, and “Why is my pie filling so runny?” is one of the most common questions bakers ask. Achieving a perfectly set, thick filling that allows for clean, beautiful slices is entirely possible with a few key considerations:
- Stick to the Recipe’s Ratios: Do not adjust the specified amounts of fruit, sugar, and thickener (cornstarch in this case) listed in the recipe. These ratios are carefully balanced to ensure the filling sets correctly. Adding more fruit will introduce more moisture, and reducing the cornstarch or sugar will lessen the filling’s thickening power, almost certainly leading to a runny result.
- Ensure Full Baking: Cornstarch, our chosen thickener, doesn’t fully activate and thicken until it reaches a boiling temperature. This means your pie needs to bake long enough for the filling to visibly bubble vigorously in the very center, not just around the edges. Don’t pull the pie out of the oven until you see that robust bubbling!
- Allow for Complete Cooling: This is arguably the most critical step for a well-set fruit pie. The filling will not be completely firm and set until the pie has cooled down to room temperature. If you cut into it while it’s still warm, the filling’s structure hasn’t had a chance to solidify, and it will almost certainly be runny. Patience is a virtue here – let it cool for several hours before slicing.
Looking for more comprehensive pie baking assistance? Don’t miss my detailed article, 8 Tips for Making Perfect Pies, which delves into the most common challenges bakers face when making pies and provides practical solutions to fix them!
More Delightful Cherry Recipes to Explore
If you’re a fan of cherries, you’ll love these other fantastic recipes that celebrate this versatile fruit:
Get the Full Sweet Cherry Pie Recipe Card
Ready to bake this magnificent sweet cherry pie? Here is the complete recipe card with detailed measurements and instructions for your convenience. Happy baking!

Sweet Cherry Pie
Pin Recipe
Leave a Review
Ingredients
- 1 double pie crust recipe
- 6 cups (960 grams) sweet cherries , pitted and halved
- ¾ cup (150 grams) granulated sugar
- ¼ cup (28 grams) cornstarch
- 1 lemon , zest and juice
- ½ teaspoon almond extract
- 1 large egg + 1 teaspoon water , for egg wash (optional)
- Additional sugar or coarse sugar , for sprinkling (optional)
- Vanilla ice cream , for serving
Equipment
Instructions
-
Preheat oven to 400°F (200°C). Prepare your homemade pie crust and chill as directed in the crust recipe.
-
On a lightly floured surface, roll one disk of chilled pie dough out into a rough 13-inch circle. Carefully transfer it to a 9-inch pie dish, pressing it gently into the bottom and sides. Trim the overhang to about 1 inch.
-
In a large bowl, combine the pitted and halved sweet cherries, granulated sugar, cornstarch, lemon zest, lemon juice, and almond extract. Toss gently until all ingredients are evenly distributed and the cherries are coated. Pour this delicious filling into the prepared bottom pie crust.
-
Roll the second disk of dough out into a rough 10-inch circle. If you desire a beautiful lattice top, cut this dough into 1-inch strips. If you prefer a solid top, leave it as a full circle.
-
To create a lattice pattern on top of the pie: Place half of your crust strips (typically 5-6, depending on thickness) evenly spaced across the pie. Fold back every other strip and place another strip perpendicular over the ones not folded back. Lay the folded strips back down. Now, alternately fold back the other set of strips and place another perpendicular strip. Repeat this process until the entire pie is covered with a woven lattice. (See full lattice pie crust tutorial here for visuals.)
-
Once the top crust (lattice or solid) is in place, pinch the edges of the top and bottom crusts together to seal them. Fold the overhang under itself and crimp the edges decoratively as desired. If using a solid top crust, make sure to cut a few 1-inch slits in the dough to allow steam to escape during baking. For an extra golden crust, brush with an egg wash (1 egg + 1 tsp water) and sprinkle with a little coarse sugar.
-
Place the assembled pie on a sheet pan (this helps catch any potential drips and makes transferring easier). Bake in the preheated 400°F (200°C) oven for approximately 1 hour, or until the crust is beautifully golden brown and the fruit juices in the center are visibly bubbling. If the crust starts to brown too quickly, lightly tent the pie with aluminum foil to prevent over-browning.
-
This next step is crucial for a perfectly set filling: Let the pie cool completely to room temperature. This will take a few hours (typically 2-4 hours, depending on ambient temperature). The filling will not fully set until it cools. Serve at room temperature with vanilla ice cream, or you can gently reheat individual slices if you prefer it warm. Store any leftovers in the refrigerator.
Notes
- Feel free to use your favorite homemade pie crust recipe! My buttermilk pie crust is an excellent pairing for this pie, lending a rich, flaky texture that beautifully complements the sweet cherry filling.
- Bing cherries are highly preferred for this recipe due to their intense sweet flavor and firm texture. If using frozen cherries, it is essential to thaw them completely in a colander and allow all extra juices to drain away. Pat them dry with paper towels if needed before mixing with other filling ingredients.
- When measuring cherries, measure the volume (cups) before slicing them in half. If measuring by weight, you’ll need approximately 2 lbs of whole cherries before pitting. This ensures you have the correct amount of fruit after preparation (which is why the recipe specifies “cherries, pitted and halved” rather than “pitted and halved cherries” – you measure first, then prepare).
Note: This recipe was originally published in July 2010. New photos were updated in June 2017, and more detailed instructions and tips for success were added in May 2025 to enhance your baking experience.
