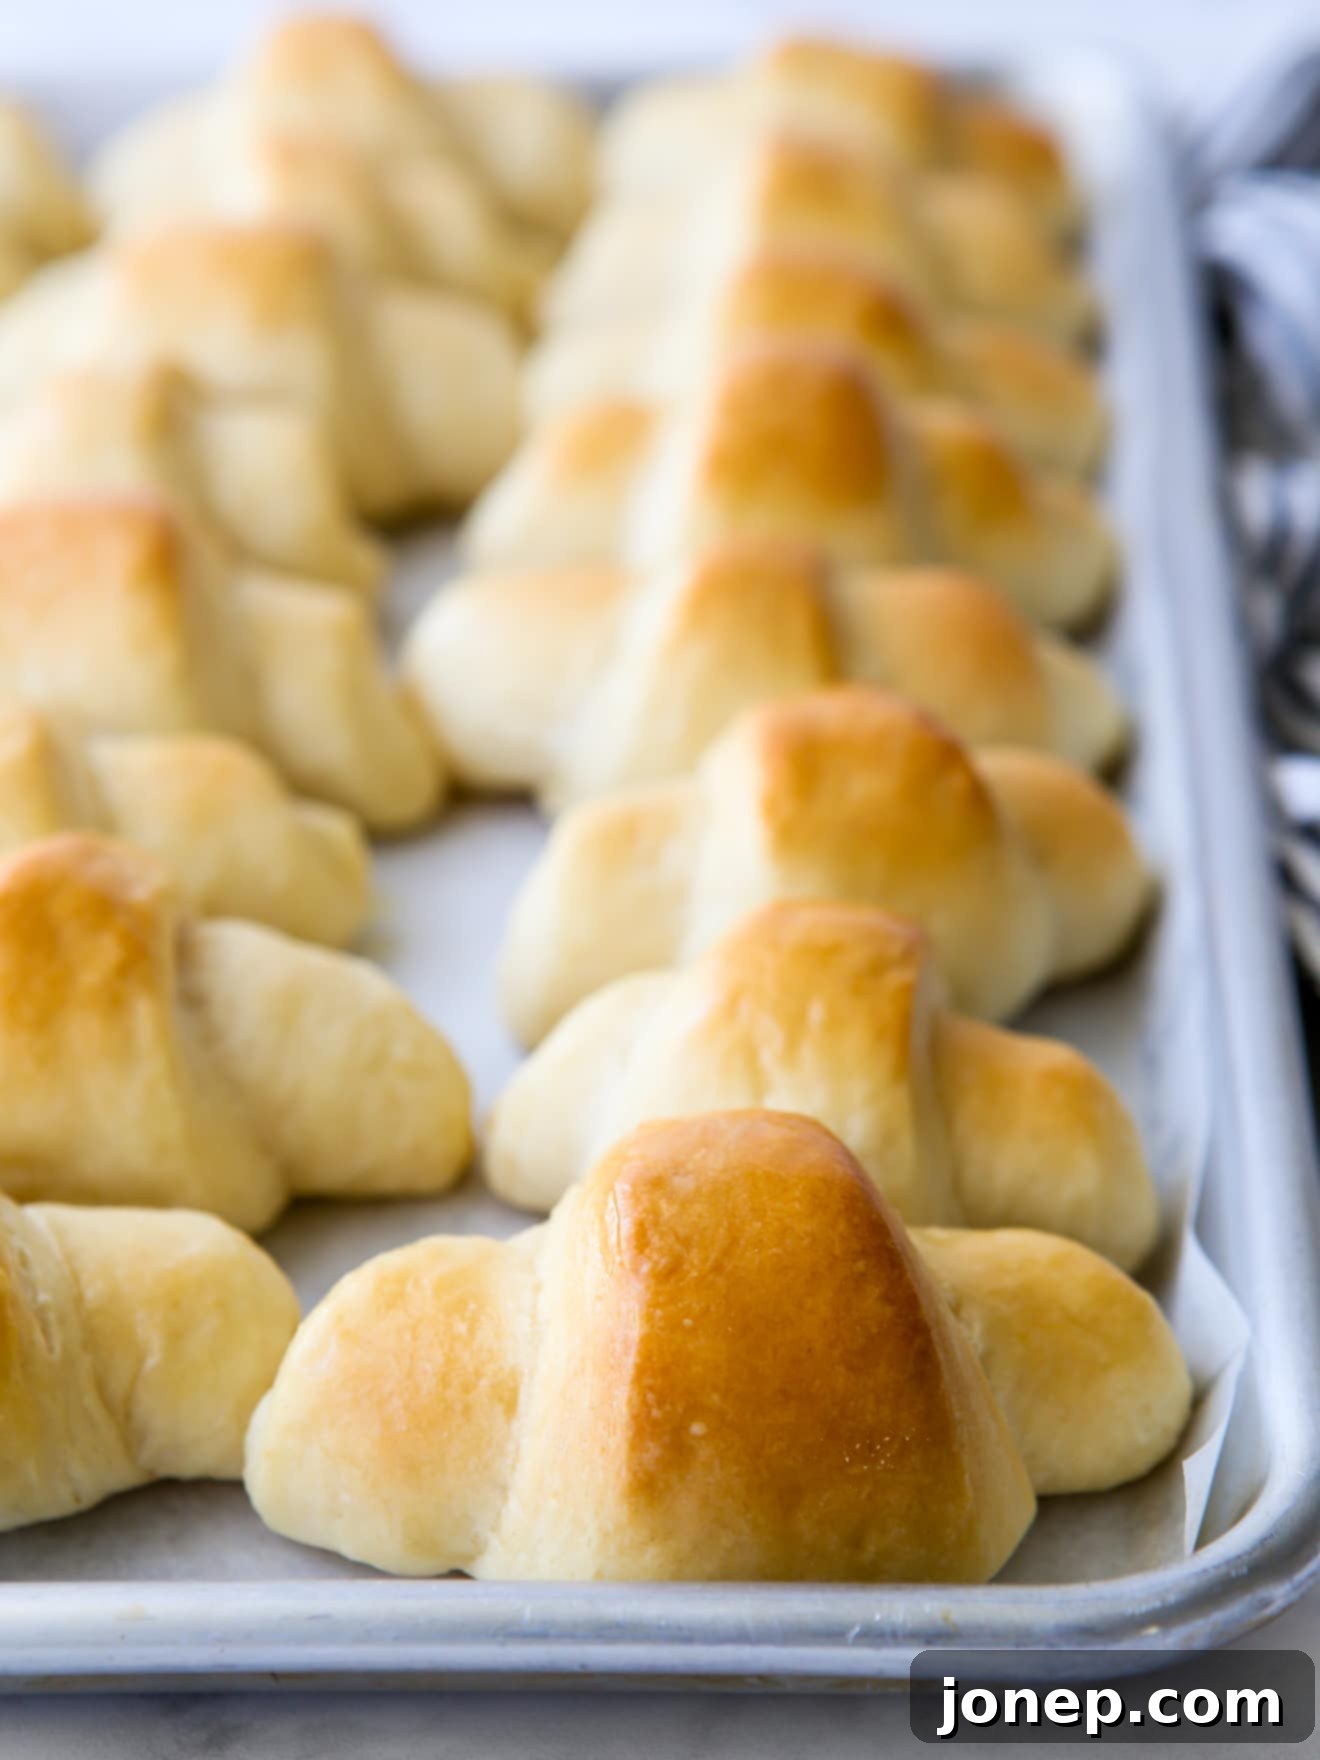
Easy No-Knead Fairy Crescent Rolls: Light, Fluffy & Absolutely Irresistible
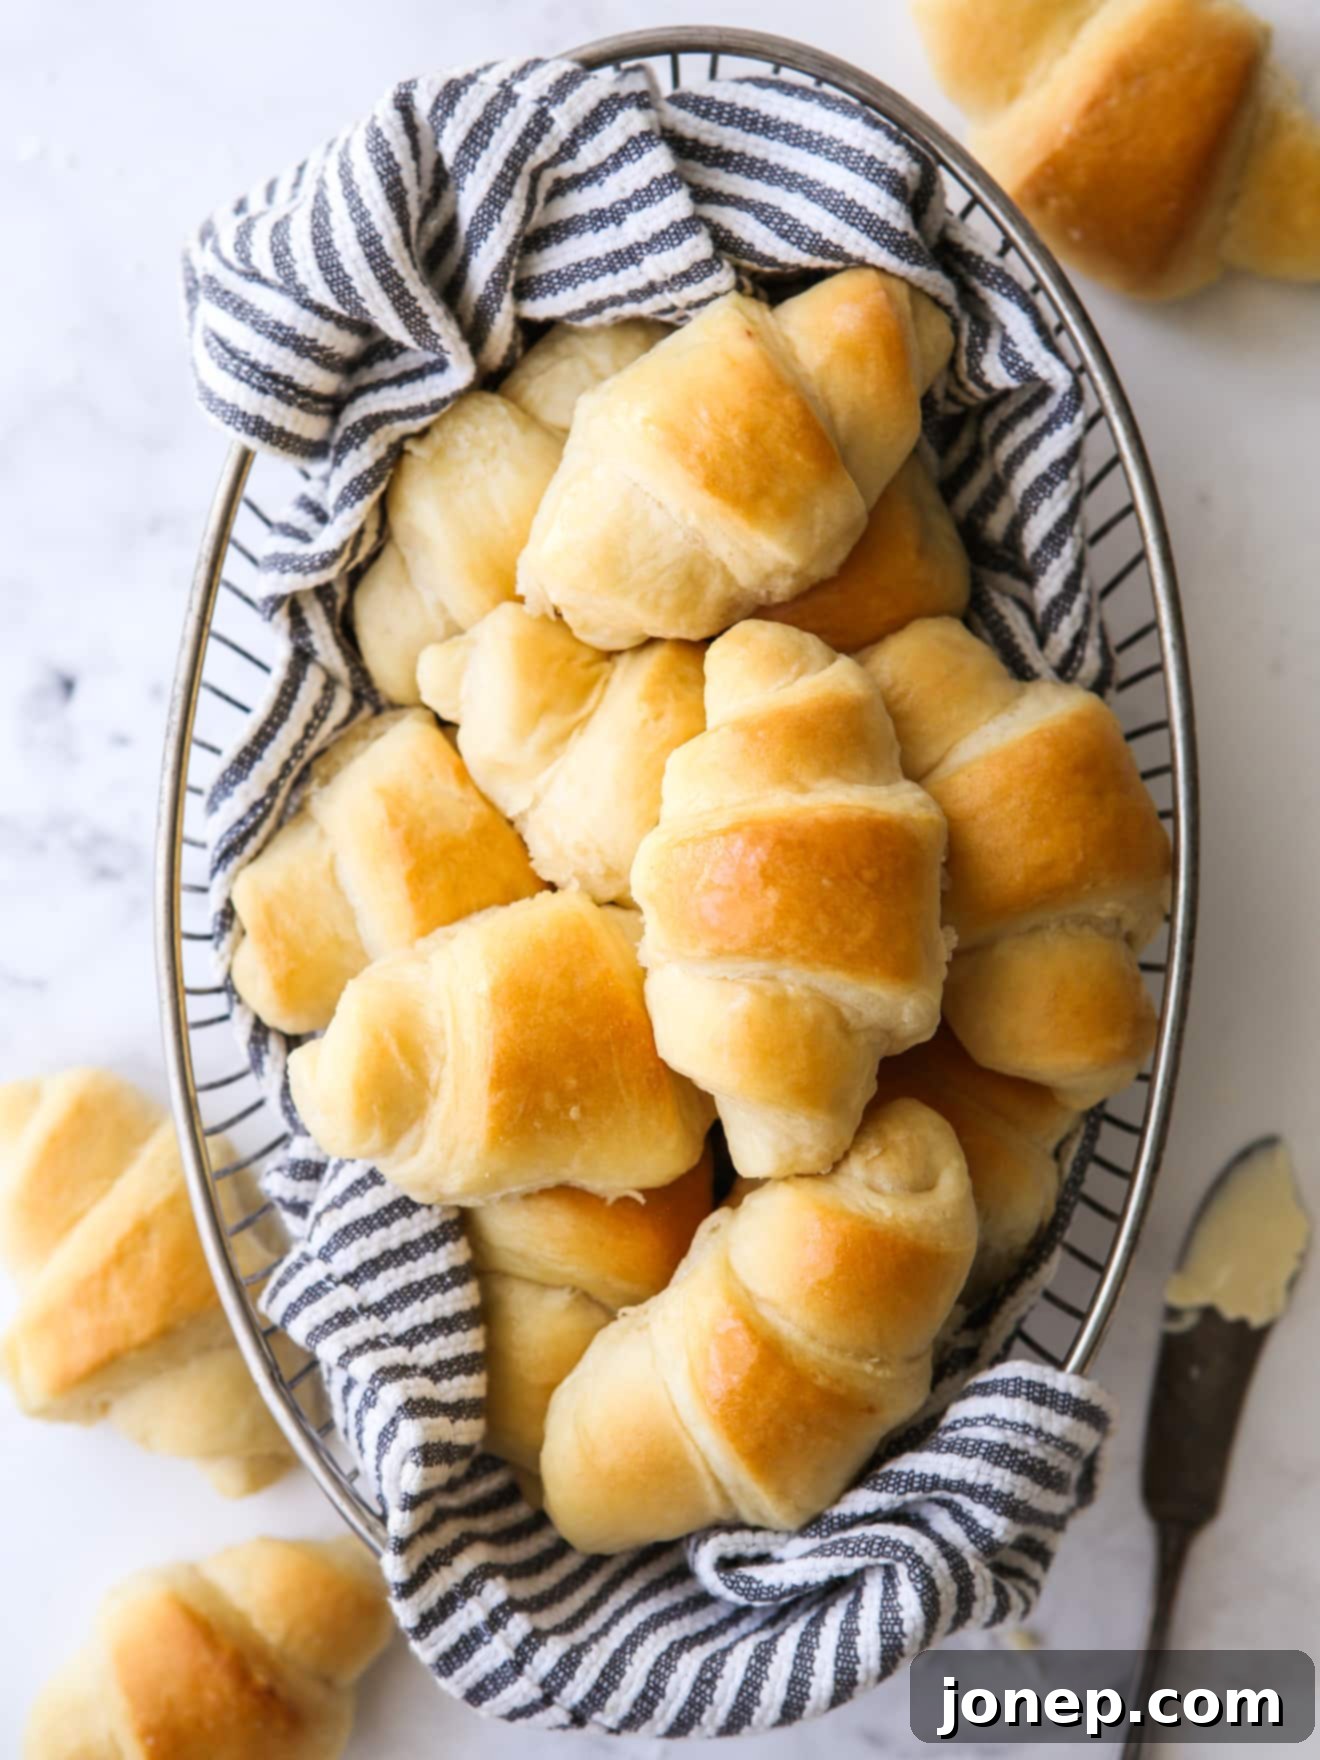
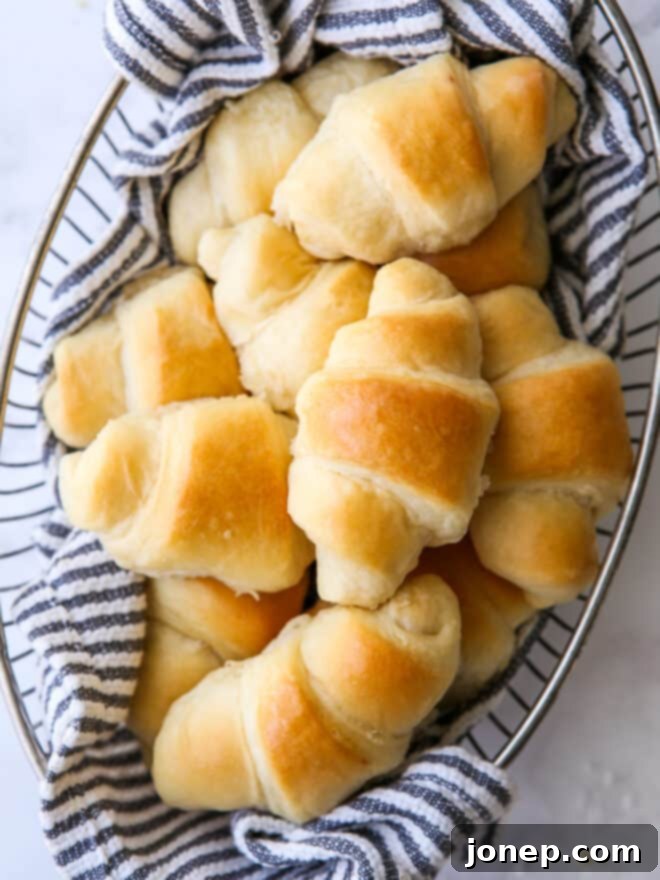
Prepare to fall in love with a recipe that redefines ease and deliciousness: my mom’s no-knead “fairy” crescent rolls. These aren’t just any dinner rolls; they are the epitome of light, fluffy, and perfectly buttery white rolls, incredibly simple to prepare, making them a true culinary marvel. For years, this recipe has been a treasured reader-favorite, and honestly, I can’t imagine attending any family gathering without a fresh batch of these heavenly rolls in tow!
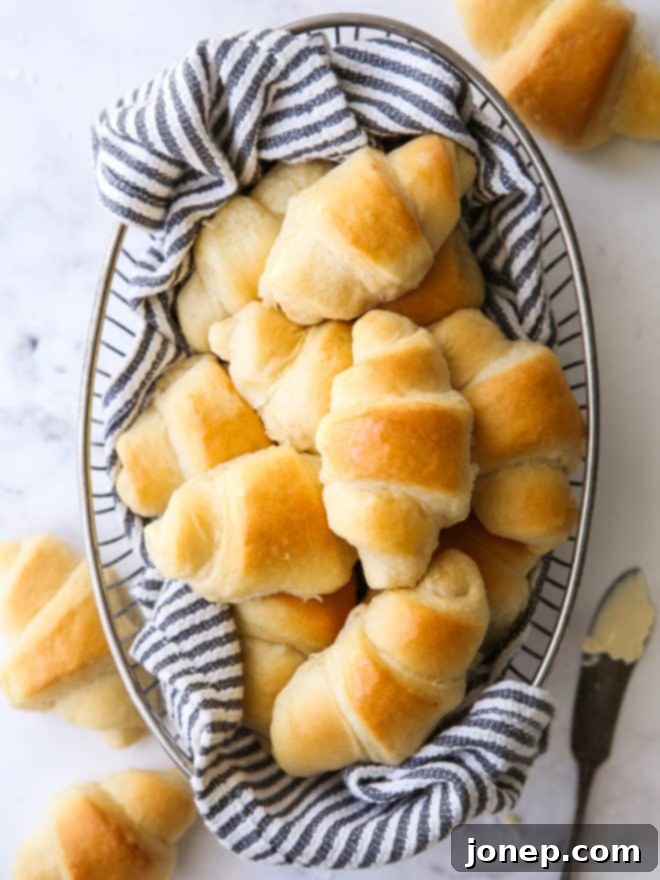
Every home cook needs a reliable, utterly delicious, and easy-to-make roll recipe. A recipe versatile enough to complement anything from a grand holiday roasted turkey feast to a simple, comforting weeknight soup. These No-Knead Fairy Crescent Rolls not only meet those requirements but exceed them with their melt-in-your-mouth texture and rich flavor. They truly are a revelation for anyone seeking homemade bread without the fuss.
This cherished recipe has been lovingly passed down from my mom, and our family has been savoring these little pillows of heaven for as long as I can recall. Each bite is a delightful combination of buttery goodness and a slightly sweet finish, making them utterly irresistible. What makes them truly special, beyond their incredible taste, is their remarkable simplicity. The “no-knead” aspect means the dough effortlessly comes together in a bowl in mere minutes, requiring minimal effort and no special equipment. This fuss-free approach to homemade bread allows even novice bakers to achieve bakery-quality results, instilling confidence and joy in the kitchen.
Table of Contents
- Why you’ll love these crescent rolls
- Ingredients you’ll need
- How to make easy no-knead crescent rolls
- Recipe tips & troubleshooting
- Preparing Fairy Rolls in Advance
- More roll recipes
- Get the recipe
Why You’ll Adore These No-Knead Fairy Crescent Rolls
If the sheer joy of homemade bread without the typical labor hasn’t convinced you yet, allow me to elaborate on why these “fairy” rolls deserve a permanent spot in your recipe collection:
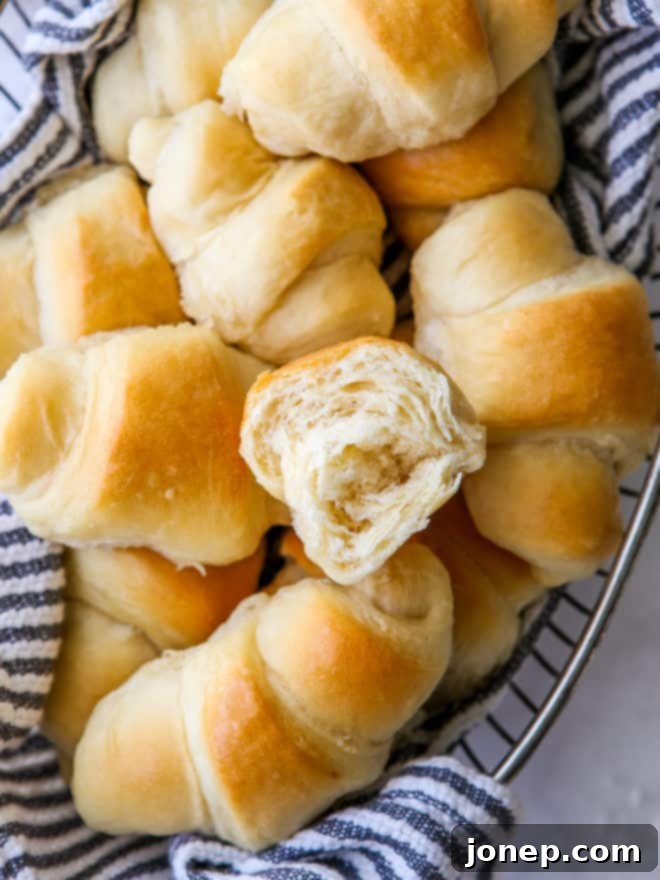
- Unforgettable Flavor & Texture: They are wonderfully buttery, incredibly rich, and possess a delicate sweetness that makes them utterly addictive. The texture is consistently light and exquisitely fluffy, almost dissolving in your mouth – truly a dream!
- No Mixer or Kneading Required: This is the game-changer! Forget heavy stand mixers or strenuous hand-kneading. The dough comes together easily with just a spoon, making it accessible for everyone, regardless of baking experience or equipment.
- Visually Appealing Crescent Shape: The elegant crescent shape gives these dinner rolls a sophisticated touch, making them perfect for special occasions while still being simple enough for everyday meals. They look as good as they taste!
- Practically Foolproof: The forgiving nature of this no-knead dough means fewer chances of error. Even if you’re new to yeast baking, you’ll find this recipe remarkably straightforward and successful.
- Versatile & Crowd-Pleasing: These rolls are the perfect companion to almost any meal. Whether served alongside a hearty stew, a holiday roast, or just with a smear of butter, they are guaranteed to be a hit with family and friends.
- A Touch of Nostalgia: For many, myself included, these rolls carry the comforting essence of home and family traditions, making every bite a trip down memory lane.
Essential Ingredients for Your Fairy Rolls
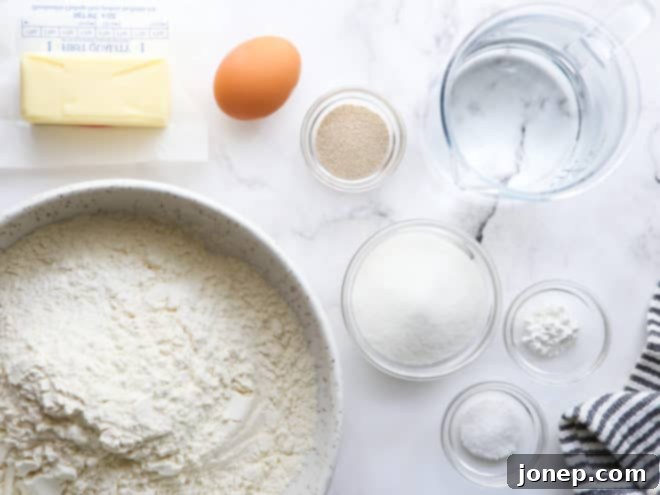
Ready to embark on this delightful baking journey? Here’s a closer look at the key ingredients you’ll need to create these miraculous rolls (for precise measurements, be sure to consult the comprehensive recipe card below):
- All-Purpose Flour: The foundation of our rolls. While exact measurements are in the recipe card, remember to measure flour by lightly spooning it into a measuring cup and leveling it off, rather than scooping directly from the bag, to avoid adding too much.
- Butter: Unsalted butter is preferred, allowing you to control the overall saltiness. It adds incredible richness, tenderness, and that signature buttery flavor. Make sure it’s melted and cooled slightly to avoid cooking the yeast or egg.
- Active-Dry Yeast: This is the leavening agent that gives our rolls their wonderful rise and airy texture. Ensure your yeast is fresh and active for best results.
- Egg: A large egg contributes to the richness, color, and structure of the rolls, making them more tender and flavorful.
- Granulated Sugar: Not just for sweetness, sugar also feeds the yeast, helping it activate and rise. It contributes to the beautiful golden-brown crust.
- Salt: Essential for balancing flavors and controlling yeast activity. Don’t skip it!
- Baking Powder: A secret weapon in this recipe, working in conjunction with yeast for an extraordinary rise and texture.
- Warm Water: Crucial for activating the yeast. The ideal temperature is usually between 105-115°F (40-46°C). Too cold, and the yeast won’t activate; too hot, and you’ll kill it.
Why Use Both Yeast and Baking Powder? This combination might seem unconventional for a yeast bread, but it’s a brilliant technique that truly elevates these “fairy” rolls. The yeast provides that classic, deep yeasted flavor and contributes to the primary rise and chewiness. Meanwhile, the baking powder acts as a chemical leavener, offering a quicker and more significant initial lift. This dual action results in rolls that are exceptionally light, tender, and achieve an impressive height in less time than yeast alone. It ensures a consistently soft and airy crumb that’s simply delightful.
How to Make These Easy No-Knead Crescent Rolls: Step-by-Step
Creating these magical rolls is surprisingly straightforward. Follow these detailed steps for guaranteed success:
- Activate Yeast & Mix Wet Ingredients: Begin by combining the warm water (ensure it’s between 105-115°F/40-46°C) and active dry yeast in a large bowl. Let this mixture sit undisturbed for about 5 minutes until it becomes foamy, indicating the yeast is active and ready. This bloom is a crucial step! Then, gently whisk in the melted and cooled butter, granulated sugar, and the large egg until well combined.
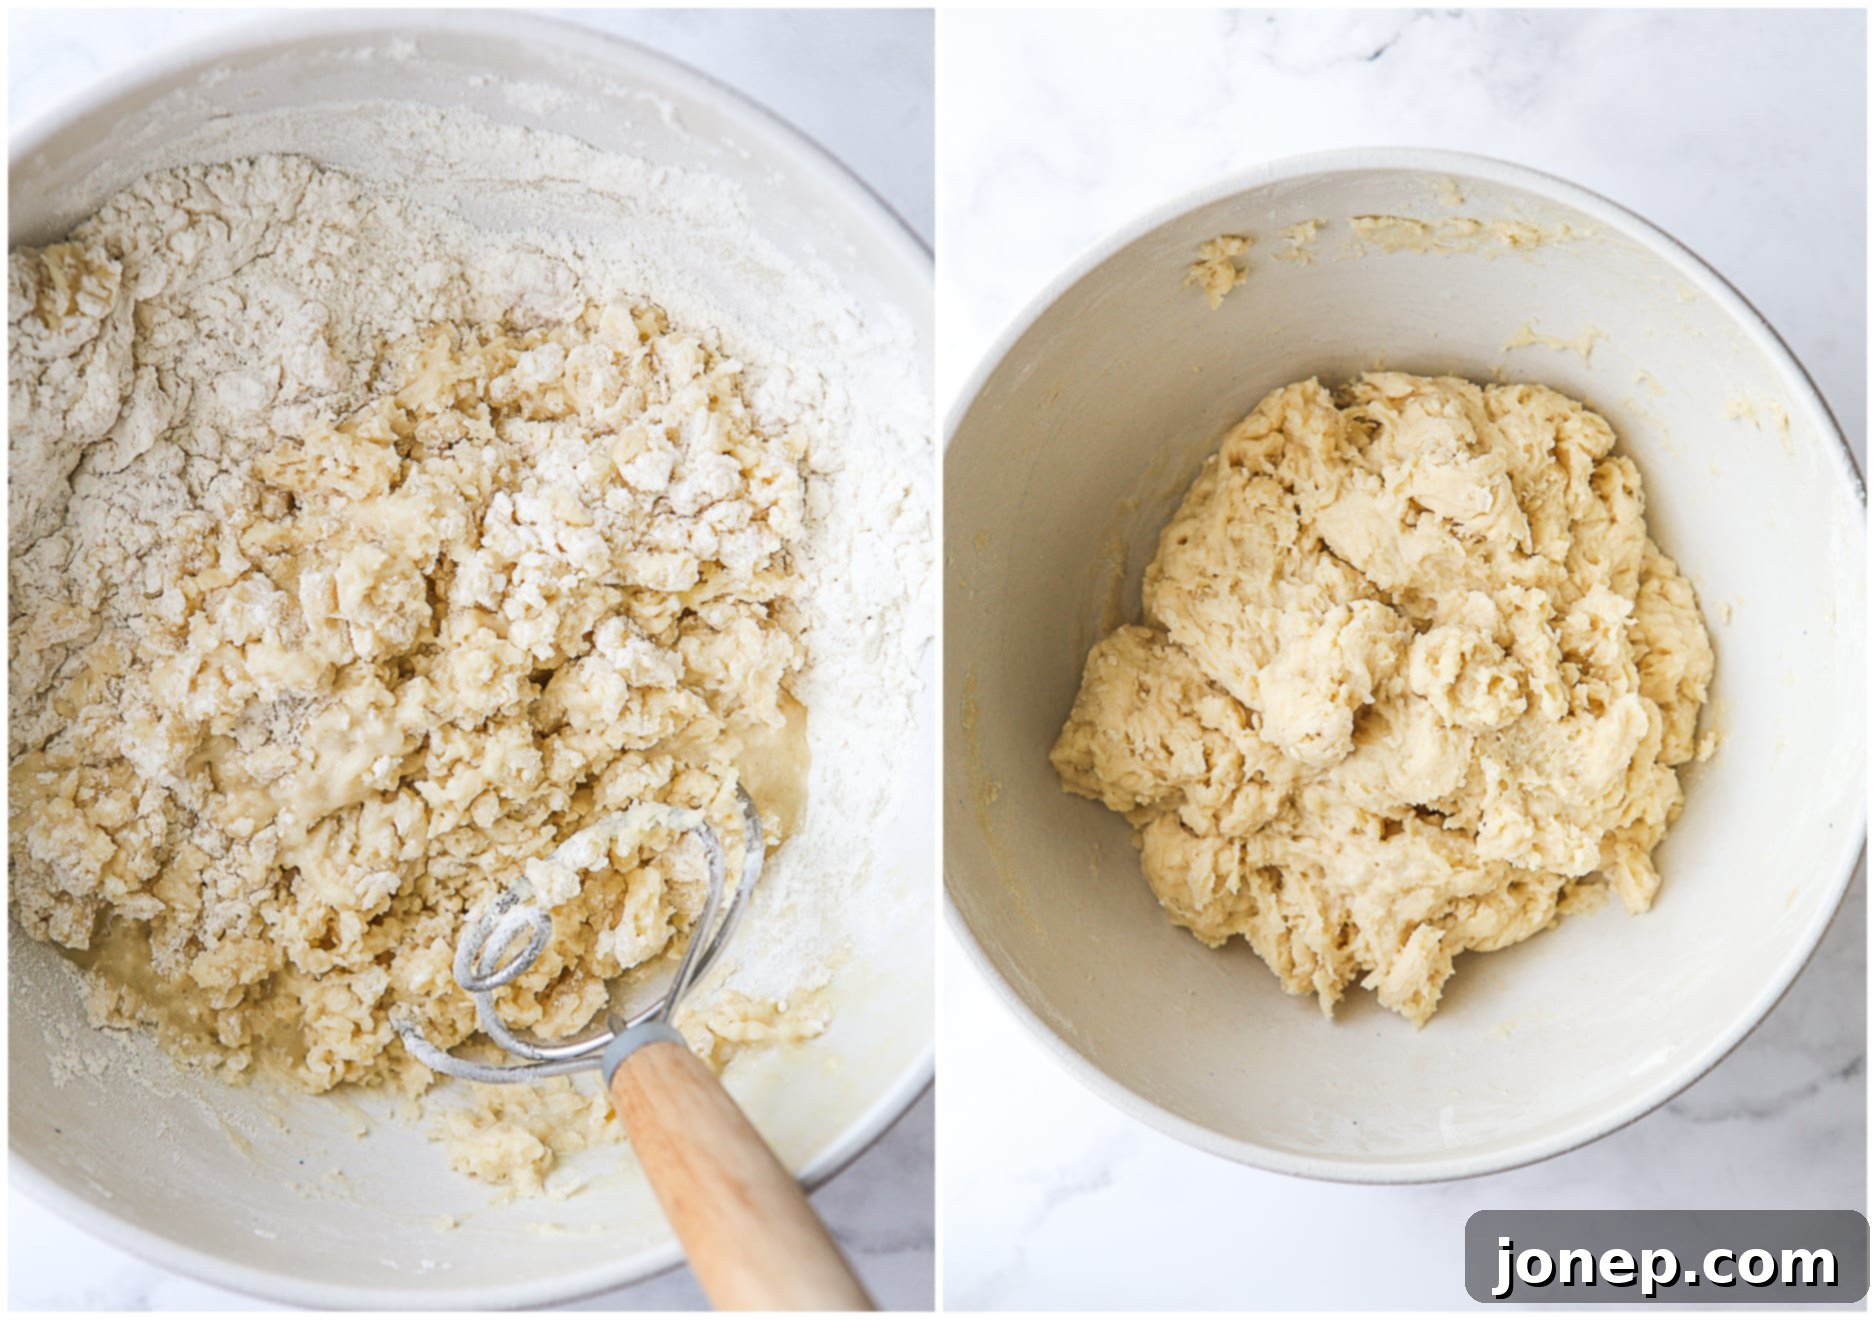
- Add Dry Ingredients & Form Dough: Gradually add the all-purpose flour, baking powder, and salt to the wet mixture. Using a sturdy wooden spoon or a dough whisk, stir until the ingredients are just combined. The mixture will look shaggy and somewhat sticky, not smooth like traditional kneaded dough. Avoid overmixing; a few lumps are fine. Once it barely comes together, stop stirring.

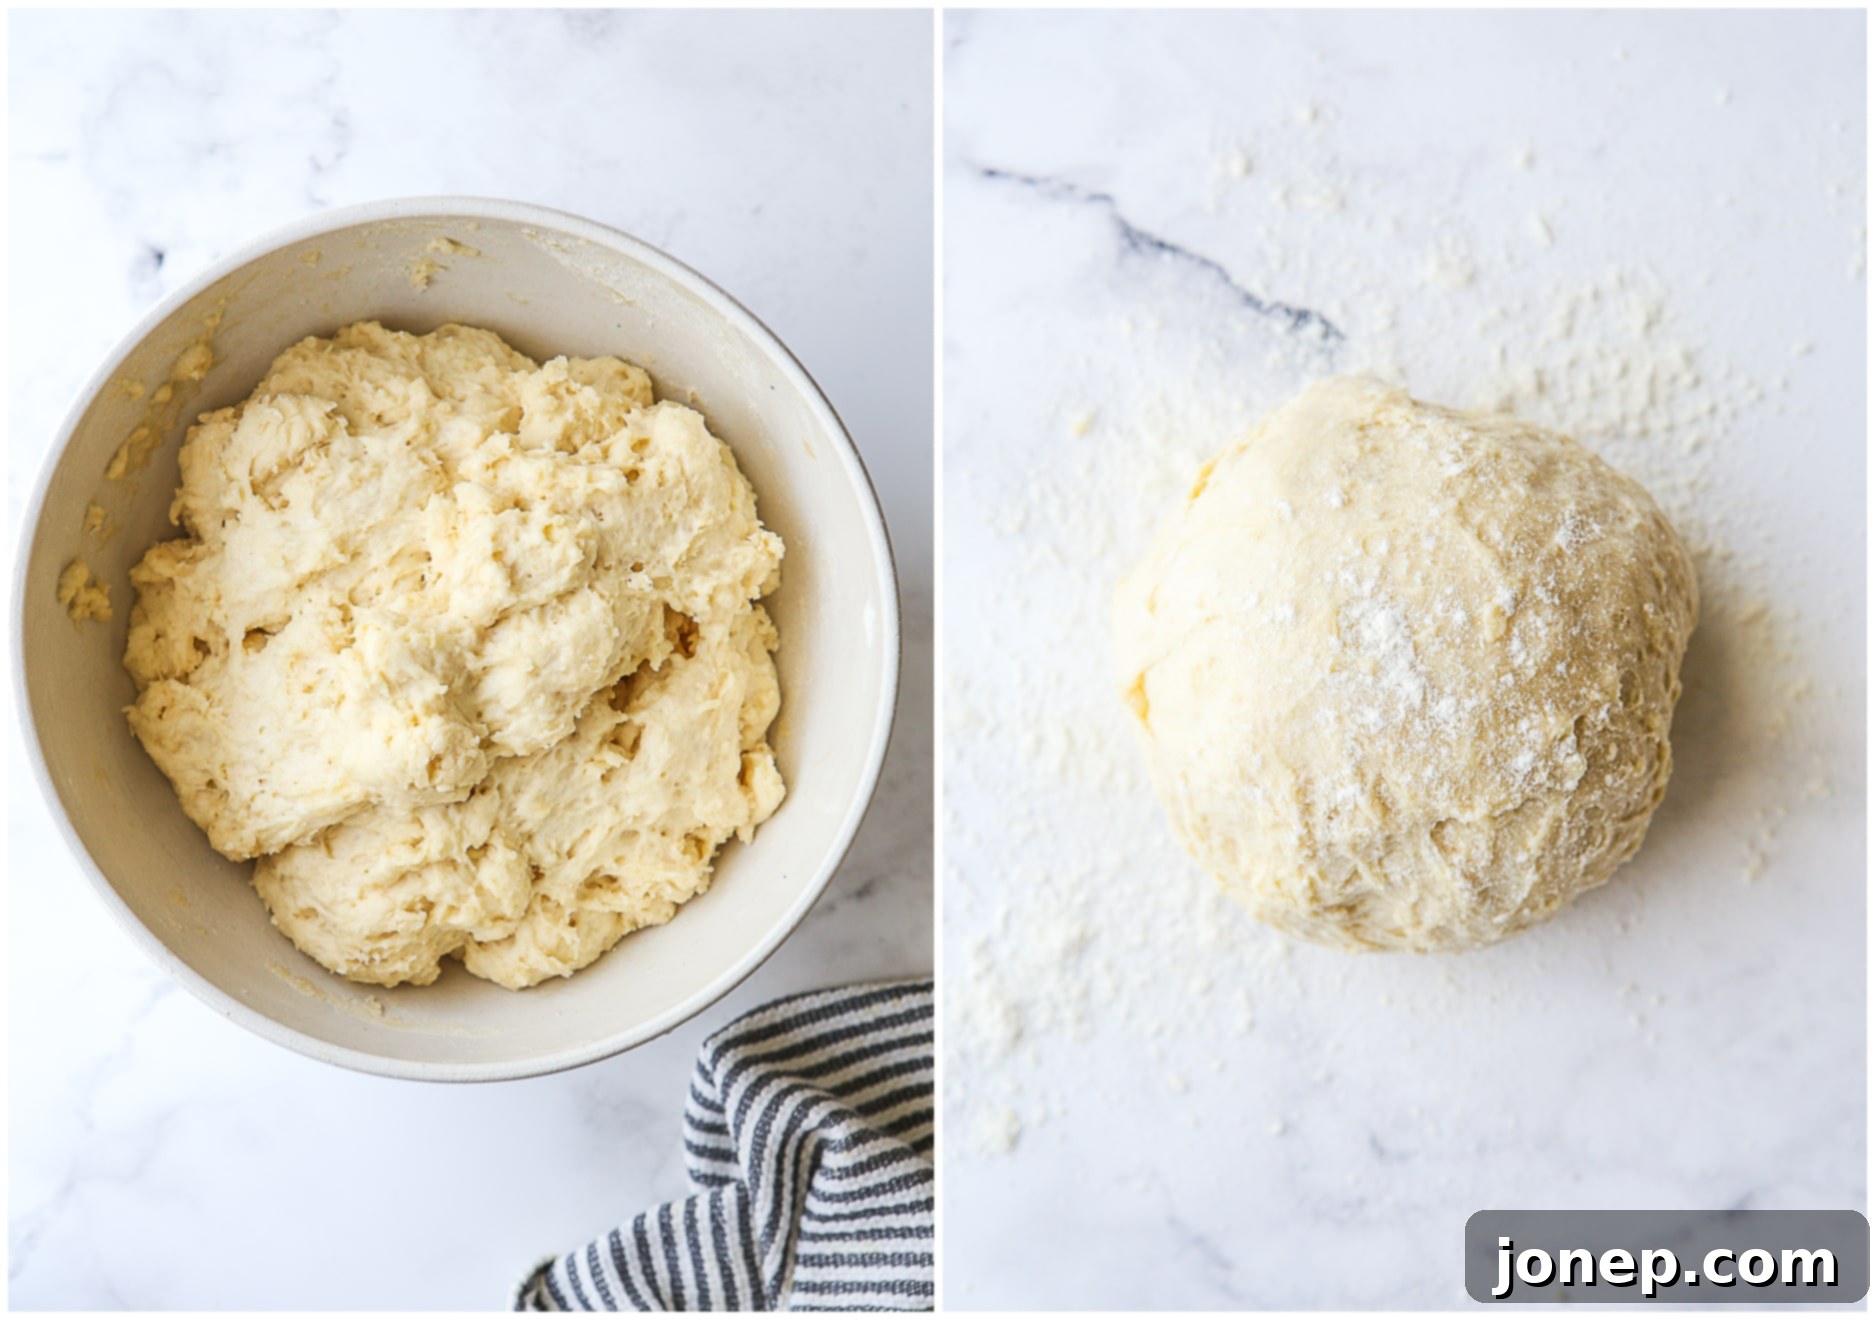
- First Rise (Bulk Fermentation): Cover the bowl loosely with plastic wrap or a clean kitchen towel. Place it in a warm place to rise for approximately 1 hour, or until the dough has roughly doubled in size. A warm, draft-free spot is ideal. Once risen, gently “punch down” the dough (deflate it) and, using lightly floured hands, gently work it into a cohesive ball.

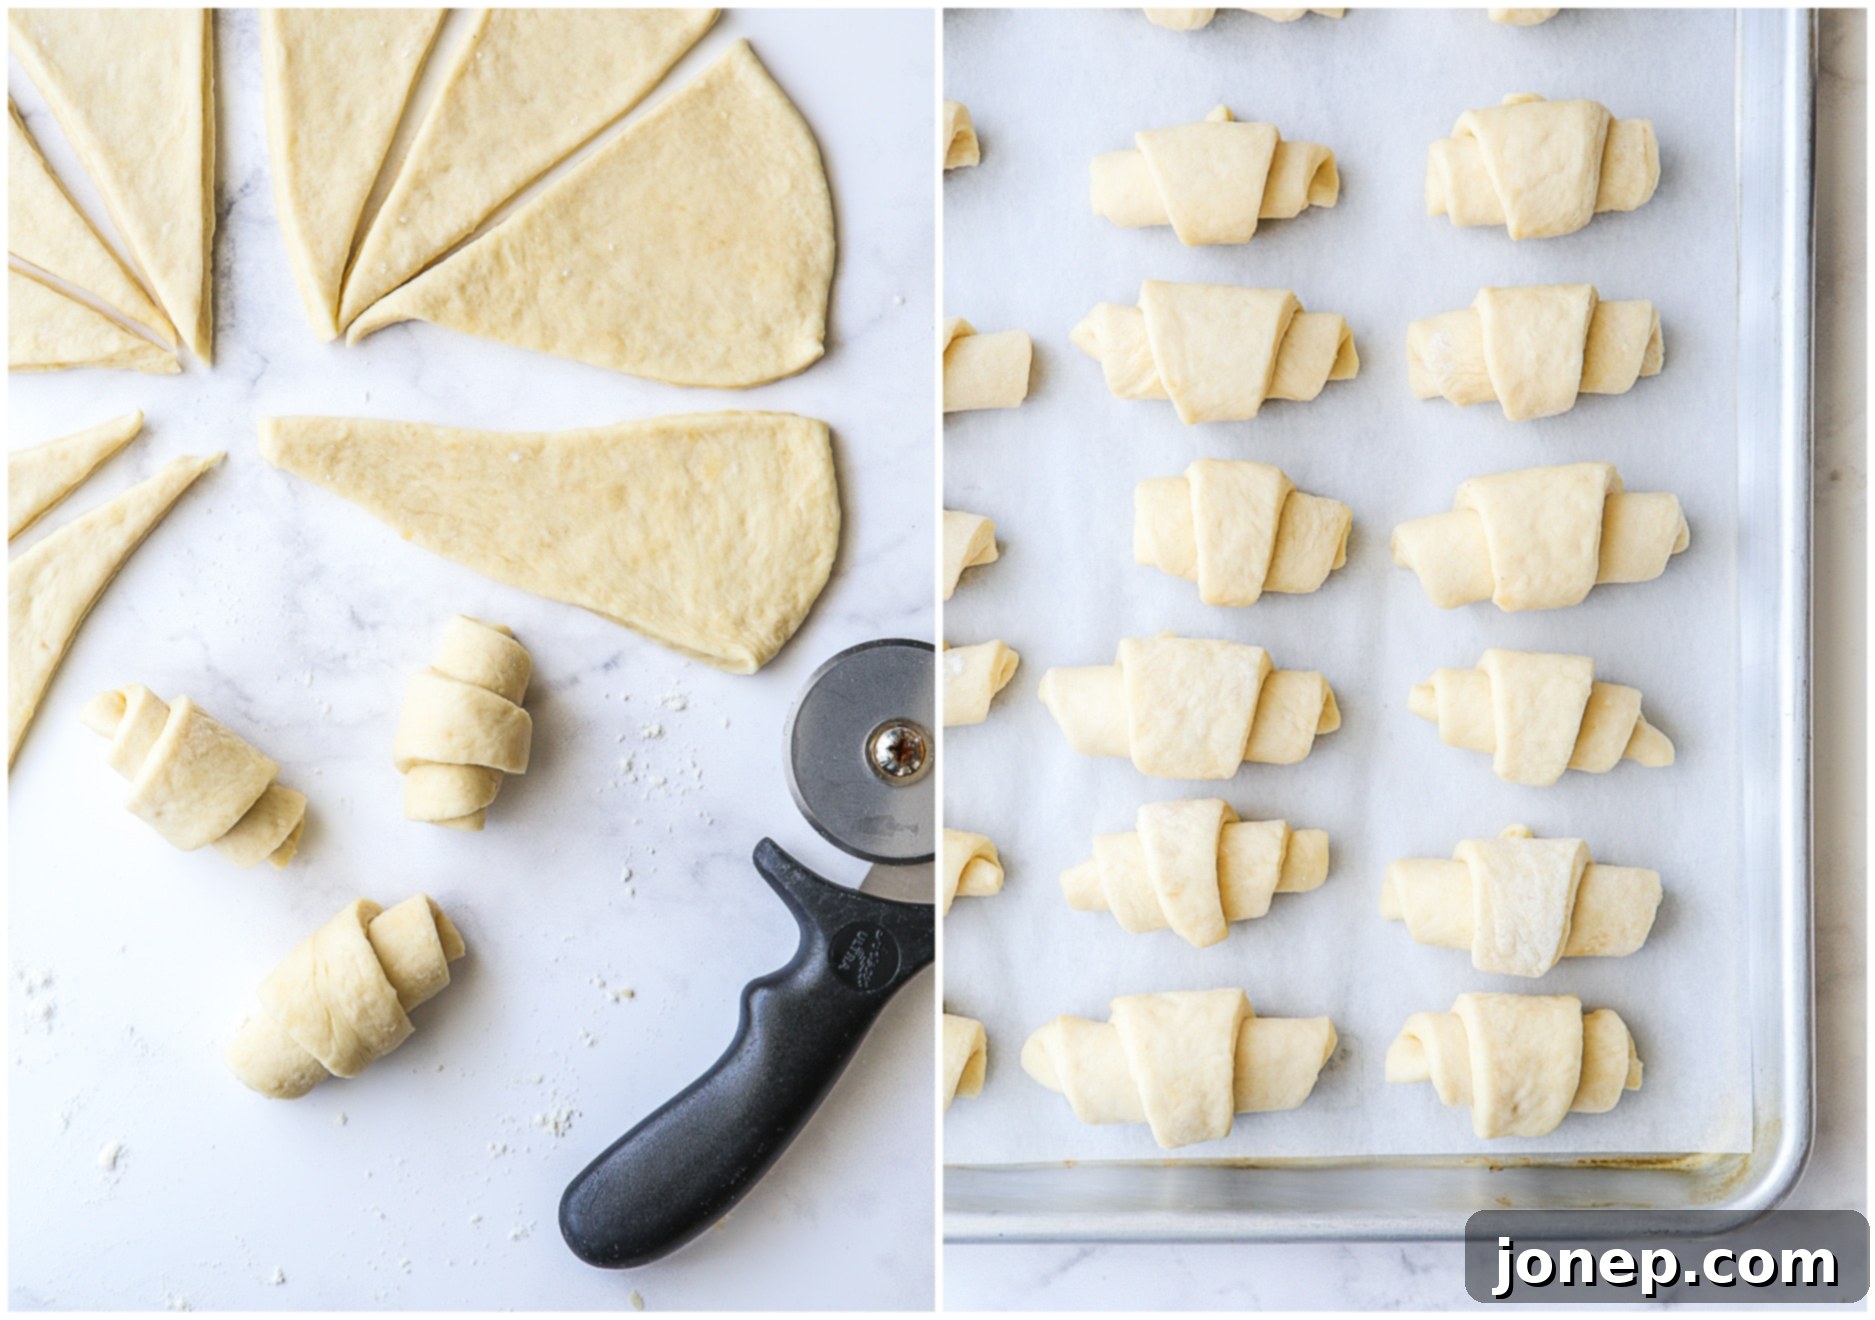
- Roll, Cut, and Shape into Crescents: Divide the dough ball in half. Place one portion back in the bowl, covered. On a lightly floured surface, roll out the first half of the dough into a circular shape, about 12 inches (30 cm) in diameter. Using a pizza cutter or sharp knife, cut the circle into 12 equal pizza-shaped wedges. Starting from the wider outer edge of each wedge, gently roll the dough inward towards the point, forming a crescent shape. Place these shaped rolls on a parchment-lined baking sheet, tucking the pointy end securely underneath to prevent unrolling during baking. Repeat this process with the remaining half of the dough. You should yield a total of 24 beautiful crescent rolls.

- Second Rise (Proofing): Loosely cover the shaped rolls on the baking sheet with greased plastic wrap or a clean towel. Allow them to rise again for about 30 minutes in a warm place. During this time, preheat your oven to 375°F (190°C). This second rise ensures a wonderfully airy and tender final product.
- Bake to Golden Perfection: Transfer the risen rolls to the preheated oven. Bake for approximately 20 minutes, or until the rolls are beautifully golden brown on top and puffed up, indicating they are cooked through and have achieved that irresistible lightness.
- Finish with Butter & Serve Warm: The moment the rolls emerge from the oven, immediately brush them generously with melted butter (or use my mom’s special technique described below!). This enhances their flavor, adds a lovely sheen, and keeps them incredibly soft. These Fairy Crescent Rolls are absolutely best enjoyed warm, straight from the oven!

Recipe Tips & Troubleshooting for Perfect Rolls
Even with an easy recipe, a few insider tips can make all the difference, transforming good rolls into truly legendary ones:
- Yield & Quantity: This recipe makes 24 rolls, which might seem like a lot, but they are not large rolls, and trust me, they disappear quickly! Many guests will want more than one. (My mom’s original recipe actually made 48, using two sheet pans!). If you don’t need that many, remember that leftovers freeze beautifully and can be reheated for later enjoyment.
- Halving the Recipe: If you prefer to make a smaller batch, most ingredients can be halved without issue. However, for best results when halving, use one egg yolk instead of a whole egg (as a whole egg would be too much liquid and richness for half the recipe) and reduce the granulated sugar to 2 tablespoons.
- Choosing the Right Yeast: My go-to yeast for bread baking is Red Star Platinum Yeast, but you can successfully use either active-dry yeast or quick-rise/rapid-rise/instant yeast for this recipe. The main difference lies in the rise times: instant yeast will typically cut the rising duration approximately in half, allowing for faster results if you’re in a hurry.
- Mixing Tools: While a large spoon or spatula works perfectly well, I personally prefer using a dough whisk to mix the dough in a large bowl. Its unique design helps incorporate dry ingredients into wet ones with minimal effort and prevents overmixing. A wire whisk can also be helpful for combining the wet ingredients initially.
- Creating a Warm Rising Environment: A consistent warm temperature is key for yeast activity. My favorite trick is to let the dough rise in my oven: simply heat the oven to its lowest setting (around 170°F/75°C) for a few minutes, then turn it off. Place the covered dough on the center rack and close the door. This creates a perfectly warm, draft-free spot. More detailed rising tips can be found here.
- My Mom’s Buttering Technique: While a pastry brush is perfectly acceptable for applying melted butter to the baked rolls, I always revert to my mom’s charming method: I take a stick of butter, unwrap it partially, and simply rub the exposed butter all over the hot rolls as soon as they come out of the oven. It’s quick, efficient, and adds a lovely, rich coating.
- Troubleshooting – Rolls Didn’t Rise: If your rolls aren’t rising, it’s usually due to expired yeast or water that was too hot or too cold. Always check yeast expiration dates and ensure water temperature is in the ideal range. A very cold kitchen can also slow things down; try the oven trick mentioned above.
- Flavor Variations: For a savory twist, consider adding a sprinkle of garlic powder and dried herbs (like parsley or chives) to your melted butter for brushing. Or, for a sweeter roll, increase the sugar slightly or brush with honey butter after baking.
baking tip:4 Ways to Prepare No-Knead Fairy Rolls in Advance
- Rise the Bulk Dough in the Fridge Overnight: After mixing the dough (Step 2), instead of letting it rise at room temperature, place the greased bowl, covered tightly with plastic wrap, directly into the refrigerator overnight (8-12 hours). The cold temperature slows down the yeast activity, allowing for a long, slow fermentation that often develops deeper flavors. The next morning, remove the dough from the fridge, shape into rolls (Step 4), let them rise at room temperature until puffy (Step 5, which may take 1-2 hours due to the cold dough), and then bake as directed.
- Rise the Shaped Rolls in the Fridge Overnight (Cold Proof): Complete up to shaping the rolls (Step 4) and place them on your parchment-lined baking pan. Cover the pan tightly with greased plastic wrap (ensure it doesn’t stick to the rolls) and place it in the refrigerator overnight. The next morning, remove the pan from the fridge and let the rolls come to room temperature and proof until puffy, which will take about 1 to 1½ hours (or even longer if your kitchen is cool). Once they’ve reached their second rise, bake as usual.
- Freeze Unbaked Shaped Rolls for up to 2 Months: After shaping the rolls (Step 4), arrange them on a parchment-lined baking sheet, ensuring they are not touching. Place the entire sheet in the freezer for about 1 hour, or until the rolls are firm. Once frozen, transfer the solid rolls to a heavy-duty freezer-safe ziplock bag or airtight container. They can be stored for up to 2 months. When you’re ready to bake, place the frozen rolls on a greased or parchment-lined baking dish/pan. Thaw them at room temperature for several hours (4-6 hours usually), then let them rise until puffy, and bake according to the recipe instructions.
- Freeze Baked Rolls for up to 1 Month: Bake the rolls completely as per the recipe and allow them to cool down entirely. Once cool, wrap them tightly in aluminum foil, and then place the foil-wrapped rolls into a large freezer-safe ziplock bag. Store them in the freezer for up to 1 month. To serve, remove the rolls from the bag, loosen the foil slightly around them, and warm them in a 300°F (150°C) oven for 20-25 minutes, or until heated through and soft. They’ll taste almost as good as fresh!
Explore More Delicious Roll Recipes
If you love these Fairy Crescent Rolls, you might also enjoy experimenting with other homemade bread options. Here are a few more fantastic roll recipes to inspire your baking adventures:
Get the Full Recipe for Easy No-Knead Fairy Rolls

Easy No-Knead Fairy Rolls
Pin Recipe
Leave a Review
Ingredients
- 1 cup (237 ml) warm water
- 2 ¼ teaspoons (7 grams) active dry yeast
- ½ cup (113 grams) unsalted butter , melted and cooled
- ⅓ cup (66 grams) granulated sugar
- 1 large egg
- 4 cups (480 grams) all-purpose flour
- ½ teaspoon baking powder
- 1 teaspoon salt
- Additional butter , for brushing
Instructions
-
Combine the water and yeast and allow to sit for five minutes.
-
In a large bowl, combine the yeast mixture, butter, sugar and egg. Add the flour, baking powder, and salt and stir with a wooden spoon until just combined and comes together into a ball.
-
Cover with a towel and allow to rise in a warm place for 30 minutes.
-
Split the ball of dough into two equal pieces and put one half back in the bowl. Roll out the other half on a floured surface to about 12 inches in diameter.
-
Cut into 12 equal triangles. Starting with the fat end, roll up each triangle and place in a buttered baking pan. Repeat with the other half of dough.
-
Cover the baking pan with a towel and let rise for an additional 20-30 minutes. Meanwhile, preheat oven to 375°F.
-
Bake rolls until golden brown, about 20 minutes. Remove from the oven and then immediately brush with butter.
-
Rolls will keep in an airtight container for up to 3 days.
Video
This recipe was originally published November 2014, and has been updated for clarity and comprehensive tips.
