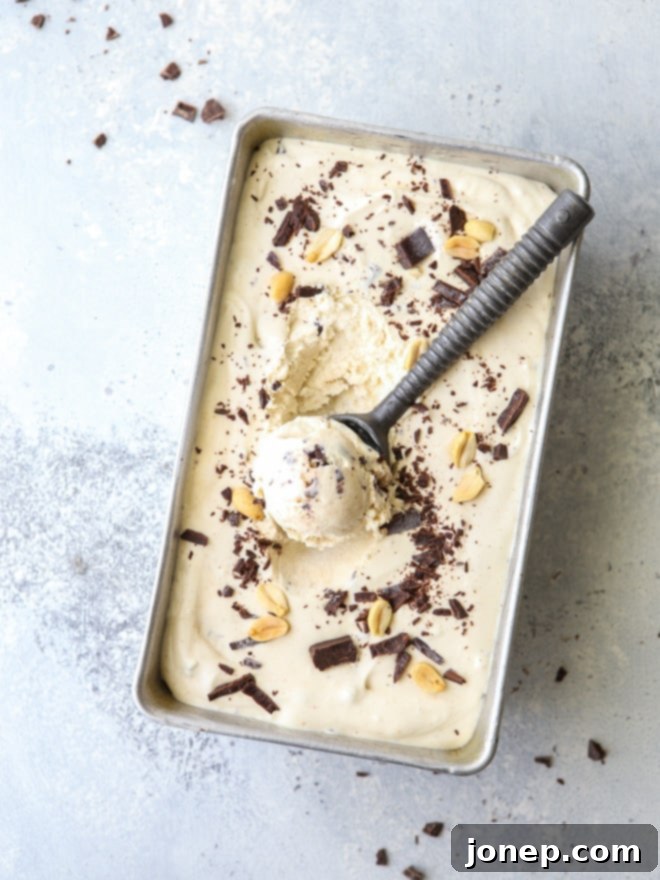
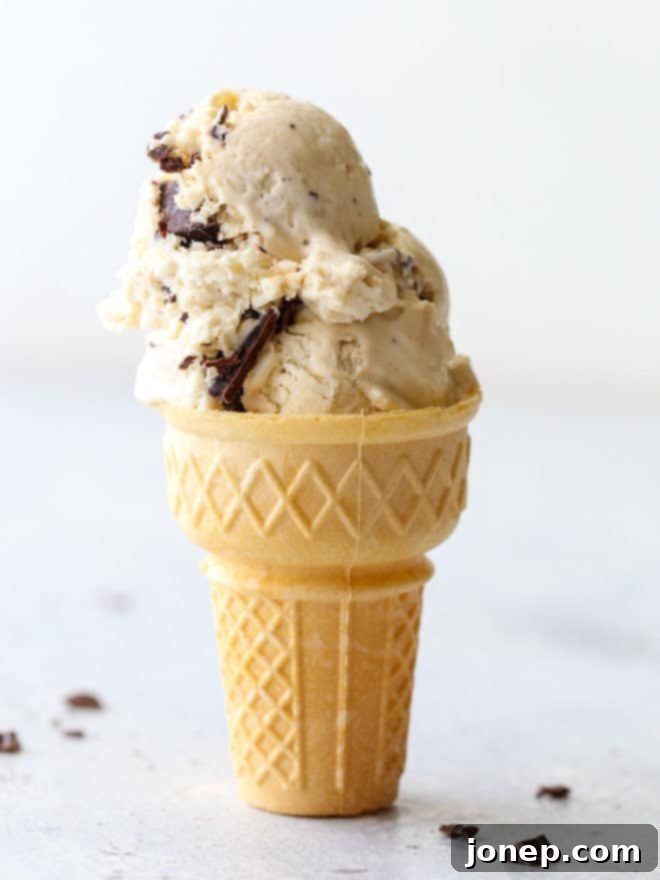
Indulge in Homemade Bliss: The Ultimate No-Churn Peanut Butter Chocolate Chunk Ice Cream Recipe
Prepare to have your taste buds swept away by this incredibly easy and utterly decadent No-Churn Peanut Butter Chocolate Chunk Ice Cream! Requiring just 6 simple ingredients and a mere few minutes of hands-on preparation, this recipe proves that you don’t need fancy equipment to create truly exceptional homemade ice cream. Get ready for a dessert that’s rich, creamy, and packed with the irresistible combination of peanut butter and generous chocolate chunks.
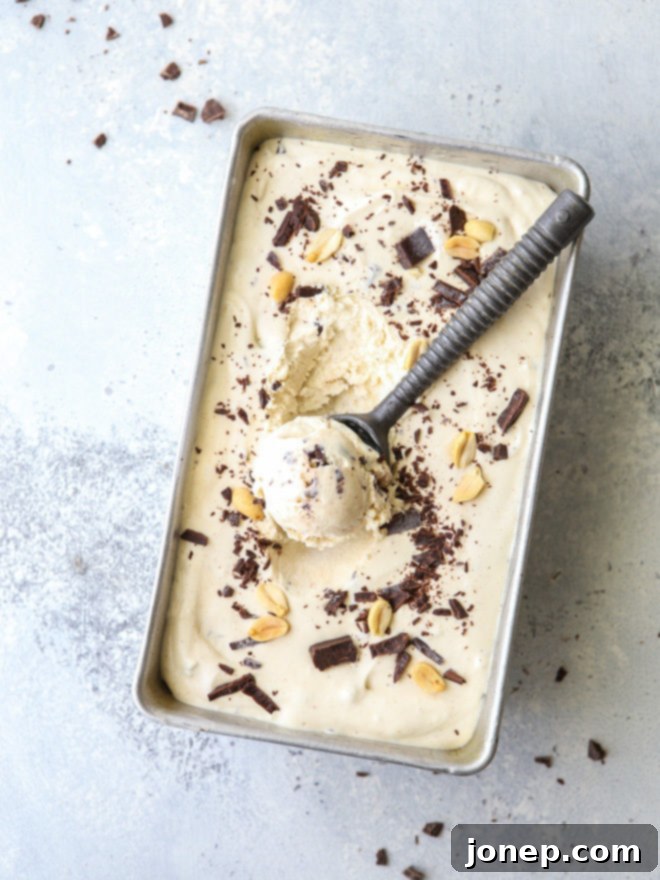
For years, I was a staunch believer that truly great homemade ice cream was only achievable with a dedicated ice cream machine. I owned one, used it often, and genuinely loved the results. However, a delightful discovery changed my perspective entirely: no-churn ice cream. If you haven’t yet jumped on the no-churn bandwagon, allow me to be your guide – you’re about to experience a revelation!
The beauty of no-churn ice cream lies in its unparalleled simplicity. It bypasses the need for a custard base cooked on the stove and eliminates the churning process entirely, saving you significant time and effort. Best of all, there’s no need to invest in an additional appliance for your kitchen. Yet, despite its straightforward nature, the outcome is nothing short of spectacular: a wonderfully creamy, smooth, and deeply flavorful frozen treat that rivals its traditional counterparts.
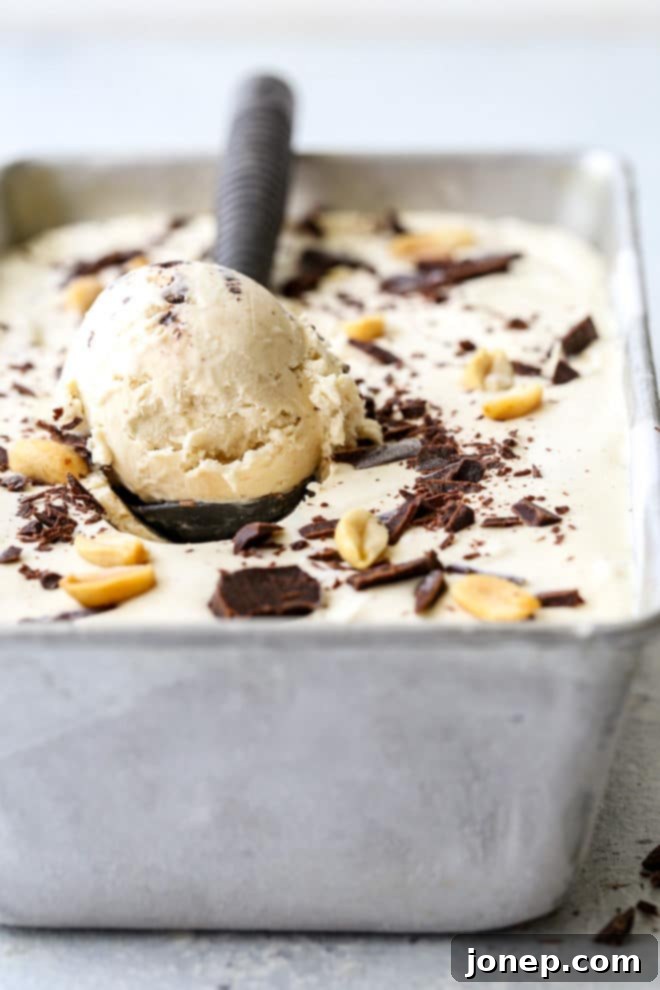
This particular recipe elevates the no-churn concept to a new level of indulgence. It’s brimming with a robust peanut butter flavor, beautifully complemented by pockets of semi-sweet chocolate chunks scattered throughout. Each spoonful delivers a harmonious blend of salty-sweet goodness and contrasting textures. Whether you prefer to scoop it into classic cones, elegant cups, or, like me, enjoy it straight from the container with a spoon (no judgment here!), this ice cream is utterly irresistible and guaranteed to become a household favorite. It’s the perfect treat for a warm summer evening, a special celebration, or simply when you crave a moment of pure, unadulterated dessert bliss.
What Exactly is No-Churn Ice Cream and How Does it Work?
Traditional ice cream recipes often begin with a labor-intensive custard base, cooked carefully on the stovetop, then chilled thoroughly before being churned in an ice cream maker. This process incorporates air and prevents large ice crystals from forming, resulting in a smooth texture. No-churn ice cream, on the other hand, cleverly sidesteps these steps by utilizing two ingenious ingredients that perform similar functions without any cooking or churning:
- Sweetened Condensed Milk: This thick, sweet milk is a powerhouse ingredient in no-churn recipes. Unlike granulated sugar, which needs heat to dissolve, sweetened condensed milk is already liquid and perfectly sweet, dissolving effortlessly into the ice cream base without any cooking required. More importantly, its high sugar content and viscosity help to lower the freezing point of the mixture, contributing significantly to the smooth, creamy texture that defines great ice cream.
- Heavy Whipping Cream (or Heavy Cream): This is the secret to achieving that airy, light, and perfectly smooth texture. When whipped, heavy cream incorporates a substantial amount of air, creating a stable, voluminous structure. This aeration mimics the action of an ice cream machine, which churns air into the base as it freezes. Once frozen, the whipped cream base provides a remarkably similar creamy consistency to traditionally churned ice cream, light and delightful without being icy.
By combining these two foundational ingredients, along with your chosen flavorings and mix-ins, you create a rich, aerated base that simply needs to be frozen. The simplicity is truly revolutionary, making homemade ice cream accessible to everyone, regardless of their kitchen gadget collection.
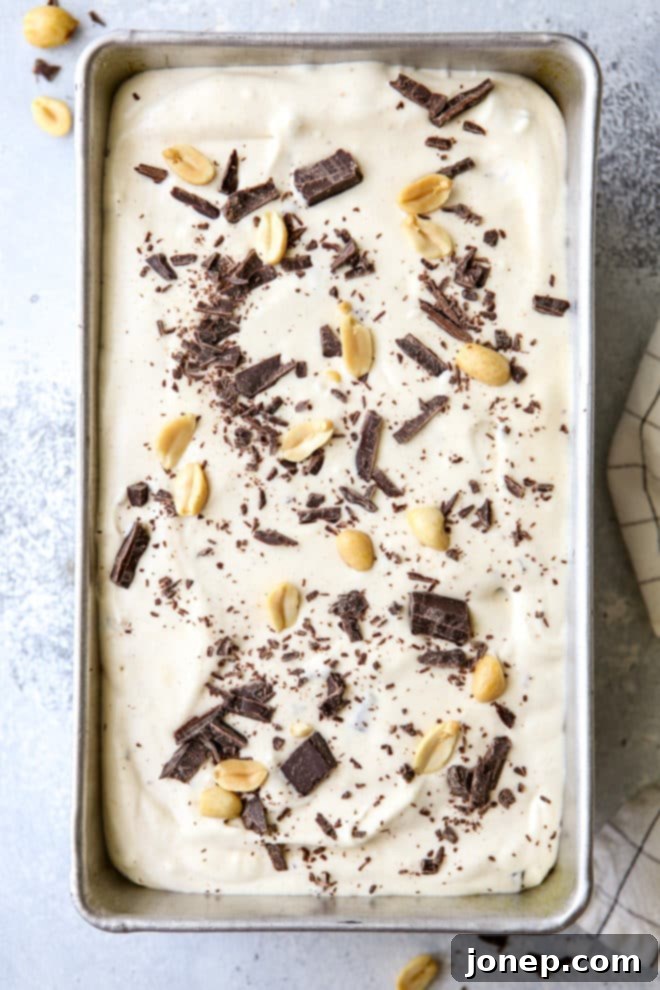
Crafting Your Delicious No-Churn Peanut Butter Chocolate Chunk Ice Cream
Making this incredible no-churn ice cream is surprisingly straightforward, proving that some of the best desserts are also the easiest. Here’s a detailed look at the components and process:
The Velvety No-Churn Peanut Butter Base
The foundation of this decadent treat is an exquisitely smooth and richly flavored peanut butter ice cream base. With just a few basic kitchen tools – an electric mixer and a couple of bowls – you can whip this up in approximately 5 minutes. The key ingredients for this luxurious base are:
- Creamy Peanut Butter: Opt for a good quality, creamy peanut butter. While natural peanut butter can be used, ensure it’s well-stirred and smooth, as separated oil can affect the final texture. The creamy variety integrates best and provides that classic, comforting flavor.
- Softened Cream Cheese: This might seem like an unconventional addition, but a small amount of softened cream cheese is a game-changer. It adds a subtle tang, incredible richness, and helps stabilize the ice cream, contributing to an even creamier, less icy texture. Make sure it’s at room temperature for easy blending to avoid lumps.
- Vanilla Extract: Pure vanilla extract is crucial for rounding out the flavors. It enhances the sweetness and depth of both the peanut butter and chocolate, adding a warm, aromatic note.
- Heavy Whipping Cream: As discussed, this is essential for creating the light, airy structure. Ensure your heavy cream is very cold, as this will allow it to whip up properly and quickly to stiff peaks.
- Sweetened Condensed Milk: The sweetener and body builder of our no-churn base. It provides the necessary sweetness and ensures a smooth, non-crystalline freeze.
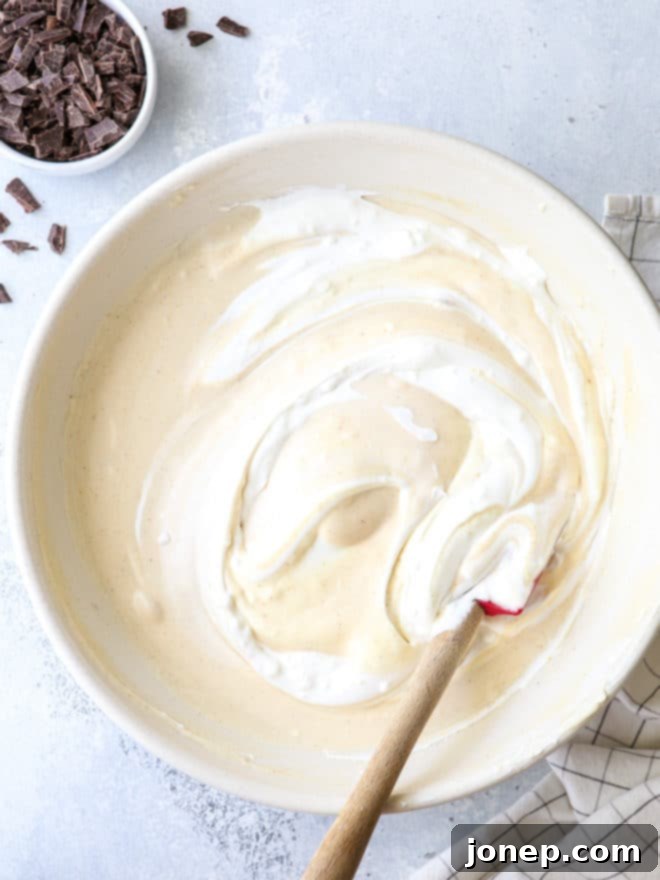
The process involves first whisking together the sweetened condensed milk, peanut butter, and vanilla until smooth. In a separate bowl, the softened cream cheese is beaten until light, then the cold heavy whipping cream is slowly incorporated and whipped until thick. The magic happens when these two mixtures are gently folded together, preserving the air in the whipped cream, which is vital for the ice cream’s final texture.
The Perfect Semi-Sweet Chocolate Chunks
To complete this delightful ice cream, we fold in generous chunks of semi-sweet chocolate. While you can certainly use chocolate chips, I highly recommend using a quality bar of chocolate and chopping it yourself. Hand-chopped chocolate creates irregular pieces that melt beautifully in your mouth, providing pockets of intense chocolate flavor and varied texture, which is far superior to uniform chips.
- Chocolate Choice: Semi-sweet chocolate provides a balanced sweetness that pairs wonderfully with peanut butter. However, feel free to experiment:
- For a more intense, sophisticated flavor, opt for dark chocolate (70% cocoa or higher).
- For a sweeter, milder profile, milk chocolate can be used, though it might make the ice cream very sweet.
- Optional Additions: For an extra layer of texture and flavor, consider folding in a handful of roasted, salted peanuts alongside the chocolate chunks. Other delicious additions could include mini peanut butter cups, a swirl of fudge or caramel, or even crushed pretzels for a salty crunch!
Tips for Success:
- Cold Cream is Key: Always start with very cold heavy whipping cream. This ensures it whips up quickly and holds its volume, which is crucial for the light texture of your no-churn ice cream.
- Don’t Overmix: When folding the whipped cream mixture into the peanut butter base, be gentle. Overmixing can deflate the whipped cream, leading to a denser, less airy ice cream. Mix just until no streaks remain.
- Quality Ingredients Matter: Since there are so few ingredients, the quality of each really shines through. Use good vanilla extract, a peanut butter you love, and delicious chocolate.
- Proper Freezing: Ensure your ice cream is covered tightly with a lid or plastic wrap to prevent ice crystals from forming on the surface during freezing. Allow at least 6 hours, or ideally overnight, for it to firm up completely for the best texture.
- Let it Soften Slightly: For the perfect scoop, take the ice cream out of the freezer and let it sit at room temperature for 5-10 minutes before serving.
This foolproof method means you’re only minutes away from enjoying a gourmet-quality dessert that tastes like it came from your favorite ice cream parlor, all from the comfort of your own kitchen. Get ready to impress yourself and everyone you share it with!
Explore More Homemade Ice Cream Delights
Once you’ve mastered the art of no-churn ice cream, a world of possibilities opens up! If you’re eager to try other delightful frozen treats, here are some fantastic recipes to inspire your next culinary adventure:
- Blueberry Pie Ice Cream
- Mint Chocolate Chip Ice Cream
- Raspberry Rosé Sorbet
- Butterscotch Pecan Ice Cream

Essential Tools for This Recipe
To make your no-churn ice cream journey even smoother, having the right tools can make all the difference. Here are a few recommended items that will help you achieve perfect results every time:
No-Churn Peanut Butter Chocolate Chunk Ice Cream
Pin Recipe
Leave a Review
Ingredients
- 14 oz can sweetened condensed milk (400 grams)
- ⅓ cup creamy peanut butter (90 grams)
- 1 tablespoon vanilla extract
- 2 ounces cream cheese (56 grams), softened to room temperature
- 2 cups heavy whipping cream (500 ml)
- 4 ounces semi-sweet chocolate (113 grams), chopped
Instructions
-
In a large bowl, whisk together the sweetened condensed milk, peanut butter, and vanilla.
-
In a separate bowl, beat the cream cheese with an electric mixer until soft and smooth.
-
Add heavy whipping cream slowly while continuing to beat on medium speed. Once all incorporated, beat on high for 2-3 minutes until thick.
-
Fold whipped cream mixture into peanut butter mixture in 2 additions, mixing until no more streaks remain. Don’t stir too much or you may deflate the whipped cream.
-
Gently fold in the chopped chocolate.
-
Dump the mixture into a loaf pan or ice cream tub. Cover with a lid or plastic wrap. Chill until completely firm, at least 6 hours.
