Rich & Creamy Brown Butter Cinnamon Ice Cream: The Ultimate Autumn Dessert Recipe
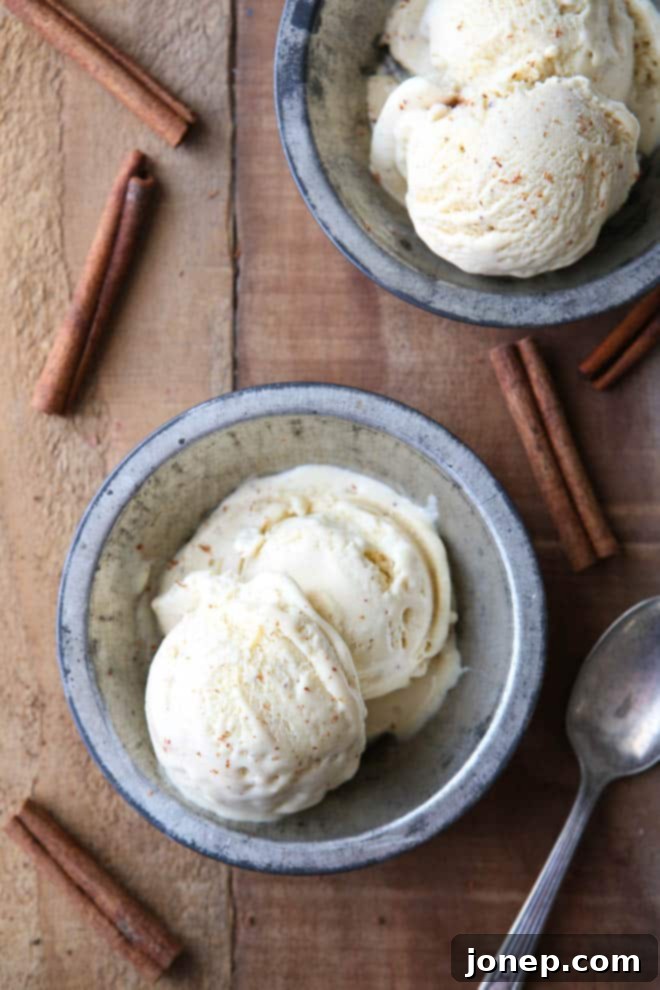
This rich and creamy brown butter cinnamon ice cream is more than just a sweet treat; it’s the quintessential embodiment of fall flavors, perfectly poised to elevate all your autumn desserts! Imagine a scoop of velvety ice cream, imbued with the deep, nutty notes of browned butter and the warm, comforting spice of fresh cinnamon, melting slowly over a warm slice of pie. It’s an experience that truly defines seasonal indulgence.
Embracing Fall Flavors with a Chilling Twist
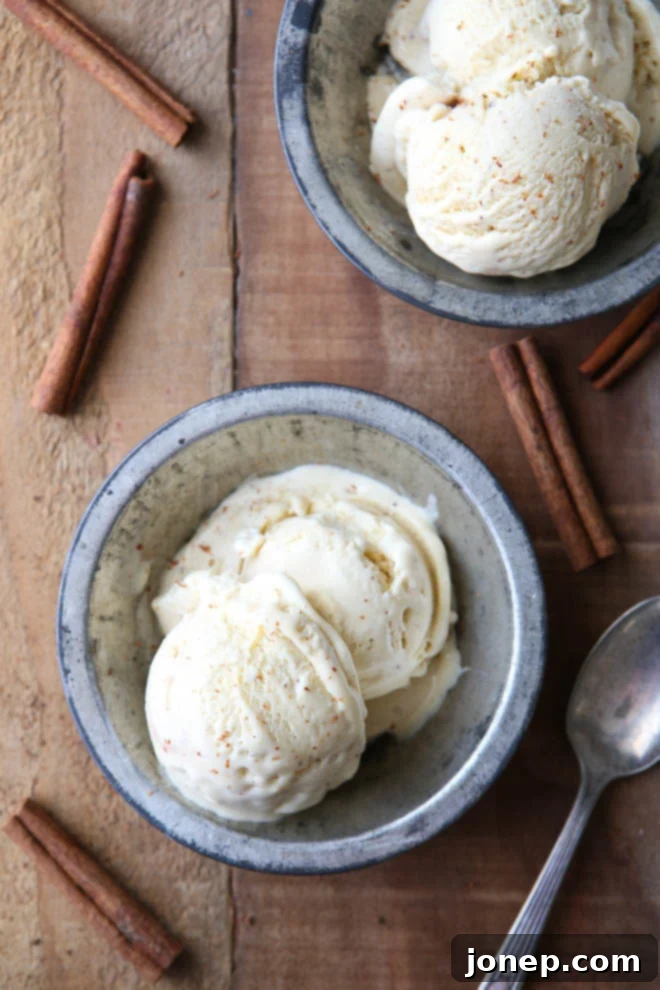
Is it truly a culinary faux pas to post an ice cream recipe after Labor Day? We say absolutely not, especially when that ice cream captures the very essence of autumn! Forget the traditional timing and embrace a dessert that skillfully bridges the lingering warmth of late summer with the cozy anticipation of fall. This isn’t your average vanilla or chocolate; this is an ice cream designed to perfectly complement the harvest season, proving that cold treats can indeed be seasonally appropriate and deeply comforting.
What if I told you this isn’t just any ice cream, but one lovingly flavored with the sophisticated, nutty notes of brown butter and an generous infusion of fresh, aromatic cinnamon? This combination transforms a simple scoop into an extraordinary sidekick for all your beloved fall desserts. Picture it alongside a classic apple pie, adding a creamy, spiced counterpoint. Imagine a dollop melting into a warm pear crisp, enhancing its fruitiness with an unmatched richness. Drizzle it with homemade caramel sauce for an unparalleled taste sensation, or pair it with pumpkin brownies to amplify their seasonal appeal. Each of these treats, and so many more, are made infinitely better, richer, and more memorable with a scoop or two of this exceptional brown butter cinnamon ice cream.
This recipe truly serves as the perfect culinary bridge between summer’s sun and autumn’s crisp air. When you’re craving those deeply warm, comforting flavors that define the cooler months, but the weather outside still feels hot and summery, this ice cream hits all the right notes. It offers the refreshing chill of ice cream with the soul-warming essence of fall, making it a versatile and irresistible dessert for any occasion during this transitional period.
The Magic of Brown Butter: A Flavor Transformer
At the heart of this extraordinary ice cream lies the humble ingredient of butter, utterly transformed through a simple yet magical process: browning. Brown butter, or *beurre noisette* in French, is a culinary marvel that elevates the flavor profile of countless dishes, and it truly shines in this ice cream. The process involves gently melting unsalted butter and continuing to cook it over medium-low heat until the milk solids separate and toast to a beautiful golden-brown hue. As this happens, the butter releases a wonderfully complex aroma and develops a deep, nutty, caramel-like flavor that is incredibly rich and nuanced.
This nutty, toasted essence of brown butter provides an incredible depth to the ice cream base. It’s a flavor that can’t be replicated with plain butter and contributes significantly to the gourmet quality of this dessert. It pairs exquisitely with the warm spice of cinnamon, creating a harmonious blend that is both comforting and sophisticated. The subtle bitterness from the browned milk solids perfectly balances the sweetness of the ice cream, resulting in a perfectly rounded and unforgettable taste experience. Taking the time to properly brown your butter is a small step that yields immense flavor rewards, making this ice cream truly special.
The Allure of Cinnamon: More Than Just a Spice
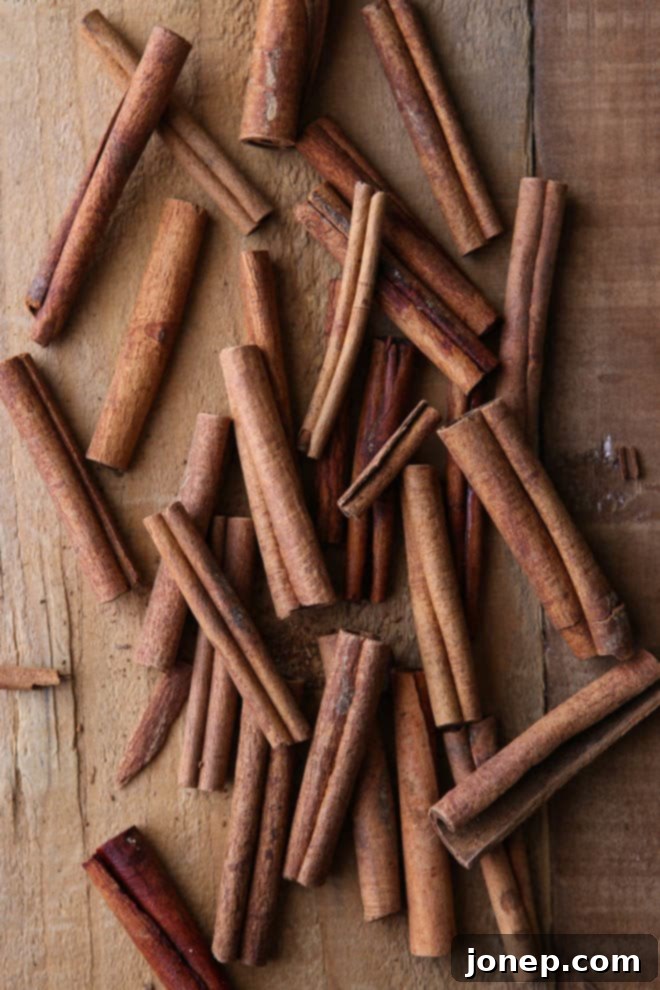
Cinnamon, the quintessential spice of autumn and winter, plays an equally vital role in making this ice cream so irresistible. Far from being a mere background note, the generous infusion of fresh cinnamon sticks into the milk mixture allows its warm, sweet, and slightly pungent notes to fully develop and permeate the entire base. There’s a profound difference between using ground cinnamon and steeping whole sticks; the latter provides a smoother, more complex, and less powdery flavor profile that truly sings.
The aromatic properties of cinnamon are well-known for evoking feelings of warmth and coziness, making it a perfect partner to the nutty brown butter. When these two powerhouses combine, they create a symphony of flavors that is both familiar and exciting. The cinnamon adds a gentle heat and a sweet, woody spice that lingers delightfully on the palate, perfectly complementing the richness of the cream and the depth of the brown sugar. This careful balance ensures that every spoonful is a journey through the comforting essence of the fall season.
Tips for Homemade Ice Cream Success
Making homemade ice cream might seem daunting, but with a few key techniques, you’ll be churning out creamy, dreamy batches like a pro. The foundation of this brown butter cinnamon ice cream is a rich custard base, and perfecting it is crucial for that luxurious texture.
Crafting the Perfect Custard Base
The first step involves steeping cinnamon sticks in a warm milk mixture. This infuses the dairy with a deep, authentic cinnamon flavor. Next comes the tempering of egg yolks. This essential technique prevents the yolks from scrambling when introduced to the hot milk. Slowly whisk a small amount of the hot milk mixture into the beaten egg yolks, then gradually add the warmed yolks back into the saucepan with the remaining milk. This gentle process allows the eggs to gradually come up to temperature. Continue cooking over medium heat, stirring constantly, until the custard thickens enough to coat the back of a spoon. Patience is key here; don’t rush it, and never let it come to a boil, which could curdle the eggs.
The Importance of Chilling
Once your custard is cooked and strained (to ensure a silky-smooth texture), it’s absolutely vital to chill it thoroughly. This isn’t just about making it cold enough for the ice cream machine; proper chilling ensures that the fat molecules firm up and the flavors meld beautifully. A well-chilled base will churn into a much smoother, creamier ice cream with smaller ice crystals. We recommend chilling for at least 4 hours, or ideally overnight, for the best results.
Churning for Creaminess
After chilling, it’s time for the ice cream machine to work its magic. Follow your manufacturer’s instructions carefully. Churning introduces air into the mixture while simultaneously freezing it, breaking up ice crystals as they form. This process is what gives ice cream its signature light and airy, yet dense and creamy texture. The churning time will vary depending on your machine, but typically lasts around 20-30 minutes. The result will be a soft-serve consistency, ready for its final freeze.
baking tip:How to scoop ice cream like a pro
- Let the ice cream rest at room temperature for about 5-10 minutes. This slightly softens it, making it easier to scoop without too much force.
- Warm your metal ice cream scoop in a large cup of hot water, or under running hot water. The heat helps the scoop glide through the frozen dessert with ease.
- Shake off excess water from the scoop before diving in. You don’t want watery ice cream!
- Use your wrist to carve an “s” through the ice cream as you scoop, rather than digging straight down. This technique creates beautiful, round scoops. Don’t just scoop a big hole from the middle; work around the edges.
- Dip the scoop into the hot water in between each scoop to maintain its effectiveness and keep it clean.
Variations & Serving Suggestions
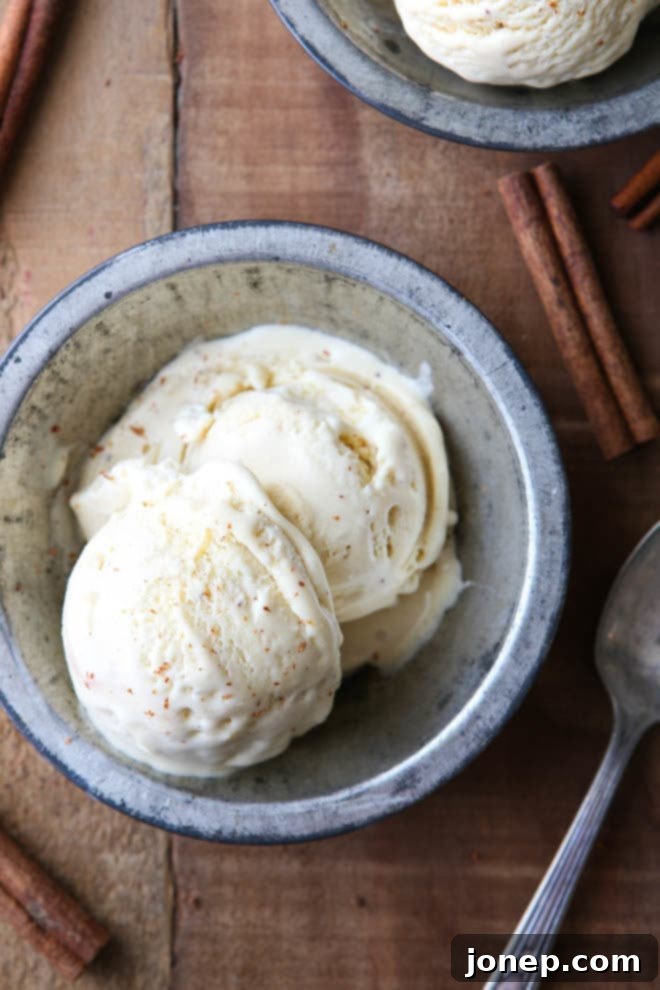
While this brown butter cinnamon ice cream is perfect as is, there’s always room for a little creative customization! For an extra layer of spice, consider adding a pinch of freshly grated nutmeg or a tiny dash of ground cloves to the milk mixture along with the cinnamon sticks. A swirl of maple syrup or a handful of toasted pecans stirred in after churning can also add delightful textural and flavor dimensions.
Beyond the classic fall pies and crisps, this ice cream is incredibly versatile. Try a scoop atop warm pumpkin pancakes or waffles for a luxurious breakfast treat. It’s fantastic with a slice of gingerbread, bread pudding, or even a warm chocolate chip cookie. For a simpler pleasure, enjoy it on its own, perhaps with a drizzle of that homemade caramel sauce or a sprinkle of extra cinnamon. It also pairs beautifully with a steaming mug of spiced cider or coffee, offering a delightful hot-and-cold contrast.
Storage Tips for Homemade Ice Cream
To enjoy your homemade brown butter cinnamon ice cream at its best, proper storage is key. Once churned, transfer the soft ice cream to an airtight freezer-safe container. Press a piece of parchment paper or plastic wrap directly onto the surface of the ice cream before sealing the container. This helps prevent ice crystals from forming on top and protects against freezer burn, keeping your ice cream smooth and creamy. Store it in the coldest part of your freezer (usually the back) for optimal freshness. Homemade ice cream is generally best enjoyed within two weeks, though it can last up to a month if properly stored. However, its irresistible flavor means it rarely lasts that long!
The Recipe: Brown Butter Cinnamon Ice Cream
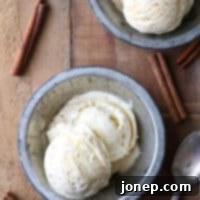
Brown Butter Cinnamon Ice Cream
Pin Recipe
Leave a Review
Ingredients
- 1 cup whole milk (237 ml)
- ½ cup granulated sugar (100 grams)
- ½ cup packed light or dark brown sugar (105 grams)
- Pinch of salt
- 10 3-inch cinnamon sticks
- 6 tablespoons unsalted butter (85 grams)
- 5 large egg yolks
- 2 cups heavy cream (500 ml)
Instructions
-
1Combine the milk, sugar, brown sugar, and salt in a medium saucepan over medium heat. Stir until sugar is melted and mixture is smooth. When it starts steaming and little bubbles appear around the edges, remove from heat. Add the cinnamon sticks, cover, and let steep at room temperature for 1 hour. This step is crucial for infusing a deep, authentic cinnamon flavor.
-
2In another saucepan, melt the unsalted butter over medium-low heat. Continue to cook the butter, stirring frequently, until it turns a rich golden brown color and smells nutty. Be careful not to burn it; watch for the milk solids to settle and brown. Remove from heat and set aside immediately to cool slightly.
-
3Whisk the egg yolks together in a large, heat-proof bowl. Remove the cinnamon sticks from the milk mixture and discard them. Return the milk mixture to medium heat. Once it starts steaming again (but not boiling), remove from heat and immediately pour it in a thin, steady stream into the egg yolks, while whisking constantly. This is called tempering the egg yolks and prevents them from scrambling.
-
4Return the tempered egg and milk mixture to the saucepan and place it over medium-high heat. Cook the mixture until it thickens enough to coat the back of a spoon, which usually takes about 5 minutes, stirring constantly to prevent sticking and scrambling. Do not let it boil. Remove from heat and, while stirring, gradually add the browned butter a little at a time, ensuring it’s well incorporated.
-
5Pour the entire mixture through a fine-mesh strainer into a large, clean bowl. This removes any potential cooked egg bits and ensures a perfectly smooth ice cream base. Stir in the heavy cream until well combined. Cover the bowl and chill thoroughly in the fridge for at least 4 hours, or preferably overnight, for the best results. A well-chilled base is essential for creamy ice cream.
-
6Once thoroughly chilled, churn the ice cream mixture in your ice cream machine according to the manufacturer’s instructions. This usually takes about 20-30 minutes, resulting in a soft-serve consistency. Scoop the freshly churned ice cream into a freezer-safe container, cover it tightly, and place it in the freezer to harden for a minimum of a few hours (4+ hours is ideal) before serving. This final freeze allows it to reach its perfect scoopable texture.
Notes
Nutrition Information (per serving)
Carbohydrates: 22g
Protein: 3g
Fat: 23g
Saturated Fat: 14g
Cholesterol: 153mg
Sodium: 31mg
Potassium: 90mg
Fiber: 2g
Sugar: 18g
Vitamin A: 908IU
Vitamin C: 1mg
Calcium: 97mg
Iron: 1mg
Have you tried this recipe?
I’d love to hear about it! Leave a rating and review below, or take a photo and tag it on Instagram @completelydelicious with #completelydelicious.
Tools for this recipe
(Affiliate links below) Equipping yourself with the right kitchen tools can make the ice cream-making process even more enjoyable and efficient. Here are some essentials we recommend:
As an Amazon Associate, I earn from qualifying purchases. This helps support my blog and allows me to continue bringing you delicious recipes.
