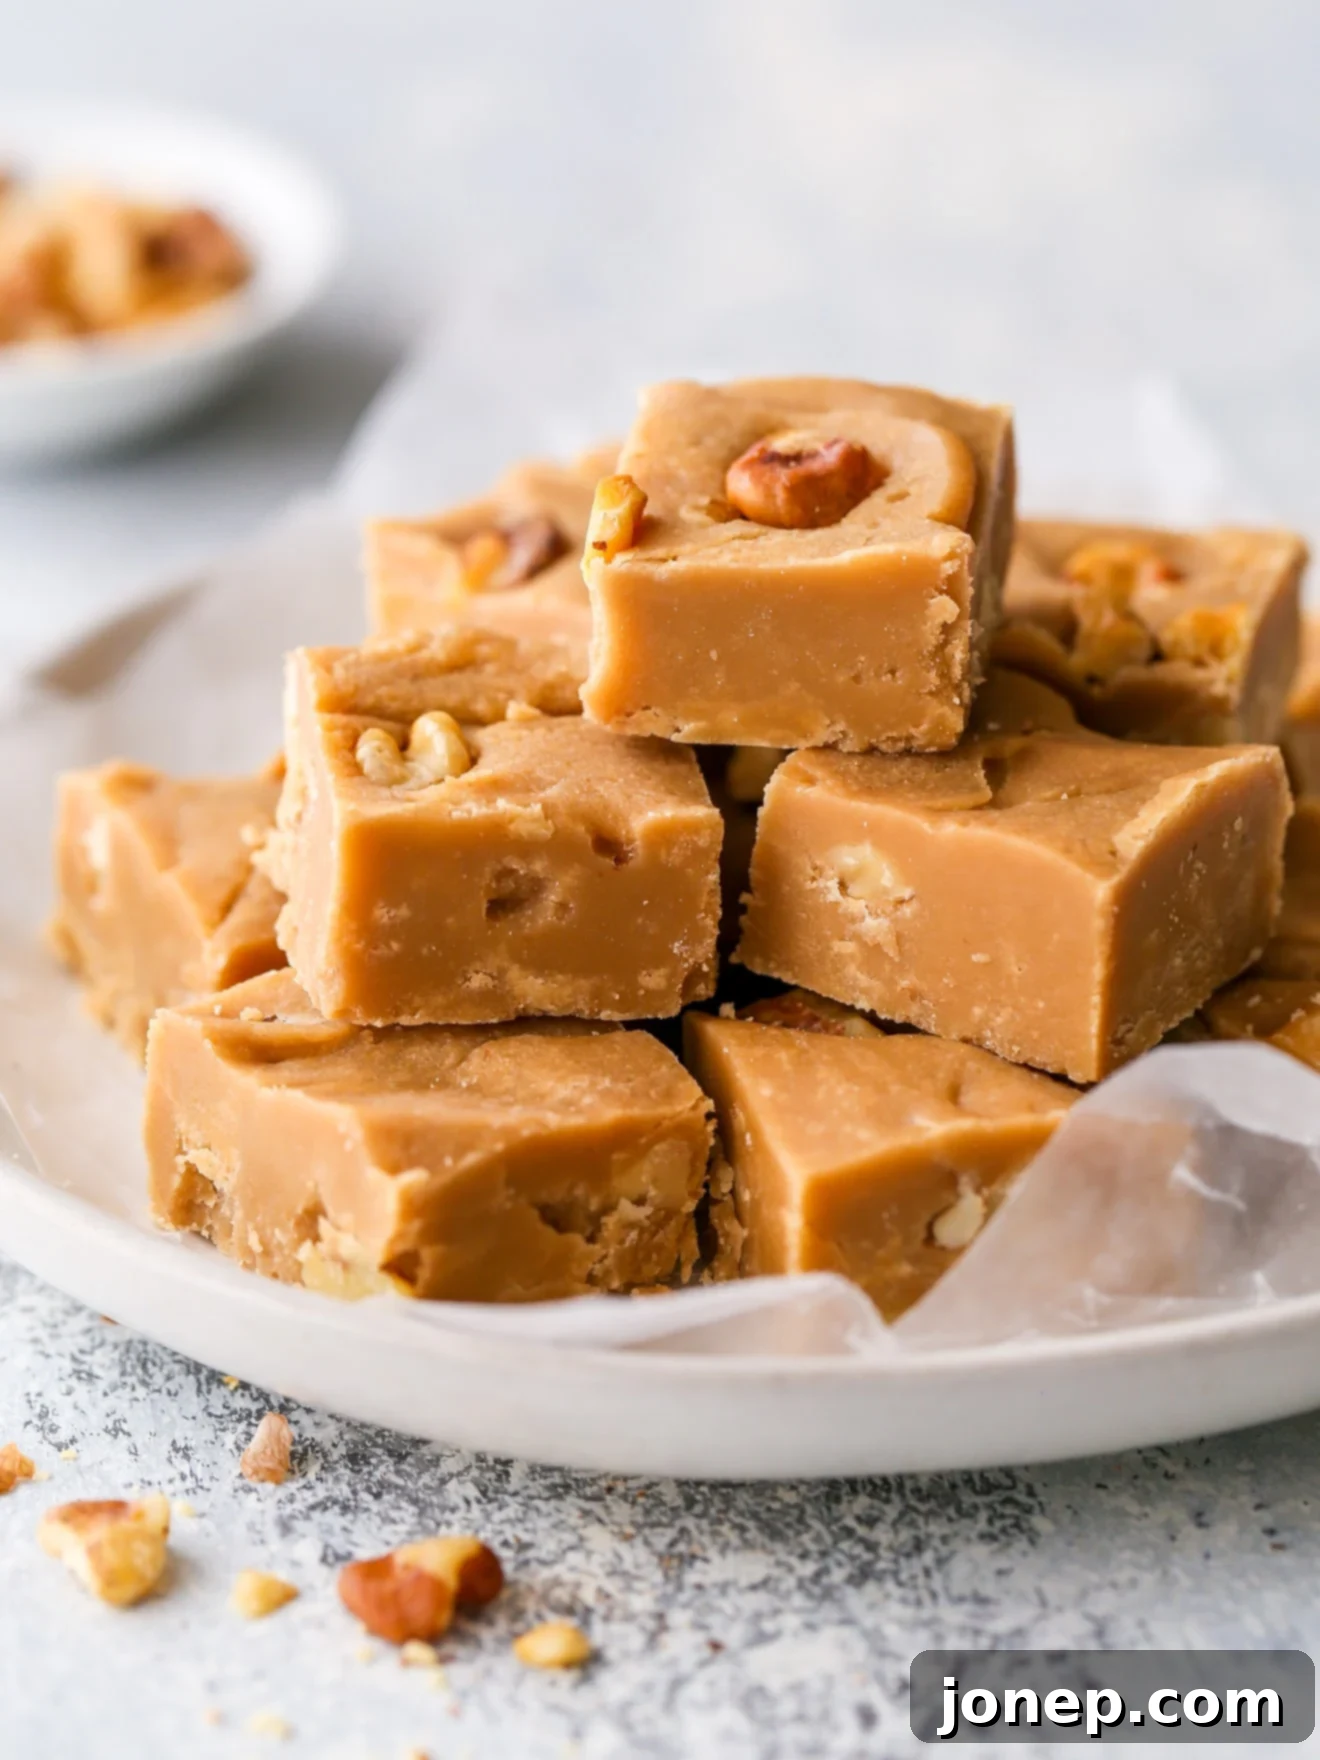
Old-Fashioned Brown Sugar Fudge Recipe (Penuche) with Toasted Walnuts
This old-fashioned brown sugar fudge recipe is a true delight, offering a rich, caramel-like flavor that’s both comforting and incredibly indulgent. Often referred to as “Penuche,” this classic confection stands out from traditional chocolate fudge with its unique depth and buttery notes. The addition of perfectly toasted walnuts provides a wonderful textural contrast and a hint of nutty aroma, making each bite utterly irresistible. Whether you’re a seasoned candy maker or new to the craft, this recipe is designed to guide you to fudge perfection.
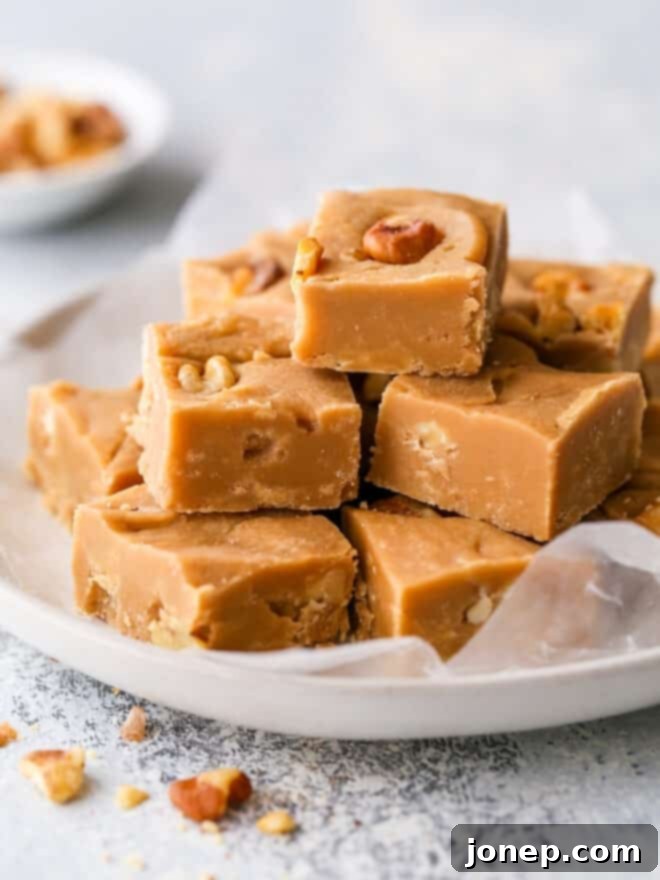
While chocolate fudge might be the reigning champion in the world of confections, this brown sugar fudge, or penuche, is a very close second, winning hearts with its distinct personality. It’s smooth and creamy, exquisitely rich and sweet, boasting a smoky caramel essence that will captivate your taste buds. The secret to its remarkable texture and flavor lies in the careful cooking of brown sugar and evaporated milk, creating a foundation that’s both complex and deeply satisfying.
I absolutely adore including toasted walnuts in my penuche – their subtle crunch and earthy flavor complement the sweet caramel beautifully. However, if nuts aren’t your preference, you can certainly leave them out for a purely smooth experience. This brown sugar fudge recipe is straightforward to follow, making the effort entirely worthwhile. It’s an ideal treat for Christmas and other holiday gatherings, a thoughtful homemade gift, or simply a luxurious indulgence to enjoy on any ordinary day.
Why You’ll Love This Penuche Fudge Recipe
There are countless reasons why this old-fashioned brown sugar fudge will become a staple in your recipe collection:
- Irresistible Flavor: The deep, molasses-rich notes of brown sugar transform into a luscious caramel during cooking, creating a flavor profile far more nuanced than simple white sugar fudge.
- Perfect Texture: When prepared correctly, this penuche offers a creamy, melt-in-your-mouth consistency that is characteristic of premium homemade fudge.
- Simple Ingredients: You likely have most of these pantry staples on hand already, making it easy to whip up a batch whenever a craving strikes.
- Versatile Addition: While walnuts add a delightful crunch, the recipe is easily adaptable. Feel free to customize it with other nuts or leave them out entirely.
- Holiday Favorite: This fudge makes a stunning addition to any holiday dessert platter and is a much-loved edible gift for friends and family.
Table of Contents
- Ingredients you’ll need
- Yes, you need a candy thermometer!
- How to make brown sugar fudge
- Tips for making brown sugar fudge
- Variations and Customizations
- How to Store Homemade Fudge
- More candy recipes to try
- Get the recipe
Essential Ingredients for Brown Sugar Fudge
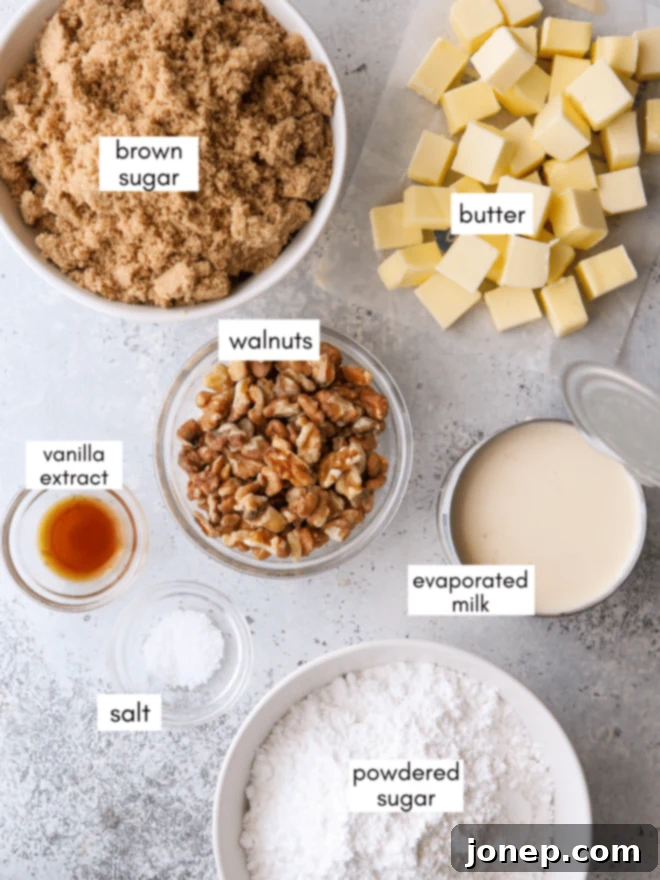
Gathering your ingredients before you start is key to a smooth fudge-making process. Here’s a detailed look at what you’ll need to create this delectable brown sugar fudge, with the full, precise measurements available in the recipe card at the end of this article:
- Evaporated Milk: This is a crucial ingredient for fudge. We’ll delve into why below!
- Brown Sugar (Light or Dark): The star of the show! Both light and dark brown sugar work, with dark brown sugar lending a deeper, more intense molasses and caramel flavor.
- Unsalted Butter: Essential for richness and a smooth texture. Cutting it into cubes helps it melt evenly.
- Salt: A pinch of salt balances the sweetness and enhances all the flavors. Don’t skip it!
- Vanilla Extract: Adds a warm, aromatic depth. Pure vanilla extract is always recommended for the best flavor.
- Powdered Sugar (Sifted): This helps set the fudge and contributes to its smooth, creamy consistency. Sifting is important to prevent lumps.
- Toasted Walnuts (Optional): For that delightful crunch and nutty flavor. Toasting them beforehand truly brings out their best.
baking tip:Why use evaporated milk in fudge?
Unfortunately, there is no direct 1:1 substitute for evaporated milk in a fudge recipe if you want to achieve the same professional results. While you can often use evaporated milk in place of regular milk in many culinary applications, the reverse is generally not true, especially in candy where precise water content matters. Also, it’s crucial to remember not to confuse evaporated milk with sweetened condensed milk; they are two entirely different products with distinct uses and compositions. Sweetened condensed milk is much thicker and, as its name suggests, heavily sweetened, which would drastically alter your fudge.
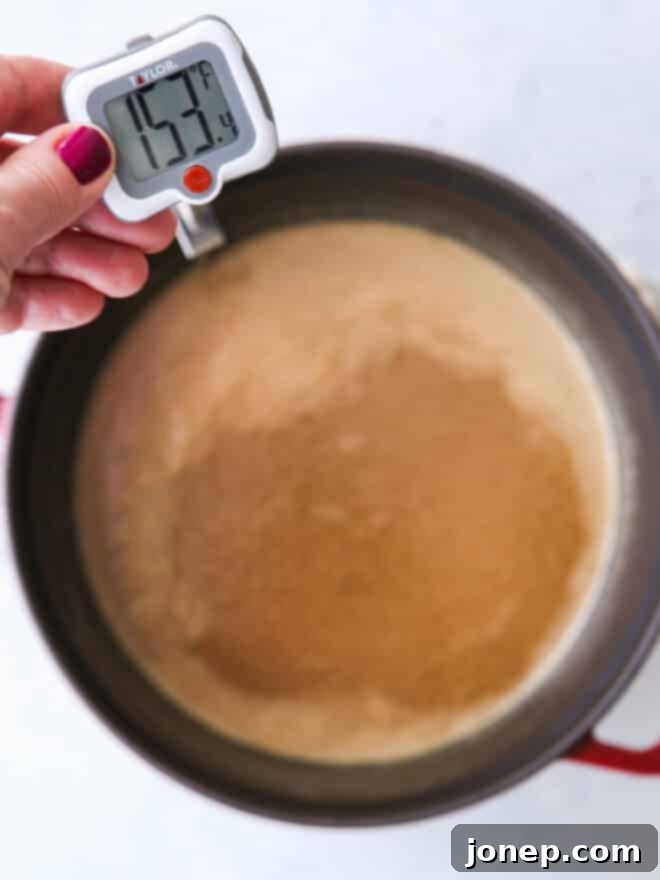
Yes, You Absolutely Need a Candy Thermometer!
Don’t let the mention of a candy thermometer intimidate you or scare you away from trying this incredible recipe. In fact, candy thermometers are truly amazing tools that simplify the candy-making process. They take all the guesswork out of achieving the correct temperature, which is paramount for fudge to set properly. With a thermometer, there’s no ambiguity, no need to perform unreliable tests, and no more wondering if your mixture is truly ready for the next step. It’s your secret weapon for consistent, perfect results every time.
Candy thermometers are very affordable and can be easily found at most large department stores, kitchen supply shops, or a quick search online will yield many options. You can opt for a traditional mercury thermometer, which is reliable and sturdy, or choose a digital candy thermometer, which often offers faster and more precise readings. I’ve personally used both types over the years and generally lean towards the accuracy and speed of digital thermometers for consistent results. Whichever you choose, ensure it’s calibrated correctly for your altitude to guarantee success!
How to Make Irresistible Brown Sugar Fudge: A Step-by-Step Guide
Making delicious brown sugar fudge is a rewarding process that yields incredible results. Follow these steps carefully for the best homemade penuche:
- Combine and Cook the Base: In a sturdy, heavy-bottomed pot (which helps prevent scorching), combine the brown sugar, evaporated milk, butter, and a pinch of salt. Place the pot over medium heat. Stir continuously until all the sugar has dissolved and the mixture comes to a gentle boil. Continue to cook, stirring frequently to ensure even heating and prevent sticking. Keep a close eye on your candy thermometer, aiming for precisely 238°F (or your adjusted temperature for high altitude). This stage is critical for the fudge’s final texture.
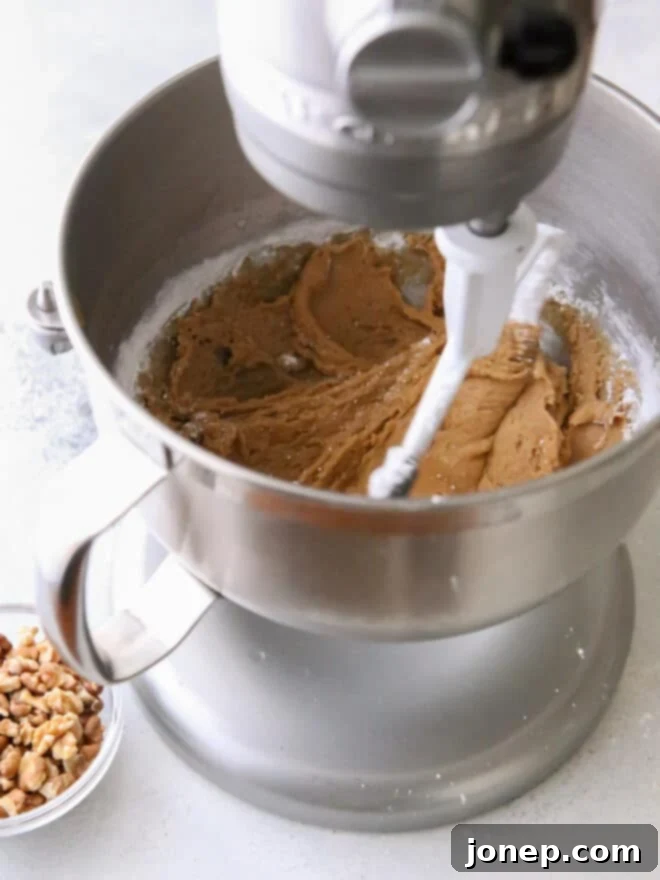
- Beat to Perfection and Add Sweetness: Once the mixture reaches the target temperature, promptly remove it from the heat. Carefully pour the hot mixture into a large, heat-proof mixing bowl. Add the vanilla extract, which will infuse a beautiful aroma. Using an electric mixer (a hand-held mixer is ideal, but a stand mixer with a paddle attachment works too), begin beating the mixture. Gradually, in small additions, incorporate the sifted powdered sugar while continuing to beat. This beating process is essential; it helps the sugar crystals form correctly, resulting in a smooth, creamy fudge. Continue mixing until the fudge starts to thicken and loses some of its glossy sheen.

- Fold in the Walnuts (Optional): If you’re including nuts, now’s the time! Once all the powdered sugar has been fully incorporated and the fudge has thickened, gently stir in the toasted walnuts. Mix just enough to evenly distribute them throughout the fudge. Overmixing at this stage can change the texture.
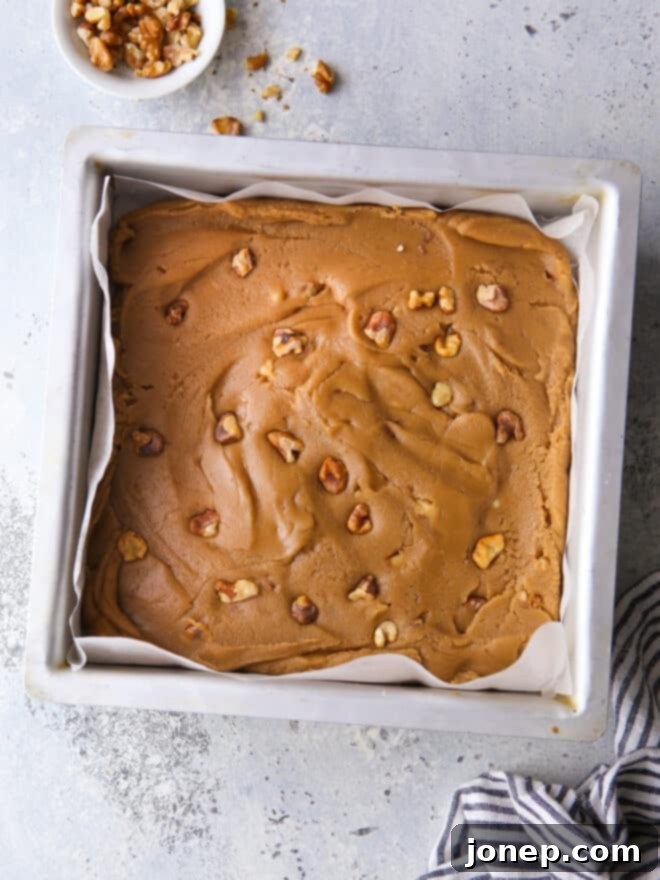
- Prepare and Spread into Pan: Immediately transfer the warm fudge mixture into an 8-inch square pan. For easy removal and clean slices, you can lightly grease the pan or, even better, line it with parchment paper or wax paper, leaving an overhang on the sides. Spread the fudge evenly with a spatula, ensuring a flat and smooth top.
- Allow to Cool Completely: Patience is a virtue here! Let the fudge cool undisturbed at room temperature for about 30-60 minutes, or until it is completely set. Rushing this step can affect its firmness and cut.
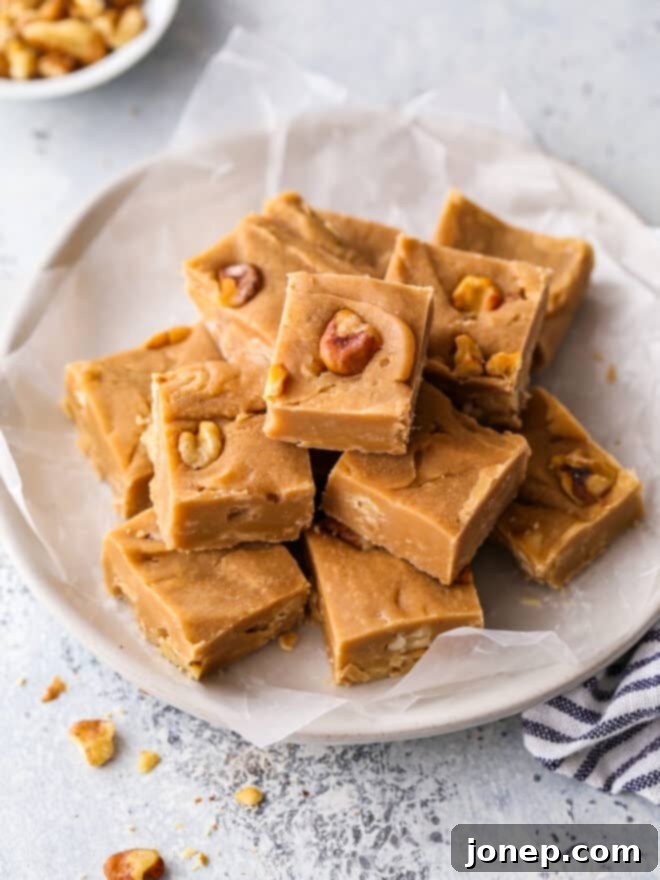
- Slice and Serve: Once the fudge is firm, use a sharp, ungreased knife to slice it into squares. Because this brown sugar fudge is wonderfully rich, I highly recommend cutting it into smaller squares – about 36 pieces from an 8×8 pan is a perfect serving size. This allows everyone to enjoy its intense flavor without overindulging.
Expert Tips for Foolproof Brown Sugar Fudge
Achieving perfect, creamy fudge every time can be a rewarding challenge. Here are some essential tips to help you succeed and avoid common pitfalls:
- Accurate Temperature is Non-Negotiable: This fudge absolutely needs to be cooked to 238°F (114°C) to set up with the ideal creamy texture. However, this temperature MUST be adjusted if you live above sea level! Water evaporates quicker at higher altitudes, meaning your candy will reach the “soft ball stage” at a lower temperature. As a general rule, decrease the target temperature by 2°F for every 1,000 feet of elevation. For example, if you live at approximately 4,000 feet in Utah (like I do!), you would cook your sugar to around 230°F. Always double-check altitude adjustments for your specific location.
- Understanding “Soft Ball Stage”: The 238°F mark is universally known as the “soft ball stage” in candy making. This means that if you were to spoon a small amount of the hot sugar mixture into a cup of very cold ice water, it would form a soft, pliable ball that can be flattened easily between your fingers. This is an excellent way to verify your thermometer’s accuracy or as a backup test if you’re unsure.
- Troubleshooting Crumbly Fudge: If your fudge turns out crumbly and dry, it’s highly probable that you overcooked the sugar mixture, causing too much moisture to evaporate. To prevent this, watch your temperature meticulously. Keep your stovetop heat on medium, allowing the mixture to heat gradually and giving you more time to react before it goes past the ideal temperature. There’s no easy fix for overcooked fudge, so prevention is key!
- Avoiding Grainy Fudge: Grainy fudge is often caused by sugar crystals that didn’t fully dissolve or that re-crystallized during the cooling and beating process. To prevent this:
- Ensure all sugar crystals are dissolved before the mixture comes to a full boil. You can wipe down the sides of the pot with a wet pastry brush during cooking.
- Avoid scraping down the sides of the pot once the mixture is cooling and before beating, as this can introduce rogue crystals.
- Do not stir the fudge once it’s off the heat and cooling in the bowl, until it reaches the appropriate temperature for beating (often around 110-120°F). Premature stirring can promote crystallization.
- Choosing Your Mixer: While a stand mixer with a paddle attachment can work (and I’ve used one successfully!), I personally recommend using a hand-held electric mixer if you have one. Hand-held mixers allow for better control and aeration, often yielding a slightly smoother, creamier fudge.
- Toast Those Nuts (Seriously!): Adding nuts is optional, but if you decide to include them, I strongly advise toasting them beforehand. Toasting intensifies their flavor and adds an extra layer of deliciousness. You can easily do this under the broiler in your oven for just a few minutes, stirring them a few times and keeping a very close eye on them to prevent burning. Walnuts are traditional for penuche, but toasted pecans would also be absolutely fantastic.
- Pan Preparation for Easy Release: While the recipe states “ungreased,” for guaranteed easy removal and perfect squares, consider lining your 8-inch square pan with parchment paper or wax paper, leaving an overhang on two sides. Once cooled, you can simply lift the entire block of fudge out of the pan before cutting.
Variations and Customizations for Your Fudge
While this classic brown sugar fudge recipe is perfect as is, it’s also wonderfully adaptable! Here are a few ideas to inspire your creativity:
- Nut Swaps: Instead of walnuts, try toasted pecans, almonds, or even a mix of your favorite nuts.
- Maple Penuche: For an even deeper flavor, substitute half of the vanilla extract with pure maple extract. This creates a delightful maple-pecan fudge.
- Salted Caramel Touch: Sprinkle a pinch of flaky sea salt over the top of the fudge just after spreading it into the pan, before it sets. This enhances the caramel notes beautifully.
- Chocolate Swirl: For a marbled effect, melt about 1/2 cup of chocolate chips and drizzle them over the fudge in the pan, then swirl gently with a knife before it sets.
How to Store Homemade Fudge
Proper storage is essential to keep your brown sugar fudge fresh and delicious. Store it in an airtight container at room temperature for a week or even longer. For extended freshness, you can also wrap individual pieces or the entire block tightly in plastic wrap, then place it in an airtight container and store it in the refrigerator for up to 2-3 weeks. Fudge can also be frozen for several months; just thaw it at room temperature before serving.
More Irresistible Candy Recipes to Try
If you’ve enjoyed making this brown sugar fudge, you’re in for a treat with these other delightful candy recipes:
- Salted Caramel Nut Brittle
- Peppermint Fudge (Inspired by Frango Mint Chocolates)
- Decadent Salted Chocolate Truffles
- Classic English Toffee
Get the Full Brown Sugar Fudge Recipe Here
Ready to make this classic treat? Below you’ll find the complete recipe card with exact measurements, detailed instructions, and nutritional information. Happy fudge making!
Brown Sugar Fudge (Penuche)
Pin Recipe
Leave a Review
Ingredients
- ½ cup + 2 tablespoons evaporated milk (150 ml)
- 2 cups packed light or dark brown sugar (425 grams)
- ¾ cup unsalted butter , cut into cubes (170 grams)
- ¼ teaspoon salt
- ½ teaspoon vanilla extract
- 1 cup powdered sugar , sifted (130 grams)
- ¾ cup toasted walnuts , chopped (optional) (85 grams)
Instructions
-
Combine the evaporated milk, brown sugar, butter, and salt in a heavy-bottomed medium saucepan. Place over medium heat and bring to a boil, stirring until smooth and all sugar crystals are dissolved. Continue to simmer, stirring frequently, until a candy thermometerreaches 238°F (114°C) (see Notes for altitude adjustments).
-
Remove from heat and pour into a large, heat-proof bowl. Add the vanilla extract and immediately begin beating with a hand-held mixer. Gradually add the sifted powdered sugar in small additions while continuing to beat. Beat until the mixture is smooth, thick, and begins to lose its glossy sheen. If using, fold in the toasted walnuts until just combined.
-
Immediately spread the fudge into an ungreased 8-inch square pan (or lined with parchment/wax paper for easier removal). Let cool completely at room temperature, about 1 hour, or chill in the fridge for 30 minutes to speed up setting. Once firm, slice with a sharp knife into small squares. Store fudge in an air-tight container at room temperature for several days, or refrigerate for longer freshness.
Notes
Notes
- Altitude Adjustment: The target cooking temperature will need to be adjusted if you live at high altitude. Decrease the temperature by 2°F for every 1,000 feet of elevation. For instance, I live in Utah at over 4,000 feet and cooked my sugar to 230°F (110°C) for the perfect set.
- Mixer Preference: For the best texture, I highly recommend using a hand-held electric mixer for beating the fudge. If you don’t have one, a stand mixer fitted with a paddle attachment can also work. With a little extra effort, you can even mix by hand.
- Toasting Walnuts: To toast walnuts, spread them in a single layer on a baking sheet and place under the broiler for 1-3 minutes. Keep a very close eye on them, stirring at least once, as nuts can burn quickly. Remove them from the oven as soon as they become fragrant and begin to turn a light golden brown. Let cool before chopping and adding to the fudge.
- Preventing Grainy Fudge: Ensure all sugar is dissolved before the mixture boils. Do not stir while the fudge is cooling after it’s removed from heat and before beating.
Recipe adapted from The Gourmet Cookbook.
This delightful recipe was originally published in October 2013 and has been updated for clarity and enhanced instructions to ensure your best fudge-making experience!
