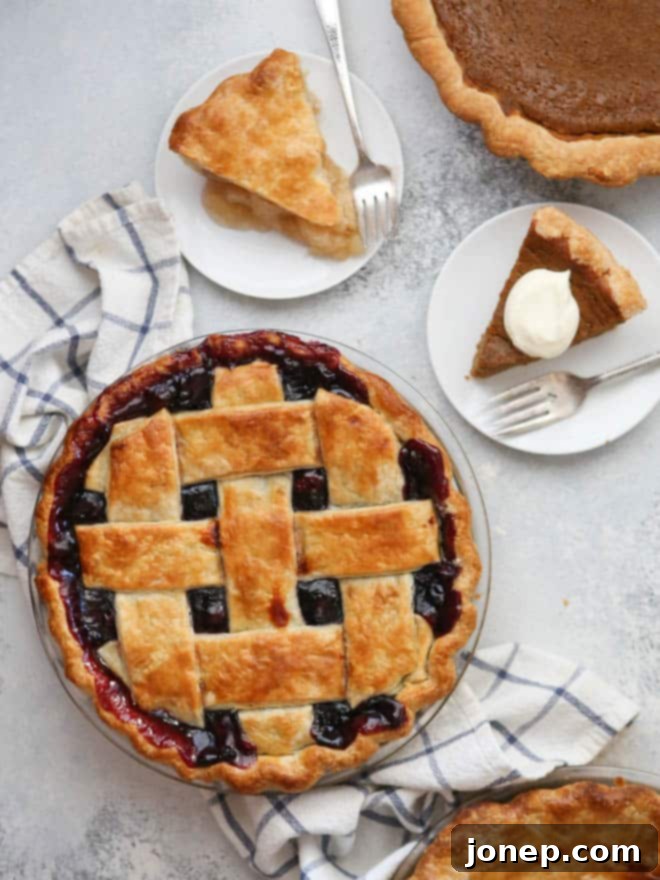
Mastering Pie Baking: Fix Common Problems & Achieve Perfect Pies Every Time
Baking the perfect pie can feel like a culinary quest, but it doesn’t have to be a source of frustration! Whether you’re a seasoned baker or just starting, common pitfalls like a soggy bottom, cracked dough, or a runny filling can derail your delicious dreams. This comprehensive guide shares my favorite, easy-to-follow tips for preventing and fixing the 8 most common pie baking mistakes. Get ready to bake a flawless pie that will impress every time, from the golden, flaky crust to the perfectly set filling.
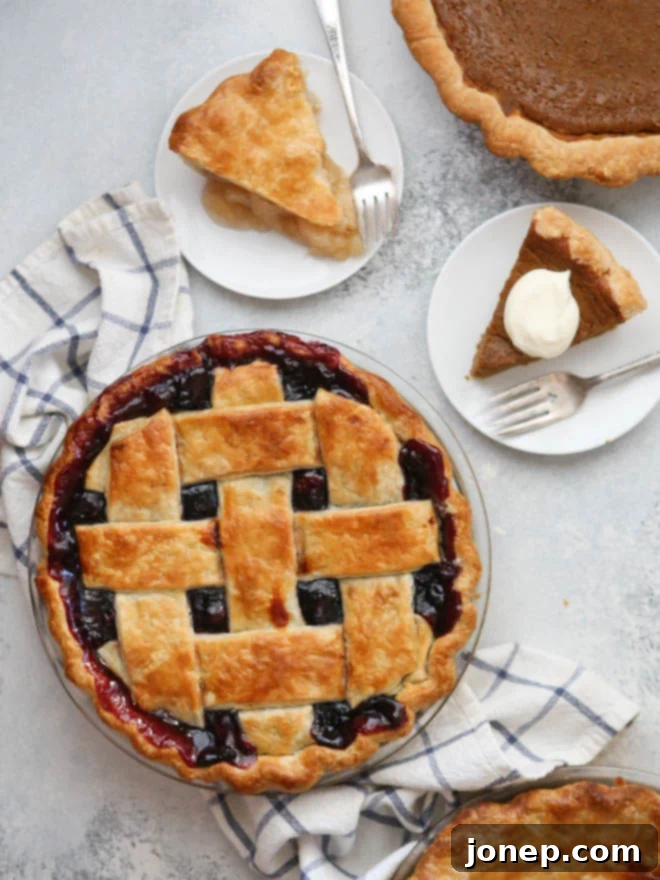
Few kitchen mishaps are as disheartening as a pie that doesn’t quite live up to expectations. We’ve all been there – peering into the oven with hope, only to pull out a pie that’s less than ideal. But don’t despair! Every baking challenge is an opportunity to learn and grow your skills.
Over countless pies baked throughout the years, I’ve gathered a treasure trove of insights. It’s truly a testament to the old adage: practice makes perfect. From the delicate art of rolling out dough to preventing a dreaded soggy crust, and knowing precisely when a pie is done, I’ve discovered many simple yet transformative techniques. There’s nothing overly complicated or difficult here – just practical, tried-and-true methods I’ve refined through extensive trial and error. These small adjustments can make all the difference between a good pie and a truly spectacular one. Whether you’re embarking on your very first pie adventure or consider yourself a pie-making veteran, I sincerely hope these expert tips empower you to bake perfect pies with confidence and joy.
Table of Contents
- What are the most frustrating issues when baking a pie?
- Preventing cracked pie dough
- Keep pie dough from sticking to the counter
- Easily transferring pie dough into a pie dish
- Keep pie crust from shrinking in the oven
- How to know when a pie is done
- Don’t let pie crust burn
- Preventing a soggy bottom pie crust
- Make sure you don’t have a runny pie filling
- More pie resources
- Pie recipes
Note: This post contains affiliate links.
What are the Most Frustrating Issues When Baking a Pie?
I recently polled my Facebook community, asking what their biggest pie baking frustrations were. With hundreds of passionate responses, these 8 problems emerged as the most common challenges for home bakers:
- Pie dough that cracks and crumbles as you try to roll it out.
- Pie dough that stubbornly sticks to your counter, making it impossible to work with.
- The delicate task of transferring rolled pie dough from your counter to the pie dish without tearing or stretching.
- Pie crust that shrinks or slumps dramatically down the sides of the pan during baking.
- The uncertainty of knowing precisely when a pie is fully baked through.
- Crust that browns too quickly, or even burns, before the delicious filling has a chance to cook completely.
- The dreaded pie with a soggy, unbaked bottom crust.
- A beautiful pie that, once sliced, reveals a disappointingly runny filling.
These are the exact issues we’ll tackle head-on in this article! Let’s dive in and transform your pie baking experience.
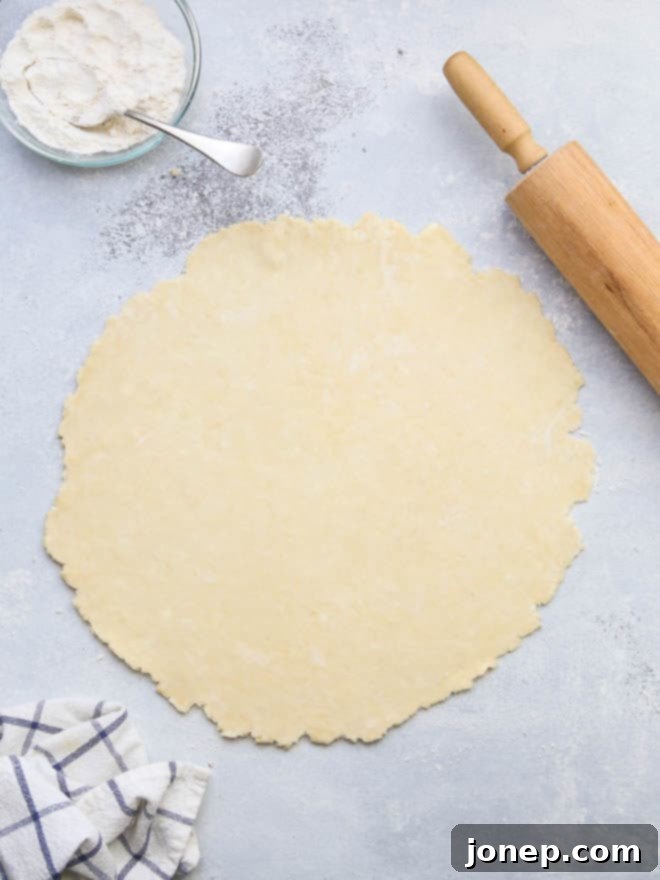
Preventing Cracked Pie Dough
A crumbly, stiff, or cracked pie crust can be incredibly frustrating to roll out, making it prone to tearing and difficult to transfer neatly into your pie dish. This often happens when the dough is too cold, lacks sufficient moisture, or has been overworked.
Expert Tips to Keep Pie Dough from Cracking:
- Ensure Proper Hydration: The key to a pliable dough is sufficient liquid. Add water (or other liquid as per recipe) in small increments, mixing gently, until the dough just comes together. It should be moist enough to form a ball with your hands without crumbling, but not sticky. A few loose crumbs are acceptable, but all dry ingredients should be incorporated. Too little liquid results in a dry, crumbly dough that easily cracks, while too much makes it sticky and potentially tough.
- Temper the Dough: If your dough has been chilling in the refrigerator, it will be very firm. Allow it to sit at room temperature for about 10-15 minutes before rolling. This brief tempering period softens the butter slightly and relaxes the gluten, making the dough much more amenable to rolling without cracking or tearing. Don’t leave it out too long, as the butter shouldn’t become oily.
- Repair Cracks as You Go: Should cracks appear during rolling, don’t panic! Use your moist fingertips (you can lightly dip them in water) to gently press and mend the cracks together. Once repaired, sprinkle a little flour over the area and continue rolling. This simple trick can save your crust from extensive damage. You can also patch small holes by cutting a piece of dough from the excess and gently pressing it over the hole, blending the edges.
- Don’t Overwork the Dough: Overworking develops gluten, which can make your crust tough and inelastic, leading to cracking. Mix just until combined, and avoid excessive kneading.
Keep Pie Dough from Sticking to the Counter
A sticky pie crust is not only a nightmare to work with, prone to ripping and tearing when you try to move it, but it can also be an indicator that the dough is too wet. This excess moisture can result in a baked crust that is tough and chewy rather than deliciously flaky and tender.
How to Keep Pie Dough from Sticking to Your Counter While Rolling It Out:
- Precision with Liquid: When initially making your dough, be very mindful of the liquid quantity. Add water or milk in small, controlled amounts, mixing just enough until the dough barely comes together. The goal is a dough that is cohesive but not tacky. Adding too much liquid upfront is difficult to correct, so err on the side of slightly less and add more if truly needed.
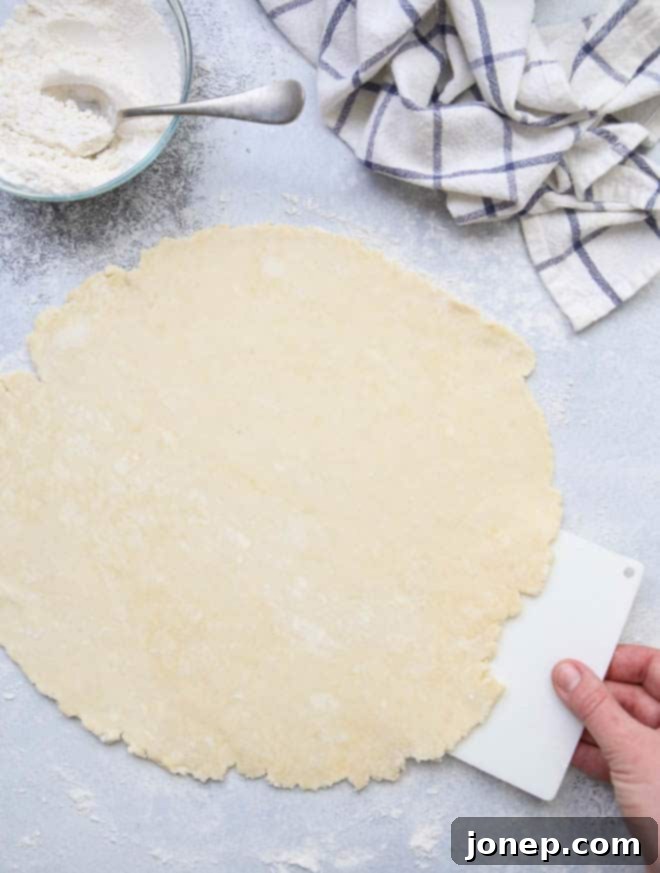
- Generous Flour Dusting: Liberally dust your work surface, the top of your pie dough, and your rolling pin with flour before and during rolling. Keep a small bowl of all-purpose flour nearby for easy access. Don’t be shy – a thin, even layer of flour acts as a barrier, preventing the dough from adhering. Re-flour as needed, especially if the dough starts to feel sticky.
- Lift and Rotate Constantly: This is arguably one of the most effective tricks! After every few rolls, gently lift the dough with your hands or a bench scraper and rotate it a quarter turn. This ensures that no single part of the dough remains stuck to the counter for too long, allowing you to re-flour underneath if necessary. It also helps to roll a more even circle.
- Use a Bench Scraper for Sticky Spots: For any stubborn areas where the dough might still be sticking, a bench scraper is an invaluable tool. Use it gently to loosen the dough from the counter without tearing it. This allows you to re-flour the sticky spot and continue rolling smoothly.
- Consider a Pastry Mat: If persistent sticking is a major issue, a silicone pastry mat can be a game-changer. These non-stick surfaces often require less flour and provide markings for easy size reference.
Easily Transferring Pie Dough into a Pie Dish
Moving your delicately rolled pie crust from the counter to the pie pan can be a nerve-wracking moment. If not handled with care, the dough can stretch, tear, or even fall apart. But once you master a few simple techniques, this step becomes surprisingly easy and stress-free.
Two Reliable Ways to Transfer Rolled Out Pie Dough:
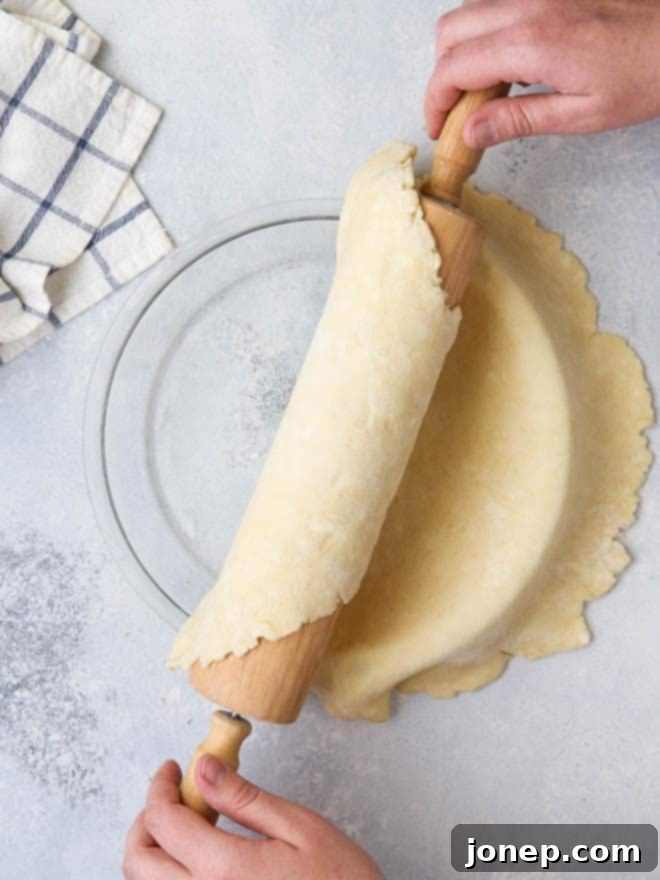
- The Rolling Pin Method: This is a classic and highly effective technique. Lay your rolling pin across one edge of your rolled-out pie crust. Gently and carefully, use your hands to roll the dough up onto the rolling pin. Once the dough is fully wrapped around the pin, position the rolling pin over the edge of your pie dish. Slowly unroll the dough, allowing it to gracefully fall into the dish. This method supports the dough’s weight, preventing stretching and tearing.
- The Folding Method: For a slightly more compact transfer, gently fold your rolled dough into quarters. First, fold it in half, then fold it in half again, creating a manageable quadrant. Carefully lift the folded dough with both hands and place it into the center of your pie dish. Once in the dish, gently unfold it, first into a half-circle, then completely open. This minimizes the risk of tearing and allows for precise placement.
- Important After Transfer: Whichever method you choose, once the dough is in the dish, gently ease it into the corners and up the sides without stretching. Stretching the dough at this stage can lead to shrinkage during baking. Trim any excess dough, leaving about a 1/2 to 1-inch overhang for crimping or decorating the edges.
Keep Pie Crust from Shrinking in the Oven
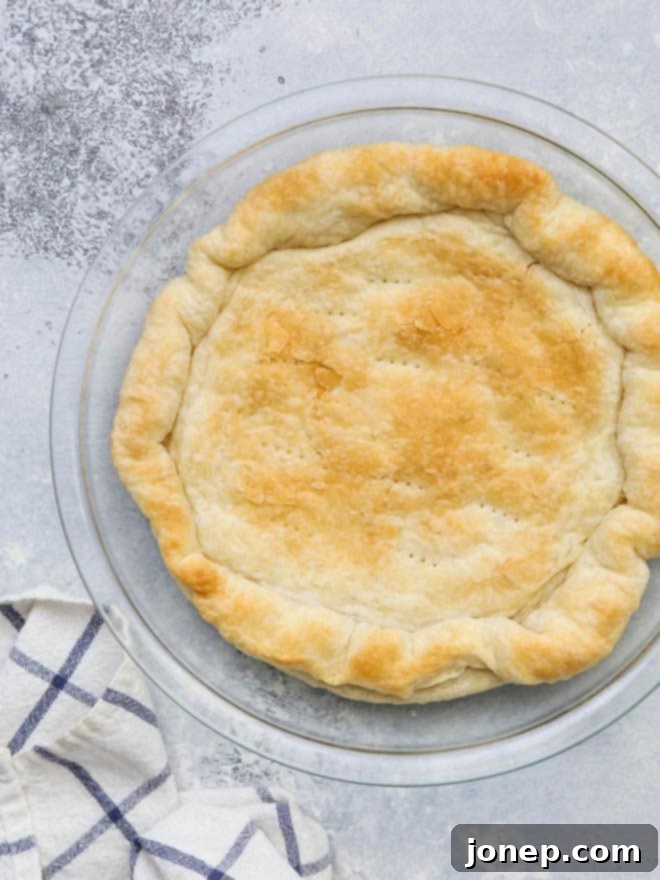
Shrinking pie crust is a common frustration, particularly when you need to partially bake (par-bake or blind bake) a crust before adding a filling, as is typical for a pumpkin pie or a custard-based pie. It also occurs when you fully bake a crust to hold a no-bake filling, like a banana cream pie. Without a filling to physically hold up the sides, the pie crust often slumps down the edges and shrinks significantly as it bakes, leading to a shallow, uneven crust.
Follow These Essential Steps to Prevent Pie Crust from Shrinking:
- Chill, Chill, Chill: After fitting your pie dough into the dish and crimping the edges, place the entire pie dish in the freezer for at least 30 minutes, or even up to an hour. This crucial step solidifies the butter and relaxes the gluten, preventing it from contracting excessively in the heat of the oven. A very cold dough holds its shape much better.
- Line and Weight: Before baking, line the frozen crust with parchment paper or greased aluminum foil, pressing it snugly against the dough and up the sides. Then, fill it generously with pie weights. If you don’t have pie weights, dried rice or dried beans work perfectly. The weights provide essential support, holding the crust in place and preventing the sides from slumping and the bottom from puffing up.
- Initial Blind Bake: Bake the weighted crust for about 20-30 minutes at a temperature specified in your recipe (typically 375°F to 400°F). This initial bake sets the crust’s structure.
- Remove Weights and Finish Baking: Carefully lift the foil (with the weights inside) out of the pan. Continue to bake the crust for another 5-15 minutes, or until the bottom appears dry, golden, and fully set. This final phase ensures the bottom crust cooks through and doesn’t end up soggy once the filling is added.
For more detailed instructions and helpful photos, refer to my complete tutorial on how to blind bake a pie crust.
How to Know When a Pie is Done
Since pies often require a considerable amount of baking time (typically between 45-90 minutes, depending on the type), it’s natural to feel a bit anxious. Pulling a pie from the oven too early can result in an under-baked, unappetizing mess, while leaving it in too long “just to be sure” can lead to a dry or burnt disaster. To determine if your pie is truly done, you need to assess both the crust and, crucially, the filling.
Reliable Indicators for Knowing When a Pie is Done:
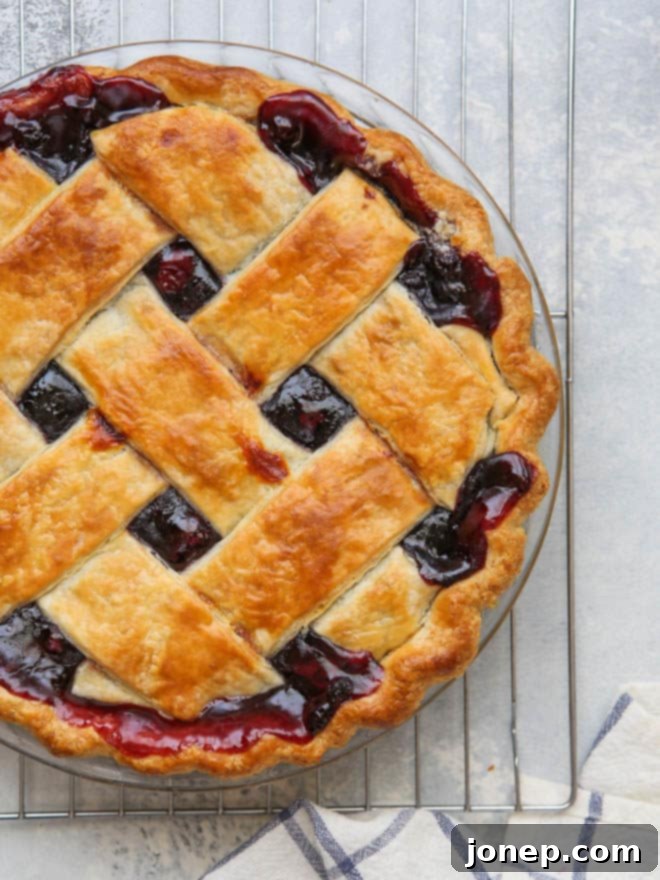
- For Fruit-Filled Pies (e.g., Apple Pie): The most definitive sign is when the filling is visibly bubbling through the vents in the top crust. This bubbling indicates that the thickening agent (usually flour, cornstarch, or tapioca) has reached its full gelling temperature and has been properly activated. Once cooled, your pie filling will set perfectly, preventing a runny slice. You can also carefully insert a thin skewer or knife into a fruit piece; if it’s tender, the fruit is cooked.
- For Egg or Custard-Based Pies (e.g., Pumpkin, Pecan Pie): These pies are done when the edges appear fully set and firm, but the very center of the pie still has a slight, delicate jiggle when gently shaken. This subtle movement is key – it means the custard is cooked but not overcooked, preventing a cracked or dry filling. The residual heat will continue to cook the center as it cools, resulting in a beautifully firm, creamy texture. An instant-read thermometer inserted into the center (avoiding the bottom crust) should read 175-180°F (80-82°C) for most custard pies.
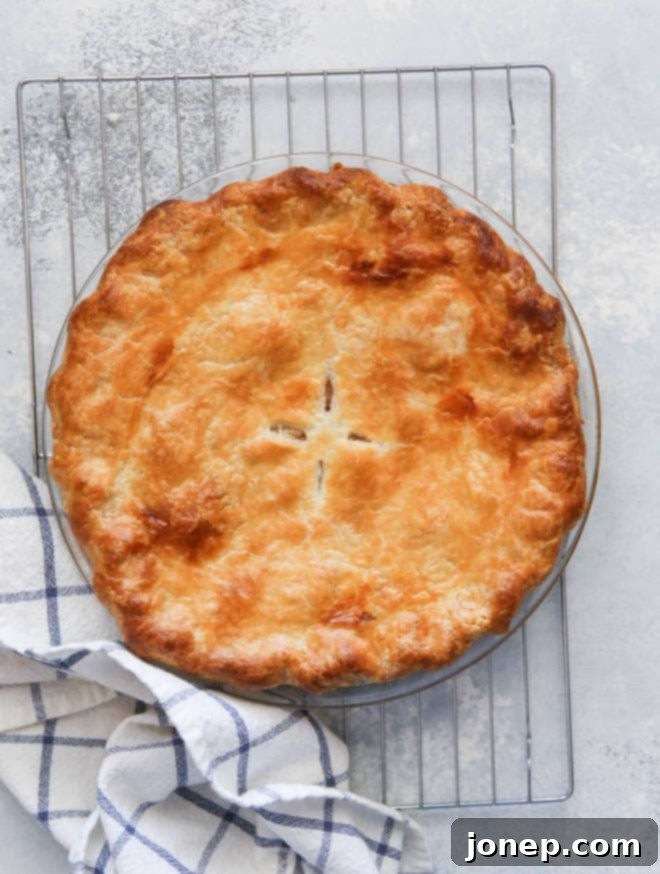
- The Golden Crust Test: Regardless of the filling, a fully baked pie should always boast a gorgeous, golden-brown crust. This applies to both the top crust (if applicable) and the edges. A pale crust often indicates an under-baked pie. If the crust is browning too quickly, see the next tip on preventing burning.
- Aroma Check: Often, a perfectly baked pie will fill your kitchen with an unmistakable, delicious aroma that signals its readiness.
Always remember that patience is a virtue in pie baking! While it’s tempting to pull a pie early, allowing it to bake fully is essential for both flavor and texture.
Don’t Let Pie Crust Burn
One of the most disheartening moments in pie baking is when your beautiful crust browns (or worse, burns) prematurely, long before the filling has had a chance to finish baking. If you remove the pie too soon, the filling will be disappointingly under-baked and won’t set properly. But if you continue baking to ensure the filling is done, you risk a charred, bitter crust. Fortunately, this common dilemma has several easy solutions.
When the Pie Crust is Browning Too Quickly, Try These Effective Methods:
- Foil Tent for the Whole Pie: If the entire top crust or topping of your pie is becoming beautifully golden brown, but you know the filling still needs more time (e.g., fruit not bubbling, custard not set), simply cover the entire pie loosely with a sheet of aluminum foil. The foil acts as a shield, deflecting direct heat from the top, allowing the filling to cook through without further browning or burning the crust. Continue baking as directed by your recipe.
- Foil Ring for Edges Only: Often, it’s just the delicate edges of the pie crust that brown more quickly than the rest of the pie. To protect these vulnerable areas, create a foil ring. Fold a square sheet of aluminum foil into quarters, then cut out the center point to create a circular hole. When unfolded, this will form a ring. Place this foil ring carefully on top of the pie so that the center of the pie remains exposed through the hole, but the edges of the crust are completely covered. This localized protection allows the center to continue baking and browning, while the edges are safeguarded.
- Invest in a Pie Crust Shield: For a reusable and convenient option, consider purchasing a pie crust shield. These silicone or metal rings are designed to fit snugly around the edge of your pie, providing perfect protection every time without the fuss of cutting foil.
- Monitor Oven Temperature: Ensure your oven thermometer is accurate. An oven running too hot can accelerate browning. If possible, consider slightly lowering the temperature by 10-15°F (5-8°C) if your crust consistently browns too fast, and compensate with a few extra minutes of baking time.
By employing these simple techniques, you can ensure your pie’s filling is perfectly cooked and your crust remains beautifully golden, never burnt.
Preventing a Soggy Bottom Pie Crust
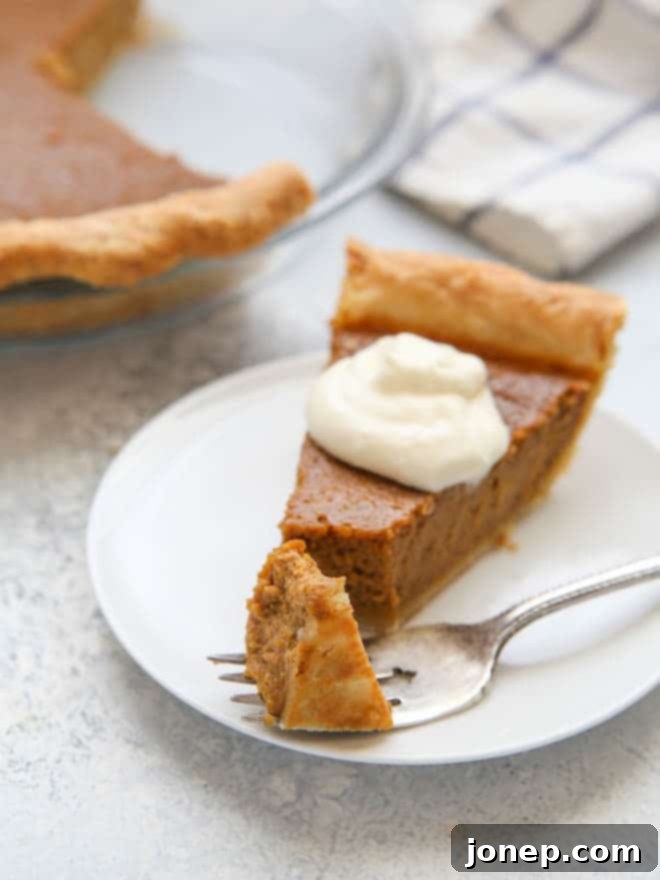
A gummy, soggy, or under-baked bottom crust can be the ultimate disappointment, ruining an otherwise delicious pie. This often occurs when moisture from the filling seeps into the crust before it has a chance to set, or if the bottom doesn’t receive enough direct heat. Thankfully, this common pie problem is entirely preventable with a few strategic steps.
Tried-and-True Tips for Keeping Pie Crust from Getting Soggy:
- Assemble and Bake Immediately: Timing is crucial! Do not fill your pie crust and let the assembled pie sit around for an extended period before baking. Ensure your oven is fully preheated to the correct temperature before you pour in the filling. If your pie requires a top crust, have it rolled out and ready to go. Minimizing the time between filling and baking significantly reduces the chance of the liquid in the filling making the bottom crust soft and gummy.
- Blind Bake for Wet Fillings: For pies with very liquid-heavy fillings, such as pumpkin, custard, or quiches, it is highly recommended to blind bake the crust first. This process par-bakes the crust, creating a barrier that prevents moisture from the filling from soaking in. Follow the blind baking steps (chilling, weighting, initial bake, then finishing without weights) detailed earlier for the best results.
- Optimize Oven Rack Placement: To promote a crisp bottom crust, bake your pie on the lowest rack in your oven. This positions the pie closer to the heating element at the bottom, providing more direct heat to the underside of the pie dish. If your pie’s topping is browning quickly, you can start it on the lower rack and move it up to the middle rack halfway through, or simply use a foil tent as described in the previous section.
- Choose the Right Pie Dish: The material of your pie dish plays a significant role in heat conduction. Opt for dishes that conduct heat well to ensure even baking and a crisp bottom. Metal pie dishes (especially dark-colored ones) are excellent heat conductors. Ceramic pie dishes and even tempered glass can also work well, heating more slowly but retaining heat effectively. Avoid thin aluminum foil pans if possible, as they don’t conduct heat as evenly.
- Create a Barrier: For certain pies, you can add a thin layer of protection to the bottom crust before filling. A light sprinkle of breadcrumbs, crushed cornflakes, or even a thin layer of a beaten egg white brushed onto the bottom of a par-baked crust can help create a moisture barrier.
Make Sure You Don’t Have a Runny Pie Filling
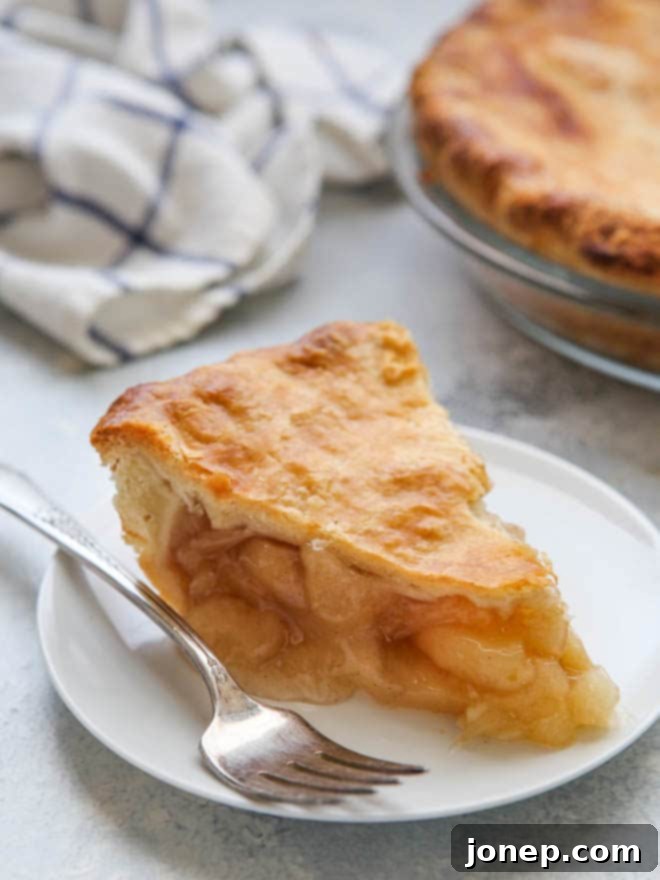
No one wants to encounter “pie soup” when they slice into a lovingly baked creation! It’s incredibly disappointing to cut into a beautiful pie only to discover that the filling hasn’t set up properly, leading to messy slices and often contributing to a soggy bottom crust. Achieving a perfectly set, sliceable filling is a hallmark of a truly great pie.
Key Strategies to Prevent a Runny Pie Filling:
- Adhere Strictly to the Recipe: This is perhaps the most critical rule. Baking is a science, and recipes are carefully developed with precise ratios. Deviating from the specified amounts of thickening agents (like flour, cornstarch, tapioca, or pectin) will almost certainly prevent your filling from thickening properly. Similarly, altering other ingredient amounts, such as sugar, can impact the texture and how the filling sets due to its interaction with moisture. Trust the recipe!
- Avoid Uncharted Substitutions: While culinary creativity is wonderful, if you’re attempting to substitute a key ingredient (e.g., honey for corn syrup, or tapioca for cornstarch), it’s best to find a new, tested recipe that specifically calls for that ingredient. Substituting thickeners or sweeteners without knowing their different properties can drastically alter the final texture and setting ability of your pie filling. Each thickener behaves differently when heated and cooled.
- The Golden Rule: Wait Until Pie is Completely Cool Before Cutting: I know, the waiting is incredibly hard when a warm, fragrant pie is calling your name! However, this step is absolutely essential for the filling to achieve its final set. Many thickening agents, especially starches and gelatins, continue to thicken and firm up as they cool. Slicing into a warm pie interrupts this setting process, almost guaranteeing a runny mess. For the prettiest, cleanest slices, allow your pie to cool to room temperature for at least 3-4 hours, or even longer for very dense fillings. You can speed up the process by placing the cooled pie in the refrigerator for an hour or two once it’s no longer piping hot.
- Serving a Warm Pie: If you prefer to serve your pie warm, allow it to cool completely first to ensure it sets. Once cooled and set, you can gently re-warm it in a 350°F (175°C) oven, covered with foil to prevent further browning, for about 20-30 minutes. This will give you a delicious warm slice without the runny filling.
More Pie Resources for the Perfect Bake
Ready to take your pie-making skills even further? Explore these additional resources to master every aspect of pie baking, from crafting the flakiest crusts to preparing them in advance.
- How to Make Foolproof Flaky Pie Crust
- How to Blind Bake Pie Crust: A Step-by-Step Guide
- How to Make Pie Crust in the Food Processor for Easy Prep
- How to Prep and Store Pie Crust in Advance
- My Favorite Essential Pie Baking Tools
Delicious Pie Recipes to Try
Now that you’re equipped with all the knowledge to fix common pie problems, it’s time to put your skills to the test! Here are some of my favorite pie recipes, ranging from classic comforts to exciting new flavors, perfect for any occasion.
