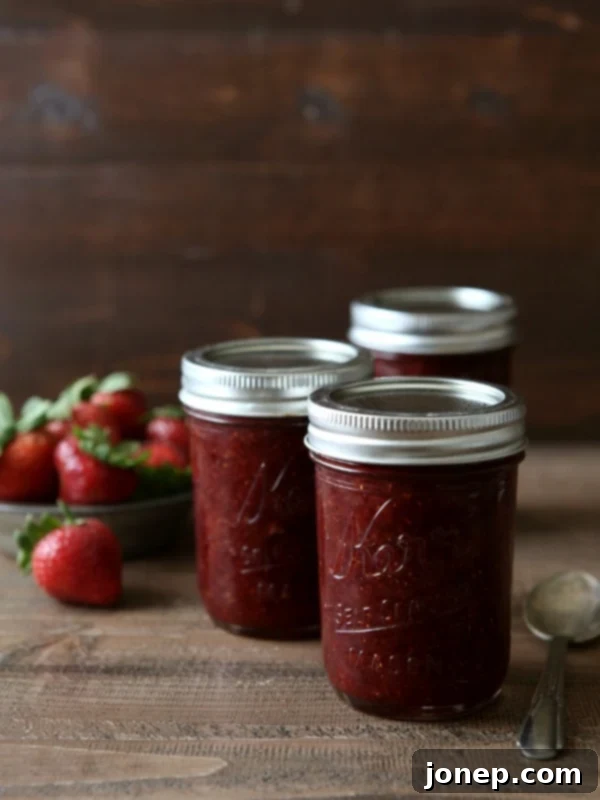
The Best Pectin-Free Strawberry Jam: Easy Homemade Recipe & Canning Guide
There’s nothing quite like the taste of homemade strawberry jam, especially when it captures the vibrant essence of summer’s freshest berries. This recipe elevates a basic, pectin-free strawberry jam from simply good to truly extraordinary. With a few secret ingredients, you’ll create a jam so rich in flavor and perfectly set, you’ll never go back to store-bought.
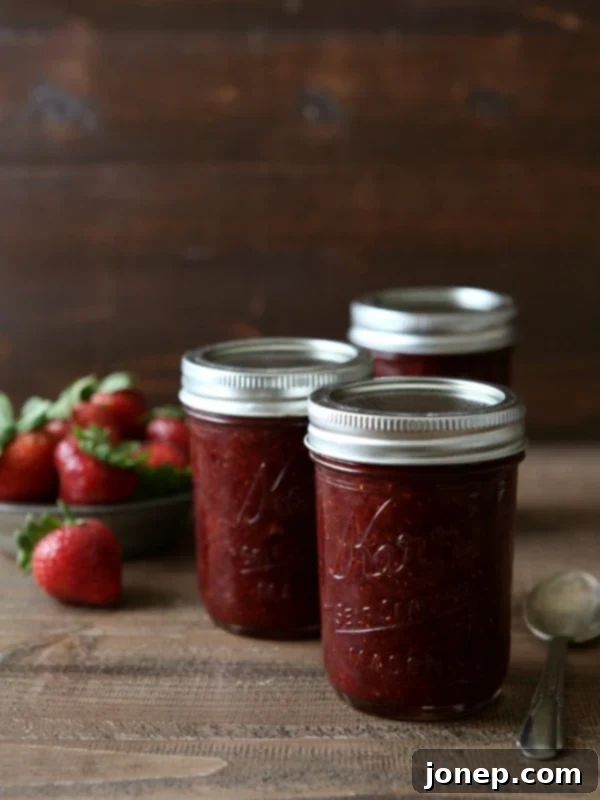
For many, summer means fresh produce and the joy of preserving. Canning is a beloved hobby, allowing us to savor the bounty of fruits and vegetables long after their season ends. Even if you’re new to canning, or prefer simpler methods, making your own homemade jam is an incredibly rewarding experience. It’s surprisingly easy, and the result is infinitely superior to anything you’ll find in a grocery store. Strawberry jam holds a special place in our hearts, making it my go-to recipe every summer.
What makes this recipe stand out? It’s crafted without added pectin, relying instead on the natural thickening power of the fruit. Plus, it incorporates a couple of unexpected, yet simple, secret ingredients that deepen its flavor profile and give it an unparalleled shine. Get ready to discover your new favorite strawberry jam!
Why Homemade Strawberry Jam is Simply the Best
Once you try homemade jam, particularly this best strawberry jam recipe, you’ll understand why it’s worth the effort. The flavor is brighter, more intense, and truly captures the essence of fresh strawberries. Store-bought jams often rely on excessive sugar and artificial thickeners, masking the natural fruit flavor. Our pectin-free approach allows the natural sweetness and tang of the strawberries to truly shine. Making it yourself also gives you complete control over the ingredients, ensuring a wholesome and delicious spread for your family to enjoy all year long.
Essential Ingredients for Your Strawberry Jam
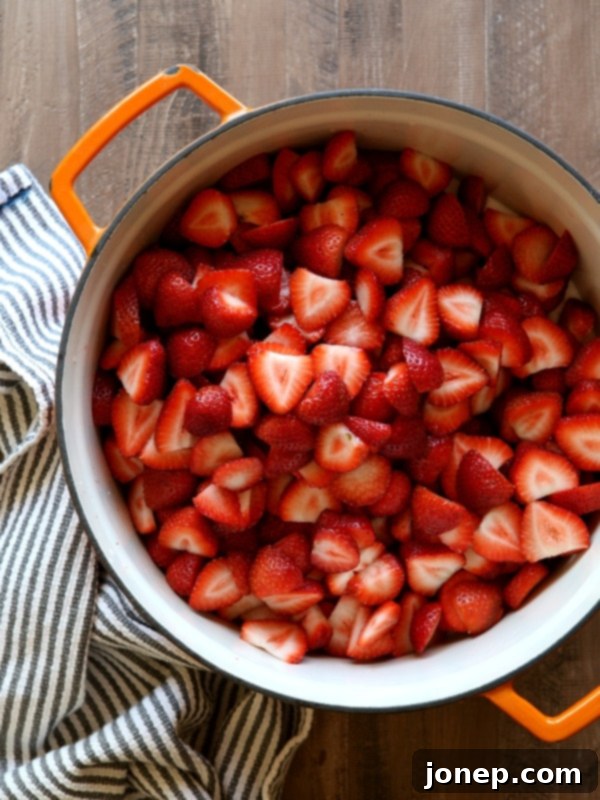
This easy strawberry jam recipe shines when made with fresh, ripe strawberries, typically abundant in early summer. Gathering your ingredients is the first step to creating this delightful preserve:
- Fresh Strawberries: The star of the show! Choose firm, brightly colored, and fragrant berries for the best flavor. Locally sourced or farmer’s market strawberries are ideal.
- Bottled Lemon Juice: Crucial for both flavor and preservation. Its acidity balances the sweetness of the strawberries and aids in the setting process, especially important for canning safety.
- Granulated Sugar: Acts as a preservative, contributes to the jam’s texture, and enhances the natural sweetness of the fruit.
- Balsamic Vinegar: This is one of our special secret ingredients! A small amount of balsamic vinegar adds a subtle, complex depth and slight tang that perfectly complements the strawberries without overpowering them. It’s a game-changer.
- Vanilla Bean or Vanilla Extract: The second secret ingredient. Vanilla introduces a warm, aromatic note that harmonizes beautifully with the fruit and balsamic, creating a truly unique and irresistible flavor.
While you can omit the balsamic vinegar or vanilla if you prefer, I highly recommend including both. They transform this into the best strawberry jam you’ve ever tasted, adding layers of flavor that will surprise and delight you. Trust me, these aren’t your grandma’s jam ingredients (unless your grandma was a culinary genius!).
No Pectin Required! Understanding Pectin-Free Jam
One of the fantastic aspects of this recipe is that it’s made without added pectin. This means no worrying about having a special ingredient on hand or dealing with precise measurements often associated with commercial pectin products. Pectin is a natural gelling agent found in fruits, and strawberries, while containing some, aren’t as pectin-rich as apples or citrus.
So, how does pectin-free jam set? We rely on a combination of fruit, sugar, acid (from lemon juice), and time. Heating the mixture for a longer duration breaks down the cell walls of the fruit, releasing its natural pectin and allowing the sugar and acid to work together to form a gel. This extended cooking process results in a jam with a wonderfully deep, concentrated strawberry flavor and a soft, spreadable consistency that some prefer over the firmer texture of pectin-set jams. Expect this recipe to require a longer cook time—typically 45-60 minutes—compared to those using commercial pectin, but the rich, authentic flavor is well worth the patience.
How to Make Strawberry Jam: Step-by-Step Guide
Making homemade strawberry jam is a straightforward process. Follow these steps for a perfect batch:
- Prep the Strawberries: Start by thoroughly washing your fresh strawberries. Hull them (remove the green stems and white core) and then slice them into smaller pieces. This helps them break down faster and release their juices more easily during cooking. For a quick visual guide on hulling, this video demonstrates an efficient method.
- Combine All Ingredients: In a large, heavy-bottomed pot or Dutch oven, combine the prepared strawberries, bottled lemon juice, granulated sugar, balsamic vinegar, and the vanilla bean (if using) or vanilla extract. Give everything a good stir to ensure the sugar starts to dissolve and coats the fruit.
- Bring to a Gentle Boil: Place the pot over medium-high heat. Stir the mixture frequently. As the sugar dissolves, the strawberries will begin to release their juices, creating a syrupy liquid. Continue stirring until the mixture reaches a gentle, rolling boil. Be careful not to scorch the bottom.
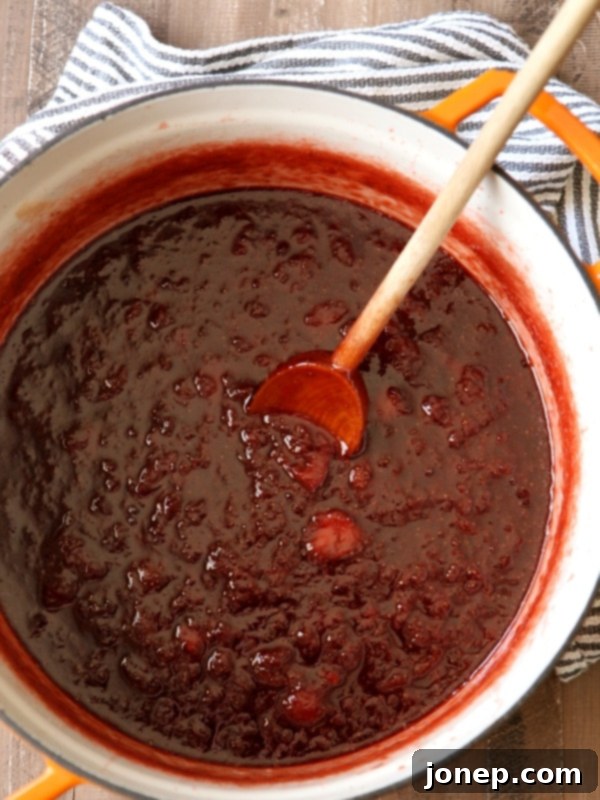
- Cook Until Thick: Once boiling, reduce the heat to a simmer. Allow the jam to cook, stirring occasionally to prevent sticking and to encourage even reduction. As it cooks, you’ll notice foam forming on the surface; periodically skim this foam off with a spoon or ladle for a clearer, more appealing finished jam. This crucial simmering phase can take anywhere from 45 to 60 minutes, or even longer, depending on your stove and the moisture content of your strawberries. The goal is a noticeably reduced and thickened consistency.
- Test for Set: Before removing from heat, test the jam to ensure it has reached the desired set point (detailed methods below).
- Prepare for Storage: If you used a vanilla bean, carefully remove the pod. Once the jam has reached the desired consistency, it’s ready for storage. You can either enjoy it right away or prepare it for longer-term storage in the fridge, freezer, or by canning in sterilized jars.
How to Know if Jam is Set: The Pectin-Free Test
Since this pectin-free recipe relies on natural gelling, knowing when your jam is perfectly set is key. Here are two reliable methods to test your jam for readiness:
- The Spoon Test (Sheet Test): Carefully scoop a small amount of jam with a cold spoon. Lift the spoon and slowly pour the jam back into the pot. If the jam immediately runs off the spoon in a thin stream, it’s not ready. If it holds on the spoon briefly and then falls off in thick, heavy drips or “sheets,” your jam is done. This indicates that enough moisture has evaporated, and the natural pectin and sugar have formed a proper gel. Watch this video demonstration for a clear example.
- The Plate Test (Wrinkle Test): Before you start cooking, place a small ceramic plate in the freezer for at least 15 minutes. When you suspect your jam is ready, remove the cold plate and place a spoonful of hot jam onto it. Let it rest for a minute or two to cool. Then, gently push your finger through the jam on the plate. If your finger leaves a clear path and the jam surface wrinkles or creases, it means it has set. If the jam is still watery and fills the path, continue cooking and retest. This is a very popular and effective method for determining jam set. See a video demonstration of the plate test here.
Patience is essential when testing. Don’t rush the process; a few extra minutes of simmering can make all the difference between a perfectly set jam and a runny one. Keep in mind that jam will always thicken further as it cools.
3 Ways to Store Your Delicious Strawberry Jam
Once your homemade strawberry jam is cooked to perfection, you have several options for storage, depending on how quickly you plan to use it and how long you want it to last:
- In the Fridge: For immediate enjoyment or shorter-term storage, simply transfer the hot jam into clean, airtight containers (like glass jars or plastic containers with tight-fitting lids). Allow it to cool completely before refrigerating. Your jam will remain fresh and delicious in the fridge for up to 1 month. This is the simplest method if you’re not interested in canning.
- In the Freezer: The freezer is an excellent option for longer storage without the need for canning equipment. Spoon the cooled jam into sturdy, freezer-safe airtight containers or freezer bags, leaving a little headspace (about ½ inch) for expansion. Label with the date. Freezing strawberry jam can preserve its quality for several months, typically up to 6-12 months. Thaw in the refrigerator before use.
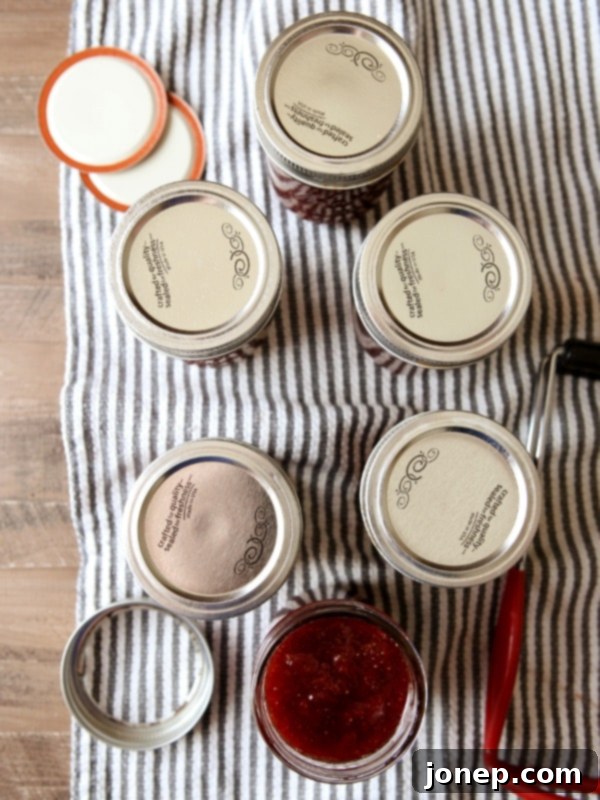
- In Your Pantry (Canned): For the longest shelf life at room temperature, water bath canning is the way to go. This method requires a bit more effort but allows you to store your jam for up to 1 year in a cool, dark place like a cupboard or pantry. For safe canning, always follow tested recipes and procedures from reliable sources.
- Sterilize Jars: Begin by sterilizing your canning jars, lids, and bands. You can do this by washing them thoroughly and then either running them through a dishwasher’s sanitizing cycle, boiling them, or keeping them hot in a canner.
- Fill Jars: Ladle the hot jam into the sterilized jars, leaving ¼ inch of headspace (the space between the jam and the rim of the jar). Remove any air bubbles with a non-metallic utensil.
- Clean Rims: Wipe the rims of the jars clean with a damp paper towel to ensure a proper seal.
- Apply Lids and Rings: Center sterilized lids on the jars and screw on the bands until fingertip tight.
- Process in Water Bath: Carefully place the jars on a rack in a large pot (canner) filled with boiling water. Ensure the water covers the jars by at least 1 inch. Bring the water back to a rolling boil and process the jars for 10 minutes (adjusting for altitude if necessary).
- Cool and Store: After processing, turn off the heat and let the jars sit in the canner for 5 minutes before carefully removing them to a wire rack. Let them cool undisturbed for 12-24 hours. You’ll hear the satisfying “ping” as the lids seal. Check seals, then remove rings and store in a cool, dark place.
New to canning? Check out my canning tips and resources page for more detailed guidance and safety information.
Serving Suggestions for Your Homemade Strawberry Jam
This exquisite strawberry jam is incredibly versatile. Here are just a few ideas to enjoy its delightful flavor:
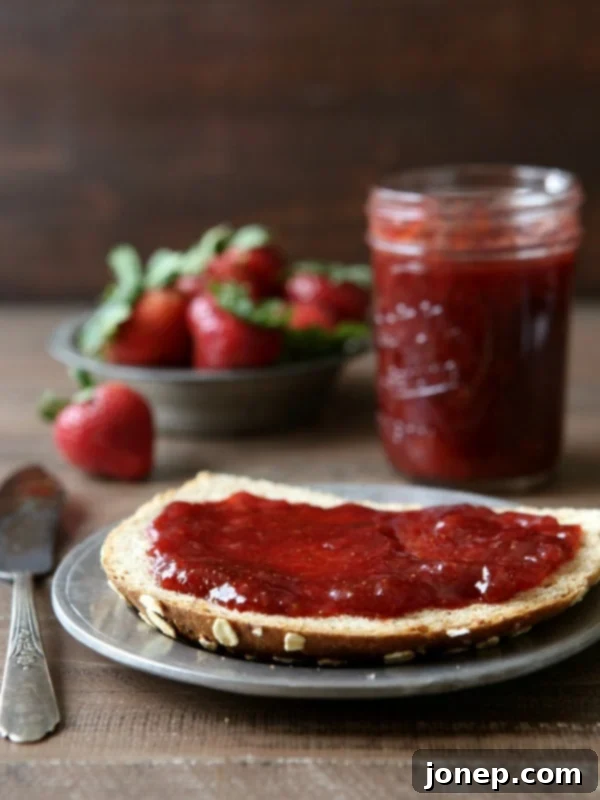
- Spread generously on warm toast, scones, biscuits, or English muffins for a classic breakfast treat.
- Swirl into plain yogurt or oatmeal for a touch of sweetness and fruitiness.
- Use as a filling for tarts, thumbprint cookies, or layer cakes.
- Pair with cheese and crackers on a charcuterie board.
- Dollop on top of pancakes or waffles.
- Mix into sparkling water or iced tea for a refreshing, fruity drink.
More Delicious Jam Recipes to Try
If you’ve enjoyed making this easy homemade strawberry jam, you might love exploring other fruit preserves. Here are some other fantastic jam recipes to expand your canning repertoire:
- Raspberry Plum Jam
- Blueberry Mojito Jam
- Peach Amaretto Jam
The Best Strawberry Jam
Pin Recipe
Leave a Review
Ingredients
- 2 pounds strawberries , hulled and sliced (900 grams)
- ¼ cup lemon juice (60 ml) (see Note)
- 2 cups granulated sugar (400 grams)
- 2-3 teaspoons balsamic vinegar , to taste
- 1 vanilla bean , split lengthwise or 1 tablespoon vanilla extract
Instructions
To make the jam:
-
Combine all ingredients in a large saucepan. Bring the mixture to a boil over medium high heat, stirring frequently.
-
Reduce heat and simmer, stirring occasionally. Periodically skim foam off of the top.
-
After about 45-60 minutes, jam should be thick and drop from a spoon in thick drips. Cook longer if needed, using the set tests mentioned above.
-
Remove vanilla bean pod if you added one, and spoon into desired storage container(s).
To store in fridge:
-
Store in an airtight container for up to 1 month.
To store in the freezer:
-
Store in a sturdy airtight container for up to several months.
To process in a home-canner:
-
If canning, fill sterilized jars leaving ¼ inch headspace. Wipe the rims of the jars clean and cover with sterilized lids and rings. Process in a pot of boiling water for 10 minutes. Make sure the water covers the jars completely, and that it is boiling for the entire processing time.
-
Let cool to room temperature before removing rings and storing.
-
Canned jam will store for up to one year at room temperature.
Notes
Note:
- If you are planning to process and can this jam, bottled lemon juice is the best option as it has a consistent level of acidity which is needed to preserve the jam safely. If you are freezing or storing the jam in the refrigerator, you can use freshly squeezed lemon juice if you prefer, though bottled is still recommended for consistency.
This recipe was originally published June 2012. Photos and recipe have been updated to reflect the most current and improved version.
