Homemade Strawberry Pop Tarts: The Ultimate Flaky Pastry & Fresh Jam Recipe
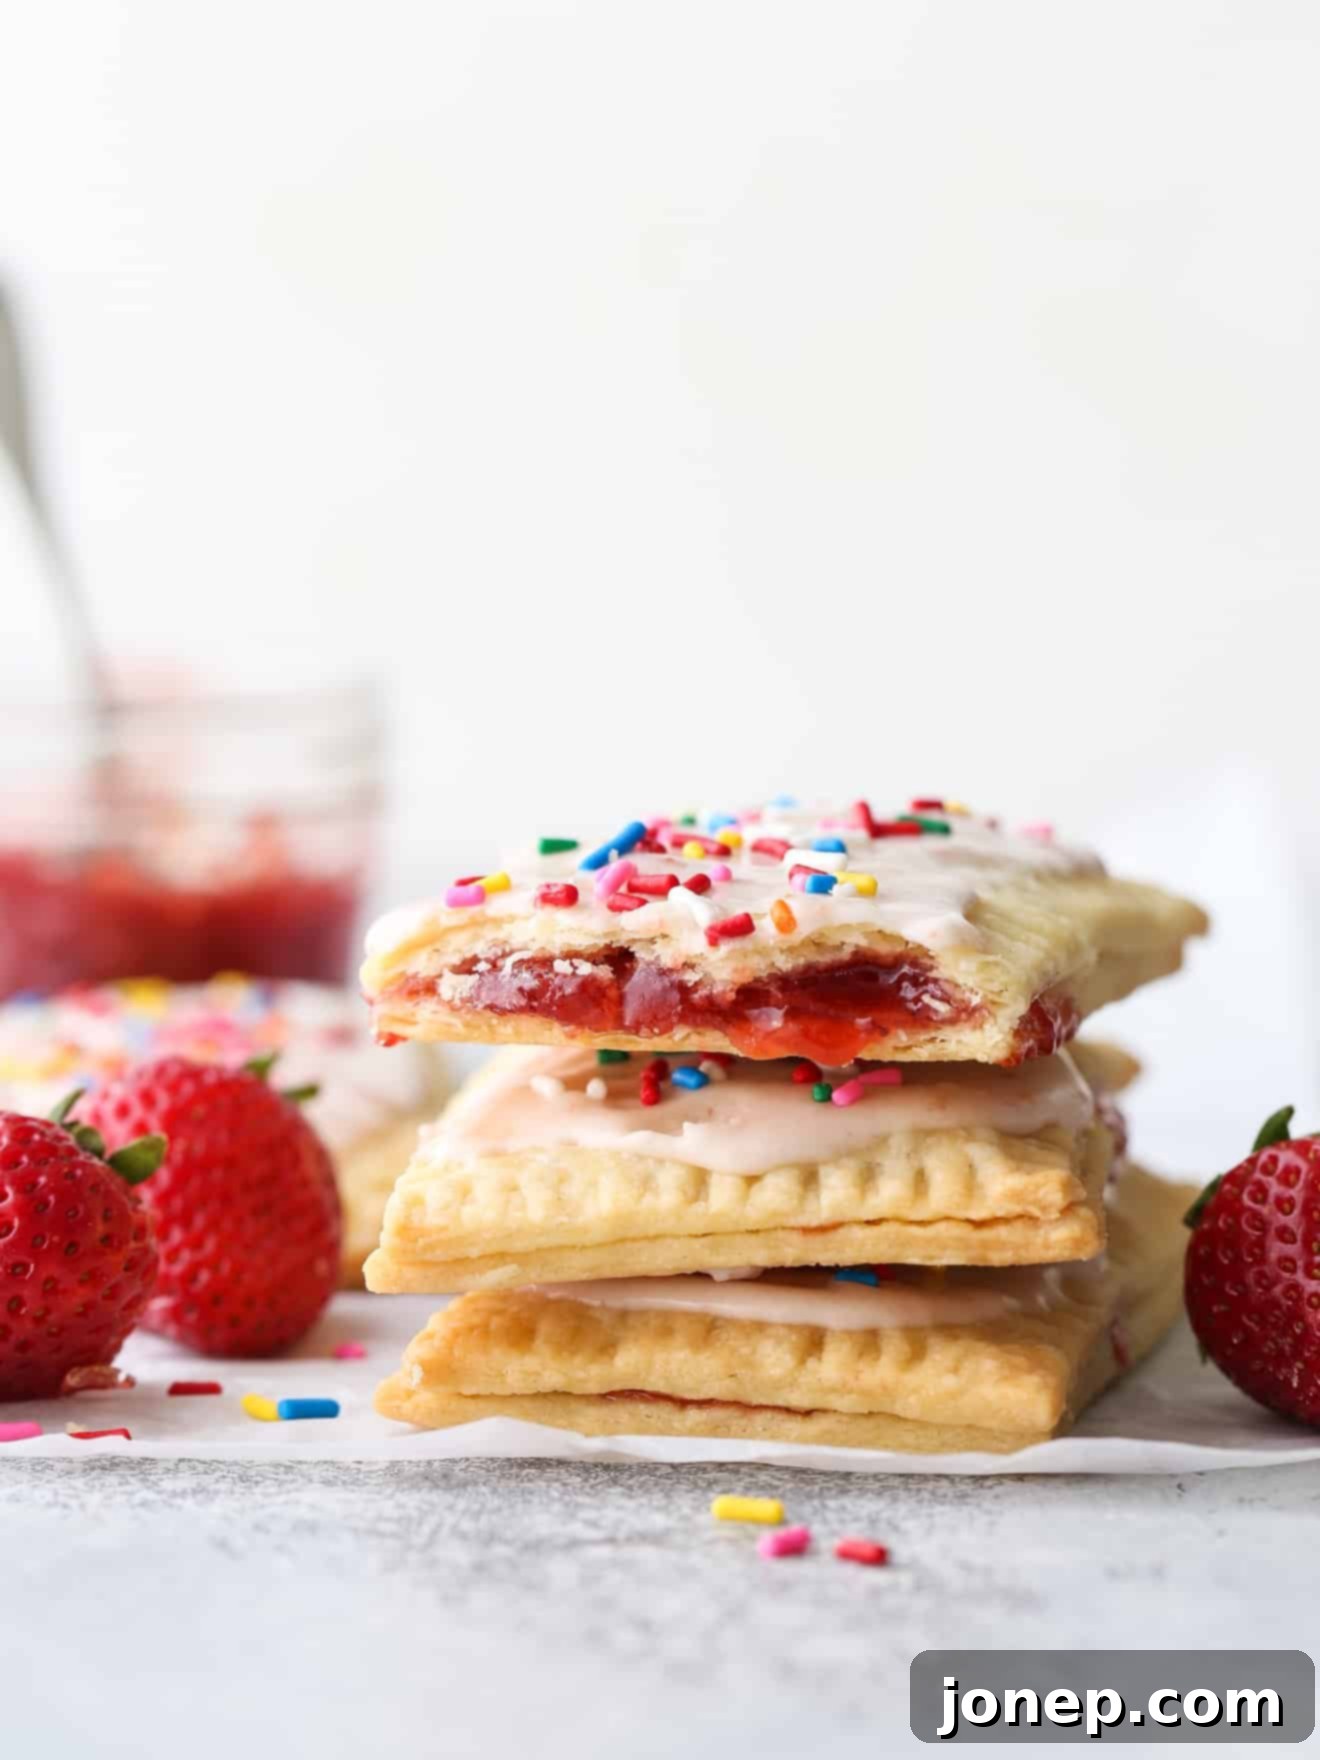
Forget the cardboard-like store-bought versions; these homemade strawberry pop tarts are a game-changer! Crafted with a perfectly flaky pastry, bursting with luscious strawberry preserves, and topped with a sweet, delicate glaze, they are undeniably superior to anything you’ll find in a box. Prepare to redefine your breakfast or snack routine with this irresistible treat.
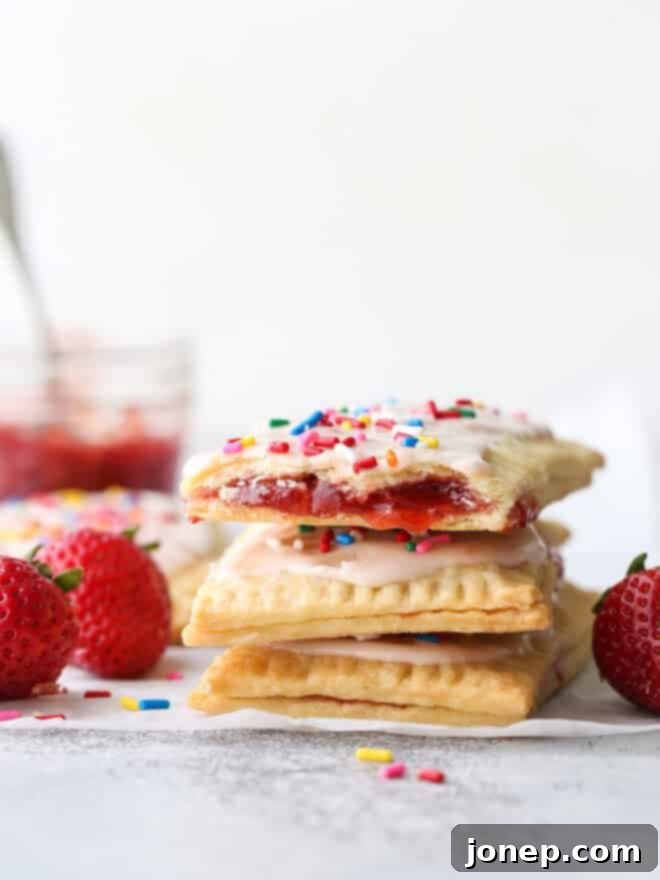
As spring gives way to the warmth of summer, our kitchens naturally gravitate towards the bounty of fresh, seasonal produce. For me, that means an abundance of fresh berries – a truly exciting prospect! My culinary passion also lies in transforming often over-processed, pre-packaged foods into something homemade, more wholesome, and infinitely more delicious. This drive is precisely what led me to perfect these incredible homemade strawberry pop tarts!
The delightful combination of tender, flaky homemade pastry, sweet and tangy strawberry preserves, and a delicate icing is guaranteed to be a hit with both kids and adults alike. There’s simply no comparison to the rich flavors and satisfying textures of a pastry made from scratch. Why not whip up a batch today and experience the joy of homemade goodness?
Table of Contents
- What Are Pop Tarts?
- Why Choose Homemade Strawberry Pop Tarts?
- The Three Parts to Pop Tart Perfection
- Ingredients You’ll Need
- How to Make Homemade Pop Tarts (Step-by-Step)
- Tips for Making the Best Homemade Pop Tarts
- Serving Suggestions
- Other Mini Pie Recipes to Try
- Full Recipe Card
What Are Pop Tarts?
At their core, pop tarts are essentially a type of hand pie. They consist of a sweet, often fruit-based, filling sandwiched between two layers of pastry crust, typically baked and then sometimes frosted. For many, they evoke a strong sense of nostalgia, serving as a quick, convenient breakfast treat found in the breakfast aisle of nearly every American grocery store, available in a wide array of flavors.
While the store-bought versions offer convenience, this homemade rendition elevates the experience entirely. By making them from scratch, you gain control over the quality of ingredients, resulting in a significantly more flavorful and satisfying pastry. It’s a comforting classic, reimagined to be undeniably better, and a delicious indulgence that both children and adults are bound to adore!
Why Choose Homemade Strawberry Pop Tarts?
There are countless reasons to swap out those packaged pastries for a homemade version, especially when it comes to something as delightful as a strawberry pop tart. Here’s why going homemade is always the better choice:
- Unmatched Flavor: The taste difference is truly night and day. Freshly made pastry and vibrant fruit preserves simply can’t be replicated by mass-produced alternatives with artificial flavors and preservatives.
- Quality Ingredients: You control exactly what goes into your pop tarts. Choose high-quality butter for the flakiest crust, fresh, ripe strawberries for the preserves, and avoid any unwanted additives or high-fructose corn syrup.
- Customization Options: While this recipe focuses on strawberry, homemade opens up a world of possibilities for fillings. Imagine apple cinnamon, blueberry, cherry, or even chocolate hazelnut! You can also adjust the sweetness to your liking.
- Fun & Rewarding: Baking from scratch is a wonderfully satisfying experience. It’s a fantastic activity to do with family, and the aroma filling your home is an added bonus. Plus, serving something you’ve made yourself is incredibly rewarding.
- Freshness: There’s nothing quite like a warm pop tart, fresh from the oven, with a slightly crisp crust and a gooey, sweet filling. The texture and warmth are unparalleled.
The Three Parts to Pop Tart Perfection
Crafting these delectable homemade strawberry pop tarts involves three core components, each contributing to their exceptional flavor and texture:
- Flaky Pie Dough: The foundation of any great pop tart is a superb crust. The recipe provided below yields a wonderfully tender and flaky pastry, very similar to my foolproof flaky pie crust. It’s sturdy enough to hold the filling yet crumbles delicately with every bite. While making your own dough adds to the homemade charm, you can absolutely use a good quality store-bought pie dough for a quicker option.
- Sweet Strawberry Preserves: This is where the magic happens! You can either whip up your own homemade strawberry preserves (the recipe is included further down) using fresh or frozen berries, or opt for your favorite high-quality store-bought brand of strawberry preserves or jam. The key is a rich, fruity filling that’s not too watery, ensuring it stays beautifully contained within the pastry.
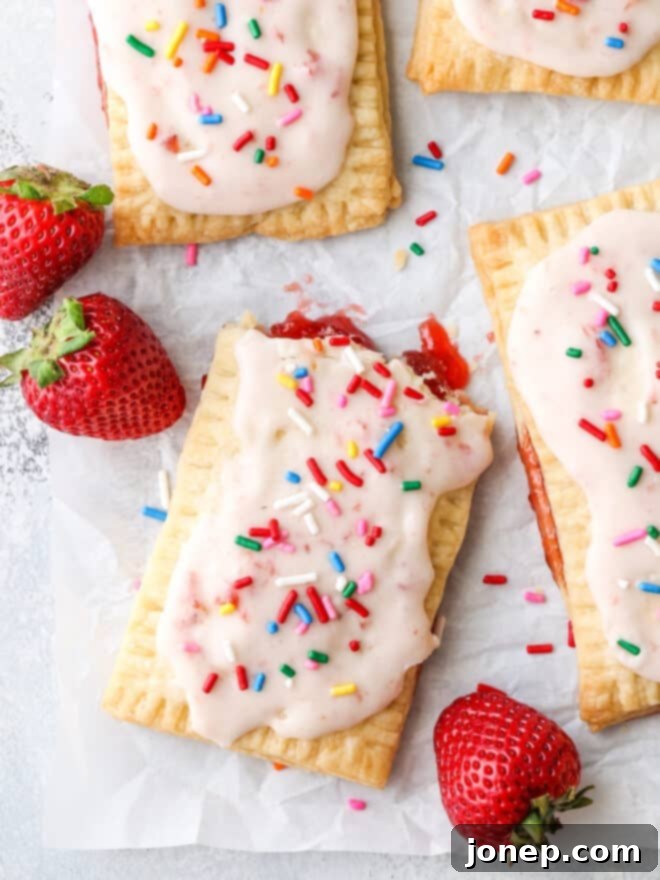
- Sweet Glaze and Festive Sprinkles: These elements are entirely optional, but they truly complete the classic “pop tart” look and add an extra layer of sweetness and fun. A simple powdered sugar glaze drizzled over the cooled tarts, finished with a scattering of rainbow sprinkles, makes them visually irresistible and even more delicious.
Ingredients You’ll Need
To create these delightful pop tarts completely from scratch, here’s a comprehensive list of what you’ll need. The full, detailed recipe with exact measurements can be found at the end of this article:
- For the Homemade Preserves:
- Fresh or frozen strawberries: The star of the show, providing vibrant flavor.
- Granulated sugar: For sweetness and to help thicken the preserves.
- Lemon juice and zest: Adds brightness and helps with the jam’s setting.
- Vanilla extract: Enhances the overall flavor profile.
- For the Flaky Pie Crust:
- All-purpose flour: The base for our pastry.
- Coarse salt and granulated sugar: For seasoning and a touch of sweetness in the dough.
- Cold unsalted butter: Crucial for achieving that desired flaky texture.
- Cold water: To bring the dough together without overworking the gluten.
- For Assembling and Decorating the Pop Tarts:
- Prepared strawberry preserves: Either homemade or your favorite store-bought brand.
- Prepared double pie crust: Homemade or store-bought.
- Large egg: Lightly beaten, for an optional egg wash to give a golden shine.
- Powdered sugar: For the sweet, pourable glaze.
- Milk or heavy cream: To create the perfect consistency for the frosting.
- Rainbow sprinkles: (Optional) For that classic, festive pop tart finish.
How to Make Homemade Pop Tarts (Step-by-Step)
Making homemade pop tarts is a rewarding process. Follow these steps to create your own delicious batch:
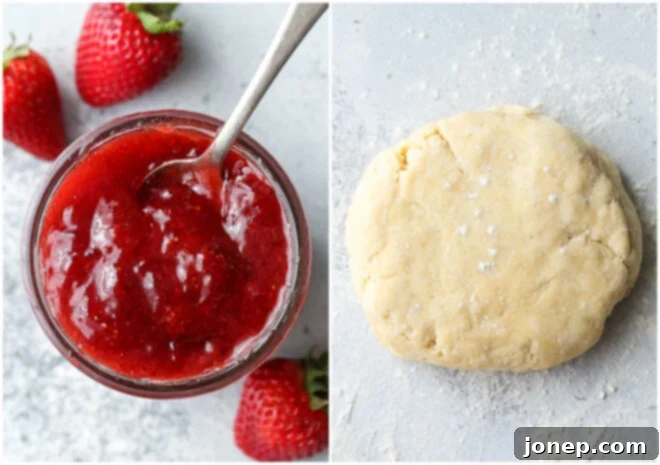
- Prepare the Pie Crust: In a large bowl, whisk together the dry ingredients (flour, salt, sugar). Add the cold, cubed butter and cut it into the flour mixture using a pastry blender, a fork, or your fingertips. Work quickly until the mixture resembles coarse sand with pea-sized pieces of butter still visible. Gradually add cold water, one tablespoon at a time, mixing until the dough just comes together. Avoid overmixing. Divide the dough into two equal portions, shape each into a flat disk, wrap them tightly in plastic wrap, and chill in the refrigerator for at least 1 hour. This chilling step is essential for a tender, flaky crust.
- Craft the Strawberry Preserves: While your dough is chilling, prepare the delicious strawberry preserves! In a medium saucepan, combine the sliced strawberries (fresh or frozen), granulated sugar, lemon juice, and lemon zest. Bring the mixture to a boil over medium-high heat, stirring and mashing the strawberries with a potato masher or large fork. Continue to boil for 2-3 minutes until the sugar has fully dissolved. Reduce the heat to medium-low and simmer gently for 10-15 minutes, stirring occasionally, until the preserves have thickened to your desired consistency. Remove from heat, stir in the vanilla extract, and let the preserves cool completely before using. Cooling prevents the hot preserves from melting the pastry.

Making the strawberry preserves and chilling the pie crust are key first steps. - Roll and Cut the Pastry Rectangles: On a lightly floured surface, take one chilled disk of pie dough. Roll it out into a large, even rectangle, approximately 1/8-inch thick. Use a ruler and a sharp knife or pastry wheel to trim the edges, creating neat 5×3-inch rectangles. You will need 16 rectangles in total for 8 pop tarts (8 bottoms, 8 tops). Carefully gather any dough trimmings, gently re-roll them, and cut out additional rectangles until all dough is used.
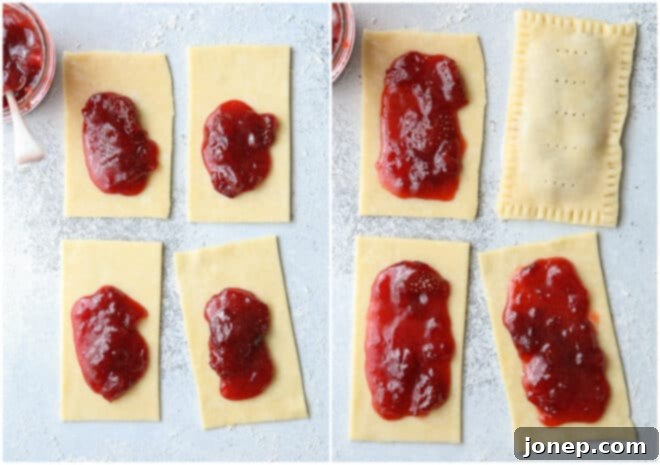
- Fill, Seal, and Prepare for Baking: Lay half of your pastry rectangles on a parchment-lined baking sheet, spaced about 1 inch apart. Spoon about 1.5 tablespoons of the cooled strawberry preserves into the center of each of these rectangles, leaving a clear border around the edges. Avoid overfilling, as this can lead to leaks during baking. Carefully place the remaining pastry rectangles on top of the filling, aligning the edges. Use your fingers to gently press all around the edges to seal the two pastry layers together, then use the tines of a fork to crimp the edges firmly, creating a decorative and secure seal. Finally, use a toothpick or a small knife to poke a few holes in the top of each pop tart; this allows steam to escape during baking and prevents the pastry from puffing up excessively.

Filling the pastry with luscious preserves and securely sealing the edges. - Bake to Golden Perfection: If desired, lightly brush the tops of the assembled pop tarts with a beaten egg wash for a beautiful golden sheen. Place the baking sheet with the pop tarts into a preheated oven (375°F / 190°C) and bake for 25-30 minutes, or until the pastry is golden brown and the filling is bubbly (if visible).
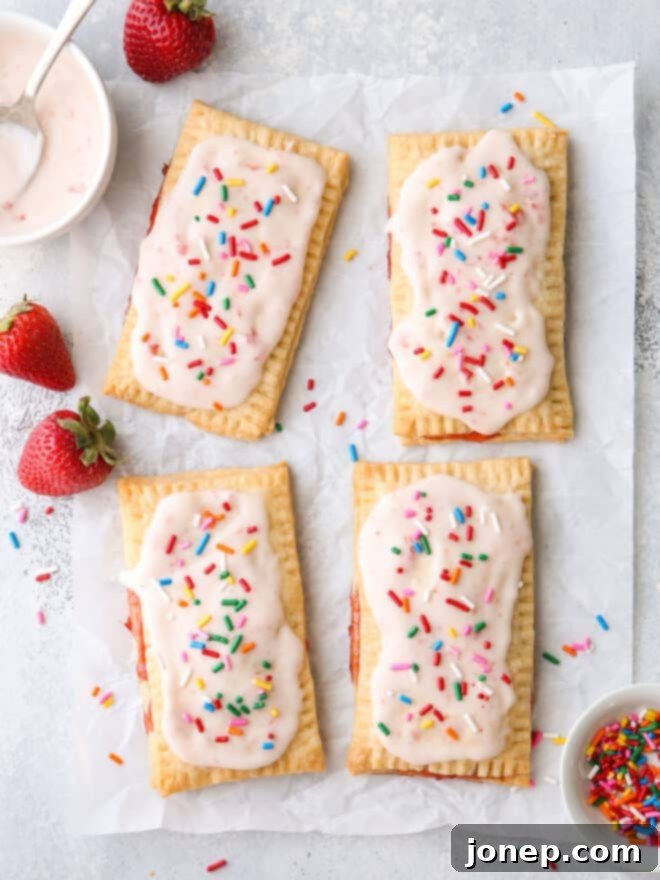
- Cool, Glaze, and Decorate: Once baked, transfer the pop tarts to a wire rack and allow them to cool completely. While they cool, prepare your simple glaze: whisk together powdered sugar with 1-2 tablespoons of milk or heavy cream until you achieve a thick but pourable consistency. For a lovely pink glaze, you can stir in a small spoonful of the leftover strawberry preserves. Drizzle the glaze generously over the cooled pop tarts, then immediately scatter rainbow sprinkles on top before the glaze sets. Allow the frosting to set for about 20 minutes (or chill in the fridge to speed up the process) before serving.

The final, irresistible look of glazed and sprinkled homemade pop tarts.
Tips for Making the Best Homemade Pop Tarts
Achieving bakery-quality pop tarts at home is easier than you think with a few helpful tips:
- Embrace the Homemade Touch: While using store-bought pie crust and jam can still yield delicious results, crafting your own flaky pastry and vibrant strawberry preserves truly elevates these little tarts to an entirely new level of deliciousness. The extra effort is well worth the superior flavor and texture.
- Shortcut for Pie Crust: If making pie crust by hand seems daunting, a food processor can be your best friend! It makes quick work of cutting in the butter and bringing the dough together with minimal effort, ensuring perfectly cold ingredients for a flaky crust.
- Size Matters (or Not!): This recipe is designed for eight 5×3-inch pop tarts, which is a generous size. However, you can easily adjust the dimensions to make smaller, bite-sized mini pop tarts or larger ones. Just be aware that altering the size will affect both the baking time and the total yield of the recipe. Keep an eye on them in the oven and adjust accordingly.
- Vary Your Fillings: While strawberry is a classic choice, don’t limit yourself! This recipe provides a fantastic base for exploring other fruit jams or spreadable fillings. Consider blueberry, raspberry, apple butter, cherry, or even a rich chocolate hazelnut spread for different flavor profiles.
- Master the Make-Ahead & Freezing: These pop tarts are perfect for meal prepping!
- Dough: Pie crust can be made up to 5 days in advance and stored in the fridge, or frozen for a month or more.
- Preserves: Homemade preserves can be stored in the fridge for several weeks.
- Unbaked Pop Tarts: Assemble the pop tarts completely (without frosting), then freeze them in a single layer on a parchment-lined baking sheet until solid. Transfer them to a freezer-safe ziplock bag or container and store for up to a month. Bake straight from frozen (add a few extra minutes to baking time) – no need to thaw!
- Baked Pop Tarts: Baked (unfrosted) pop tarts can also be frozen. Thaw at room temperature, then crisp them up in a toaster oven or a warm oven for a few minutes before glazing.
- Ensure Cold Dough: Keeping your pie dough as cold as possible throughout the process is key to achieving that desirable flaky texture. If your kitchen is warm or the dough starts to get sticky, don’t hesitate to pop it back into the fridge for 10-15 minutes to firm up.
- Don’t Overfill: While it’s tempting to load up on the delicious preserves, overfilling can lead to messy leaks during baking. Stick to the recommended 1.5 tablespoons per pop tart.
Serving Suggestions
These homemade strawberry pop tarts are versatile and can be enjoyed in various ways:
- Warm from the Oven: The absolute best way to enjoy them! A slightly warm pop tart with melted glaze is pure comfort.
- For Breakfast: A delightful and substantial upgrade to your morning meal. Pair with a cup of coffee or tea.
- Afternoon Snack: A perfect pick-me-up treat to satisfy your sweet cravings.
- Dessert: Serve them as a charming, rustic dessert, perhaps with a scoop of vanilla bean ice cream for an extra special touch.
- Party Treat: Cut them into smaller squares before baking for adorable mini pop tarts, perfect for brunch parties or gatherings.
Other Mini Pie Recipes to Try Now
If you’ve fallen in love with the charm and deliciousness of hand pies, you’ll be thrilled to explore these other delightful mini pie recipes:
- Blueberry Hand Pies
- Strawberry Rhubarb Hand Pies with Pecan Crust
- Mini Sour Cream Apple Pies
- Strawberry Nutella Hand Pies

Strawberry Pop Tarts
8 hand pies
20 mins
45 mins
1 hr 5 mins
These homemade strawberry pop tarts made with strawberry preserves and flaky pastry are so much better than store-bought!
Pin Recipe
Leave a Review
Ingredients
Strawberry Preserves:
- 2 cups (335 grams) sliced strawberries, fresh or frozen
- 1 tablespoon lemon juice
- 1 tablespoon lemon zest
- ⅔ cup (130 grams) granulated sugar
- ½ teaspoon vanilla extract
Pie Crust:
- 2 cups (240 grams) all-purpose flour, plus more for rolling
- 1 teaspoon coarse salt
- 1 teaspoon granulated sugar
- 1 cup (226 grams) unsalted butter, cold and cut into cubes
- 4-5 tablespoons cold water
Strawberry Pop Tarts:
- 1 cup (340 grams) strawberry preserves, recipe above, or use store-bought
- Double pie crust, recipe above, or use store-bought
- 1 large egg, lightly beaten (for egg wash, optional)
- 1 cup (113 grams) powdered sugar
- 1-2 tablespoons heavy cream or milk
- Rainbow sprinkles (optional)
Instructions
To make the pie crust:
- Combine the flour, salt, and sugar in a bowl. Add the cubed butter and cut into the dry ingredients with a pastry cutter, fork, or your fingers. Continue until the mixture resembles coarse sand and the butter is the size of small peas. Add the cold water a tablespoon at a time, mixing until the dough comes together into a ball. Divide into two and form each into a disk. Wrap in plastic wrap and chill in the fridge for at least 30 minutes.
To make the preserves:
- Meanwhile, prepare the preserves if making from scratch.
- Put the strawberries, lemon juice and zest, and sugar in a medium sauce pan and set over medium high heat. Stir and mash with a potato masher or large fork and bring to a boil. Boil for about 2-3 minutes until sugar is dissolved and combined with the mashed strawberries.
- Reduce heat to medium low. Continue to simmer for 10-15 minutes until thickened. Add vanilla extract.
- Cool to room temperature before spooning onto the prepared pastry squares. Any leftovers may be stored in the fridge for a few weeks.
To make the pop tarts:
- Preheat oven to 375°F (190°C) and line a baking sheet pan with parchment paper.
- Remove one disk of dough and place on a lightly floured surface. Roll out into a large rectangle about 1/8th inch thick. Trim so edges are straight. Cut into 8 5×3-inch rectangles. Repeat with the second disk. Gather trimmed dough scraps together and re-roll as needed.
- Spoon 1 ½ tablespoons of the preserves onto the pastry squares (half of your rectangles) and cover with the remaining pastry squares. Press all edges together with your fingers to seal, then use a fork to double seal. Use a toothpick to poke holes in the tops of the pastries. Place on the prepared sheet pan 1 inch apart. Brush with egg wash if desired for more color.
- Bake the pop tarts until golden, about 25-30 minutes.
- Cool completely on a wire rack.
- To make the frosting, whisk together powdered sugar and heavy cream/milk to make a thick but pourable consistency. To make the frosting pink, add a spoonful of remaining strawberry preserves.
- Spread over cooled pop tarts and sprinkle with rainbow sprinkles. Frosting should set up in about 20 minutes, or more quickly if chilled in the fridge.
Video
Notes
To make ahead: Pie crust can be stored in the fridge for up to 5 days and in the freezer for a month or more. Preserves can be stored in the fridge for a few weeks. Assembled unbaked pop tarts can be stored in the freezer for a few weeks. No need to thaw before baking.
Adapted from Bon Appetit.
Nutrition Facts (per serving)
- Calories: 587kcal
- Carbohydrates: 88g
- Protein: 5g
- Fat: 25g
- Saturated Fat: 15g
- Cholesterol: 84mg
- Sodium: 317mg
- Potassium: 136mg
- Fiber: 2g
- Sugar: 54g
- Vitamin A: 766IU
- Vitamin C: 27mg
- Calcium: 29mg
- Iron: 2mg
American
Dessert, Breakfast
Annalise Sandberg
I’d love to hear about it! Leave a rating and review below, or take a photo and tag it on Instagram @completelydelicious with #completelydelicious.
Note: This recipe was originally published March 2011 and has been updated for clarity and comprehensiveness.
